A bumper roundup!
TLDR; I was so busy I forgot to post so I’ve crammed it all into one. Including: painting, re-painting and building a bow!
Getting in a flap
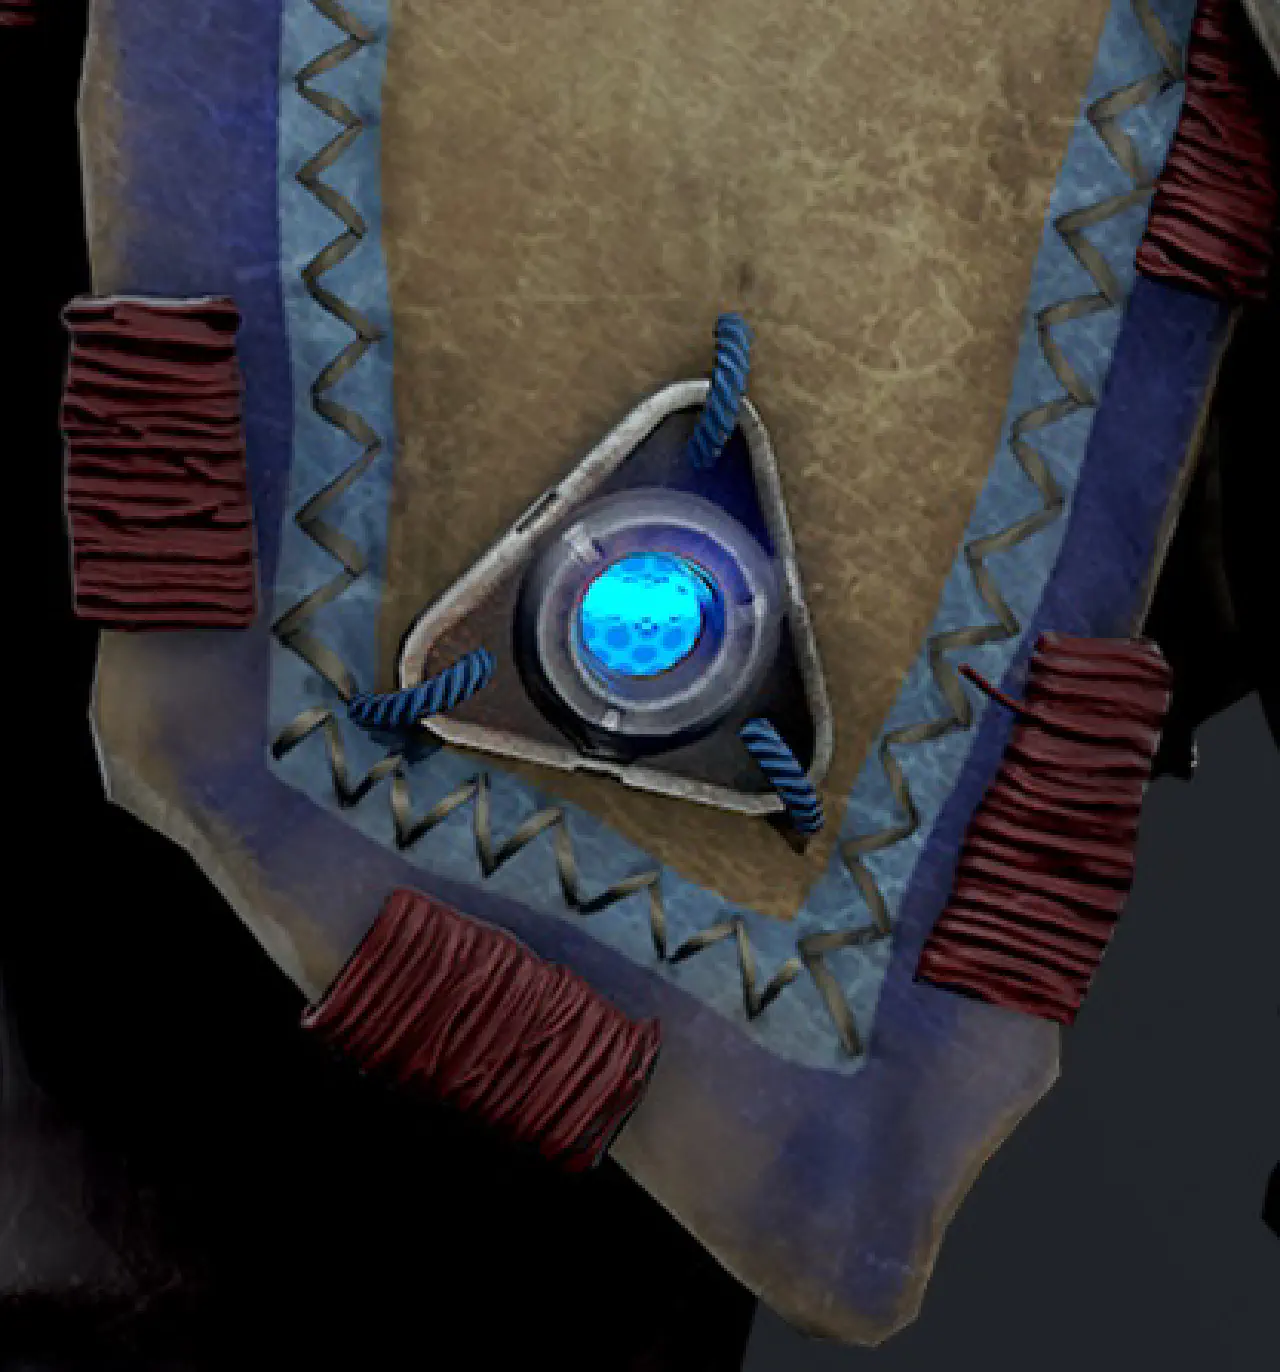
Painting the flaps did not go entirely to plan and I hit a few setbacks. Number one was that I did not adequately mask off the area, thinking a line of tape would be enough. It was only after I removed the tape I realised that the airbrush gives off a lot of vapour and that makes a very noticeable difference if one area has been taped and one hasn’t!
The second mistake I made was to do with the colour, I’d tested a small area and thought it looked good but when I compared it to references it was well off the shade I needed. Oop’s! That involved a complete repaint back to how it was before I started with the blue. Luckily it was the two smallest ones!
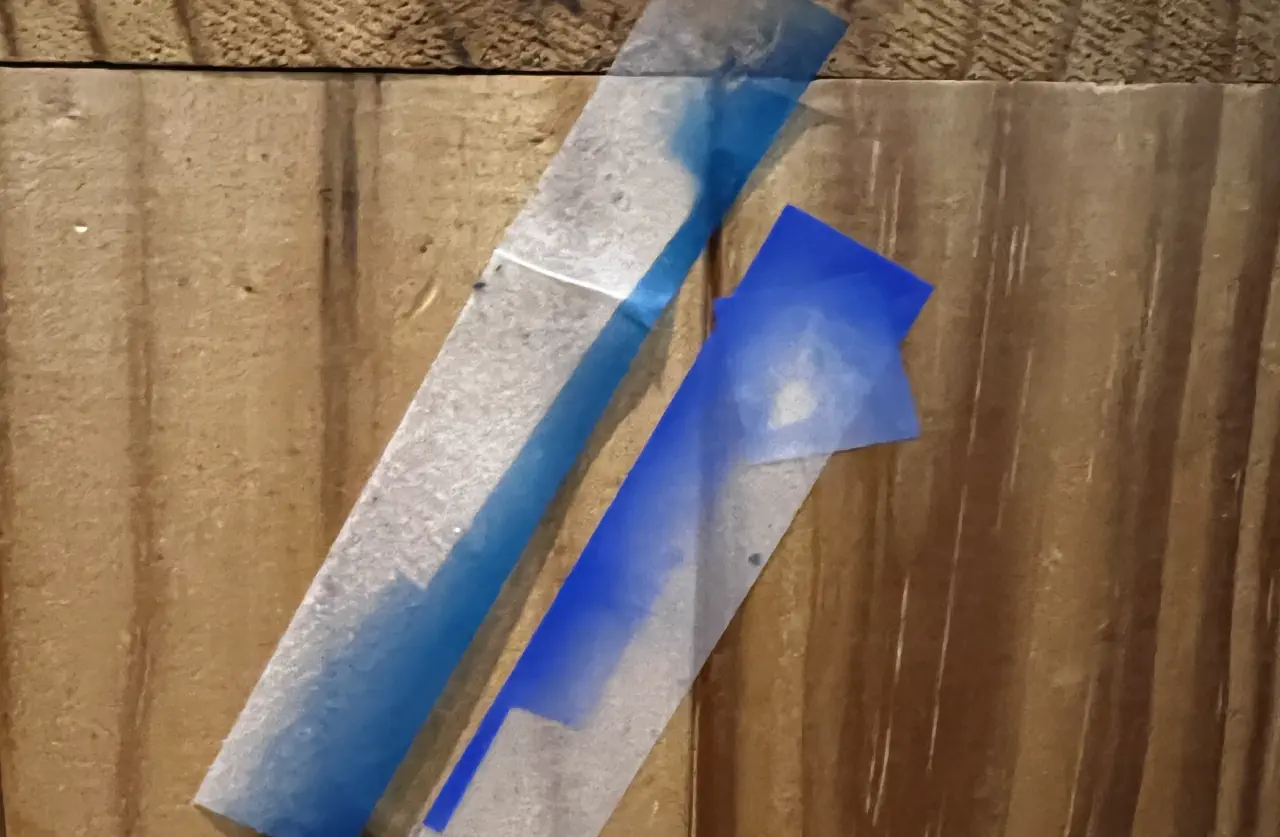
The old blue on the left, the new on the right
I was looking for something to use as a mixer when I discovered a bottle of Aqamarine Blue I’d bought for well…something. A bit of experimentation later and mixed with white it came close enough for me.
For the lighter blue stripe I masked off again, even more time consuming this time as I had to cover the centre and the outer blue. I checked my colours this time before I painted, opting to adding the aquamarine blue to white to get the right colour.
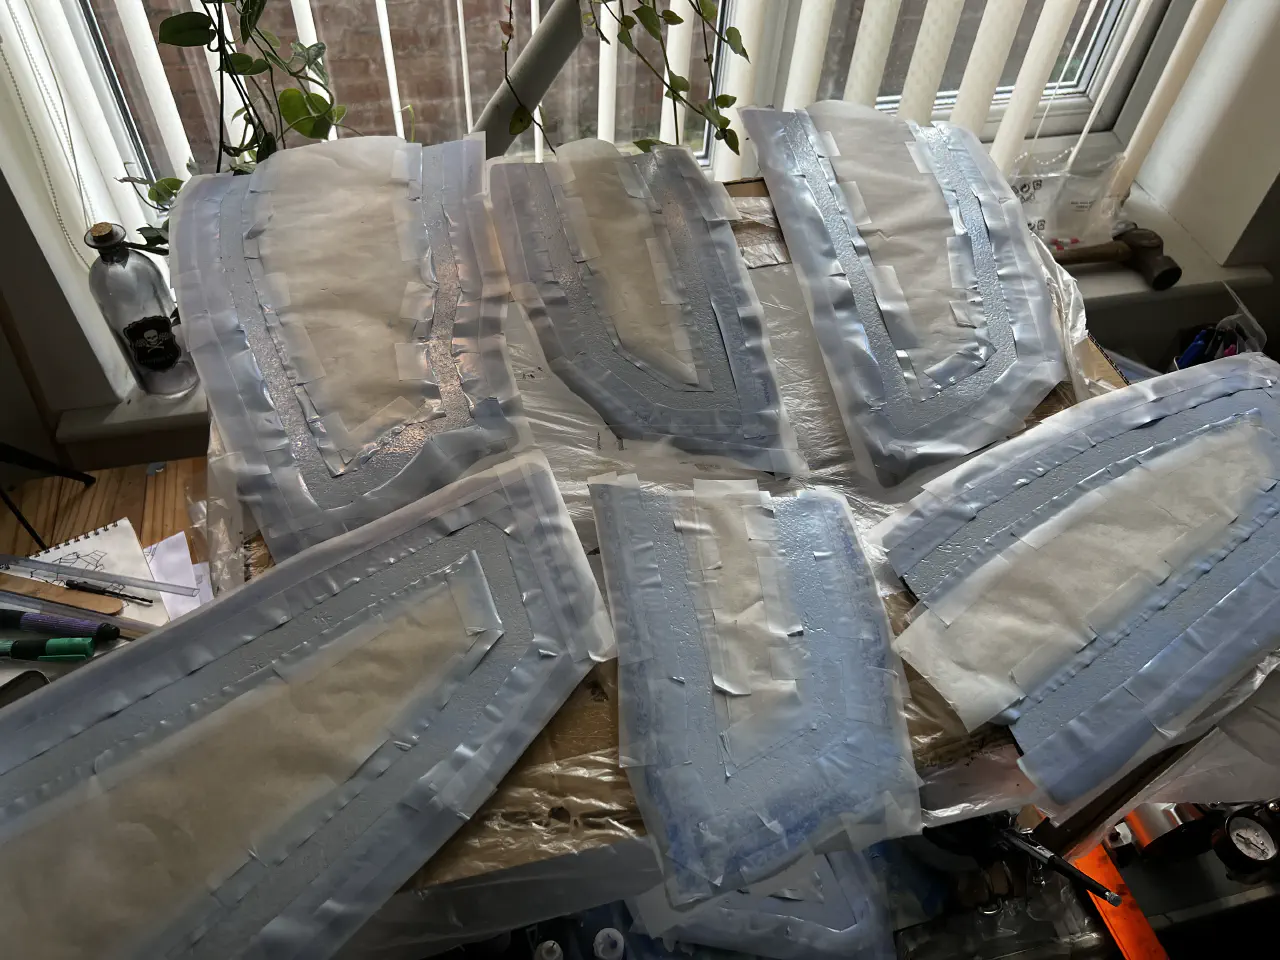
All that was left to do was to add some dark brown again to weather it, and then spray it with varnish. Now I’d like to say something about spray varnish: It is the most noxious thing I’ve dealt with in recent times. I mistakenly thought it’d be fine in my spray booth, but the vapour fills an entire room in the most obnoxious manner. I had to take a break in my bedroom until it’d dispersed a bit and I’ve made a note to only varnish outside.
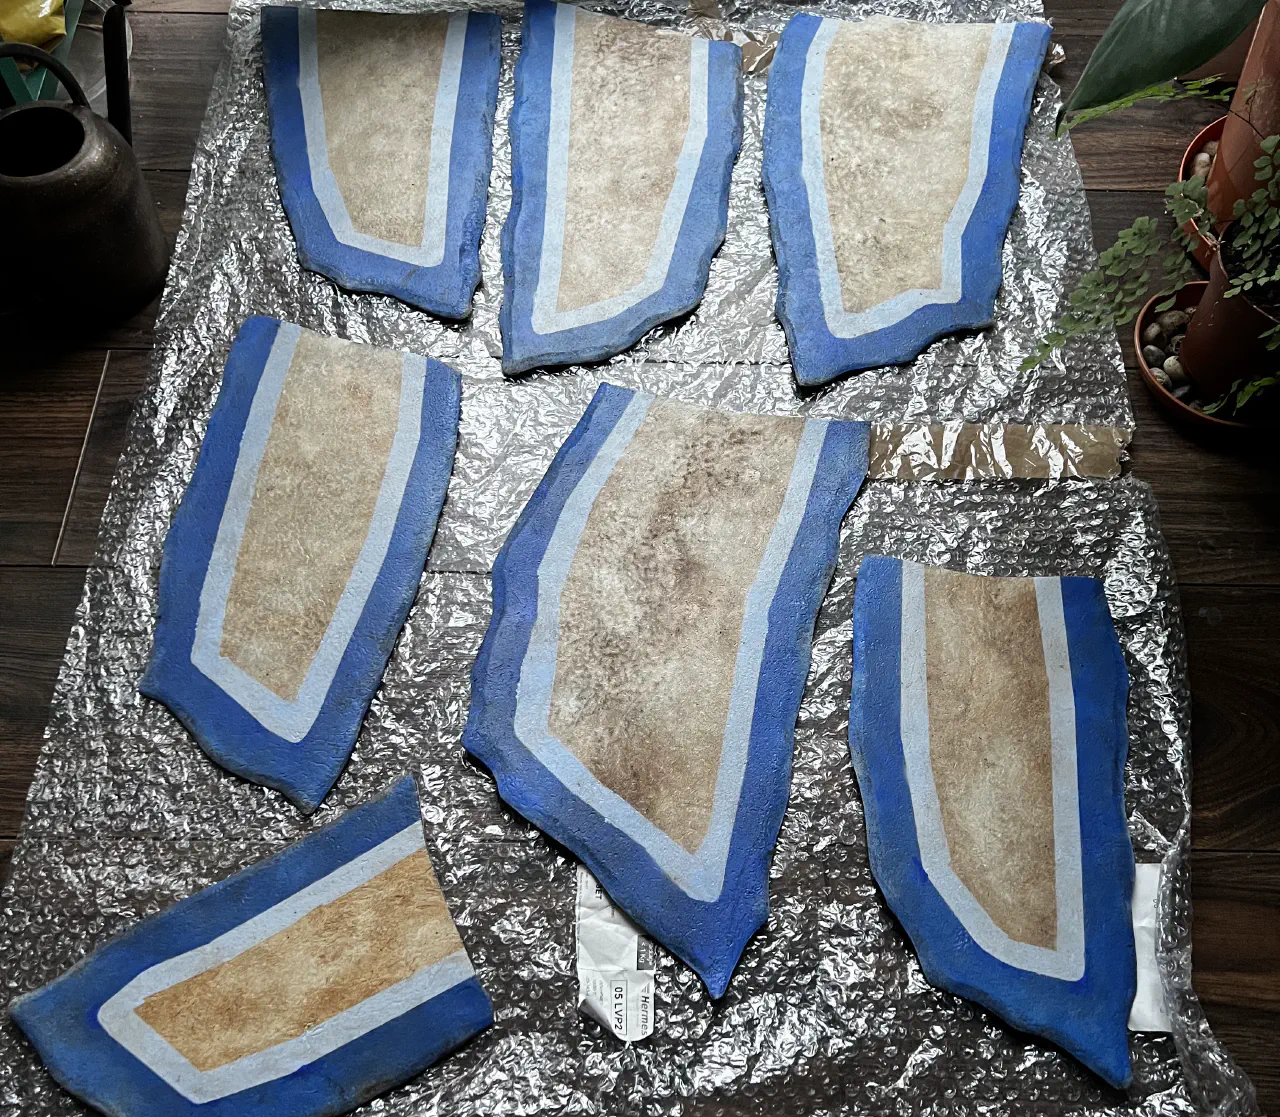
Colour matching my nemesis
Once the flaps where completed I started painting the armour. Me, feeling confident, mixed up a batch of light grey paint and happily started spraying. It was too light. So add a bit more black and off spraying again. Feeling pleased about how quickly I’d got it done I went back to check on my reference image and… The colour was of course wrong!
I’d mixed up a basic grey (just white + black) but looking at the armour the base is actually more an off white. After some thought I realised I had the answer already - mix white with titan buff (the off white used for the flaps) to create a light, off white colour that, thankfully, seems to come close to what I need.
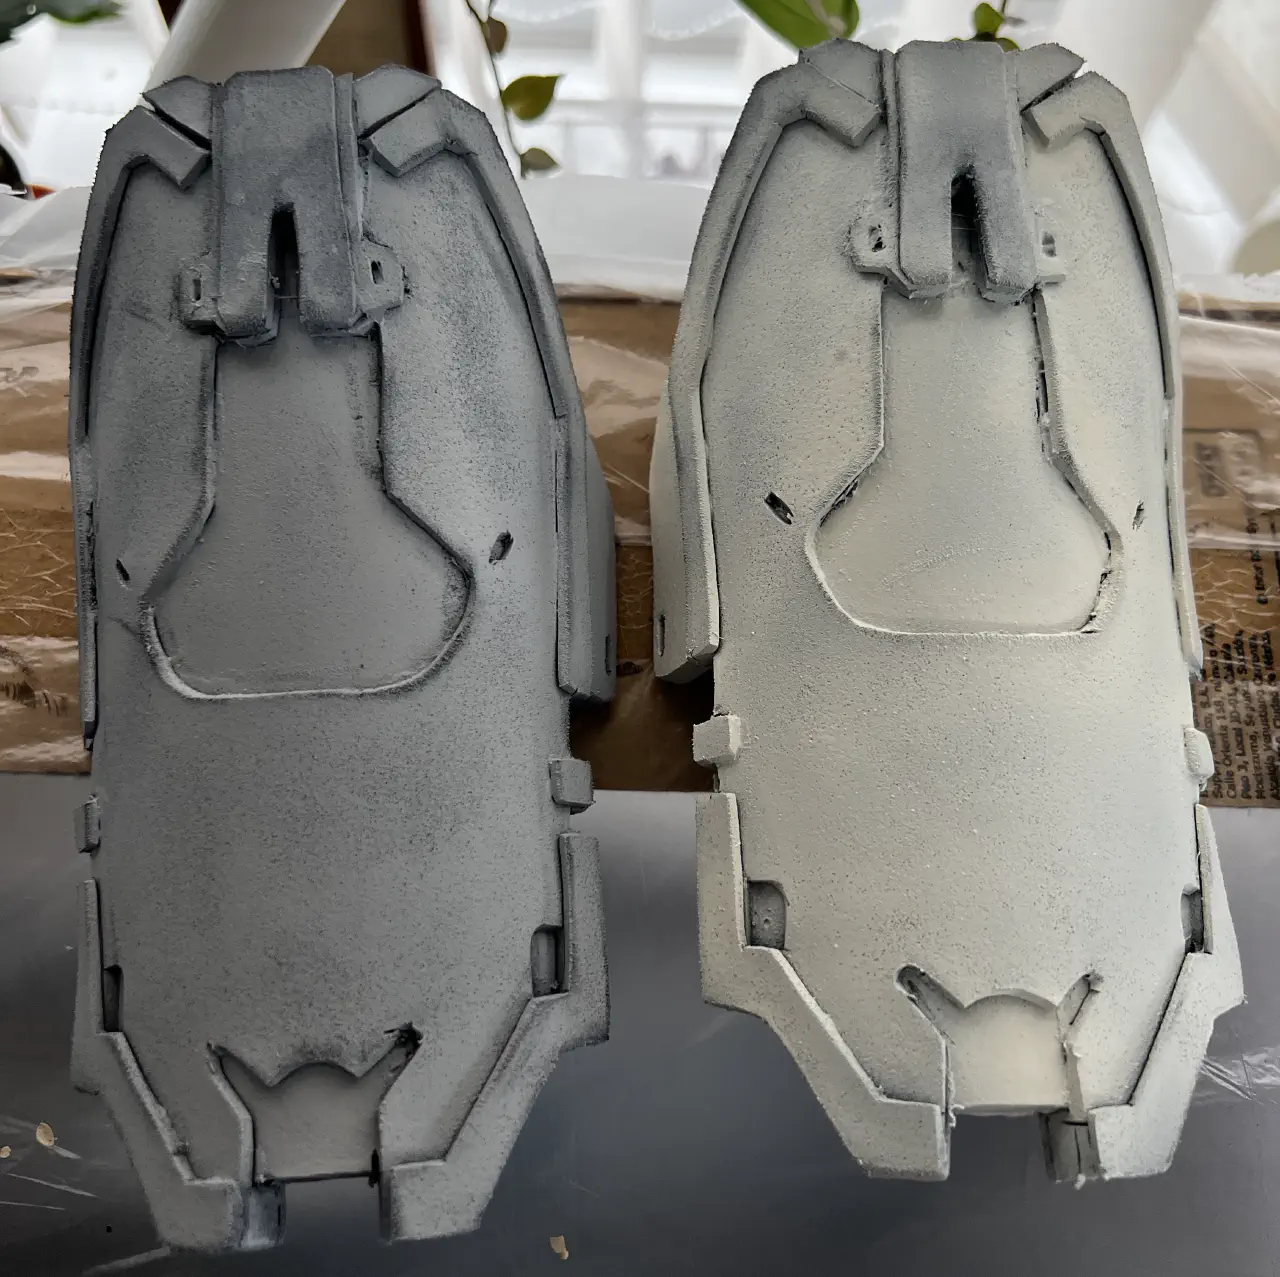
Old, grey paint on the left, newer and more accurate off white on the right
All the work wasn’t wasted though as the grey works as a great base for the new colour to go on. After a couple of days work (I get nervous at how hot the compressor gets for the airbrush) I’ve got all the pieces with three coats done and ready for masking off for other colours (mostly blacks, silvers and greys).
I’ve also put the first coat of paint on the black tubing for the torso, once that’s done I can move into figuring out just how I’m going to attach them!
The art of looking like an old coal miner

Part of what distracted me from making posts was getting consumed making the bow! I’d cut out most of the pieces in various bits of spare time during the week leading up to a bonus bank holiday weekend.
The war bow is a bit of an annoying shape with two holes in the handle. I wanted to reinforce the foam with wire, but the hole prevents me just running it straight through. I had to drill holes in my foam, threading the wire through and allowing it reinforce the loops. I did this on both sides as two bits of wire are going to be better than one.
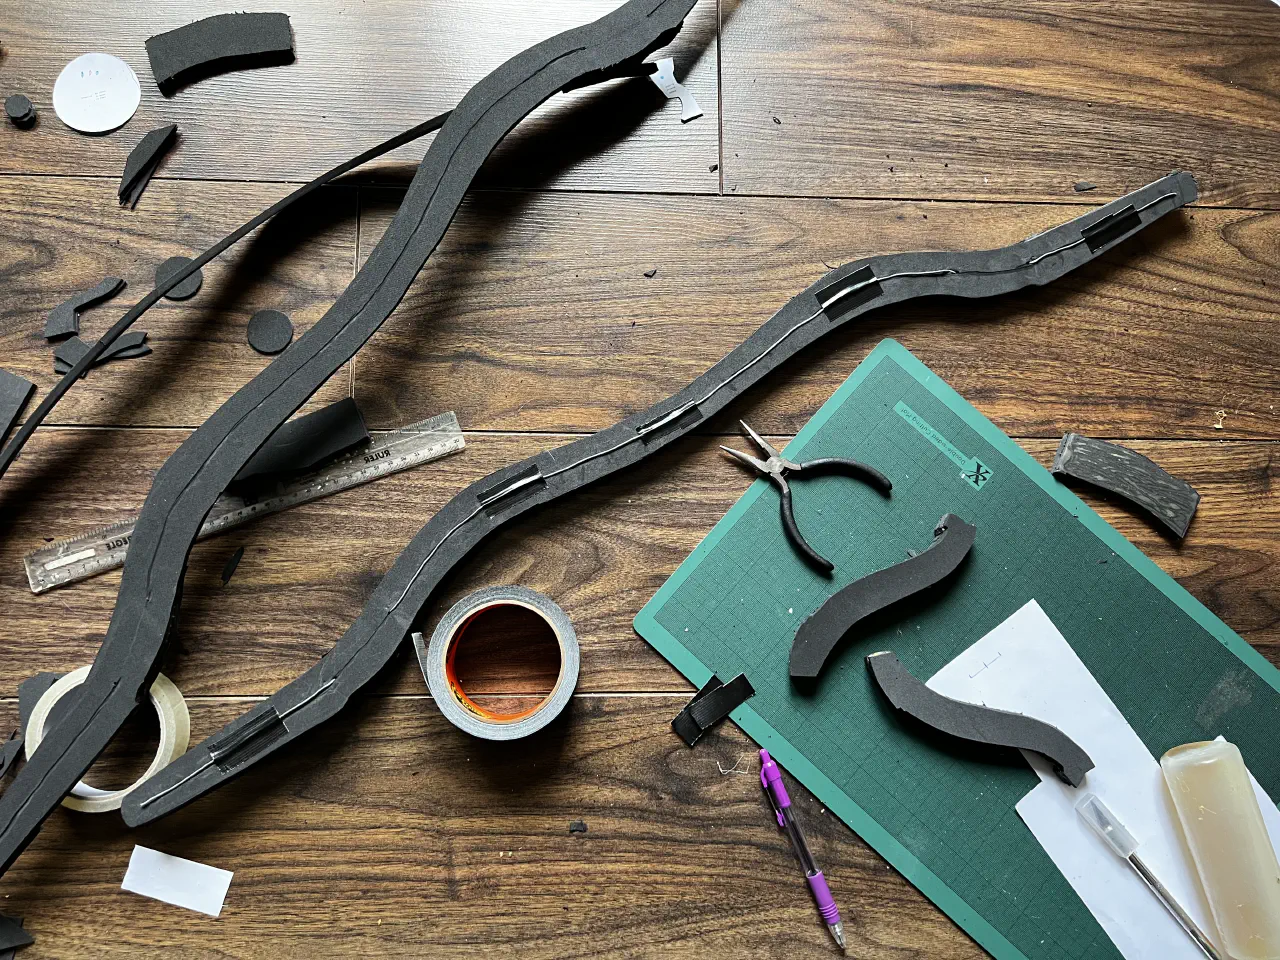
Once I had the basic layered structure I was able to start carving it from a block into something more like wood. I used my craft knife to cut it into the rough shape then used a lot of dremmling and sandpapering to smooth it down. By the end of it I was coated face and arms in black dust and was very grateful of my respirator!
The arms of the bow are mostly built as well with just a few last tweaks to be made. I had thought I’d need to reinforce these with wire too but it seems as if the structure is strong enough to hold the shape. Once everything is fixed in place I can reassess and reinforce if necessary.
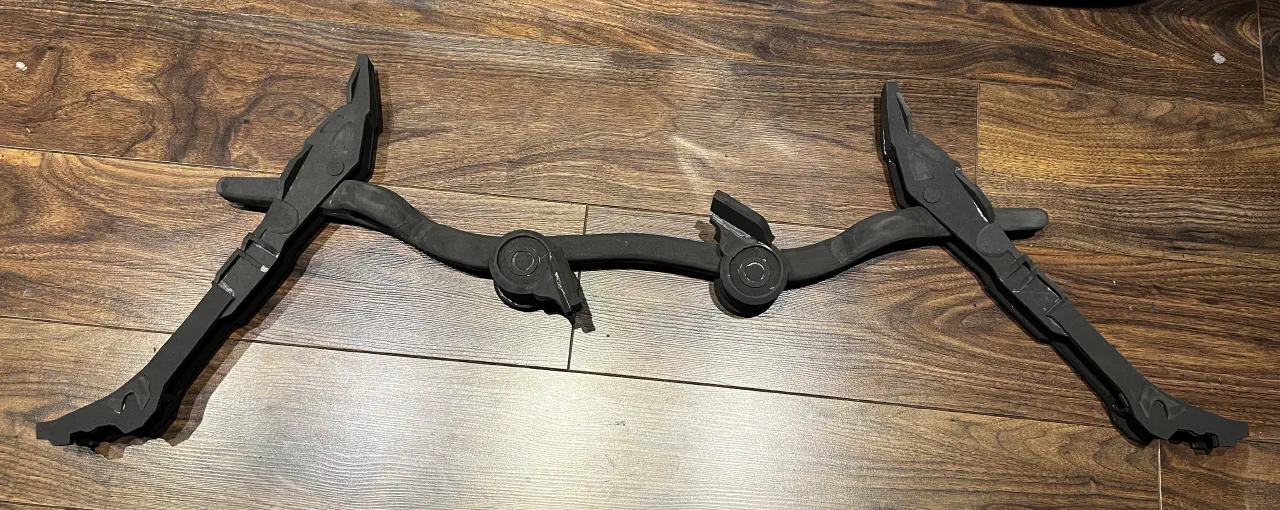
What’s next?
Next up it’s painting the other colours on the armour (blacks and dark greys and yellows) as well as priming the bow ready for it being painted too.
I’m also going to get the fabric side of things finished, I’ve been holding off because I’ve been concentrating on getting the painting done, but with time pressing on I think getting it done sooner rather than later makes sense. There’s only 4 weekends left for me to finish this!
If you have an questions or ideas for posts you’d like to see, send me a tweet @tjomas
Paint: the art of getting covered in it
TLDR; This week I cover myself in paint (not intentionally), finally get the templates for the bow printed and start making it!
Painting the flaps

I’ve made a lot of progress on painting the flaps, though not without a few mistakes along the way. I realised that I was diluting the paint a little too much and that’s why it took about 4 layers to properly cover it - the final layer went on much nicer than previously.
To give it a texture I had plans to airbrush on some dark brown. This however ended up looking terrible due to the regularity and evenness of the paints application. I tried brushing on and it didn’t work, but when cleaning said paint off I discovered that the mostly cleaned off and smeared paint looked perfect!
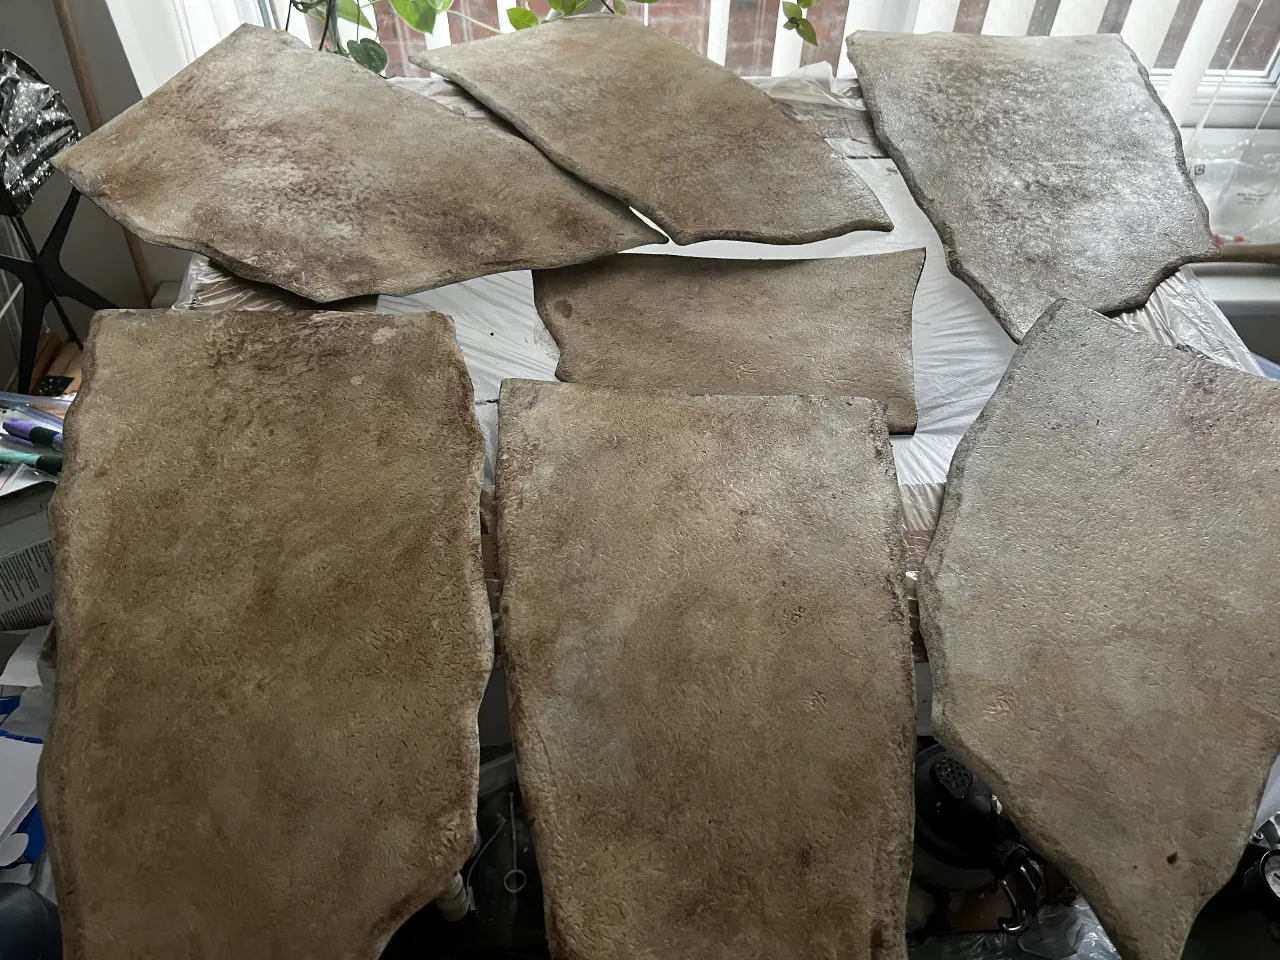
Once I’d suitably painted on and then wiped off the brown paint I shifted to painting the backs. I just repeated what I did to the front, though with less layers and using paintbrush, using the same paint on a wipe off technique for the brown to give it a similar look.
Build your own bow (some assembly required)

I finally printed out the templates for the bow, having taken the parts from the trace document and copying them over to a couple of much better organised files for printing. I’ve colour coded them this time too, since sometimes a part is needed in one of the three different thicknesses of foam I’m using for it.
I’ve decided to reinforce the handle with wire to give it a little bit more stability, though the 10mm foam I’m using is pretty good at holding shape. I’ll probably use some wire in the arms as well, though I’m not sure if that is needed yet.
Makeup!
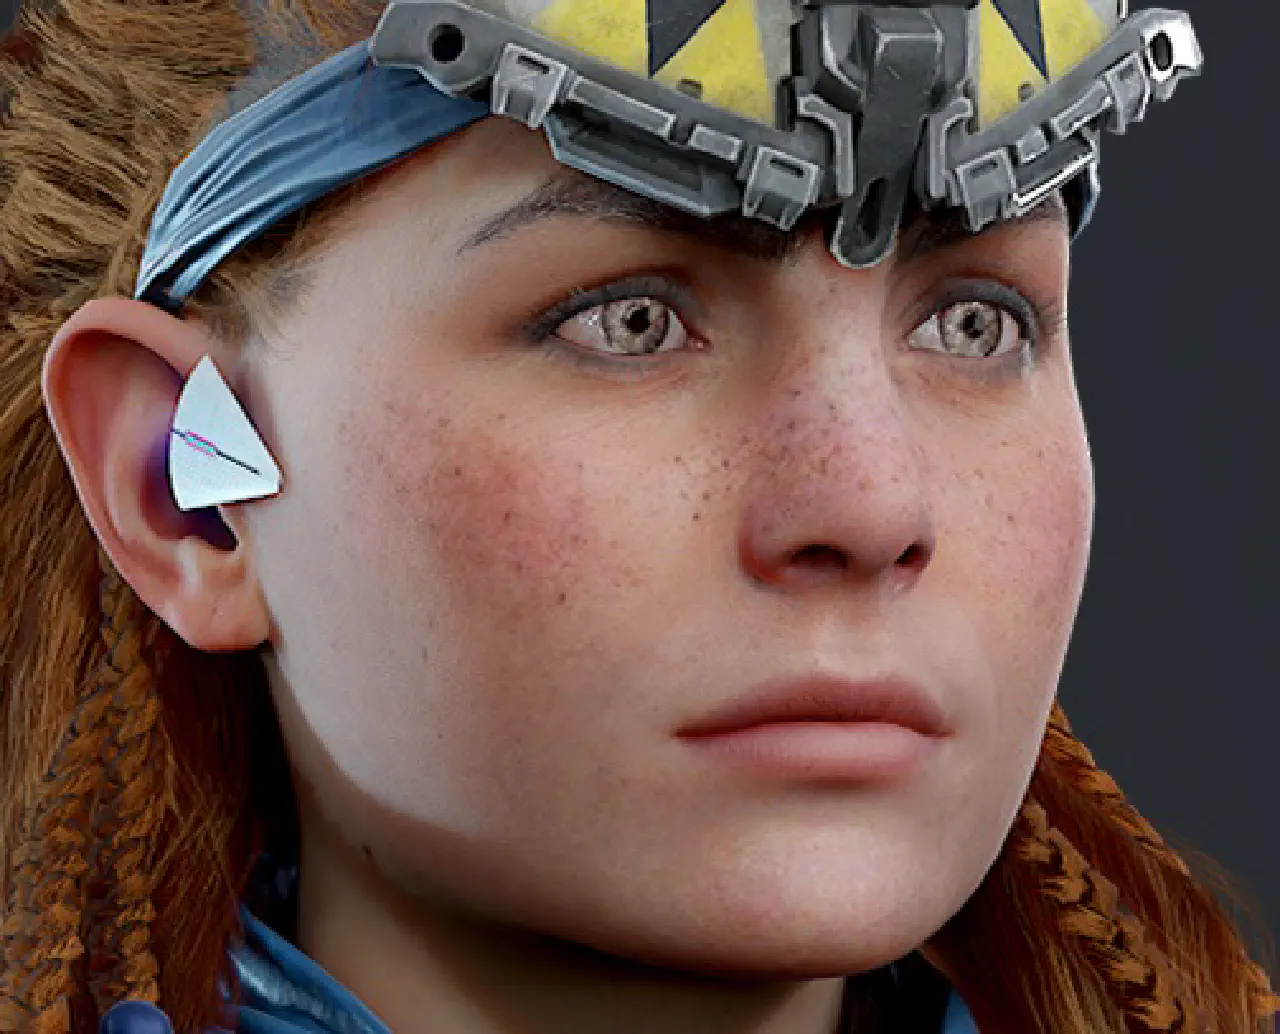
I’ve received some much needed advice on makeup from a friend (Thanks Cy!) and changed my approach. I’m going to use a primer and a tinted moisturiser rather than foundation which eliminates trying to work out which of the many shades is the right one for me!
Hopefully I can put some time aside soon to watch the videos I’ve collected and do a makeup test! I’ll probably wait until I’ve got the wig done, which is another fairly high priority in case I need to adjust things.
I also bought myself some green contact lenses that arrived yesterday. Finding a place that does a good selection of coloured prescription contacts is difficult, but a friend long ago recommended PinkyParadise. I’ve never had any issues with with any of the 4 or 5 pairs I’ve bought from them, so I can pass along the recommendation.
Electronics
The electronics have all been shipped out and are arriving, I just need to get some wire to join them together. I’ve discovered some good YouTube videos and a couple of articles that should allow me to get a little more out of the battery too.
What’s next?
More painting! I need to get the flaps finished, then move onto everything else. In theory these are less complex as they’re mostly either light grey or black so I should be able to fly through them like I did when priming.
Once the flaps are finished being painted I can start adding the cord details to them, which is why I wanted I gave them priority over the rest of the armour pieces.
If you have an questions or ideas for posts you’d like to see, send me a tweet @tjomas
Prime time viewing
TLDR; This week I prime everything I can get my hands on, sew some fake stitches and attempt to get templates finished in time to make a bow!
Priming
Previously I’ve used a number of techniques to prime my foam projects for painting. I started way back with watered down PVA glue (don’t do this, it’s really ineffective), moved on to spray cans of Seal Prime (not especially cost effective, the fumes are not good for an enclosed space), tried painting Seal Prime (as above, but it destroys brushes so counteracts it being a bit cheaper) and then moved onto HexFlex, but painted on (pretty good, but coverage is not as good as the airbrush in small gaps).
This time I’ve used my new airbrush and let me tell you, it’s so much quicker and gives a much better surface! Once you’ve thinned out the HexFlex with airbrush medium (I think my ratio is roughly 1:1.6) it goes on with a good coverage, though you still need three layers at least. Over large areas it’s comparable to using a brush, but with more complex shapes it beats the brush for speed and coverage.
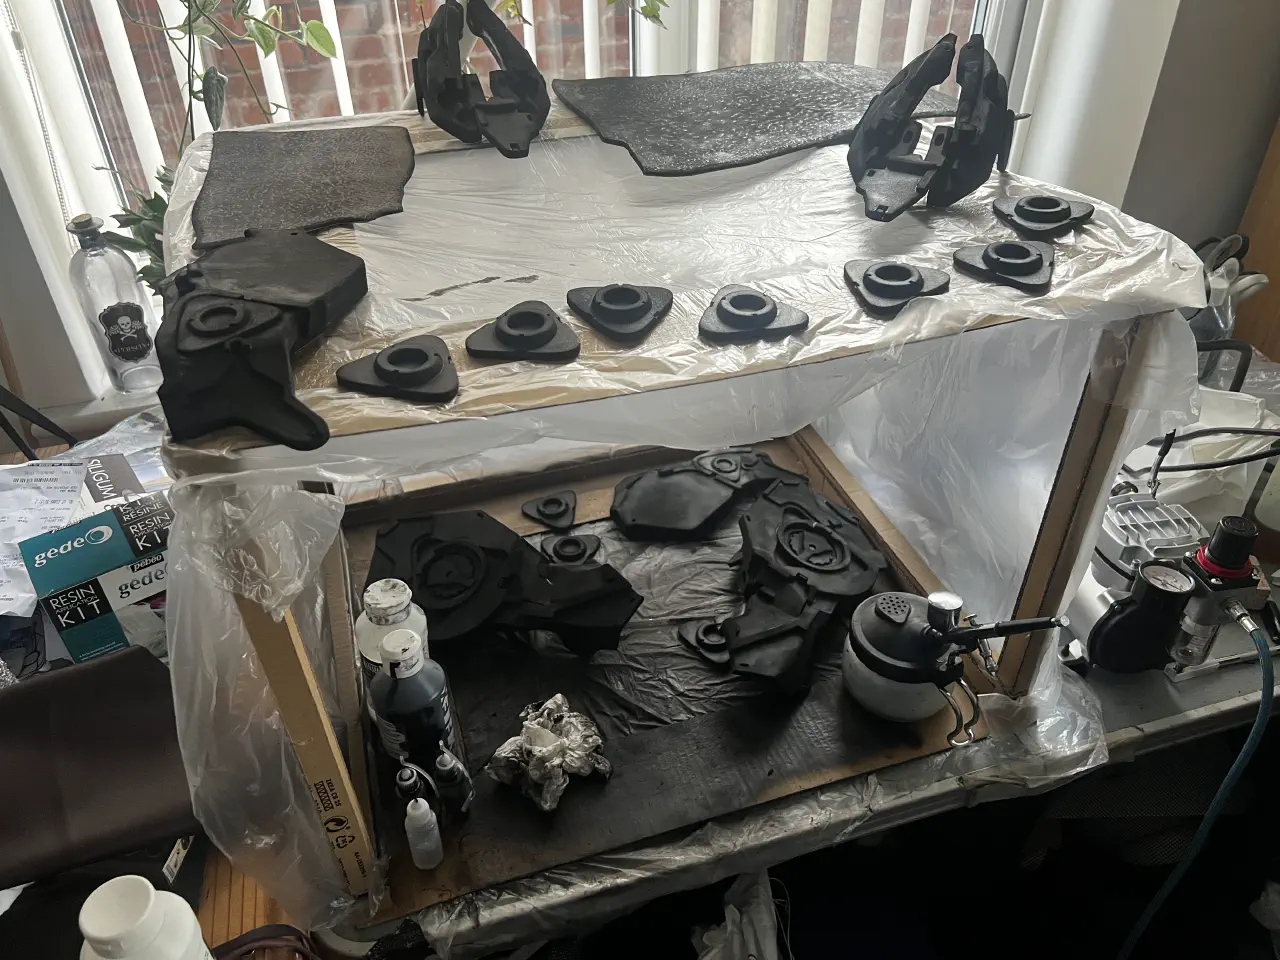
I’ve built a little cardboard enclosure to contain the spray droplets, and highly recommend wearing a mask. Ventilation isn’t the best where I have it and you get a lot of vapour given off when using the airbrush. This isn’t a problem if you’re brushing on, so if you don’t have the space or resources to make a little spray cabinet, stick with that.
Painting the flaps

Since the flaps have a whole bunch of post-paint threading to do I’m prioritising them so I can work on the details in spare moments. So far they’ve had two layers of titan buff applied as a base, but they’re going to need a third or maybe fourth layer to get a good enough coverage. I’m regretting spraying over such a large area as it’s difficult to cover things quickly and evenly. My plan is just to paint the other side with a brush like I did with the primer as it’s not going to get seem that much so loss of detail isn’t as important.
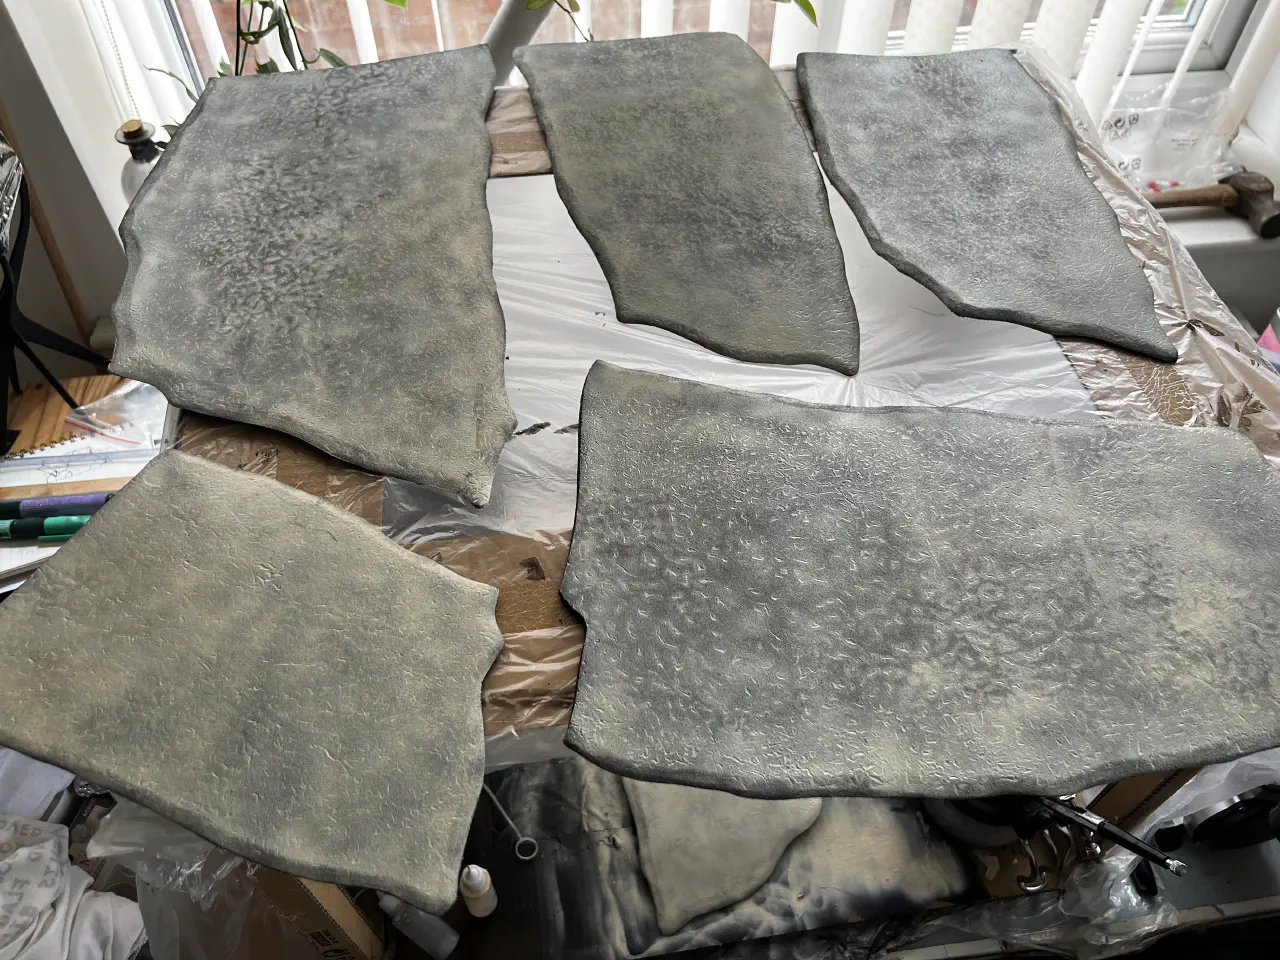
I’ll be building on this by overlaying a brown (maybe burnt/raw umber) to add to the dirty look and then doing the two shades of blue.
Pouches + quiver
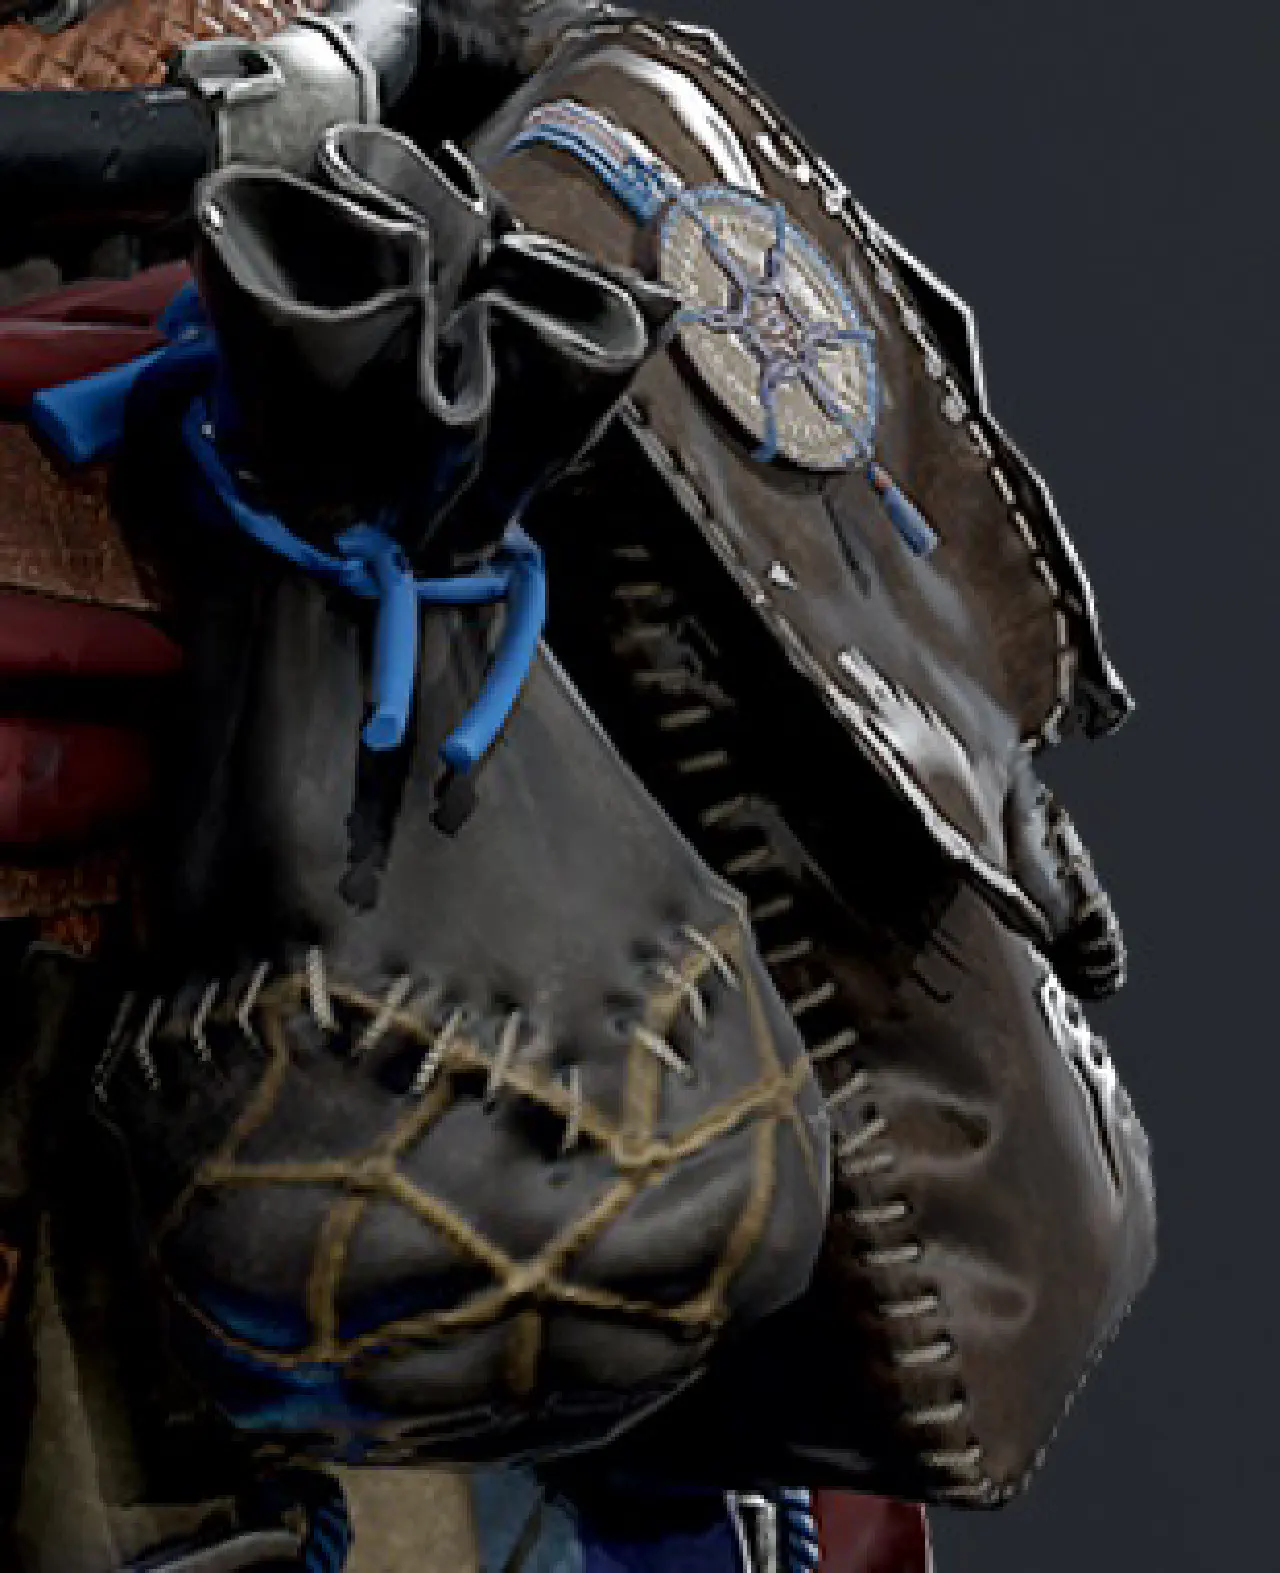
Detailing on the pouches and quiver are finished! The embroidery thread looks great, I used a single thread for the pouches but doubled up to create the thicker looking threads on the quiver.
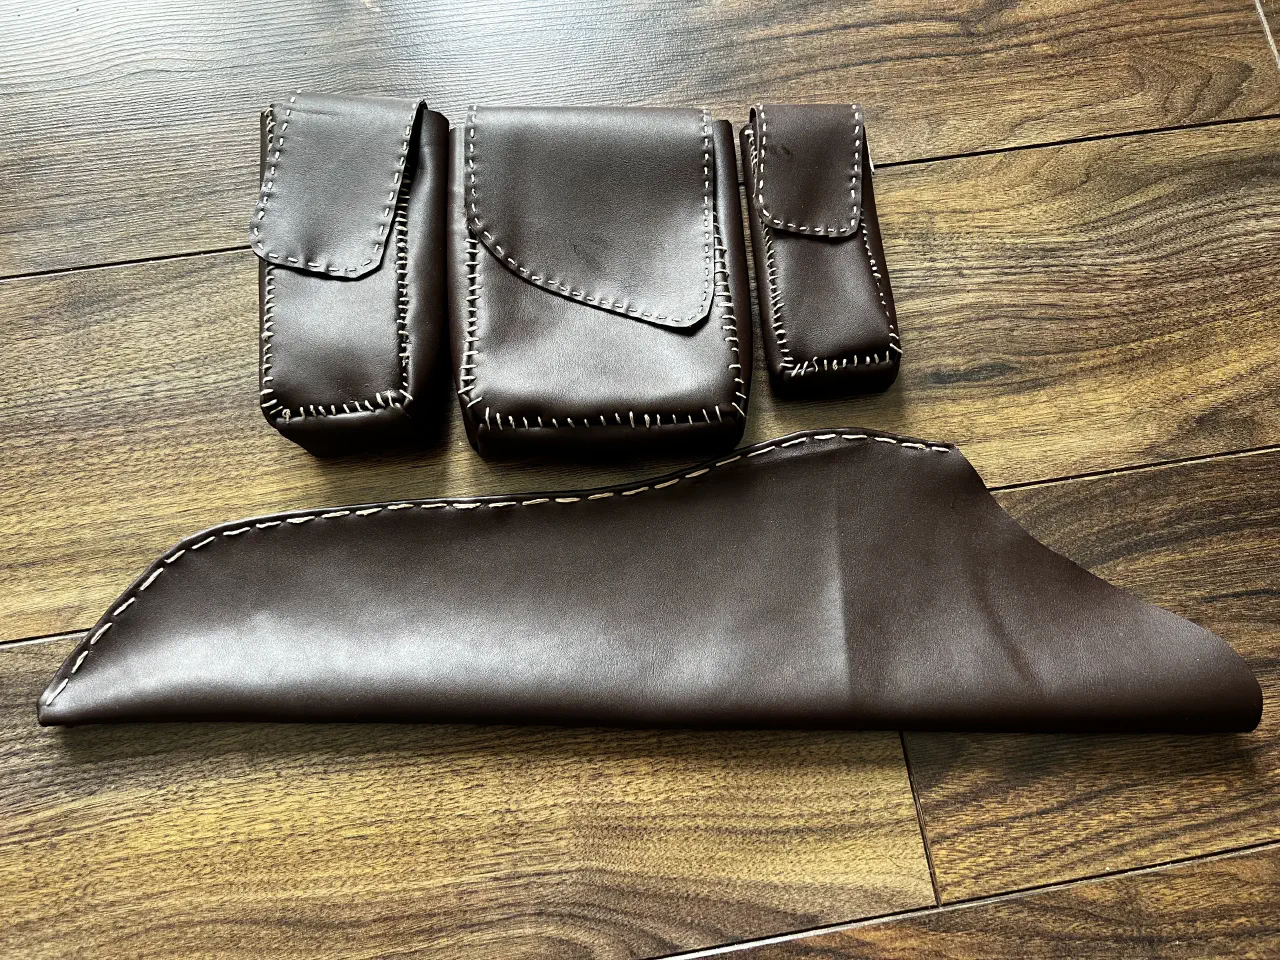
There’s a small coin like decoration on the first pouch that I’m going to use some 2mm foam and coloured embroidery thread to make.
Shoes
I finally remembered to get some duct tape so I was able to get started making the templates for the shoes I’m going to wear. I’m using some very simple skater-style shoes as the base, with the plan being to cover them in the same faux leathers I’ve already used and hold them in place with elastic.
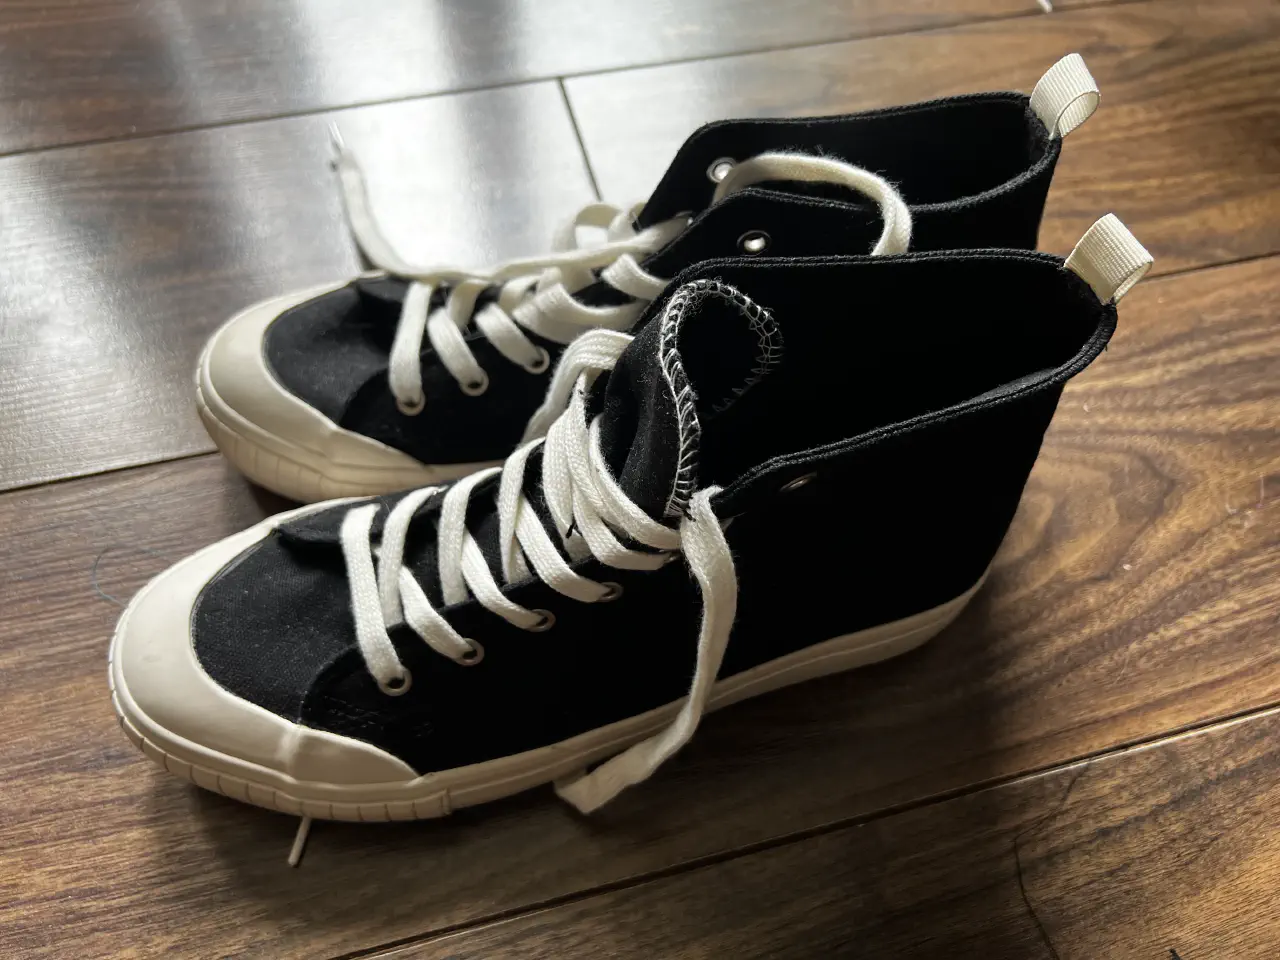
To make the templates I first put on the shoe before wrapping it in cling film. The cling film serves as a protective layer and makes it easier to separate stuff later. I then tore off bits of tape and tried to keep it as close to the shape of the shoe as possible. Once I had a foot wrapped in tape, I drew on the basic shapes of the pattern.
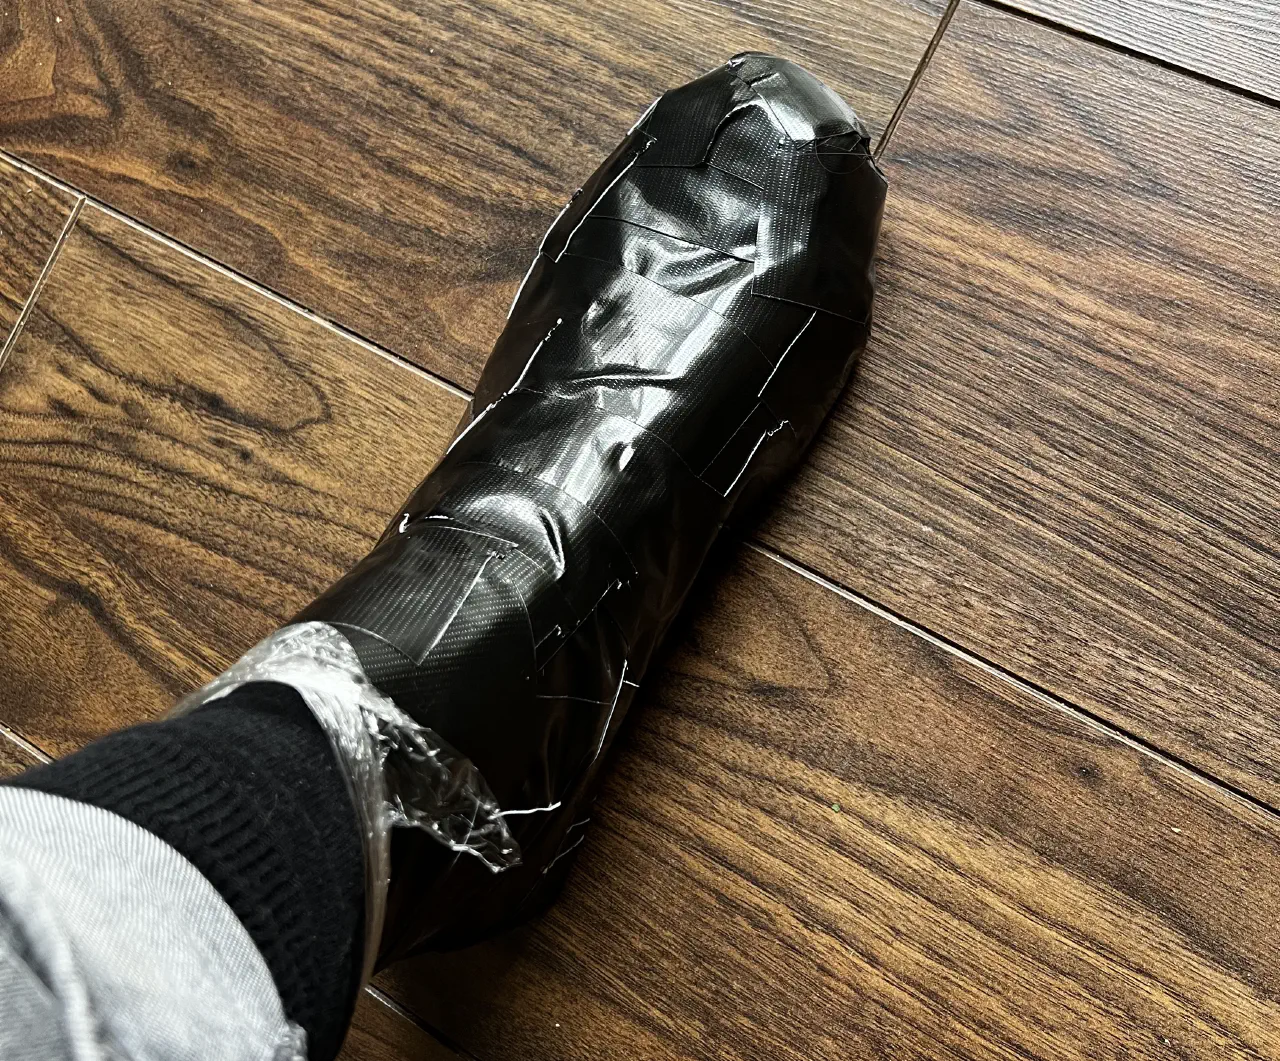
I then used some scissors to cut the template up, realising quite quickly I shouldn’t have used such tough tape 😆. With the templates cut out (and my foot now free) I could flatten them out (adding a few small cuts) which will be transferred to fabric and glued together to form a shoe shape again.
Bow-gress update

I’ve added a lot of notes to what foam is needed and started to re-arranged for printing purposes. I might end up copy-pasting into a new files just to tighten up spacing and ensure I’m not wasting paper. There’s a few minor bits more to template up, but hopefully I should have things printed by the weekend.
Makeup!

Behind the scenes I’ve been watching Youtube videos and reading articles to figure out how to create Aloy’s look. That’s culminated with me putting in a bunch of orders for everything I (hope) is needed. More updates on this once I’ve got everything! I’m dragging a couple of friends out to shop for foundation this week as it’s the only thing I’m not sure on and that needs to be right for everything else to work.
This bit is something I’ve not got much experience in, mostly just from doing the makeup for my Caduceus Clay cosplay, so I plan to do a lot of practice to make sure it doesn’t take hours in the morning to get ready.
Electronics
Another thing that I really want to do is add the glowing LED elements to the outfit. However, I’m not just satisfied with that, no not at all. What I’d really like is that if I could set it up to do the red flashes that indicate the shield is offline!
This involves using an Arduinio, that much I know, but little more than that. I’ve spent some time collecting resources, watching videos and have a list of components to purchase. I need to check I can trigger using a button, but after that I’ll get the components ordered so I can start experimenting.
What’s next?
I’m going to continue to paint the flaps and purchase the other paints I need this week after I did some research on the best colours for the different elements. I’m also going to continue to work on non-paint elements, so things such as the hair and shoes. Once I’m happy with the electronic components I need I’ll get them ordered too. Lastly I’ll be trying to get the bow templates printed and the foam cut out so I can start assembly ASAP.
If you have an questions or ideas for posts you’d like to see, send me a tweet @tjomas

 Instagram:
 Tumblr: