3D printing chainmail (because I’m cheap)
I’m currently working on a costume that needs chainmail sleeves. I’d previously cheated and used spray painted knitted fabric (as used in many prestigious shows, such as monty python), but it’s very obvious that it’s just fabric when you take more than just a glance at it. So off I went to the internet to research what my options are.
- Buy some actual metal chainmail. It’s only used in one cosplay and I don’t plan on building more armour/going to LARP, it’s a bit too much. They don’t just sell sleeves so I’d have to invest in a chainmail shirt, which is going to set me back at least £70+ for the cheaper options.
- Buy some rings and make the sleeves. Cheaper than buying a full pieces, but time consuming and you’ve got to buy the right tools. If I can get away with not doing work I will 😂.
- Buy a sheet of foam chainmail. Laser cut sheets of EVA foam just need slotting together and spraying the colour you need. The downside are there are few places selling it and larger sheets start to add up in price. They do look surprisingly good, and if you have a laser cutter the company that invented it sells the patterns1.
- 3D print the chainmail. If you read the title of this you know this is what I picked! Only cost effective if you have a 3D printer already. Don’t go out and buy one just for this.
Experiments: Part 1
The first model I found was an amazing design from Propsmaker2 on Cults3D. It looked perfect, one whole sleeve that just needs printing and then unfolding, with all supports etc designed in. I chose silver Polymaker PETG as the filament as it has better UV, impact and temperature resistance than PLA, so I thought it’d be perfect for this purpose. The instructions did stress the need for a 0.3mm layer hight, something at which my printer with it’s standard 0.4mm nozzle warned me was not entirely supported. I got a successful print of the calibration model, so I thought I’d be set for the full size version.
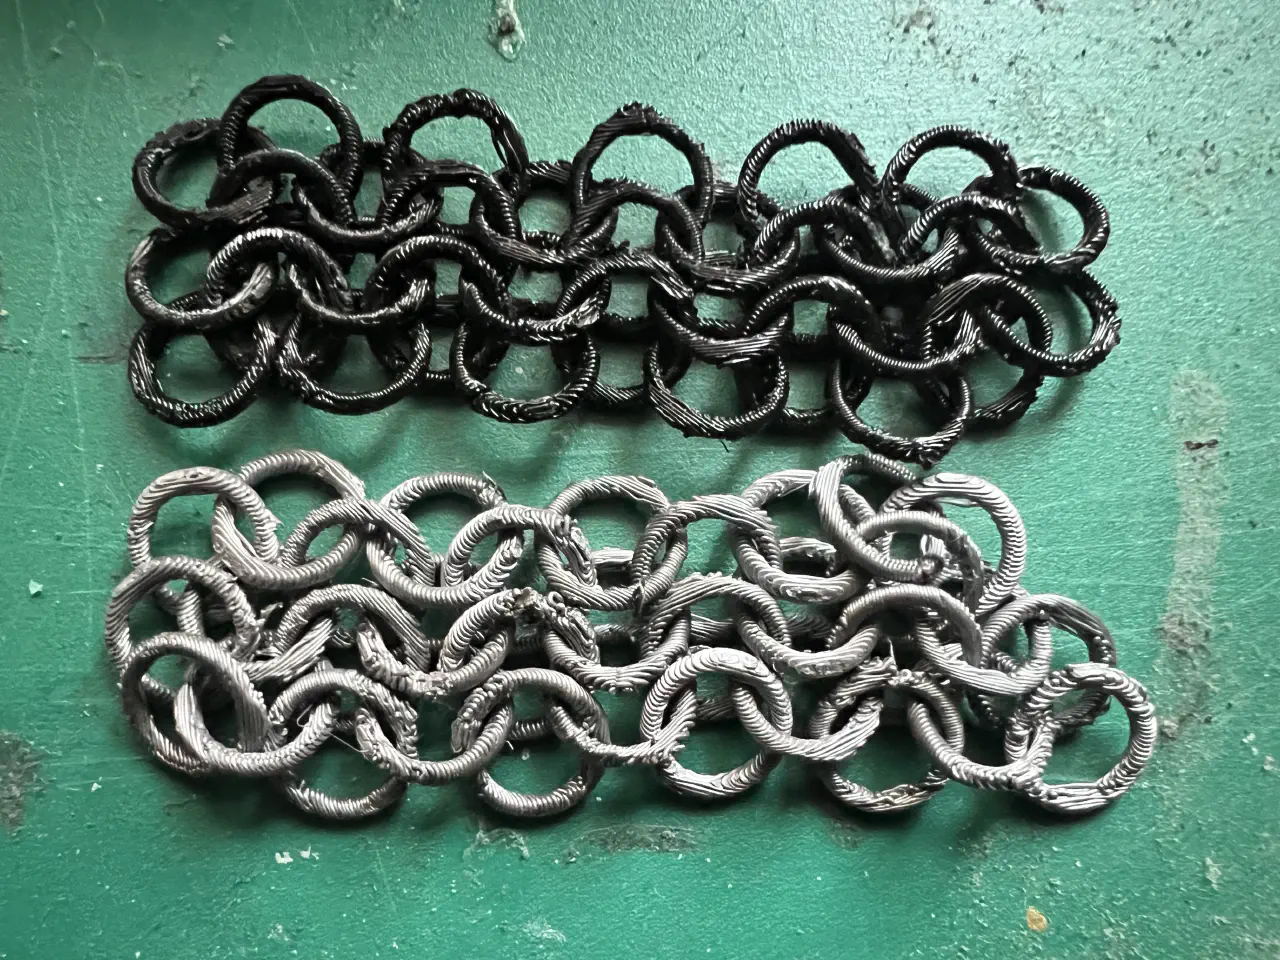
I tried with my existing black PETG first, you can see the shifts caused by the PETG flexing over each small link.
The full print did not go well. It’s a 23hr(!) print and incredibly delicate. The design is stacked, so one ring failing will affect the rings above, thus ruining the print. Which happened 3hrs in, with two separate locations having rings torn off by blobbing (remember this blobbing issue, it’ll come up later!).
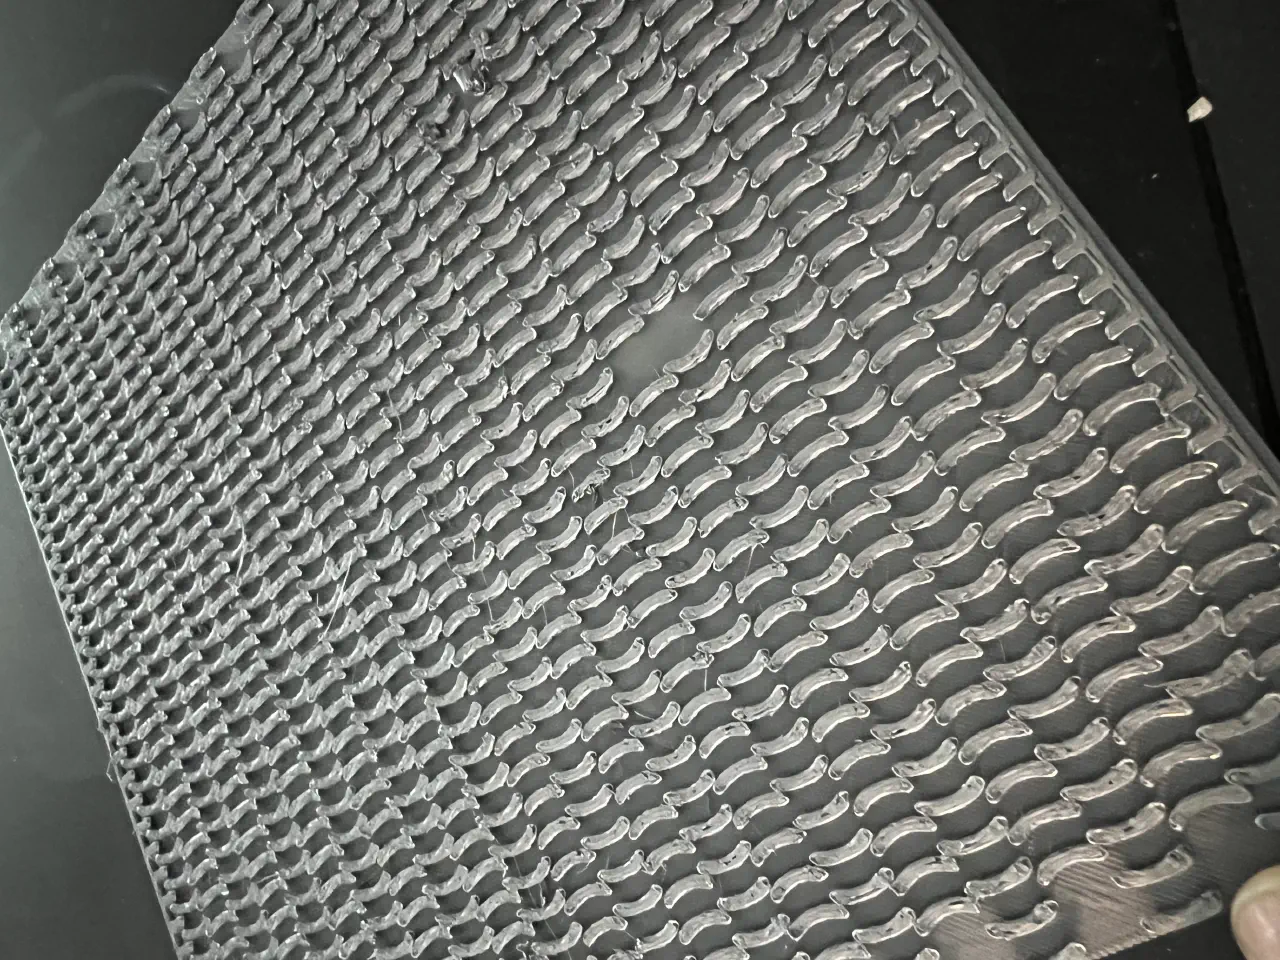
I realised that if there’s a chance that if it fails at any point that’s potentially ~22 hours wasted, and I did not have the time to properly calibrate the printer to ensure this beast of a print had the best chance to succeed. I decided to go back to the drawing board and see what alternatives where out there (as I’d need to order them quickly).
Experiments: Part 2
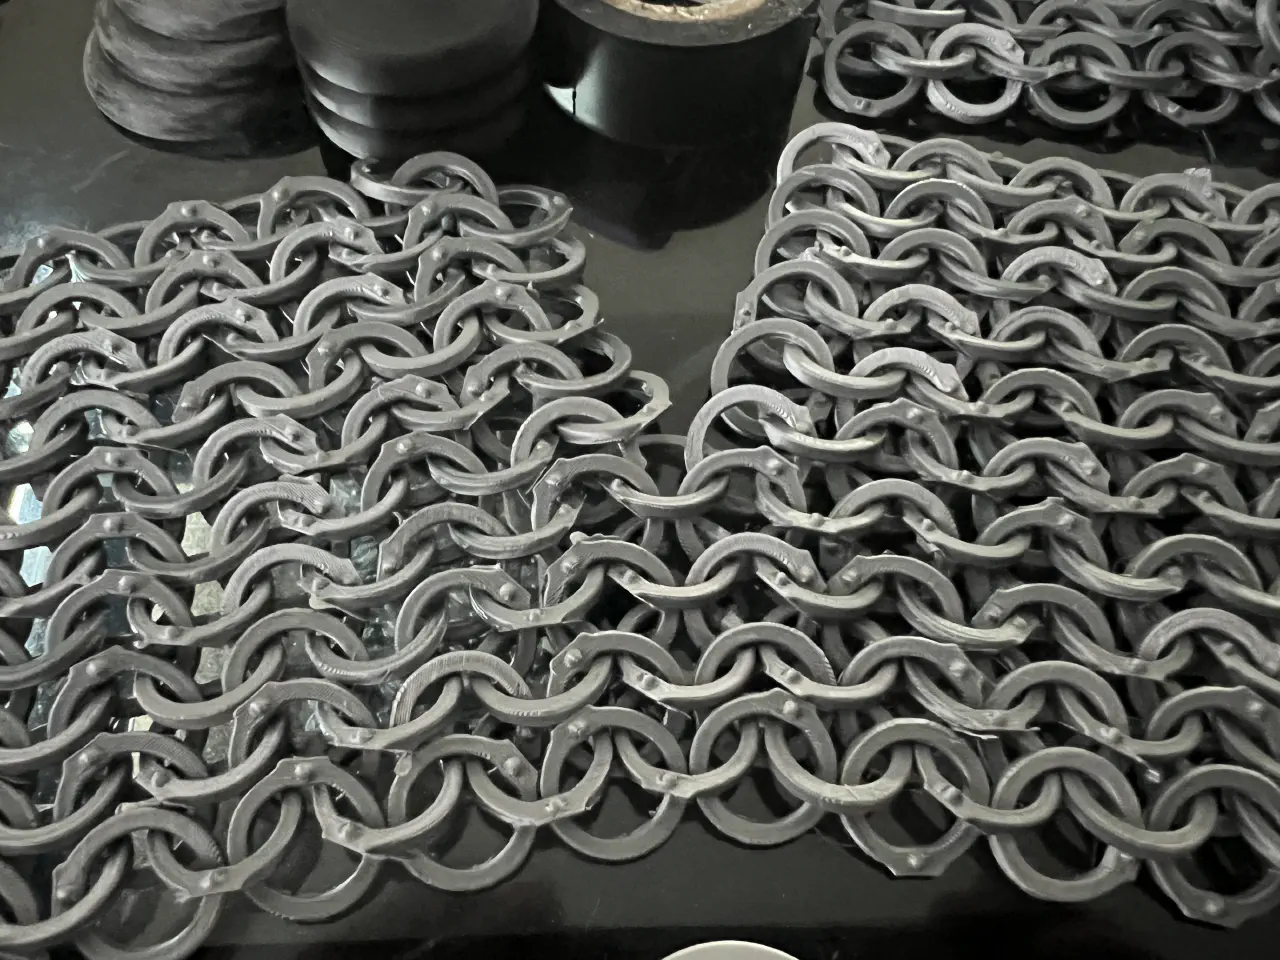
I stumbled across design number two purely by accident as I was at this point considering foam chainmail. The model, by savingthewow3 on Etsy, is chunkier and with flat, riveted style rings. It’s also a single layer, so no worrying about single ring failures taking out the entire print.
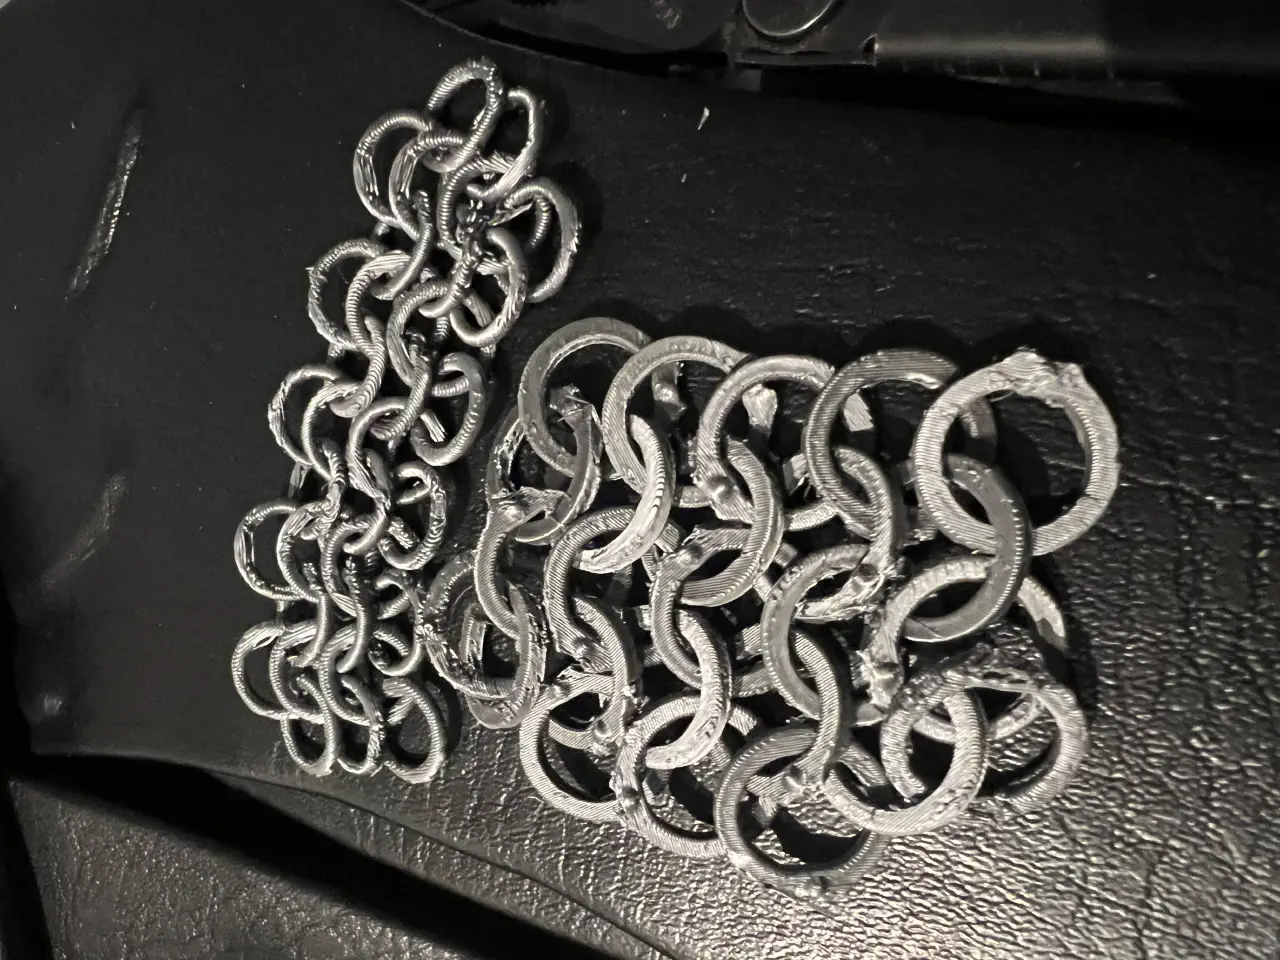
You can see how the new models links are double the radius and much thicker, making them less flexy when printing.
Unlike with the previous model I need to do multiple calibration test prints to figure out the best settings. I started first with the suggested options, and then slowly removed things I didn’t think I’d need. I’ve got a good printer (Bambu P1S) so I know I could take advantage of that to remove a lot of “safety” structure. I lowered the resolution to 0.2mm (still looked fine), replaced the raft with a brim (easier to remove, unnecessary with an auto levelled bed) and reduced the support angle back down to 30 degrees to get rid of a lot of extraneous support.
This design has a much shorter print time (~4:45hrs vs ~23hrs) at the expense of it being only 15x8cm. This means that overall it’s going to take much longer to print all the sections I need, but with the upside that if one fails I’ve only lost (at max) 5hrs of time.
Whilst I was able to complete a couple of prints, I was finding that it was blobbing heavily on the lower sections of the rings. Filament was then sticking to and slowly building on the nozzle, risking tearing rings off. I had to repeatedly pause the print to clean it, which is less than ideal. I spent some time attempting to calibrate it (only to find out the settings I use are actually correct), as well as printing other parts for the project which came out perfectly thanks to the new settings. The conclusion I drew was that PETG was the wrong filament for this model, bringing out all its worse aspects.
Experiments: Part 3
I know the model prints, just not well with PETG. So what if I try PLA? I’d initially discounted it for strength reasons, but maybe a PLA+ could mitigate this. Much to my annoyance, the first print using some Bambu PLA Basic came out perfectly, zero issues. It may have looked odd, being a green filament, but the bridging issues had gone and it was much smoother. I purchased some silver PLA4 rather than spray the existing green filament (which would have looked odd when the paint wore off), and have so far managed to print the section multiple times with no issue.
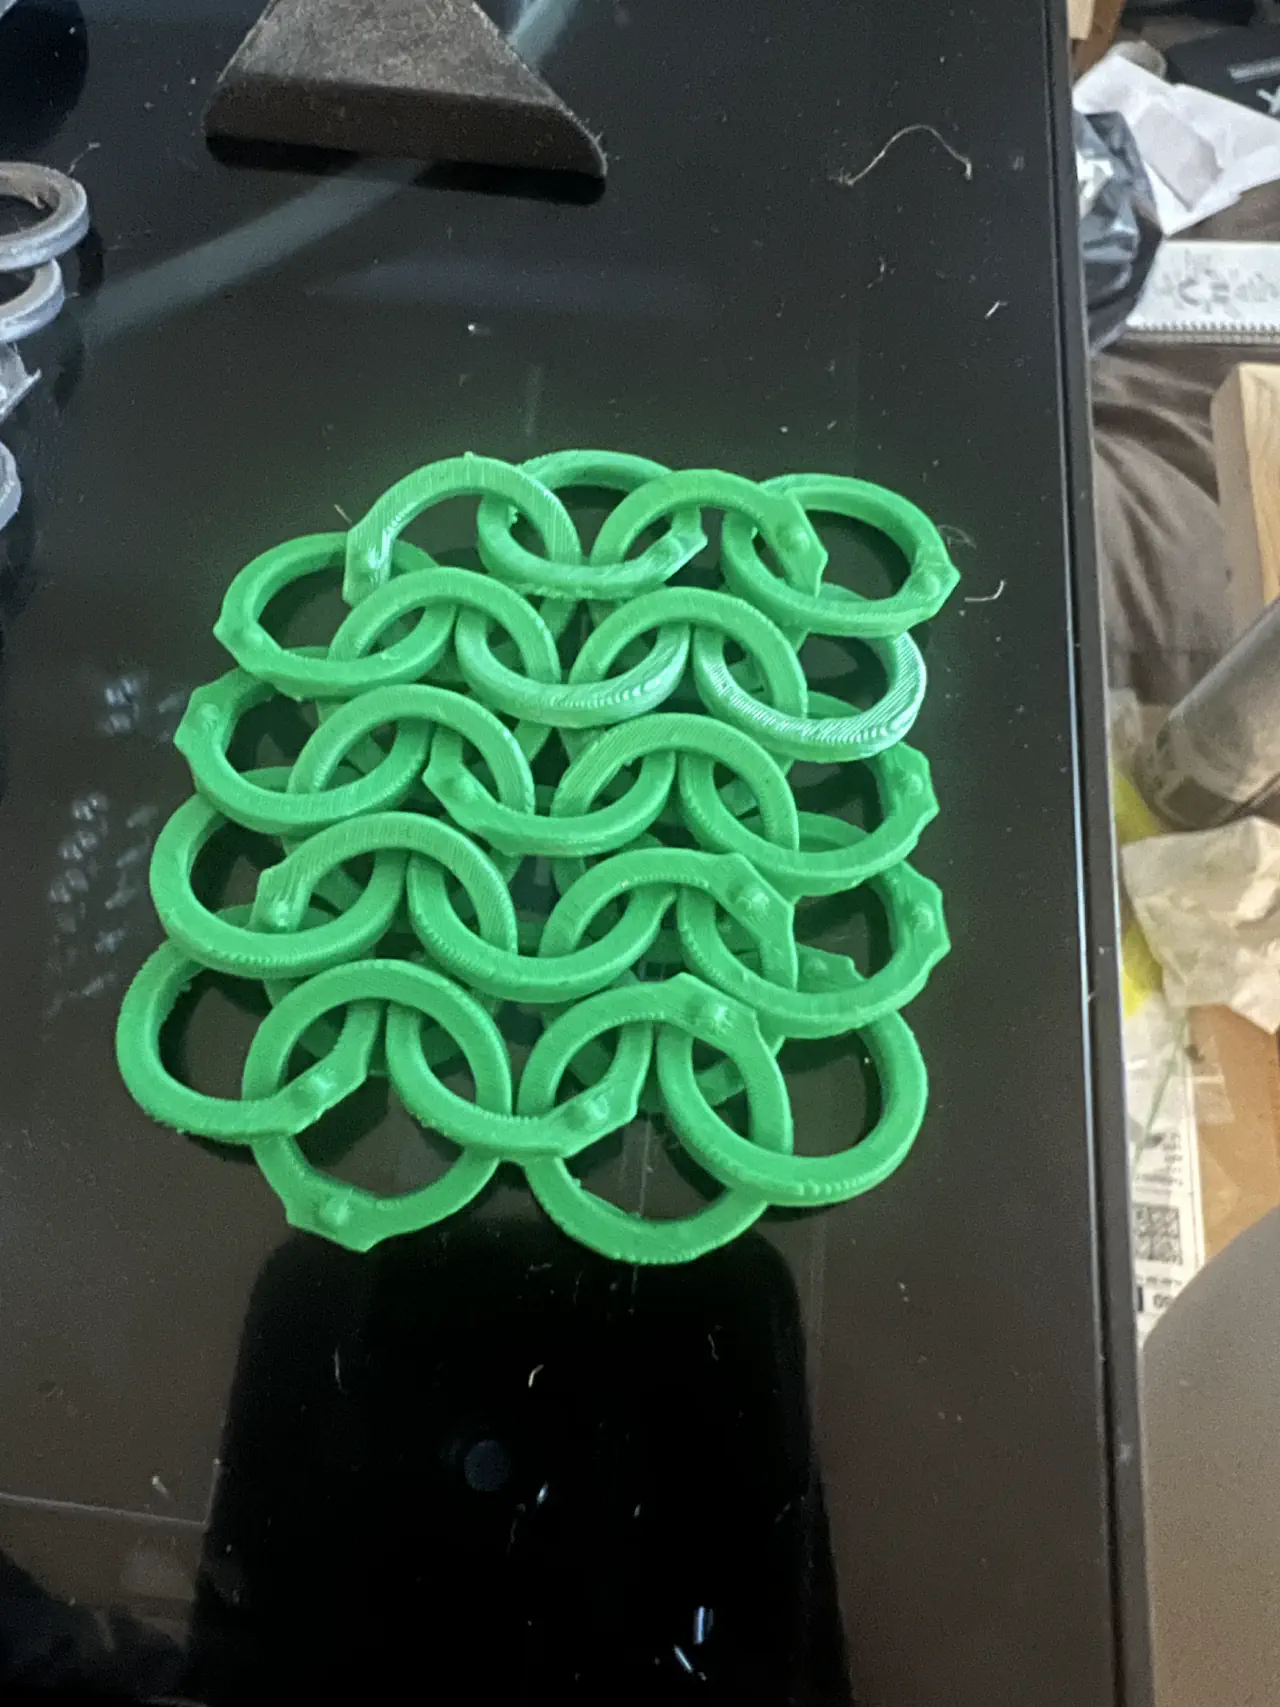
As these come in small sections, they need to be joined together. I just snip the ring that needs to join on, thread it on (kind of like a keyring) and then glue it closed with superglue. Once you’ve figured out how to do this it takes very little time to get two sheets joined together.
Conclusions
- PETG doesn’t do well with what are essentially many close together small towers. I’m guessing the constant, small amounts of filament leads to stringing and then blobbing as the strings get stuck on the nozzle and pick up yet more stray filament.
- Brims > Rafts. Rafts take ages to remove, so it’s much better to have a levelled bed and rafts for the stability.
- With brims you’ve got much moe stability and can really cut back on supports.
- Removing the brims will ruin your nail polish, so be warned.
Final print settings
These are probably only good for the P1S, but jut in case:
- Nozzle: 0.4mm
- Filament: 3DQF PLA+ Silver
- Print profile: 0.2mm Standard @BBL X1C
- Support: Enabled
- Support Type: Normal, Snug
- Support only on build plate: Enabled
- Brim type: Outer brim only (brim width 5mm, 0.1mm brim-object gap)
-
Did I consider getting a laser cutter? Yes! But then I realised I have barely any room to work in my crafting areas as is! ↩︎
-
https://cults3d.com/en/3d-model/fashion/chainmail-armor-sleeve ↩︎
-
https://www.etsy.com/uk/listing/851563520/3d-printable-chainmail ↩︎
-
https://www.3dqf.co.uk/product-page/metallic-silver-pla-plus-1-75mm-uk-made-3d-printer-filament ↩︎

 Instagram:
 Tumblr: