Completing the armour
TLDR; I’ve completed all the armour pieces! I’ve also made 3 of 4 pouches, taken a holiday and begun priming the armour.
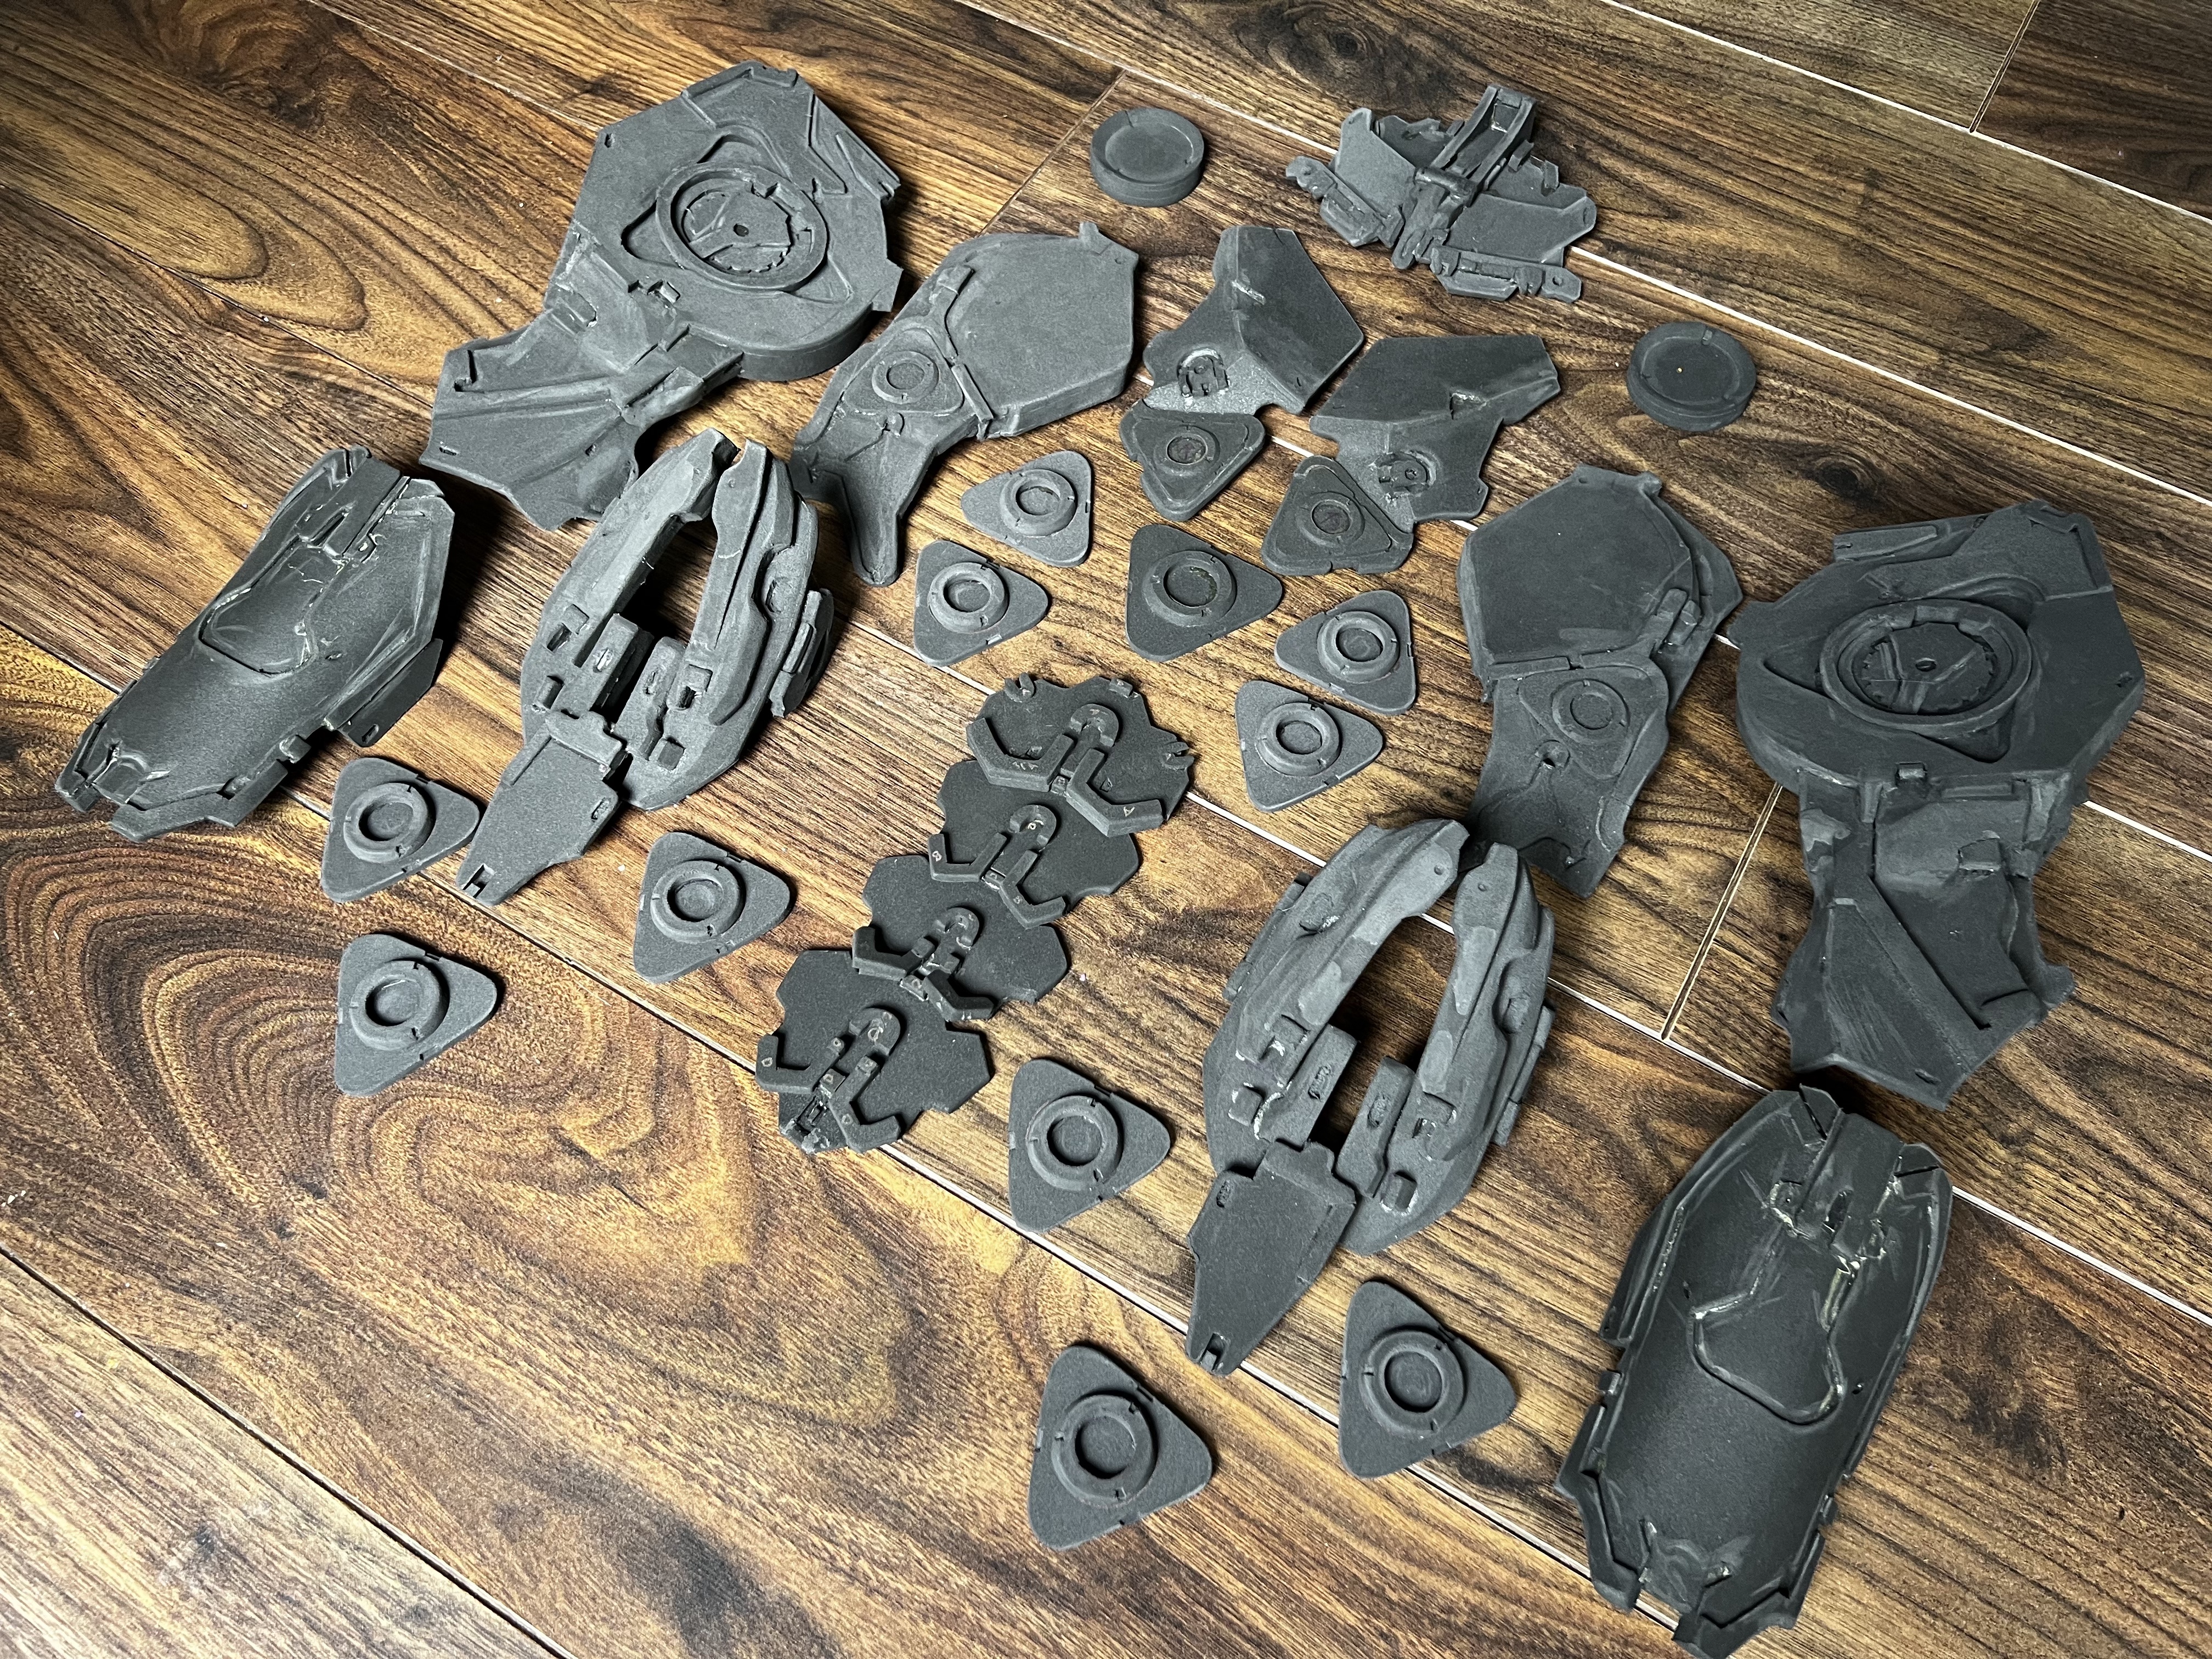
All of the armour, completed!
Finishing off the headpiece!
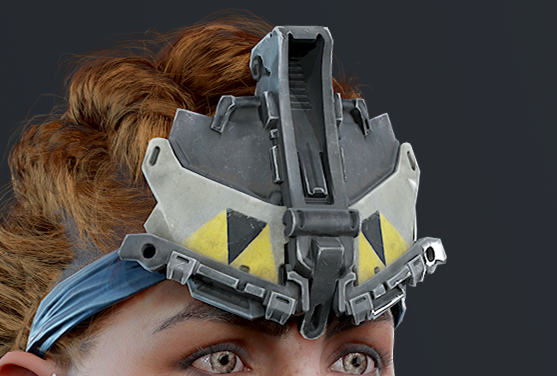
It’s finally done! I did rip it apart and re-glue it a few times but it looks pretty good - you can only notice how wonky it is if you really stare at it. I have a feeling this will be something I’ll remake later down the line when I’m not panicking about getting everything finished!
Finishing off the arm-our
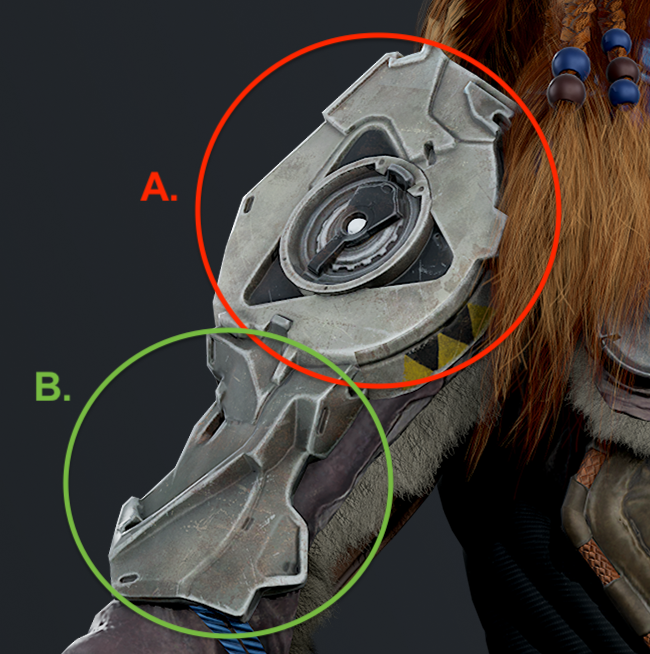
Part A of the armour wasn’t too difficult to put together, though after it was complete I noticed quite a few holes. This was solved in the most technical manner: getting foam off cuts, trimming to size and then stuffing them in the hole with some glue! Smaller gaps or things that I just didn’t like the look of were patched up using the ever useful foam clay.
The circular sections are a bit wonky, but again I run into the issue that cutting circles in foam is difficult to get right! Foam clay was used to clean up gaps from my less than perfect shaping with a dremmel to get a better fit.
Part B involved me going back and designing a whole new set of templates, this time with better measurements. I used more layers than my initial design, which meant I was able to get more complex shapes with less effort (but I now have layer lines). I was trying to avid this as it can introduce gaps between the layers, but given how well foam clay is working for patching up I decided to chance it. As expected lots of foam clay was used to patch things up, as well as acting as strengthening for the angled parts as I’d made the bevels too shallow.
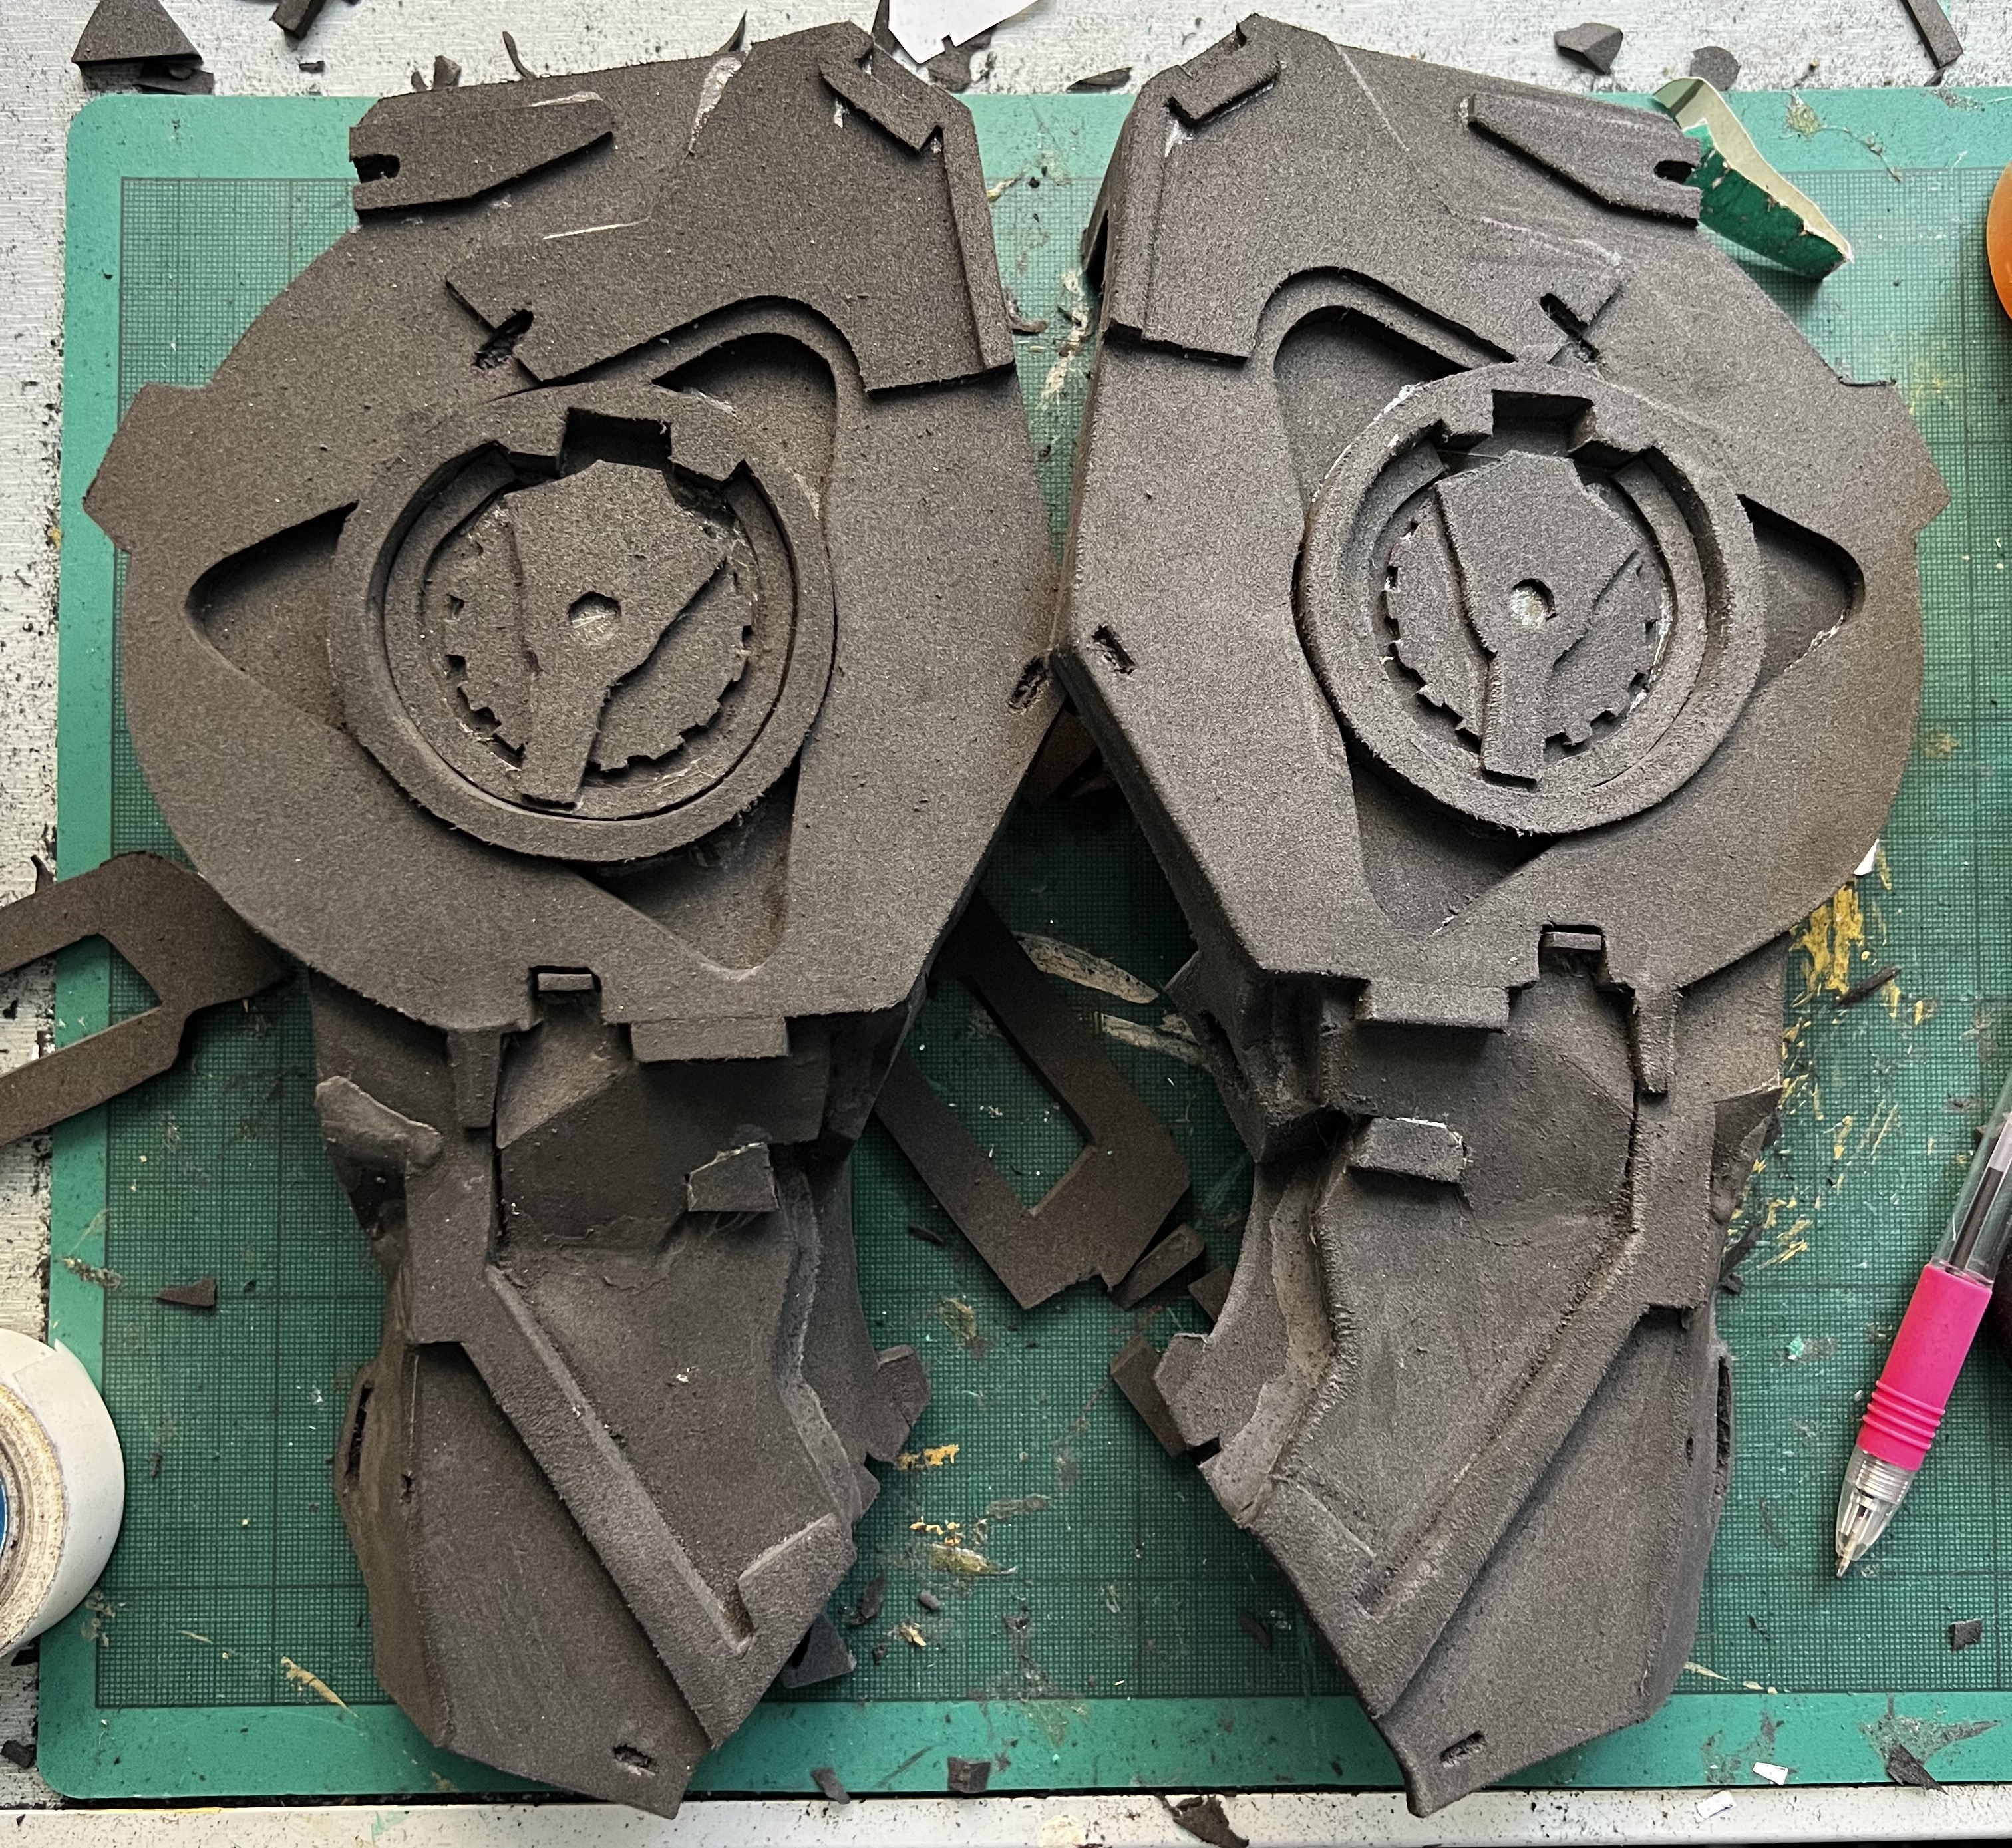
The armour, pre-sanding for completion. I’ve actually missed a small bit out near where the notch is on the centre circle in this picture but I forgot to take pictured of the fixed one!
I’m so happy how these came out, they were the most complex thing to get right and whilst I can see some inaccuracies they’re close enough for cosplay purposes.
The bow
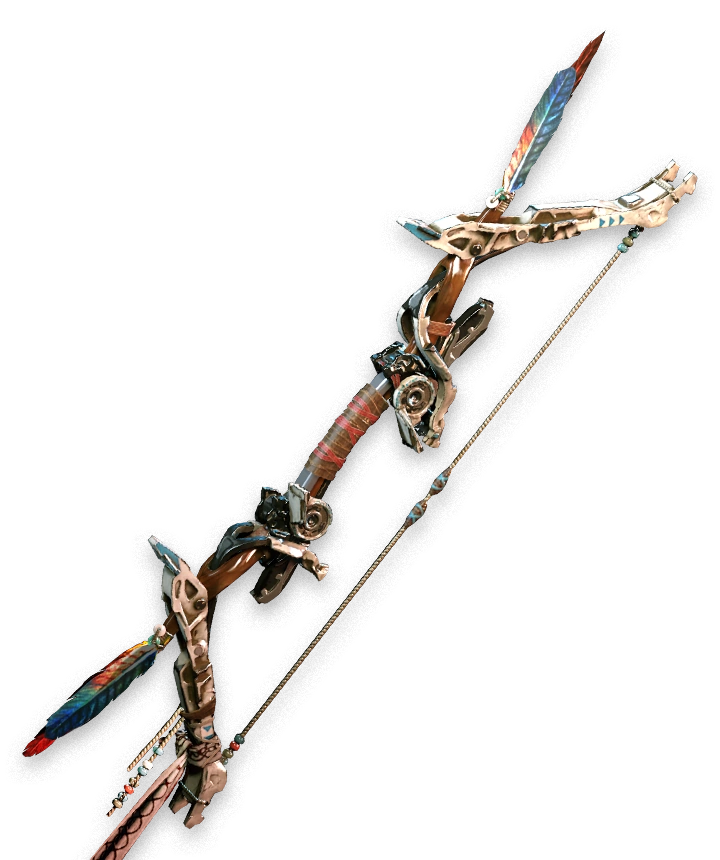
I’ve made progress on the template but there’s still more to do. I’ve ordered some 10mm foam as from the meaurements there’s going to be a fair bit of layering needed (up to 40mm in some places, that’d be 8 layers(!) of 5mm foam). Whilst I can do that with 5mm, it get messy for anything beyond 15mm (3 layers).
Pouches and quiver
Aloy has a few pouches on her belt, and since I had time to spare before my holiday, I quickly worked up some templates and cut them out of some thick brown faux leather I had from another project. Apart from getting one pouch wrong twice (and in different ways too!) they came together well. I’ve also pressed the seems using an iron to given them more defined edges.
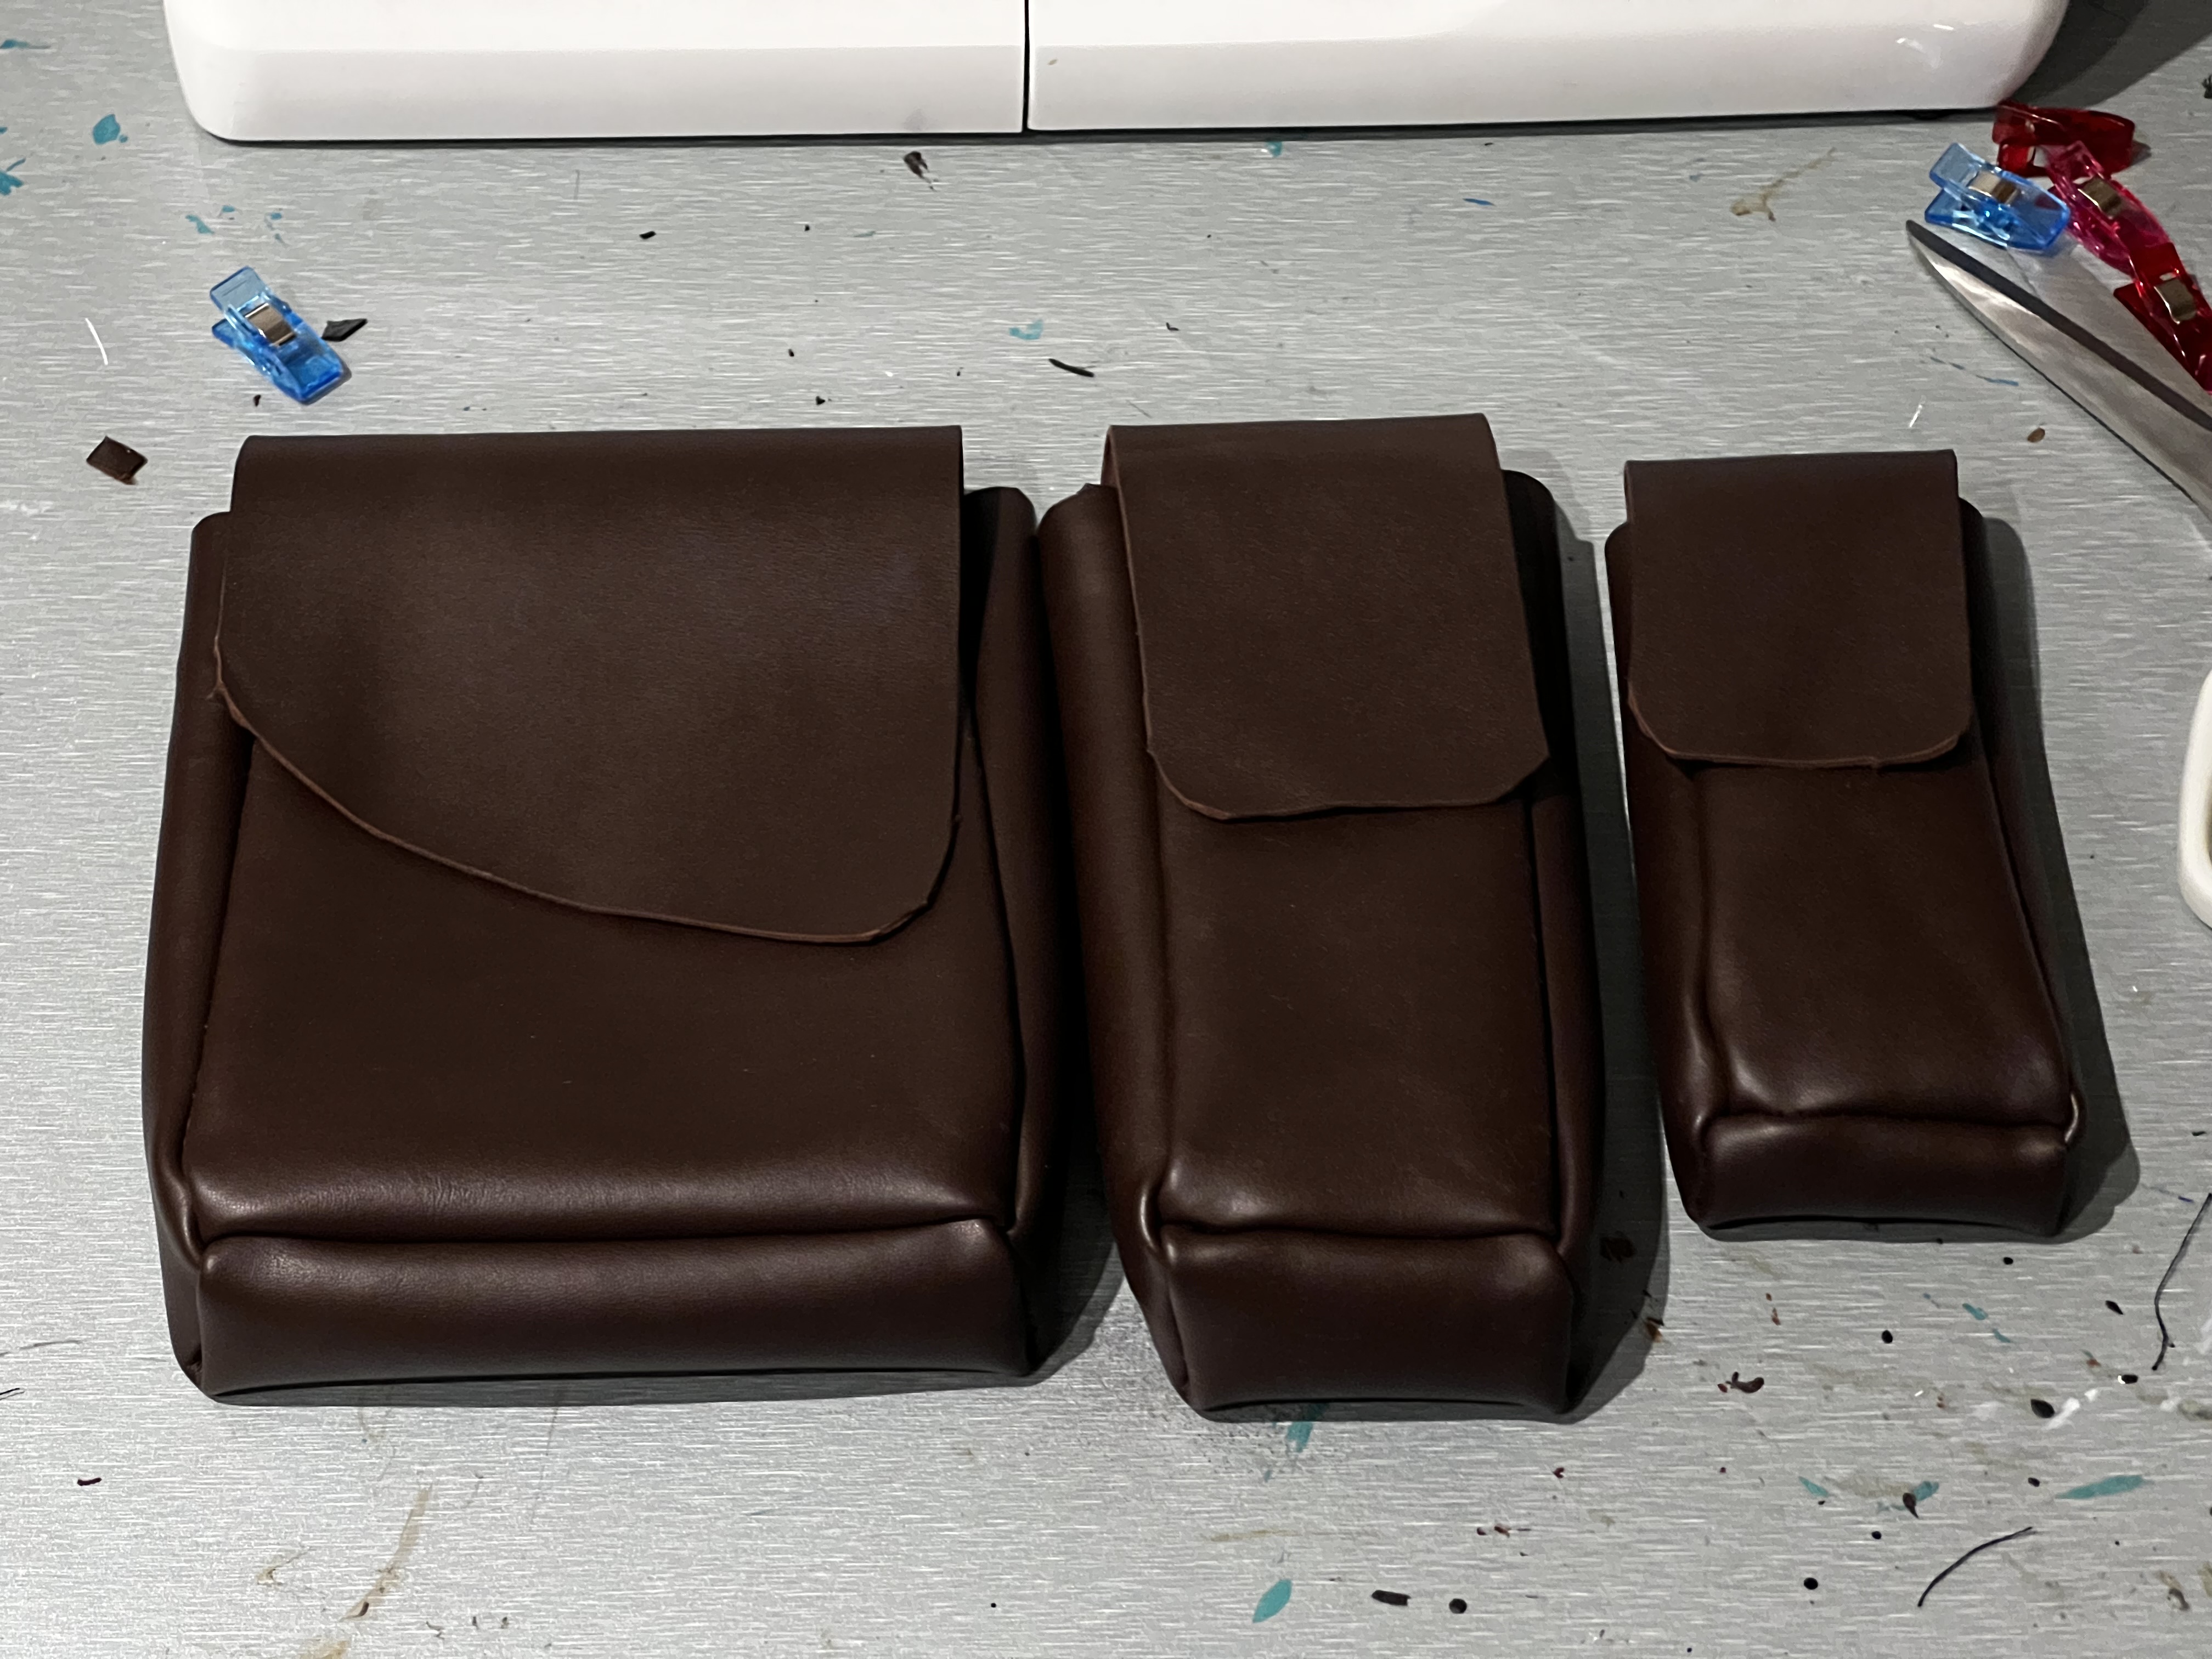
With these, and the quiver I’ve also made, they just need detailing which is mostly stitching and a small bit of foam detailing for the larger of the two thin pouches.
Priming
Priming the various parts was the first major test of my airbrush and I absolutely love the thing! I’m using the HexFlex primer1 from Poly-props, watered down with some Liquitex Airbrush Medium. I flew through the armour pieces once I’d got the technique and consistency right2 and even managed to get the skirt flaps done in the evening.
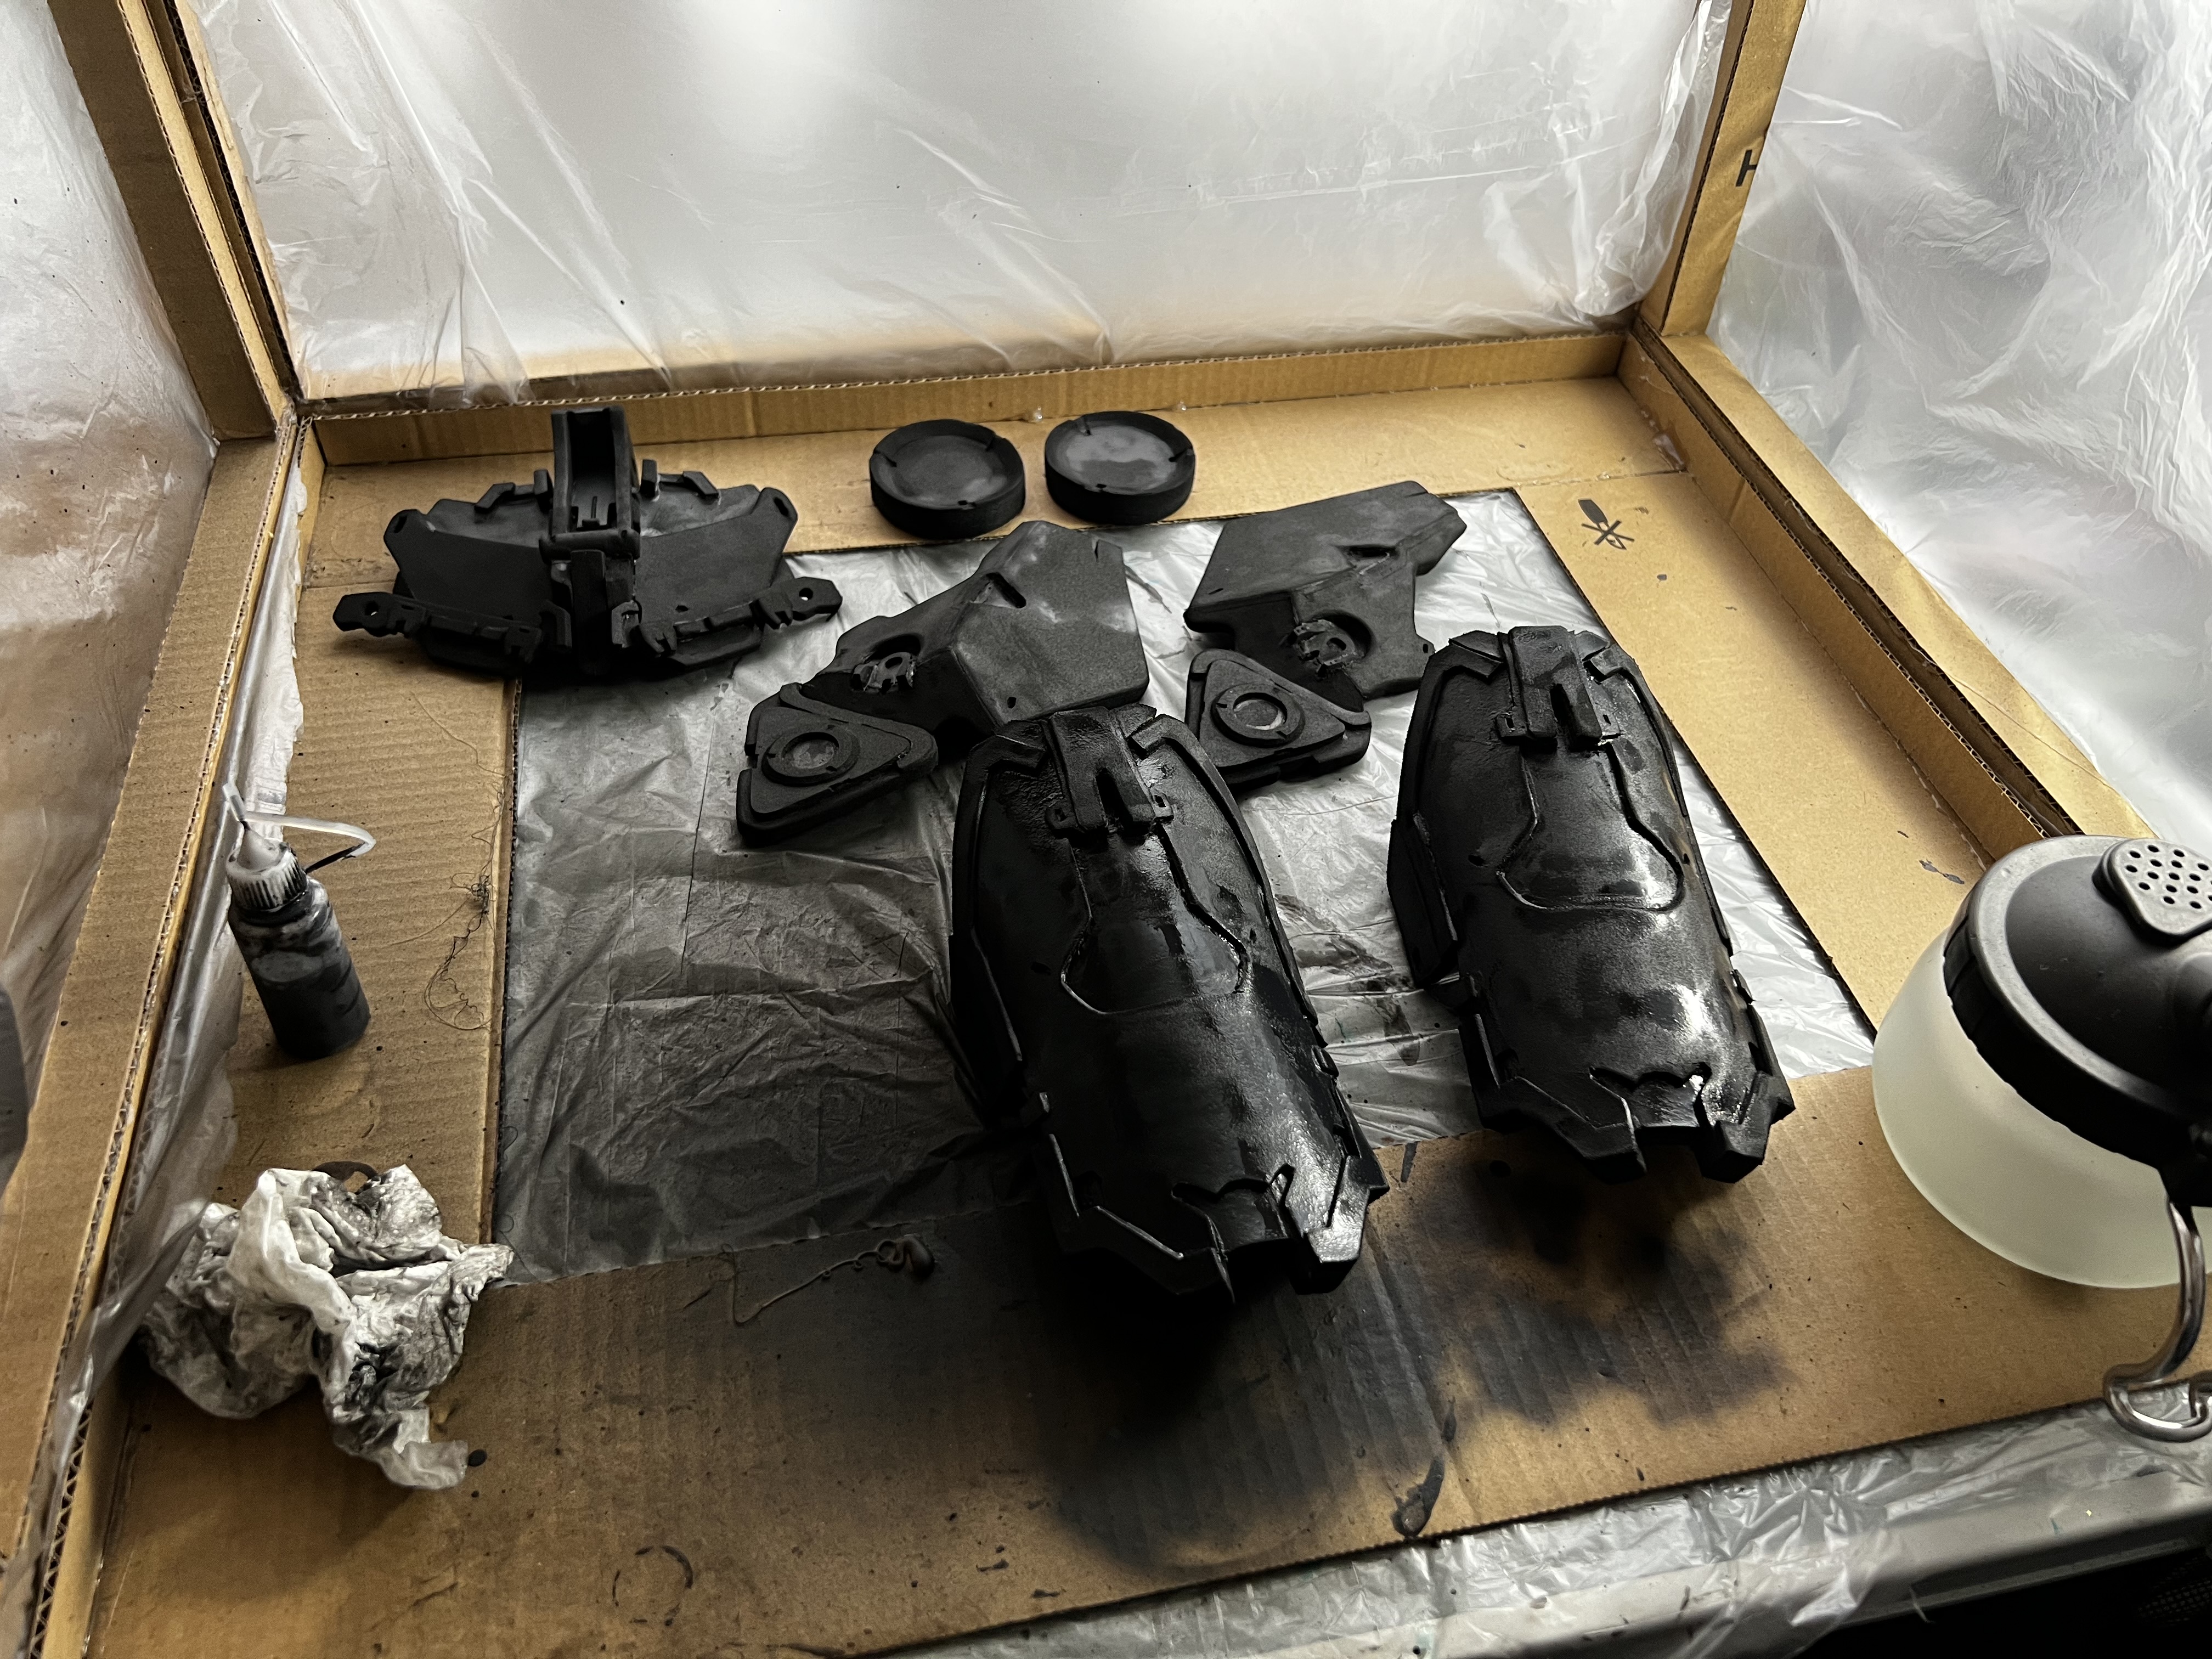
They’re all going to need at least two layers, possibly more, so I’m going to have to repeat this until they look right. Using an airbrush is much quicker than painting and is producing a much better surface (no brush strokes), and as an added bonus the thinner layer is drying much quicker for about the same coverage.
What’s next
My plan is to get the priming done as quickly as possible so I can move onto painting. I’m going to start with the skirt flaps for that as they have the most still to add afterwards. I’m also looking into the electronics side so I can start purchasing those bits too. Lastly, I’m going to get the basic templates for the bow printed so I can start getting that assembled - I’m hoping that since it’s mostly simple layering things should go pretty quick.
If you have an questions or ideas for posts you’d like to see, send me a tweet @tjomas
-
I’m using a tiny bottle bought originally for contact cement (and which didn’t work), so I can’t tell you the ratio, only that I fill hexflex to the 15mm mark and then medium to a 40mm mark. If someone can work out what ratio that is, be my guest. ↩︎
-
 Instagram:
@smojcosplay
Instagram:
@smojcosplay
-
 Tumblr:
smojcosplay
Tumblr:
smojcosplay