Crafting in 32 degree heat is a struggle
TLDR; I complain about the heat, start on the last bit of armour and take a foray into making pouches.
I’ve not made as much progress as I’d like this week and I’m going to blame that on the ludicrous temperatures. It’s been up to 32 degrees celsius this weekend and that is gross to wear a respirator in. I’m looking forward to going back to sensible mid-20s temperatures, a hot a can cope with.
Continuing with the headpiece
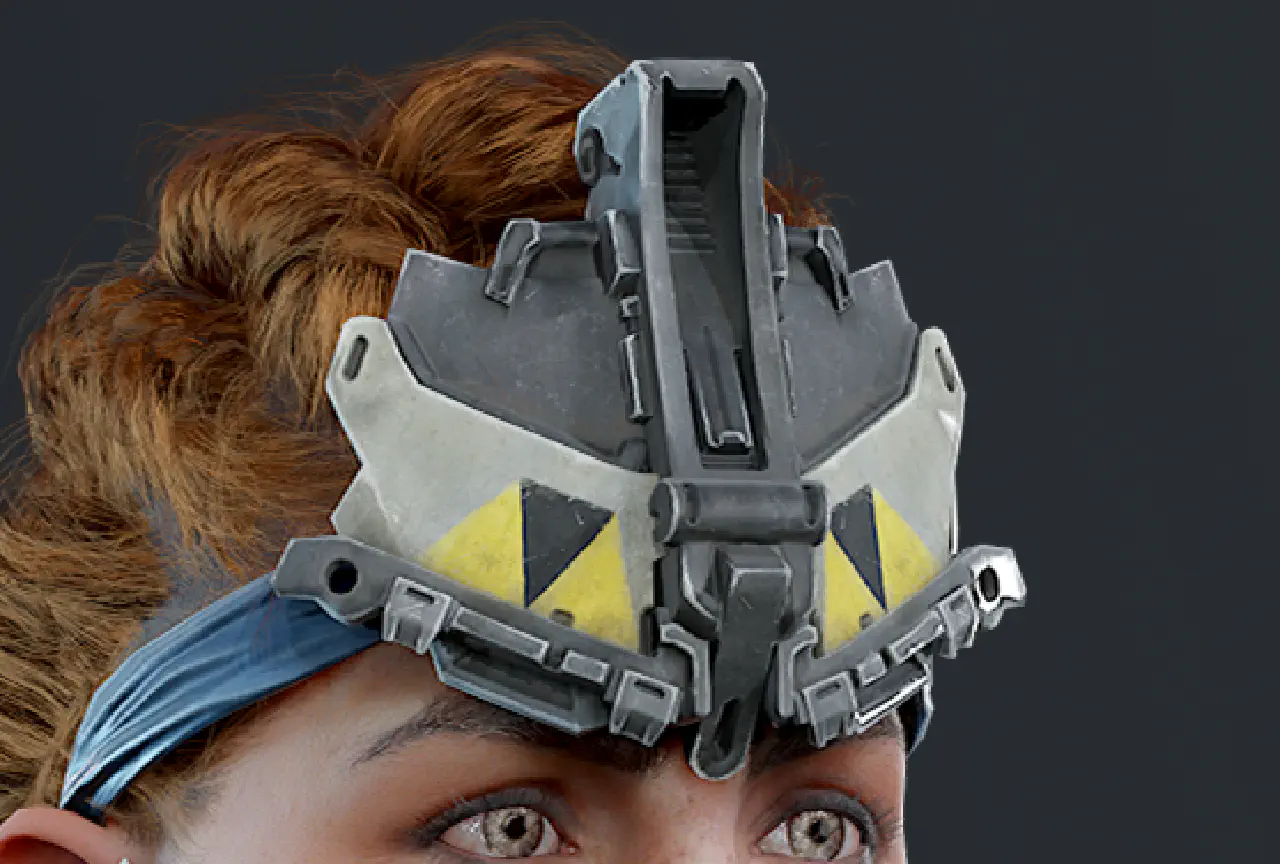
First up, after completing the construction of the central part of the headpiece I wasn’t entirely happy with it. I decided to have a go remaking it, this time without as much messing around. However, about half an hour in I realised I’d managed to make this one even worse than the previous one.
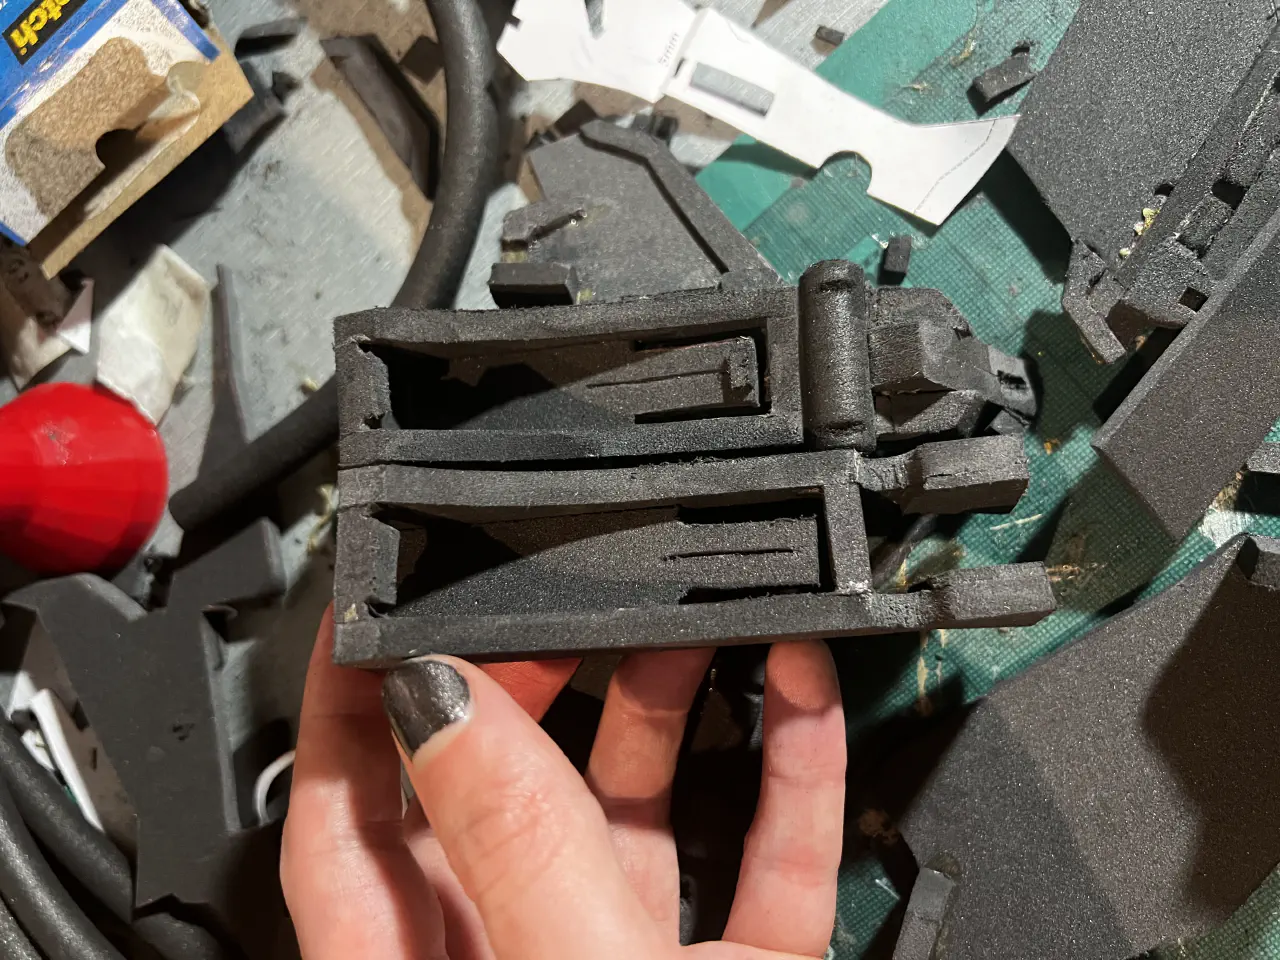
Even with better templates and more care taken the newer (bottom) is so much more wonky than the first attempt.
Rather than starting over for a third time, I decided to take a look at the old one again. A few bits of sanding here and there to straighten things out and I was much happier with it. It’s still not perfect, but I think it’s going to be difficult to get much better with my current materials. I finished it off by adding the last bits of detail, using the template as a guide to mark out where they needed to be placed (and it turns out missing one bit of detail which I only discovered when writing this!).
Happy with how it looked, I then started assembling the two sets of side panels. They’re made of two parts, layered on top of each other, so I thought sticking them together then attaching to the central piece was the best strategy. I will now dispense the advice I should have taken: consult with your reference images.
When I went to attach what I’d just spent time carefully glueing together I realised they didn’t fit. This is because, if I’d checked the reference image, I would have seen they were a) at slightly different angles on the central piece and b) also angled backwards. Oops!
It was clear at this point in the day the heat was not helping me think, so I called it quits on the headpiece and put it aside for cooler times.
Starting to assemble the arm-our
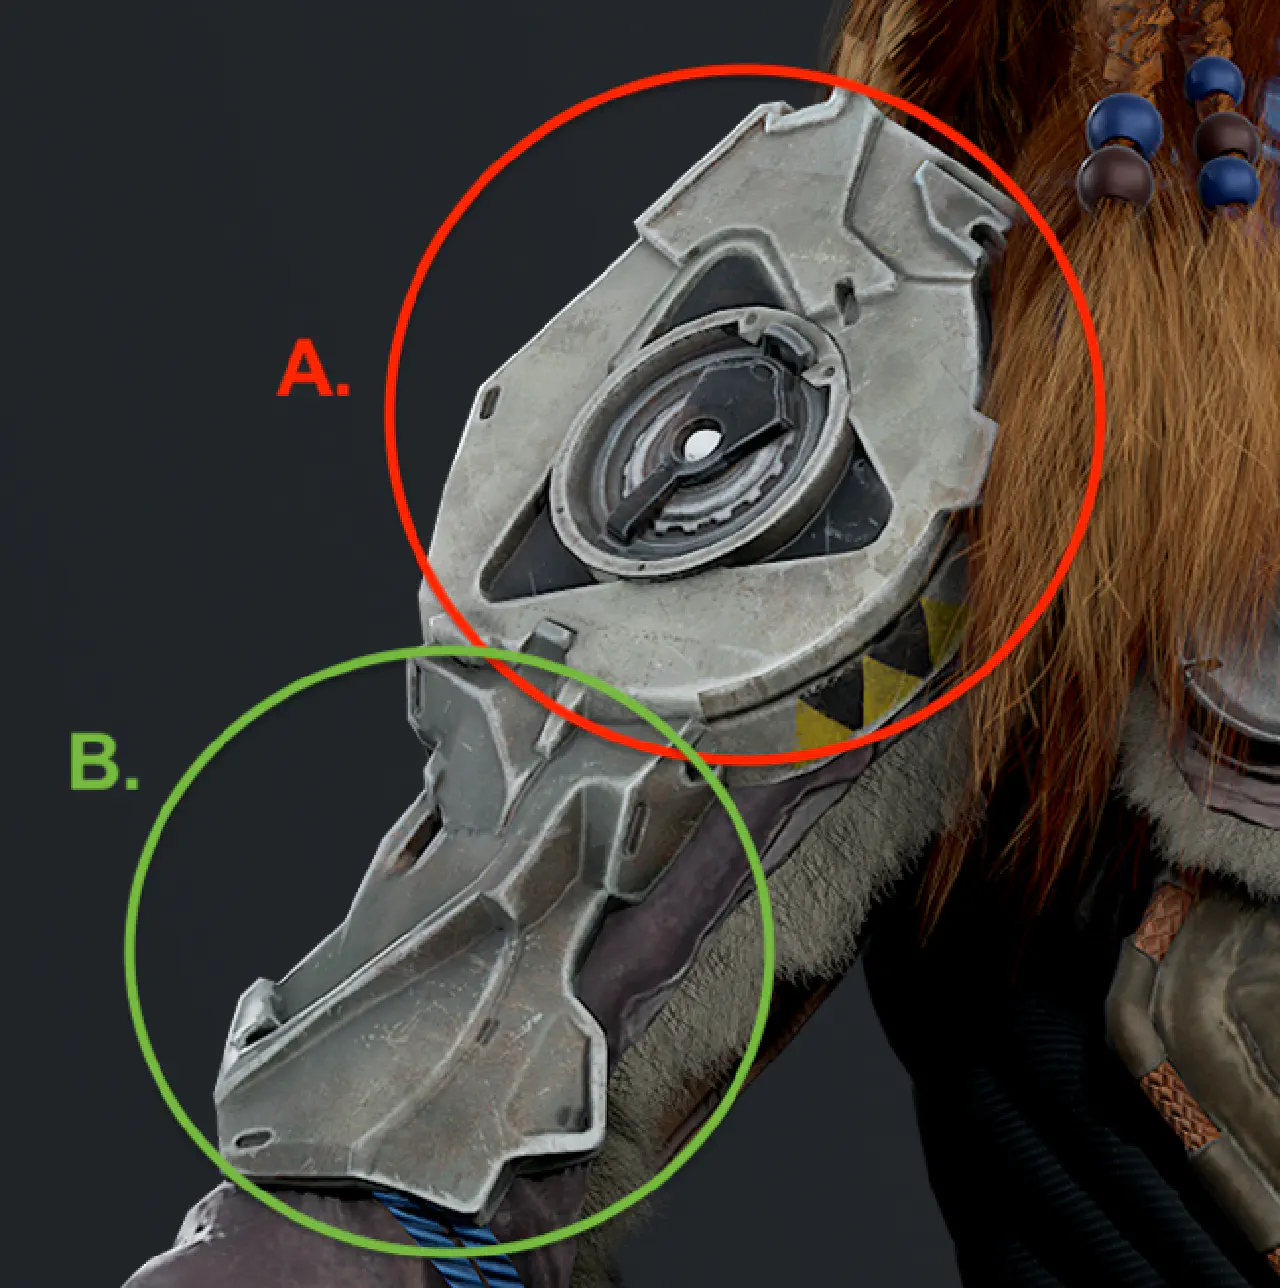
The arm armour I’ve left to last as it’s the complex and I wasn’t sure how to go about making it. I attempted to make a template in Inkscape, as I had done the other armour pieces, but I knew it was only going to be a rough guide.
Once I’d cut out the foam and done a basic arrangement, I was able to assess just what was missing and what needed re-working. Luckily, the top of the armour (labelled A. in the diagram above) seems to be mostly correct so I could make a start on that, whilst then going back and figuring out the changes needed for the bottom part (labelled B.).
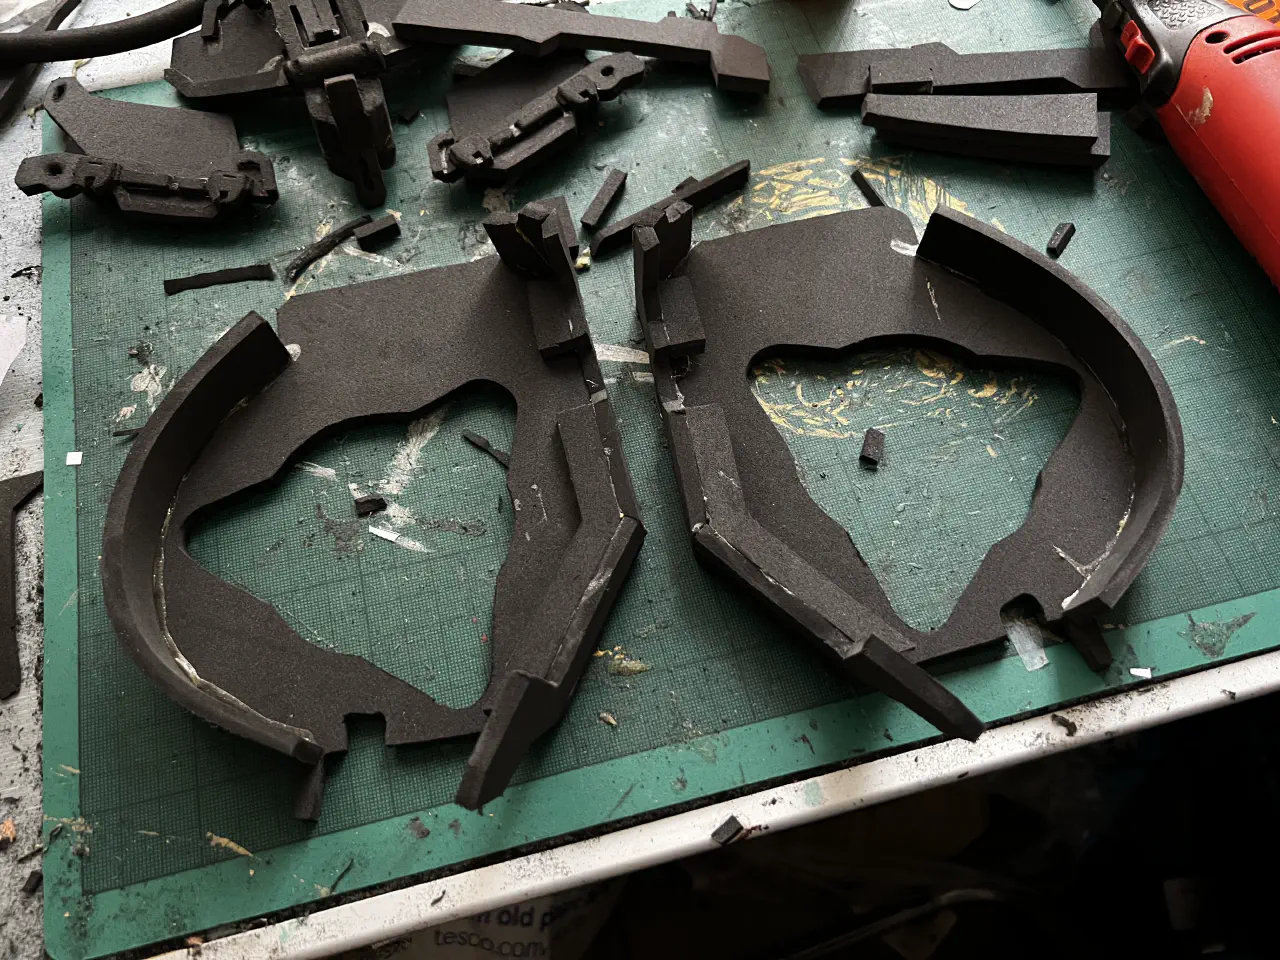
Rather than layers sanded into shape, these are made of flat shapes cut from foam to give the depth required.
The assembly of the main body is going as expected, with plenty of “Ah, going to need to trim that” and “Hmm, missed that bit off” remarks. There’s a couple of bits I’ve missed off my templates, and some that a are going to need a bit of re-working but nothing that’s a show stopper.
The bow

If you’ve played Horizon Zero Dawn you might be wondering why I picked the Carja war bow bow rather than say the Nora war bow or the much better Shadow War Bow. The answer is that the Shadow War Bow, preferred option as it is, is just a little too complicated to make out of foam. I really wanted to make the sharpshooter bow as I used that the most (the machines are big and I am small, so having the most distance is preferred 😂) but again, it’s not an ideal shape for foam construction. The Carja bow still looks great, and I imagine most people won’t notice the differences.
Since then I’ve been tearing bits of it apart to make it easier to trace shapes, along with taking many, many measurements. Shout out to the MeasureIt tools addon for Blender, it’s incredibly useful if you’ve got the item at the right size.
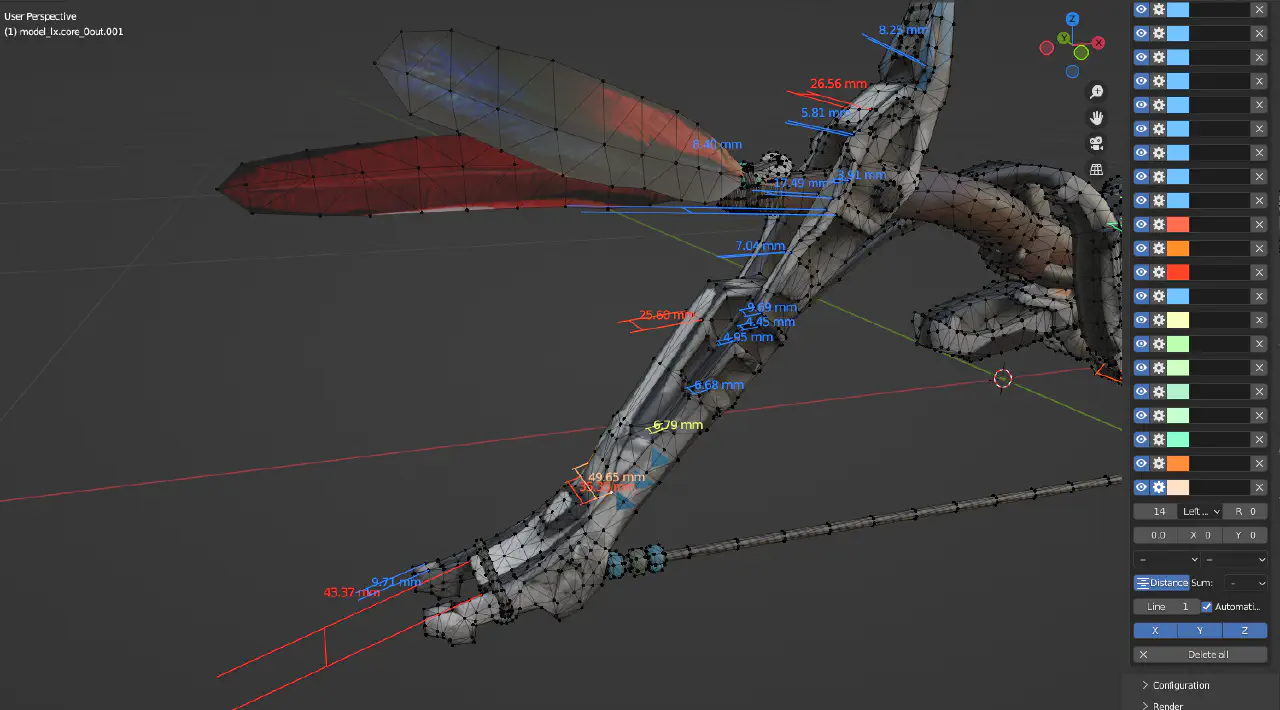
I suspect that I’ll need to purchase some 10mm foam to avoid a lot of layering of 5mm, but I won’t know how likely that’s needed until I’ve finished the template. That should hopefully be in the next few days, I can’t delay it any longer or it’s not going to be done in time.
The quiver and pouches
I didn’t want to loose a day or so to the heat so I started working on things that requires less sweaty safety gear. I knew I had the materials already in, so I decided to complete the quiver template and get the pouch ones done too. I’d taken some rough measurements of the pouch sizes from the model a few weeks back so it was easy to draw out some templates in Inkscape and print them out.
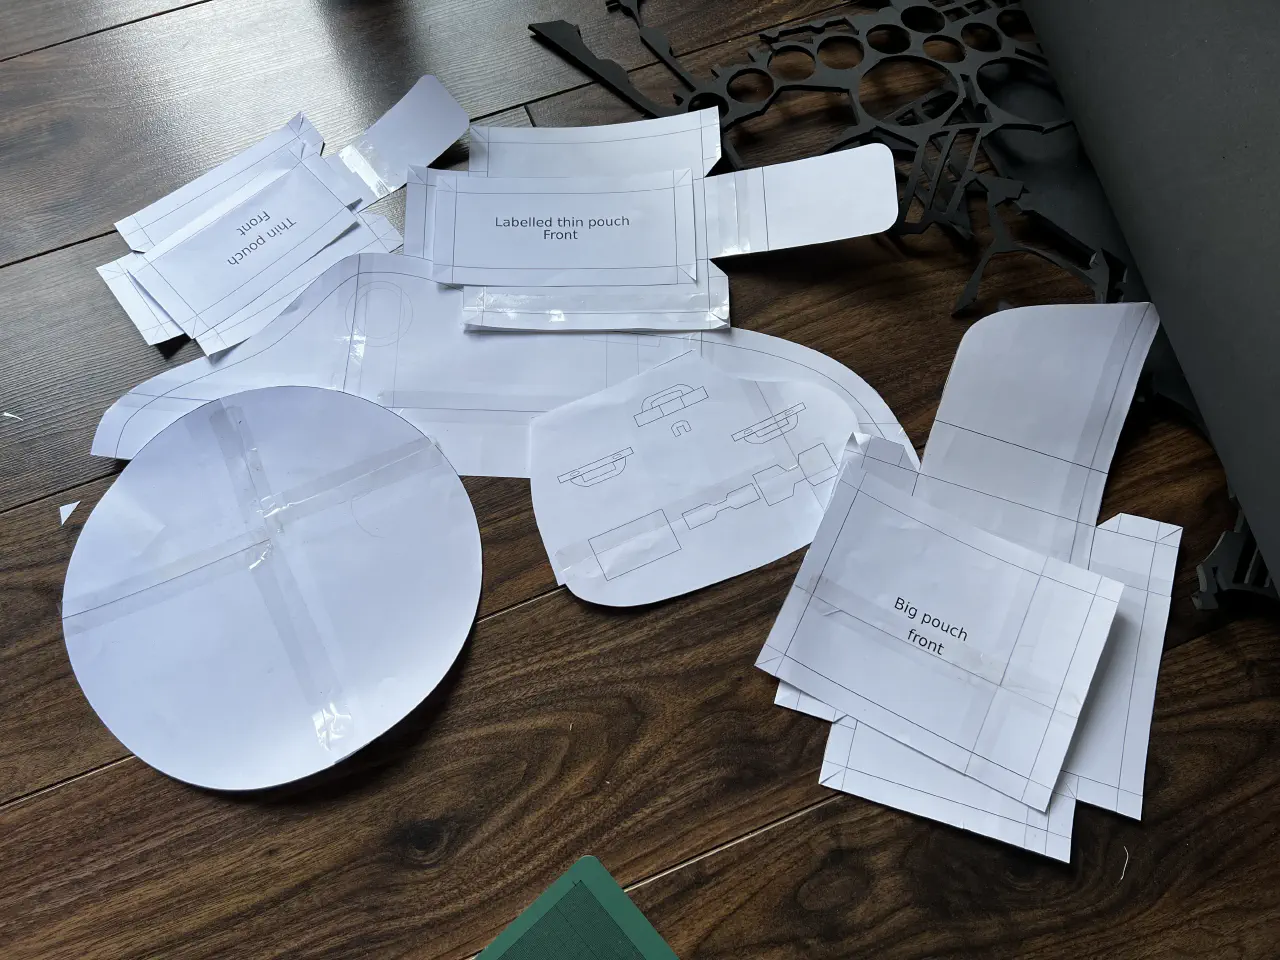
I ran into my usual issues of not being entirely sure where to cut or tape down to assemble the templates, it’s making my want to either adapt PosteRazor or make my own template tool for cosplay. Having marks on where to cut would substantially speed things up!
The material for most of the pouches and the quiver is some nice brown faux leather I got for my Flynn Rider cosplay. I traced and cut them out, but they’ll have to wait to be sewn together until I’ve finished up with the armour building. The downside of having only one craft table and limited space is that you can’t fully multitask.
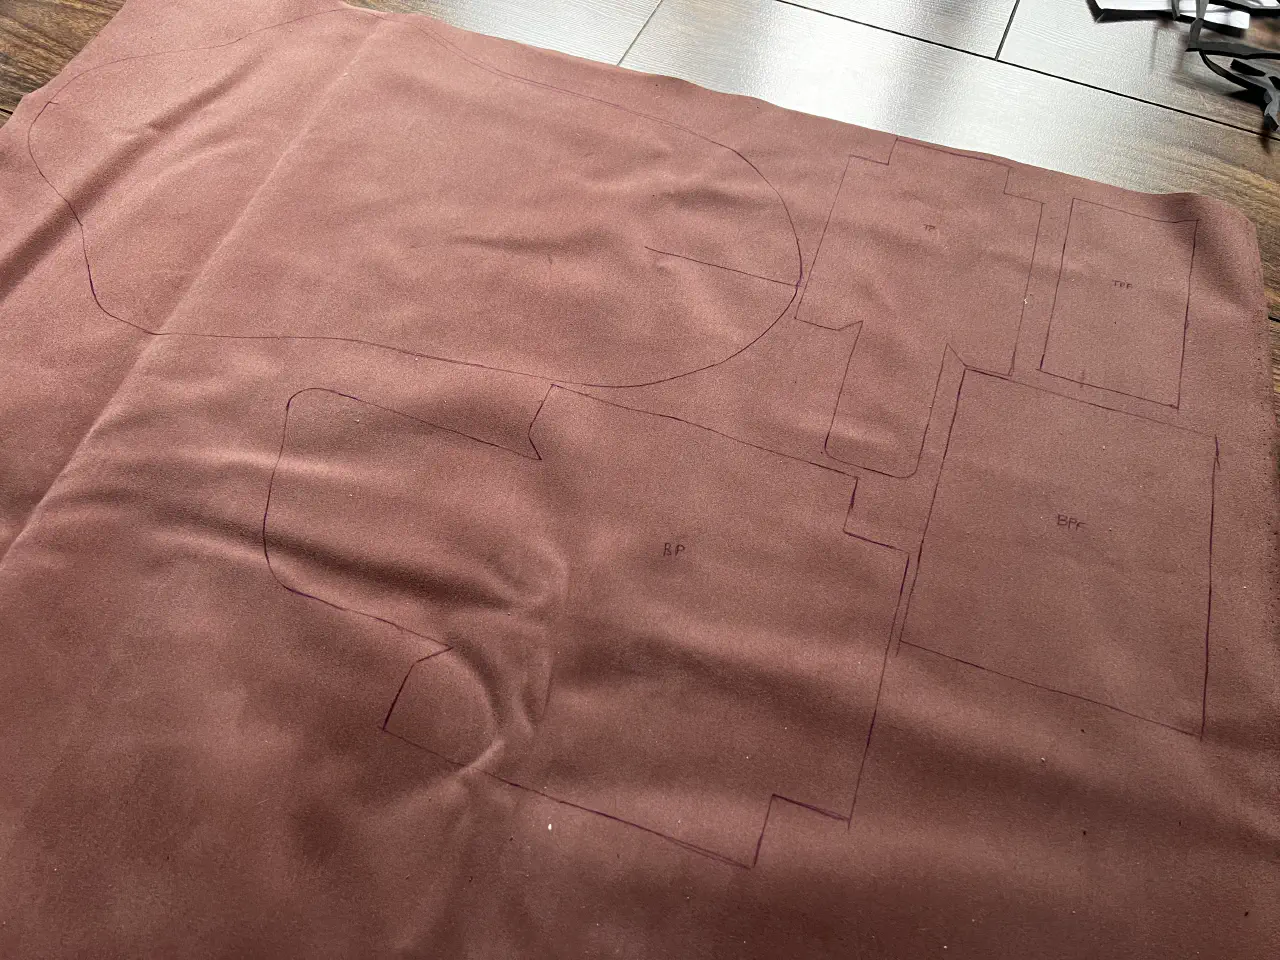
The circular pouch (the really basic circle template) didn’t actually work. I think the material might be too thick, or the circle not big enough. There’s bound to be information online, so I’m adding “research pouch templates” to my todo list.
What’s next
The weather looks much cooler next week and with no D&D until the end of the week I’ve got plenty of time to work on things. My aim is to have all armour pieces completed before the weekend, along with a draft of the bow template so I can figure out if I need to purchase any extra supplies.
If you have an questions or ideas for posts you’d like to see, send me a tweet @tjomas

 Instagram:
 Tumblr: