It got real busy!
TLDR; I realised that making long blog posts is hard to do when you’re crunching
Checking back in
Hello there! MCM was last weekend which is why you did not see any blog posts for the last month as I entered con crunch. These posts take a lot of time to put together and I ran out of that quite quickly as I crammed as much making into the free hours of the day as I could!
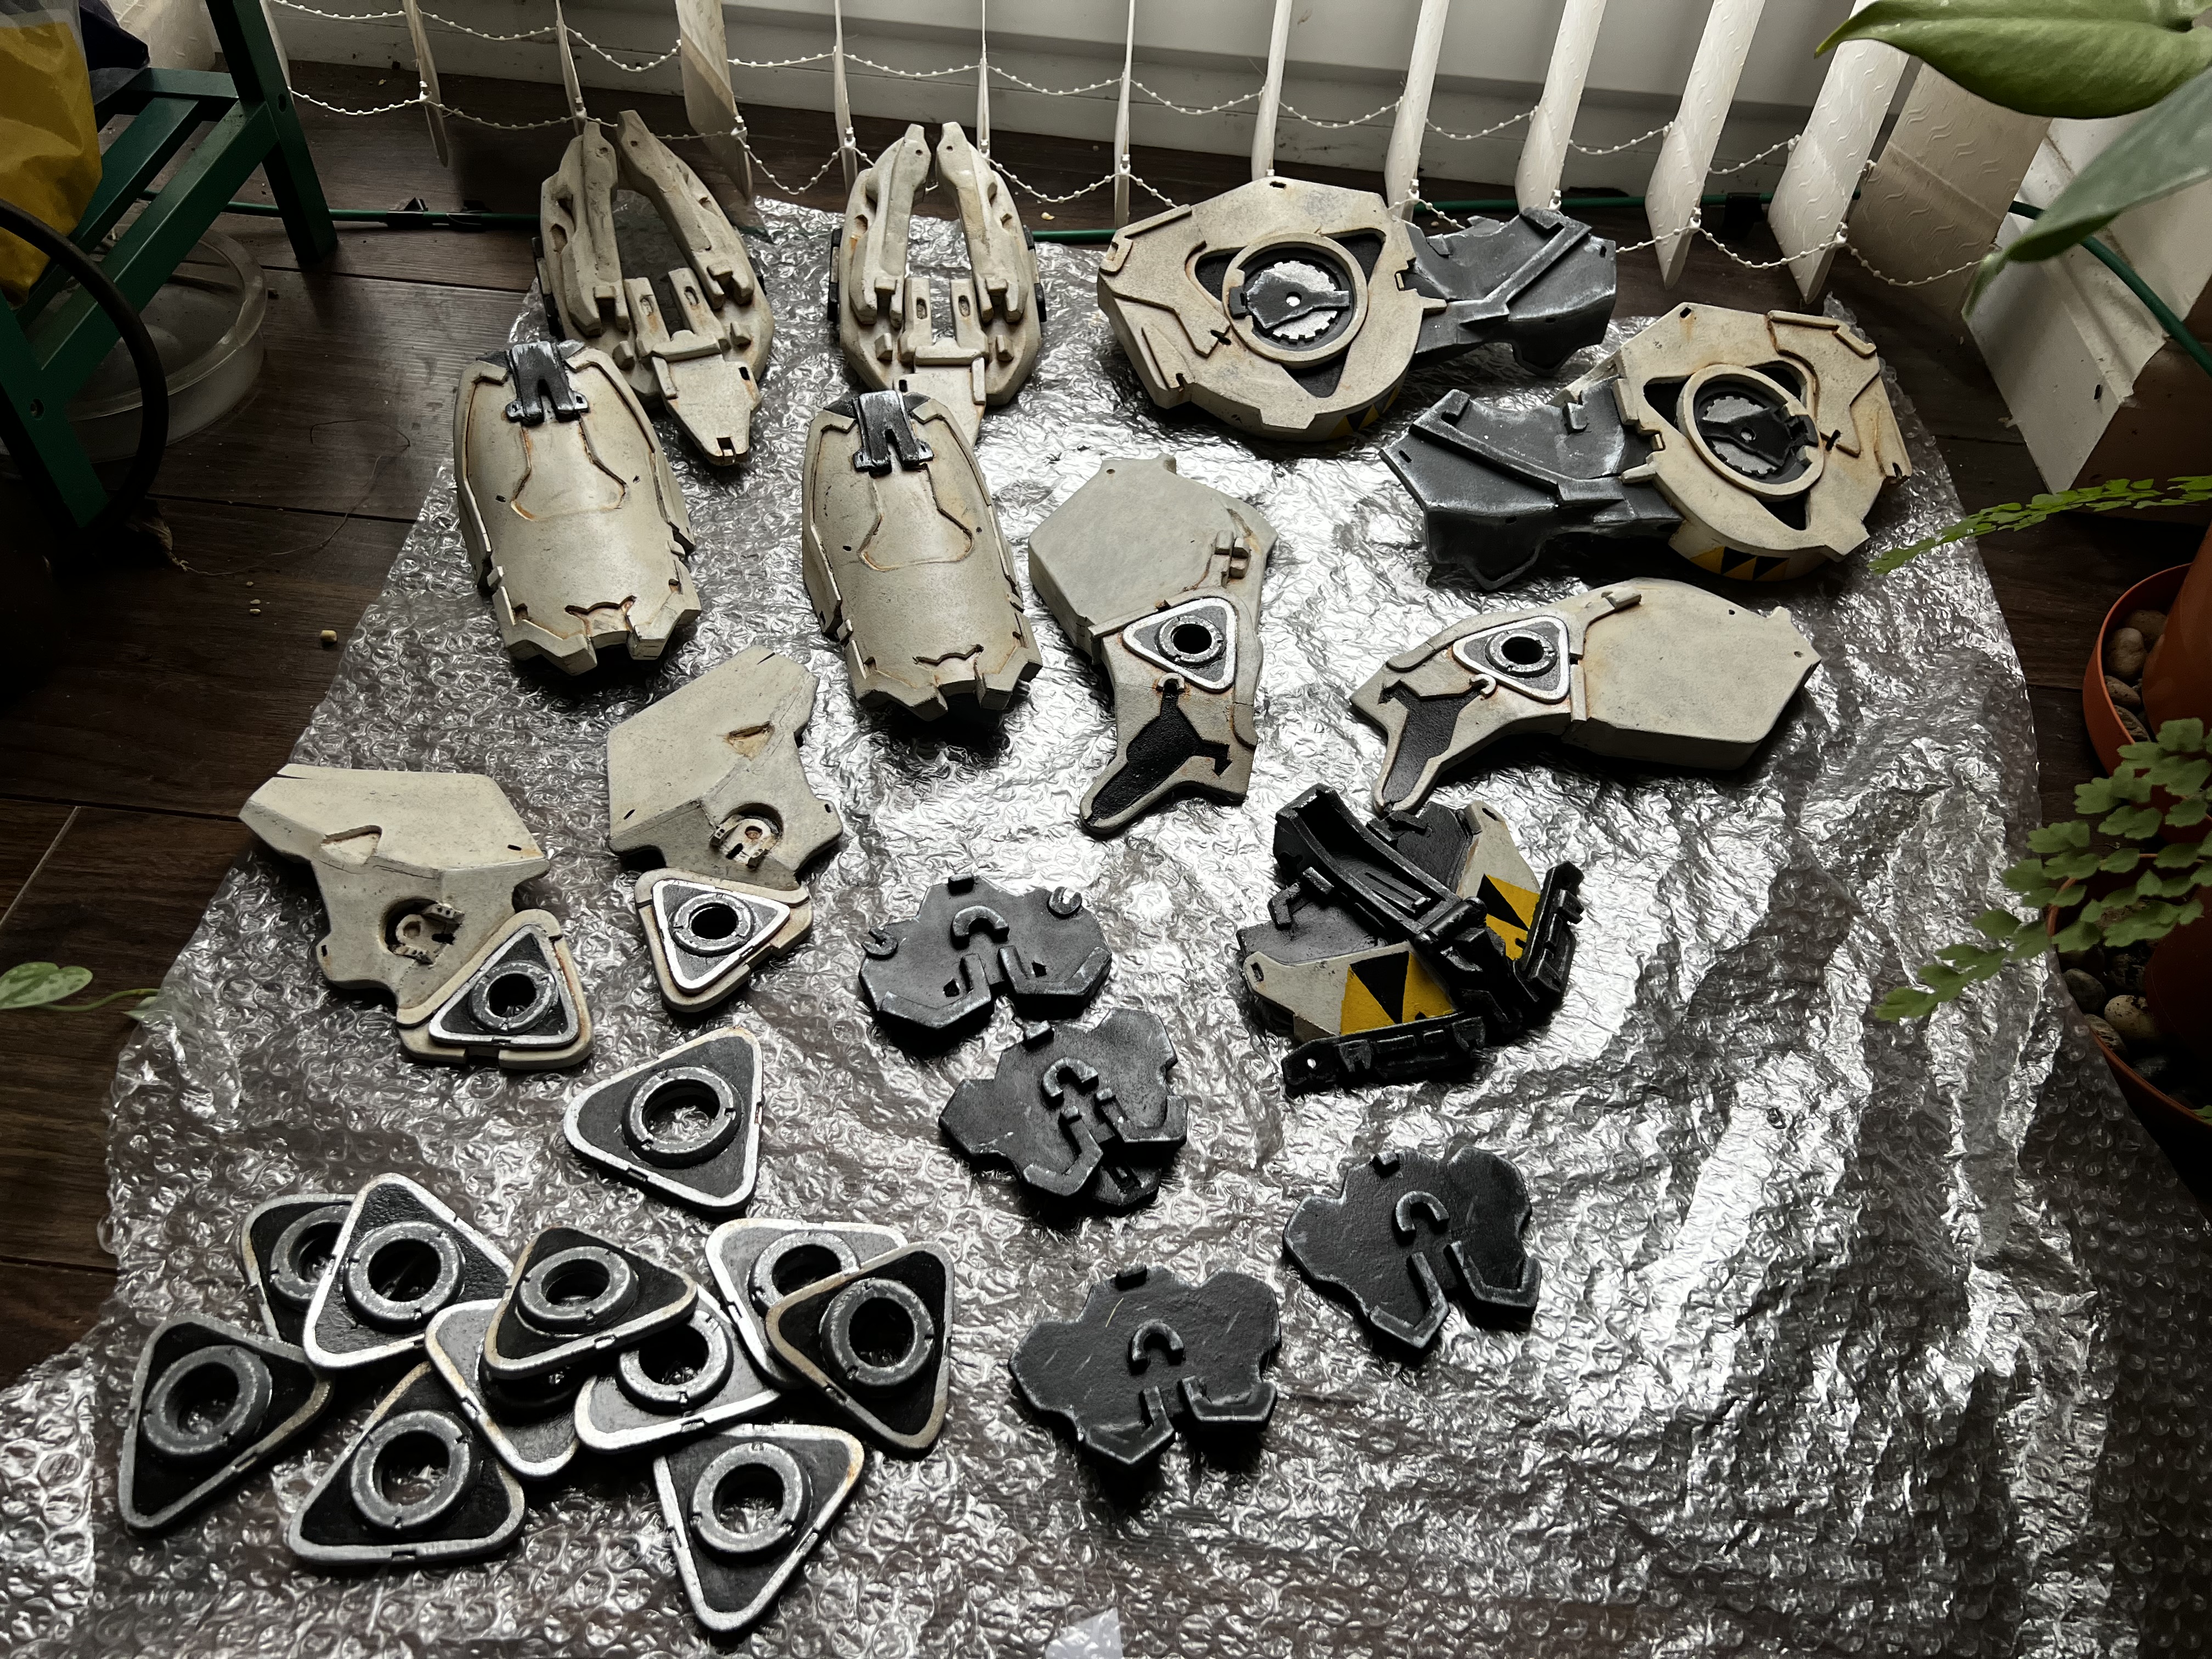
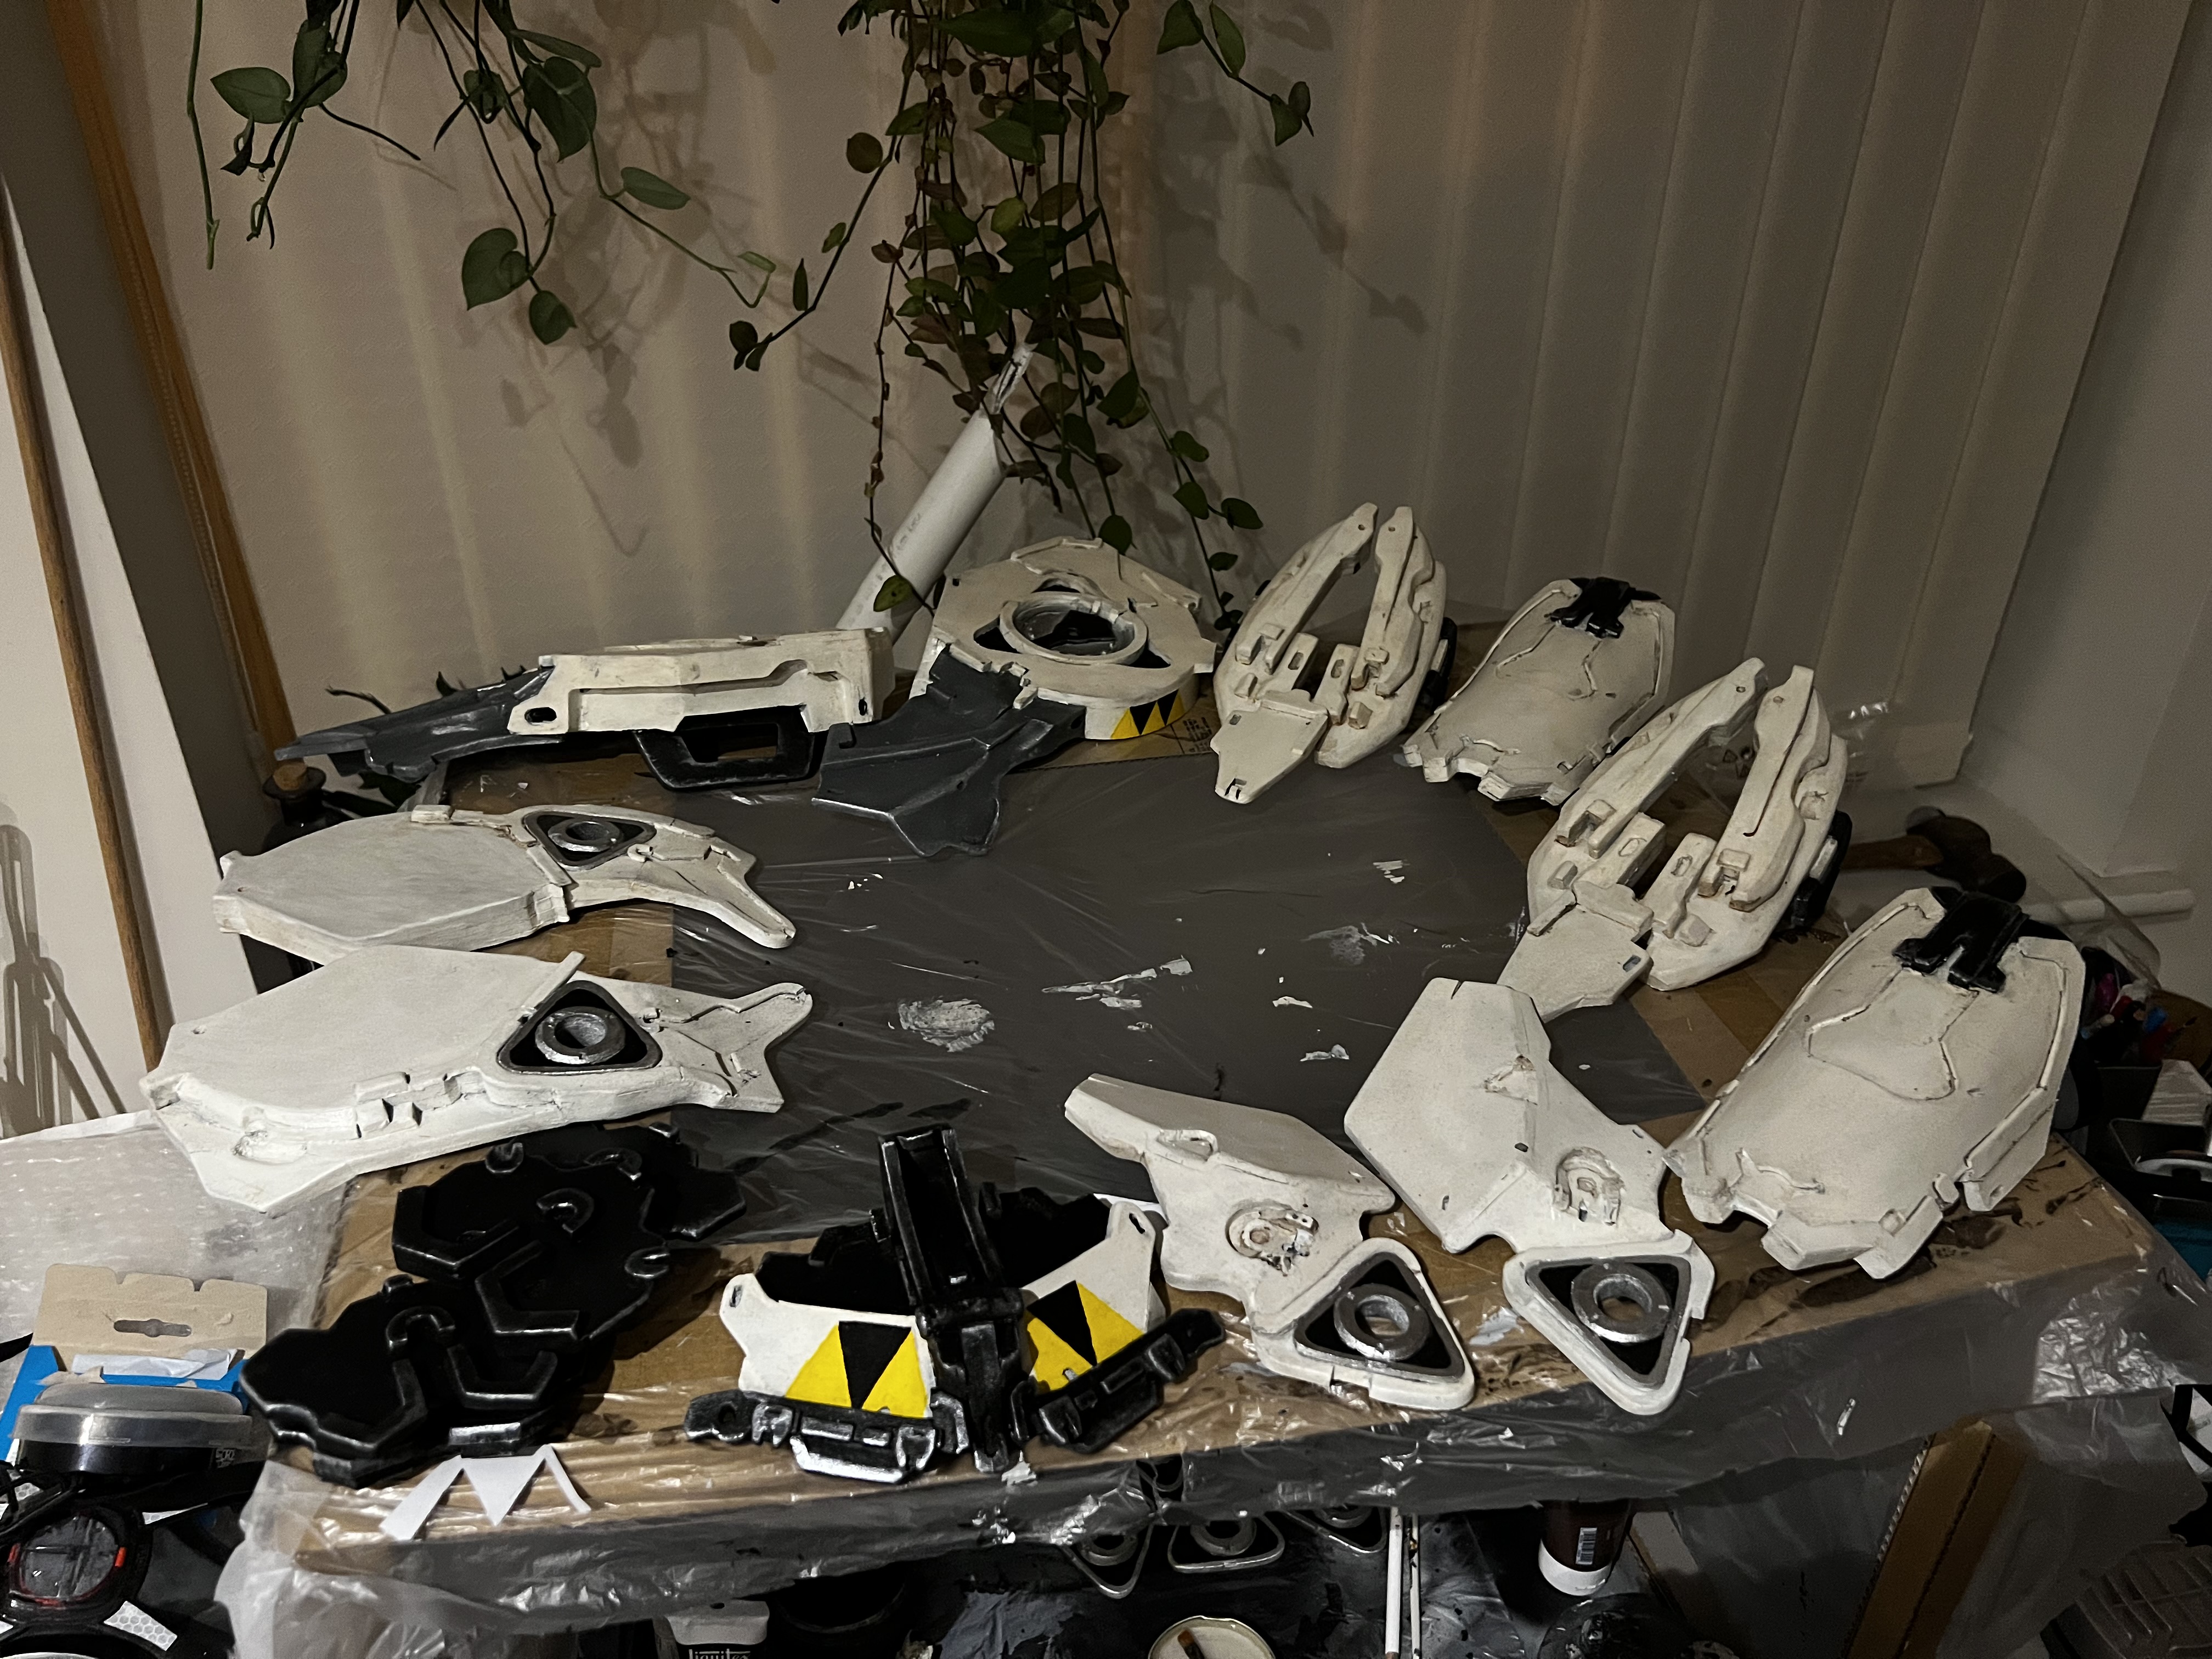
Cast your minds back a month (or read the last blog post) and you will recall I had the armour made, the flaps painted and the bow base structure made. Please note that although I’ve laid these out under headings in this order, everything was pretty much happening all at once!
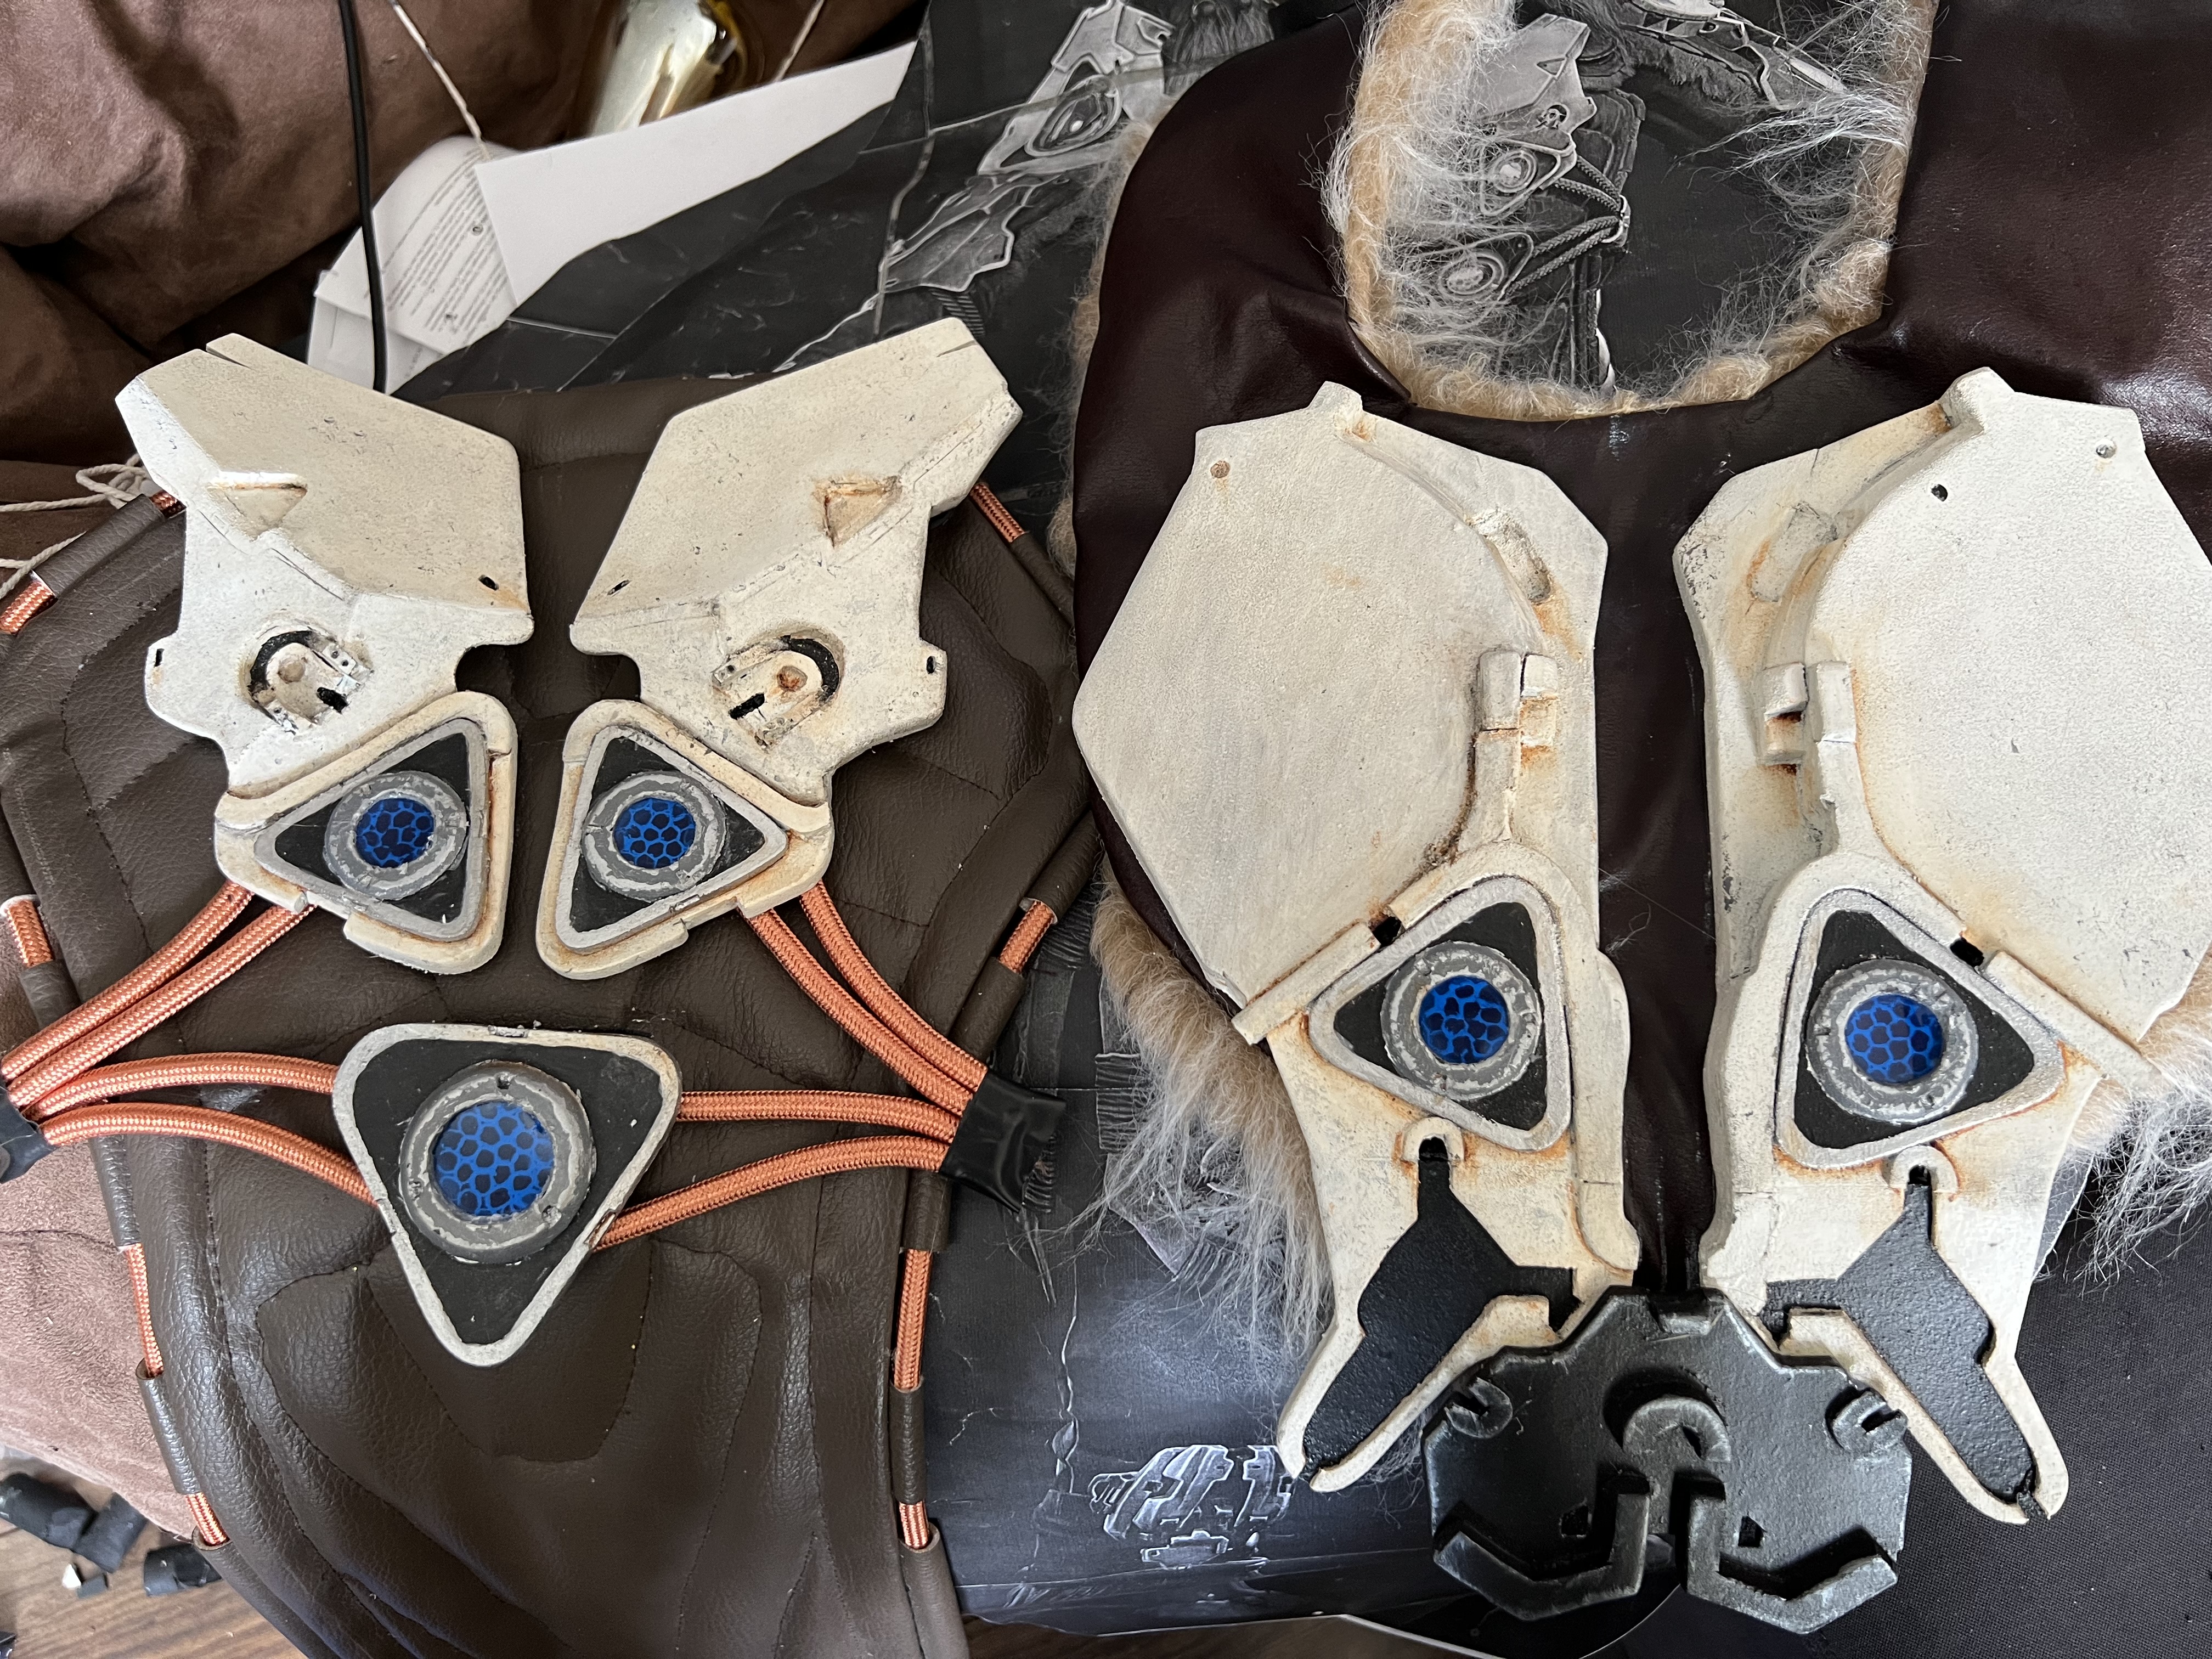
Weathering and detailing the armour
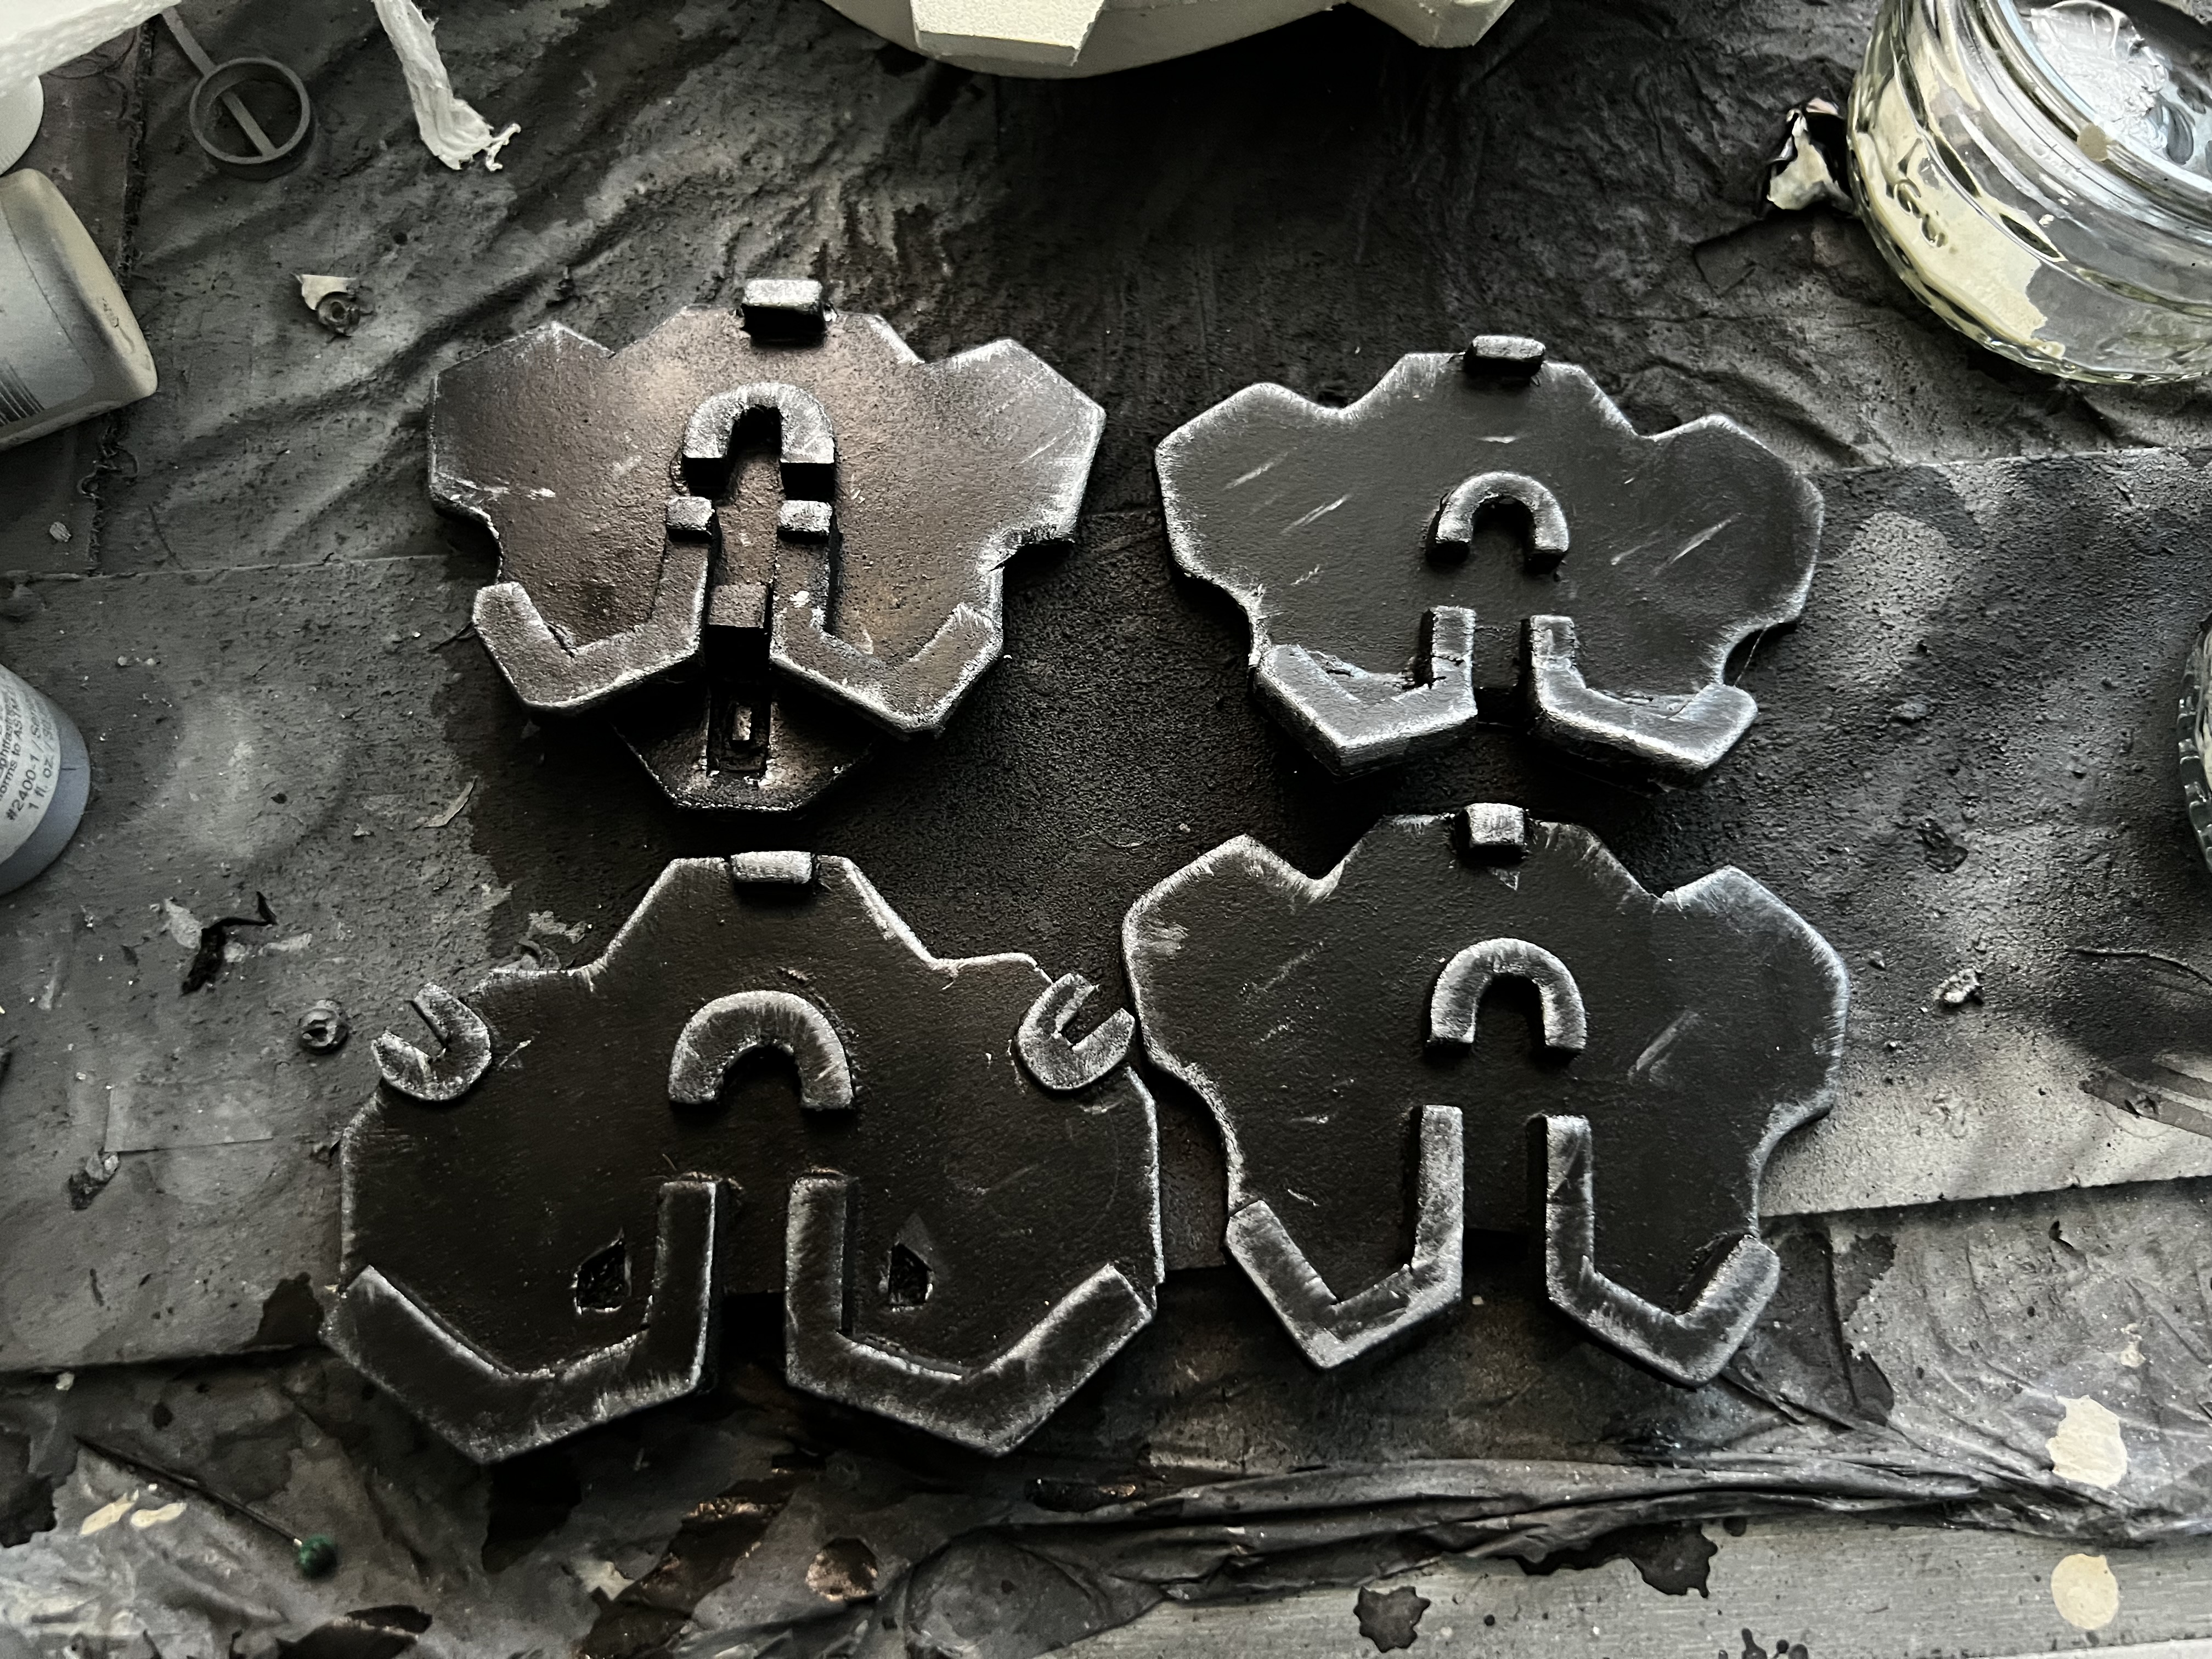
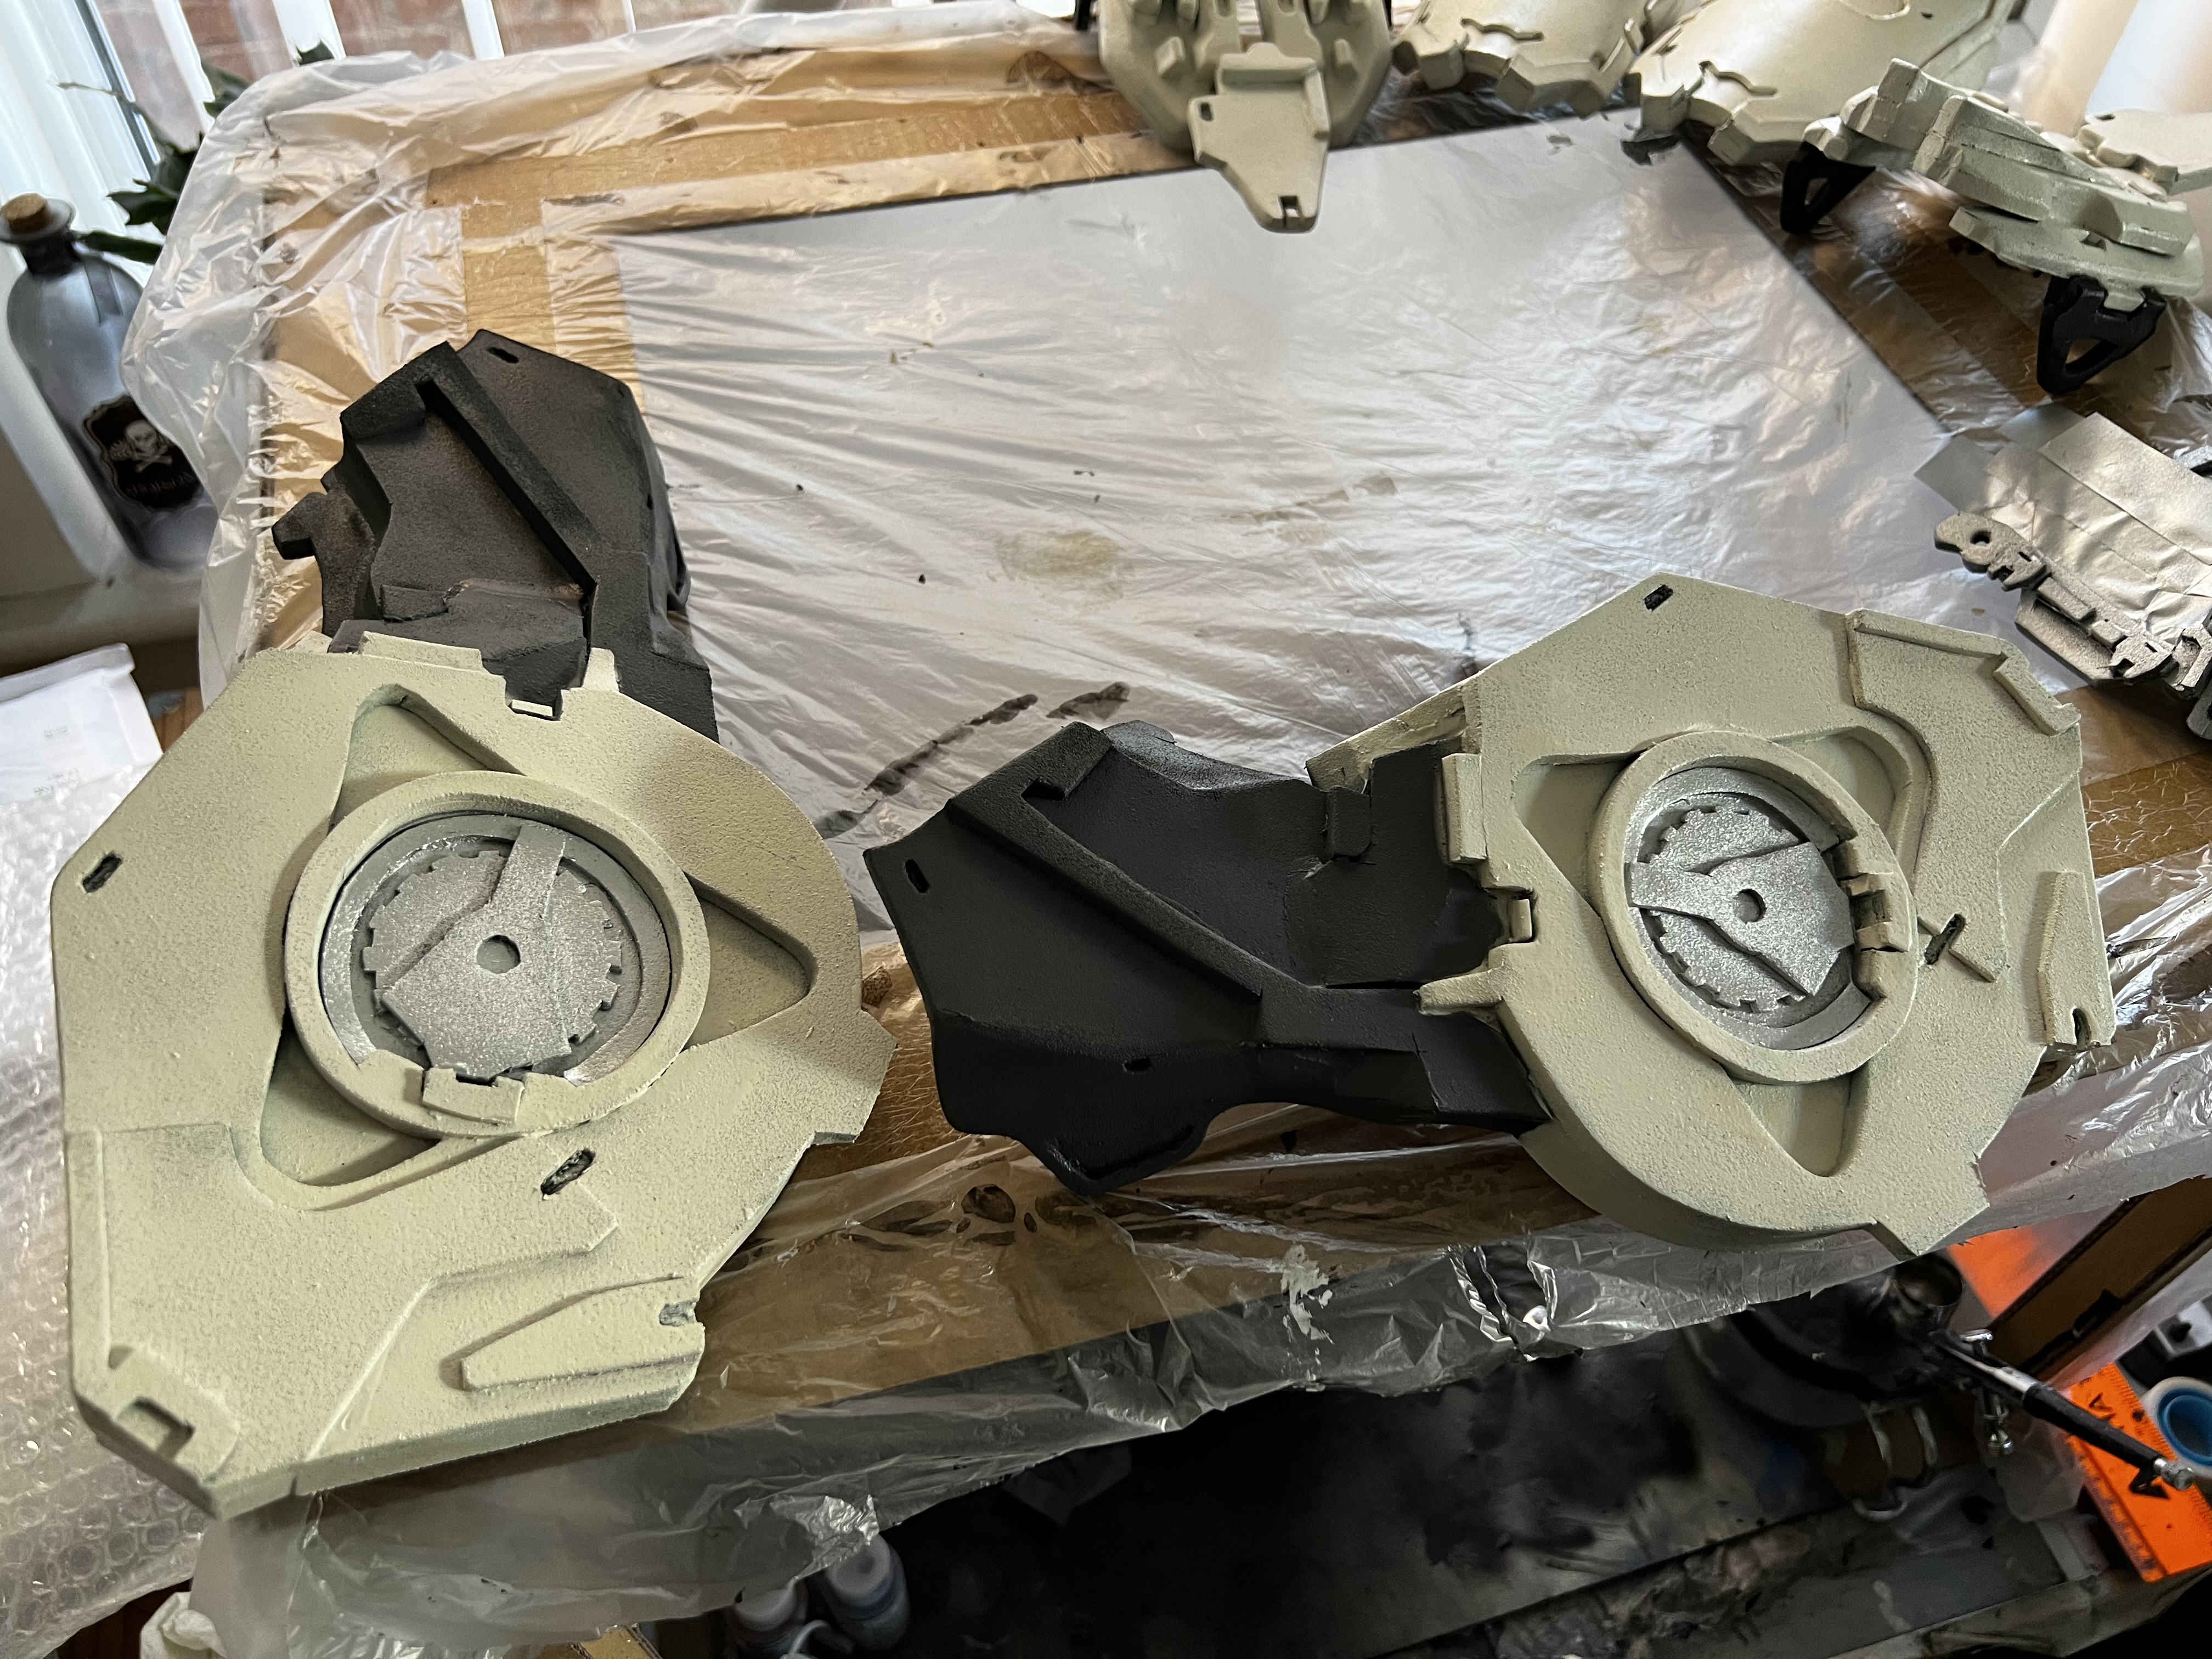
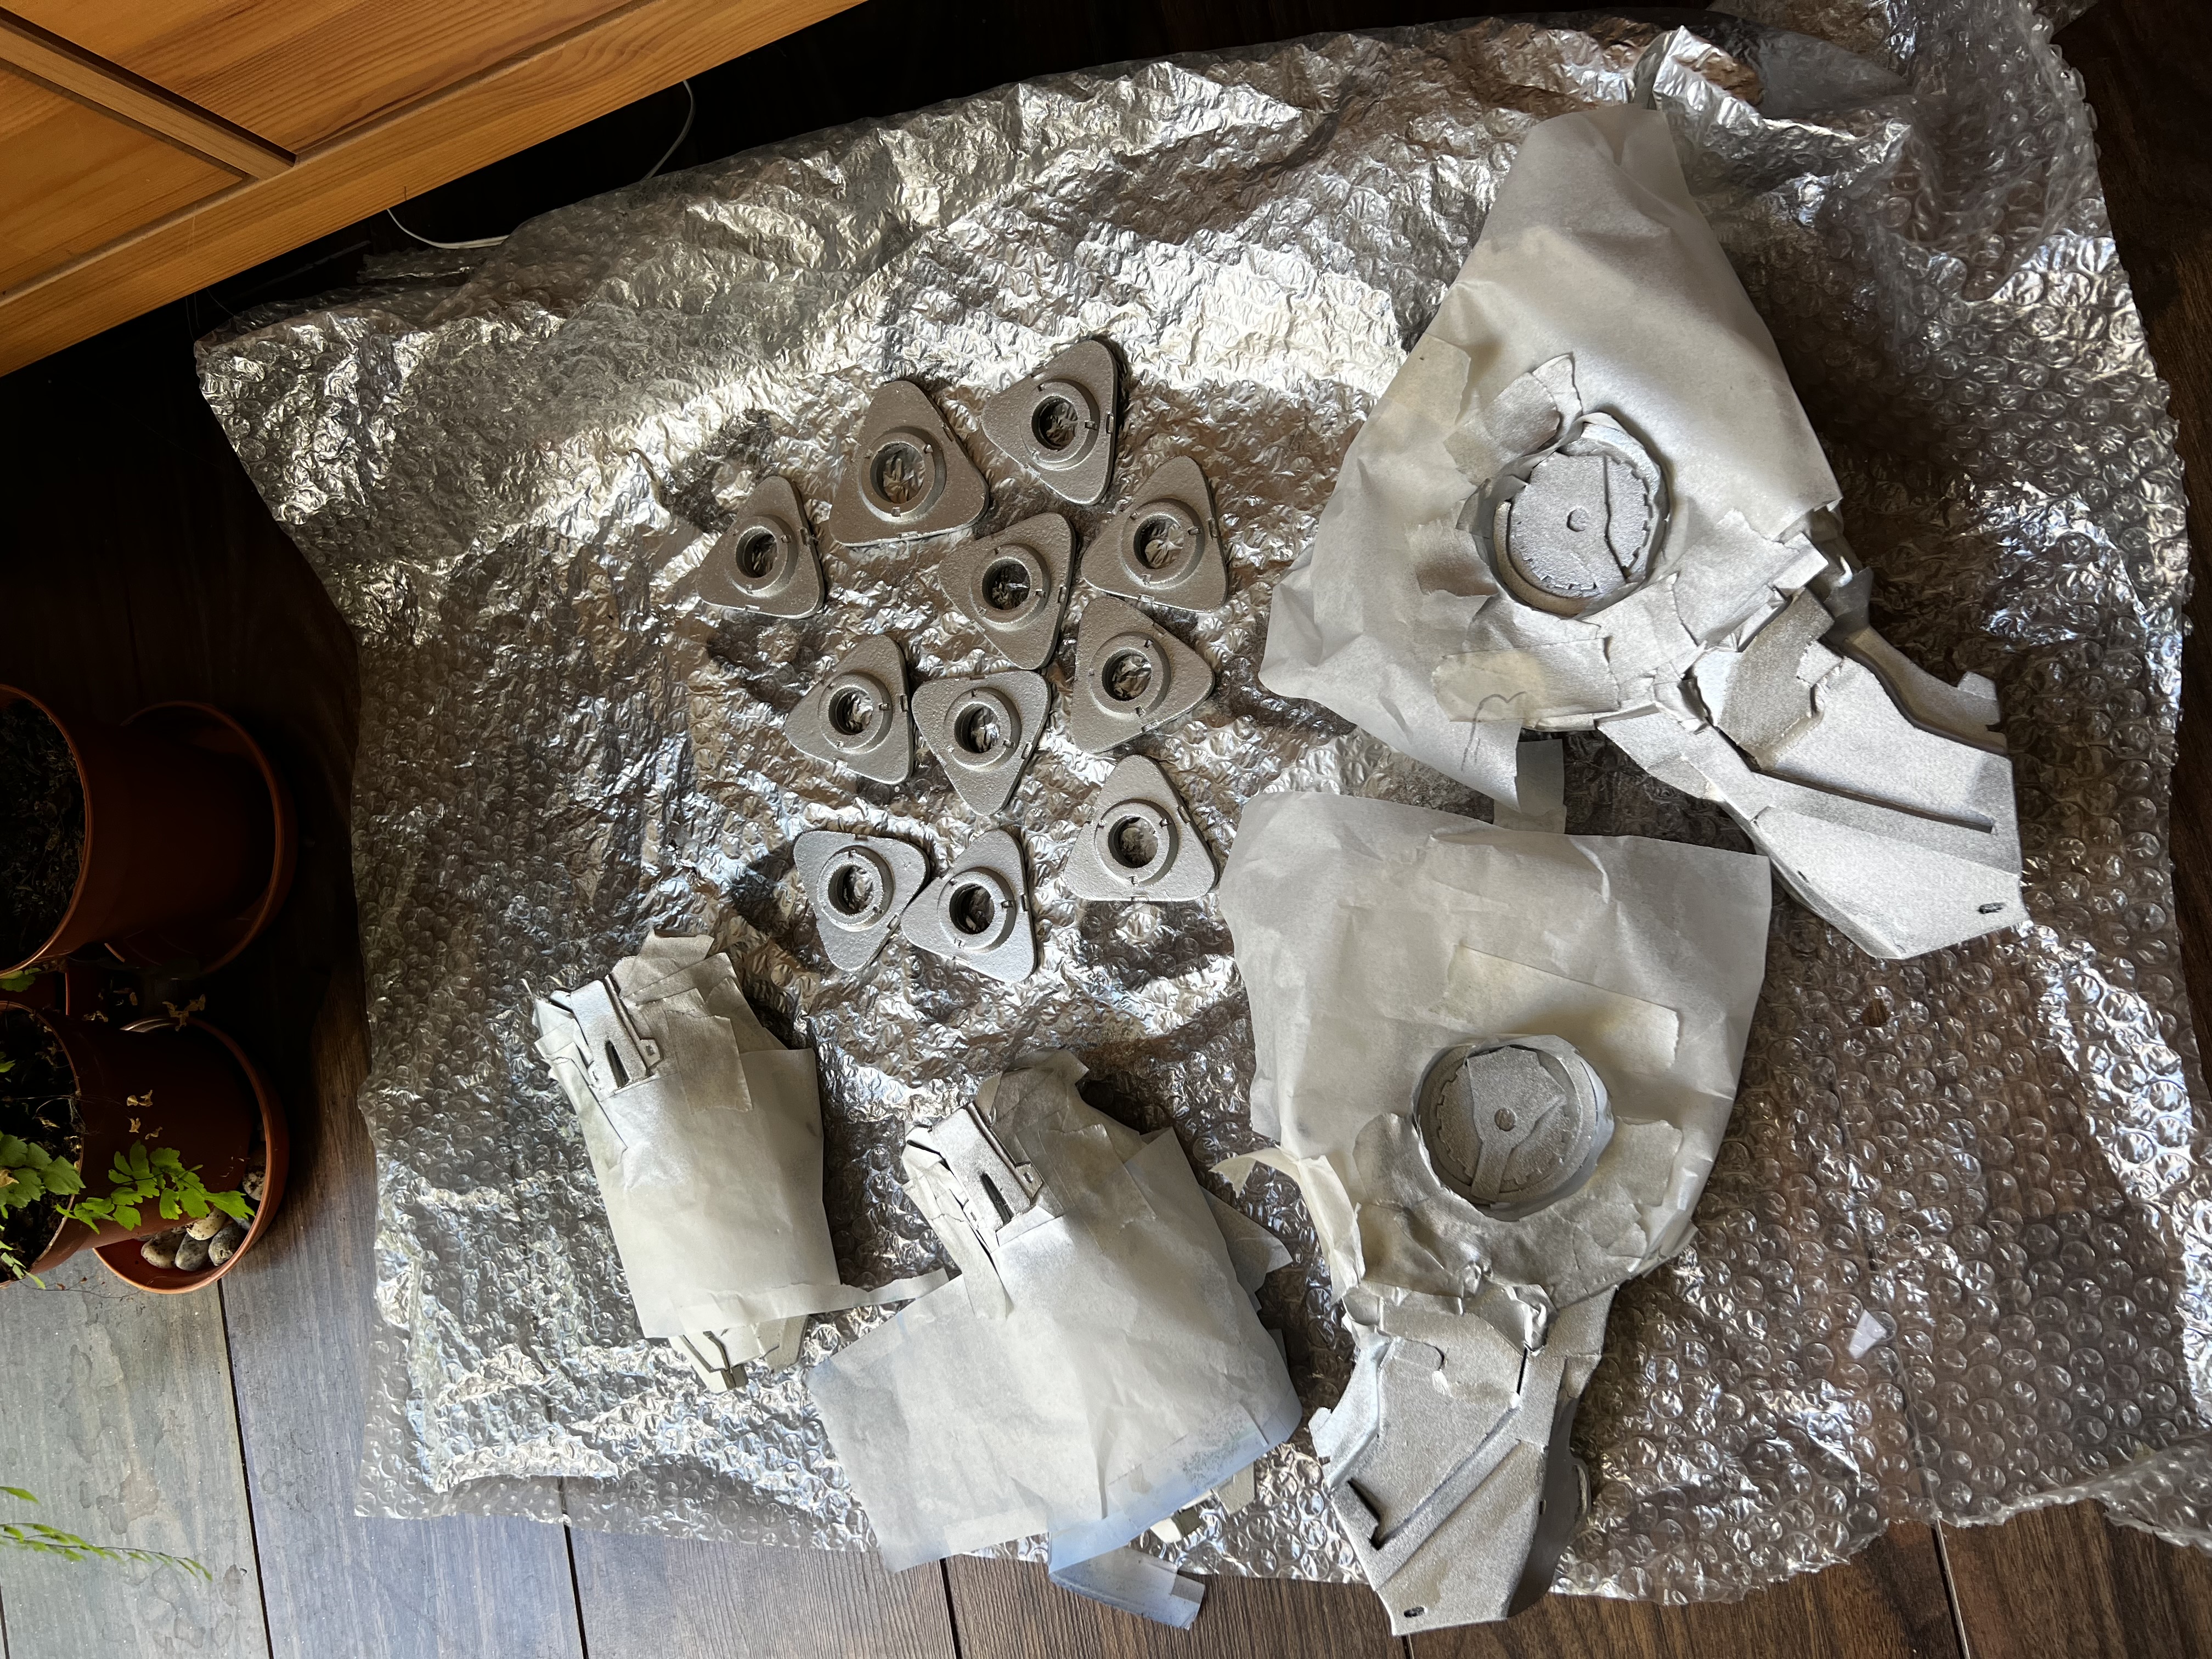
So, the armour had a base coat but that does not make it look real, just a base to work on. There were details to add and weathering to be done. I masked off and used some black and silver spray paint to add those colours to the relevant parts. For the gauntlets I first sprayed silver, then hair spray and then the black coat with the idea that I could scrape off the black to reveal the silver below.
This works, but honestly looks awful and each time I’ve tried it it’s led to me painting over it to fix the rough edges and peeling paint. It was much more effective just to dry brush the damage effects on as you have a lot more control over how much and where. Scrapping of the paint would often take off too much or pull up the under coat of paint too.
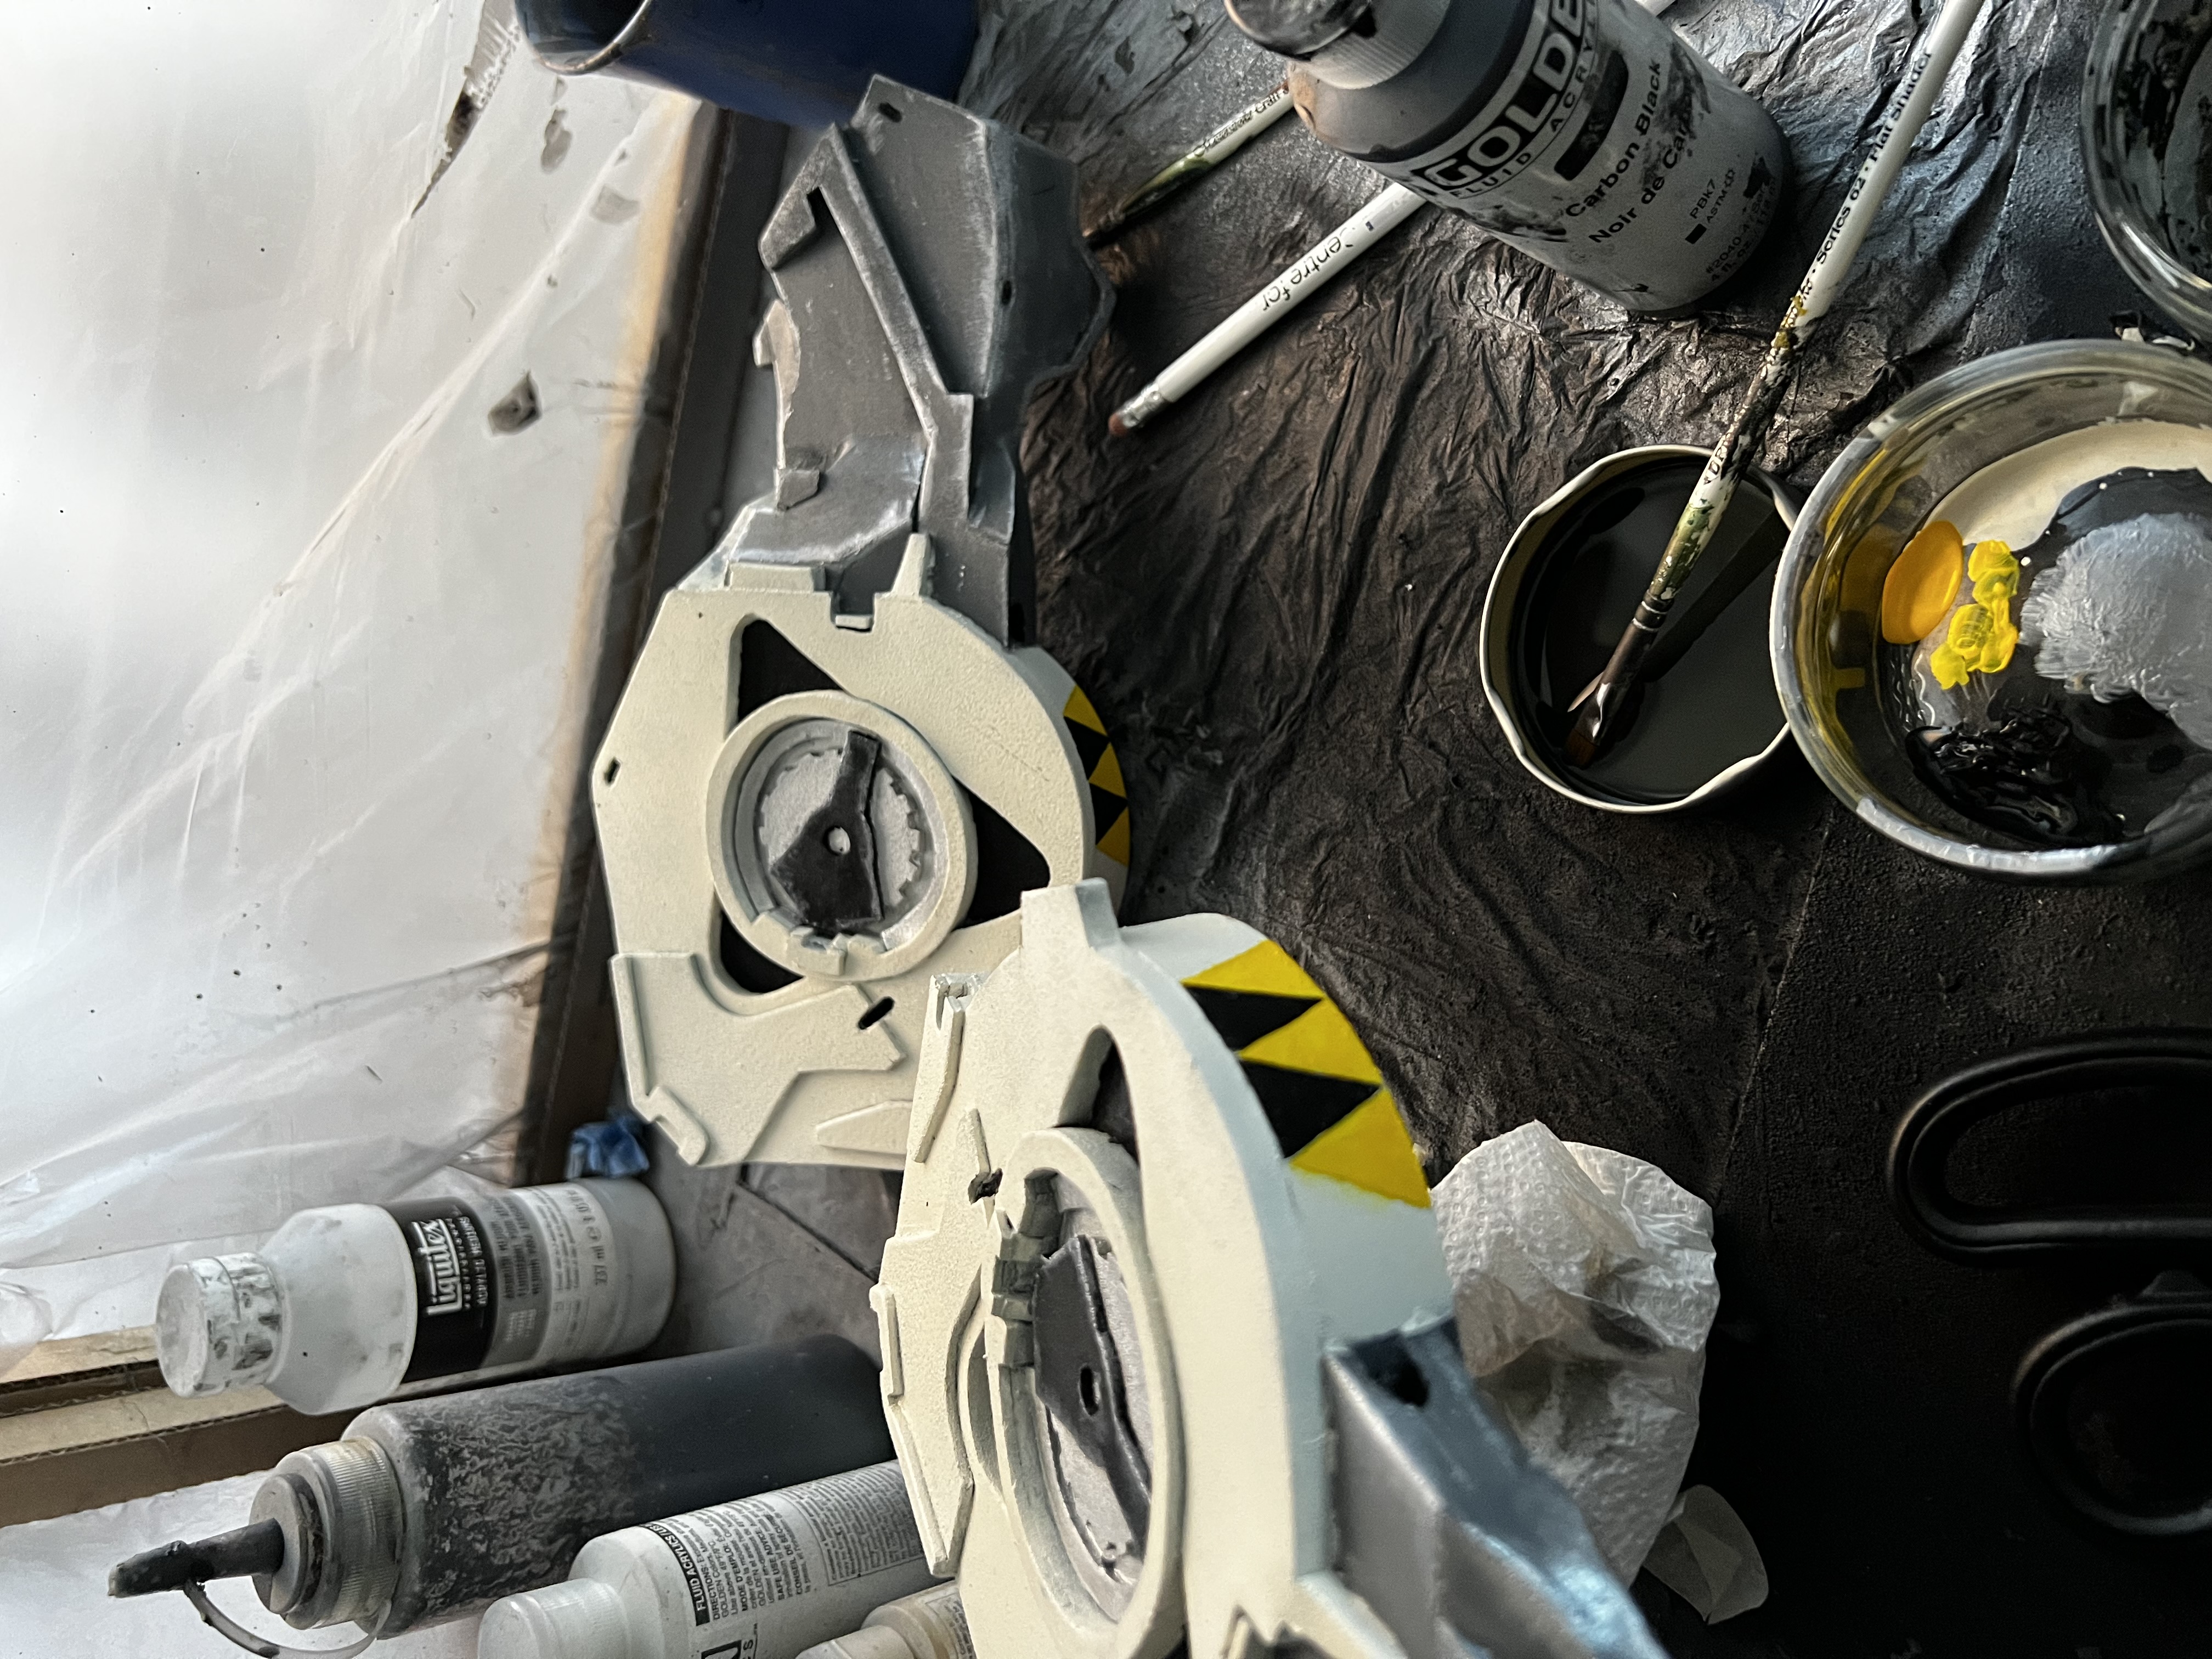
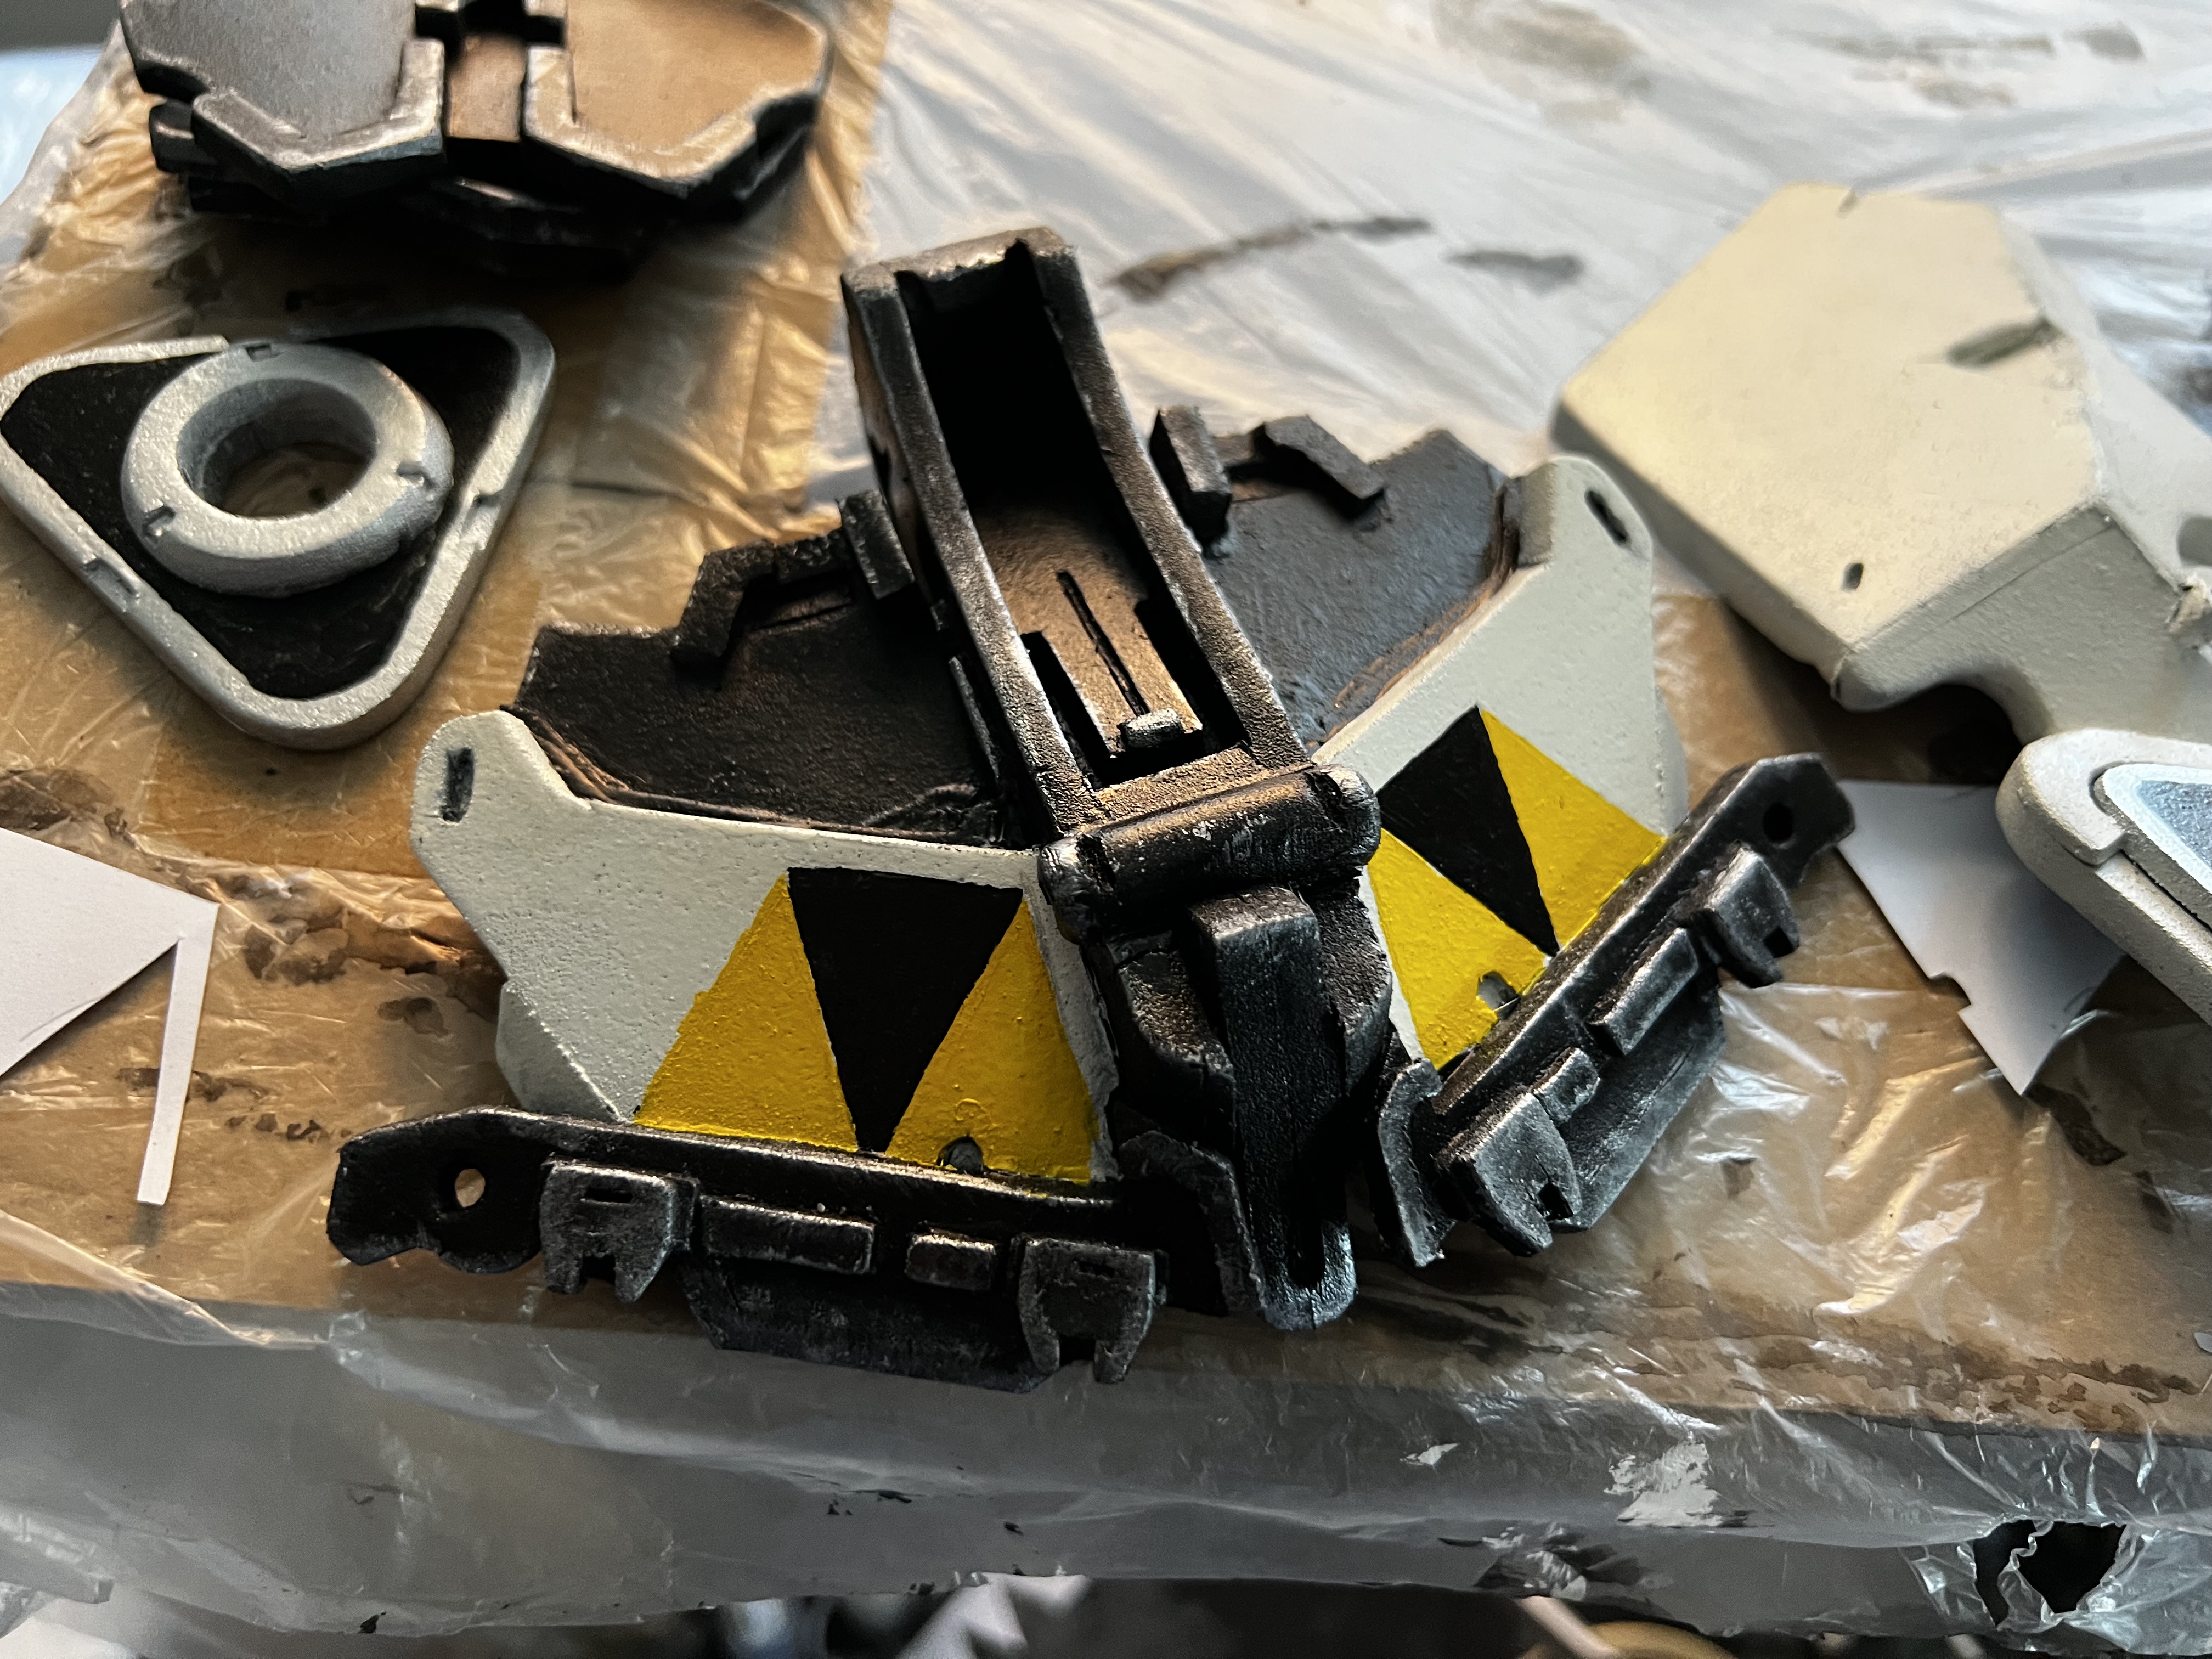
Next up was adding details to the upper arm pieces and headpiece. I got those nice sharp lines by carefully masking off the area and using a good brush to paint the colours on by hand. Whilst I could have airbrushed it, the setup to do so would have taken much longer than just using a paintbrush.
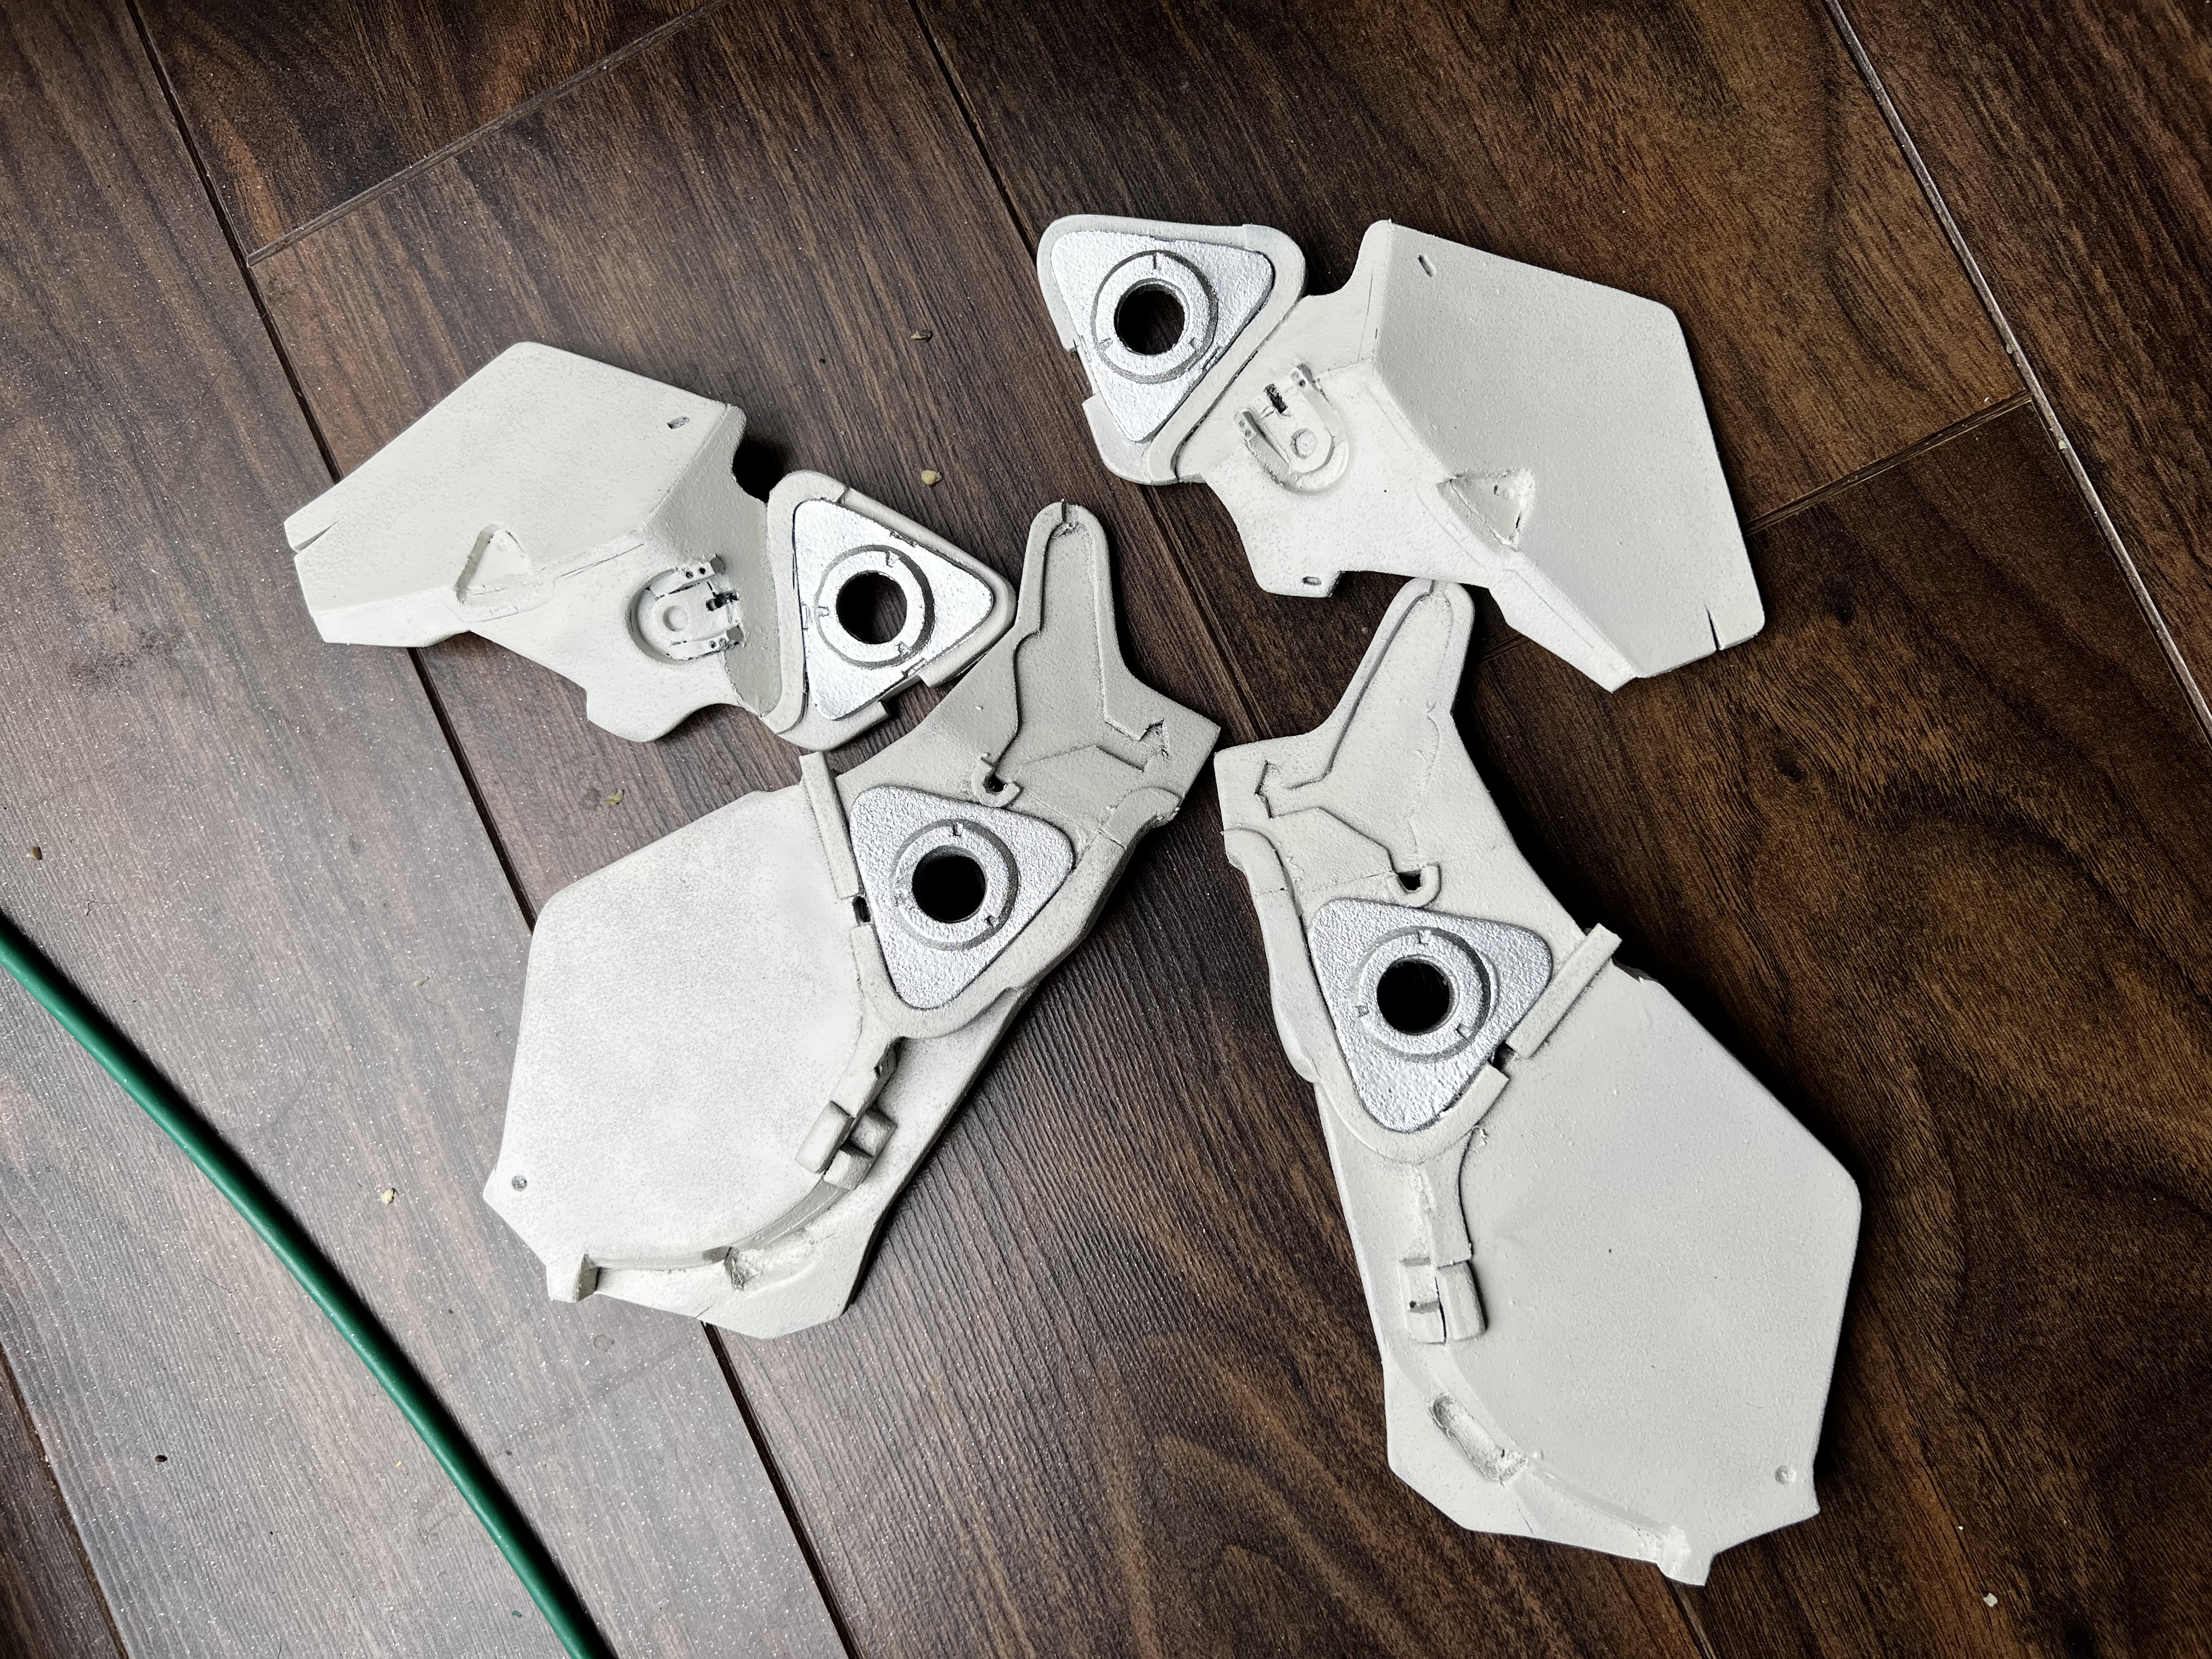
With the details in place I could start weathering. This involved just throwing on some watered down black and brown paint and wiping it off until it looked grubby, adding a few splotches of grey paint dabbed on using a piece of kitchen roll. Extra grubbiness was achieved by using a brown oil paint on the edges to give a look of rust or ingrained muck, wiping a lot of it away to get a more organic shape.
Boom! Armour done. This time I took the pieces outside to varnish which meant things where much, much less fume-y this time around.
Contact cement and velcro go brrrrr
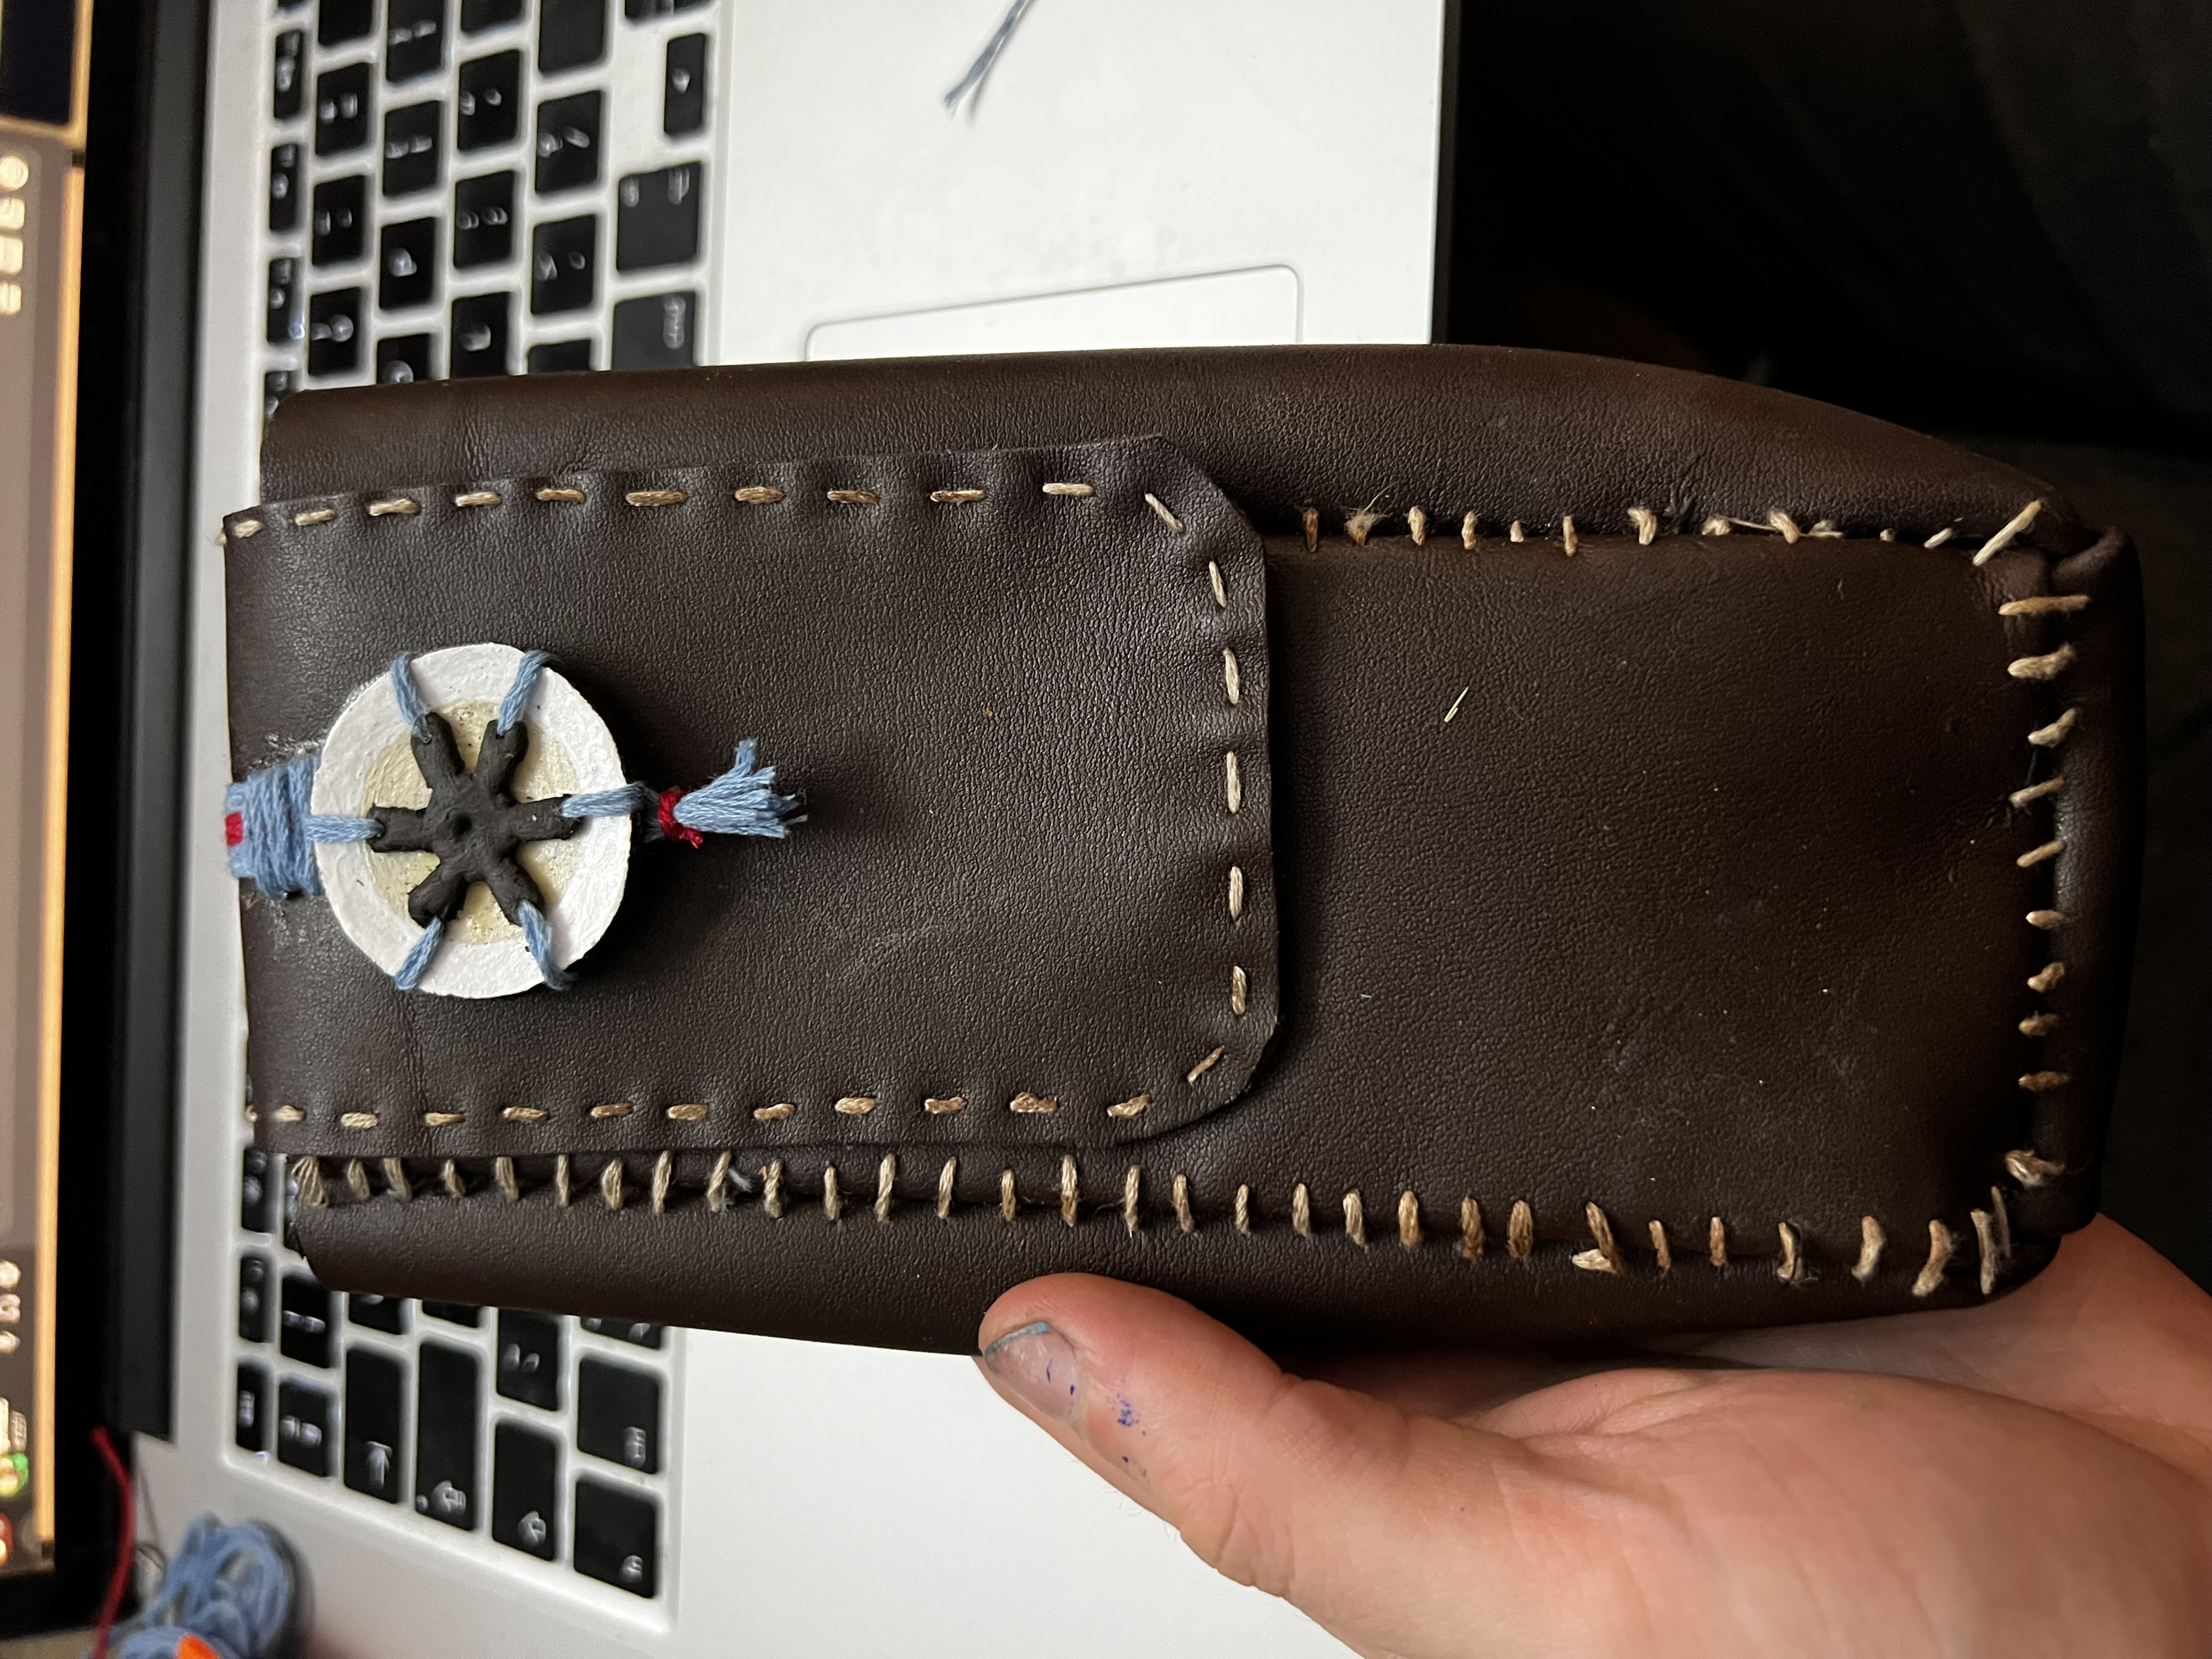
I have armour, now I need to attach it to the bits of costume I’ve made previously. First up is the front piece where each of the armour pieces and the emitter is attached using velcro contact cemented to the front. This works great! Cables are cut to length and again contact cemented into place on the back of the elements. Boom, easy!
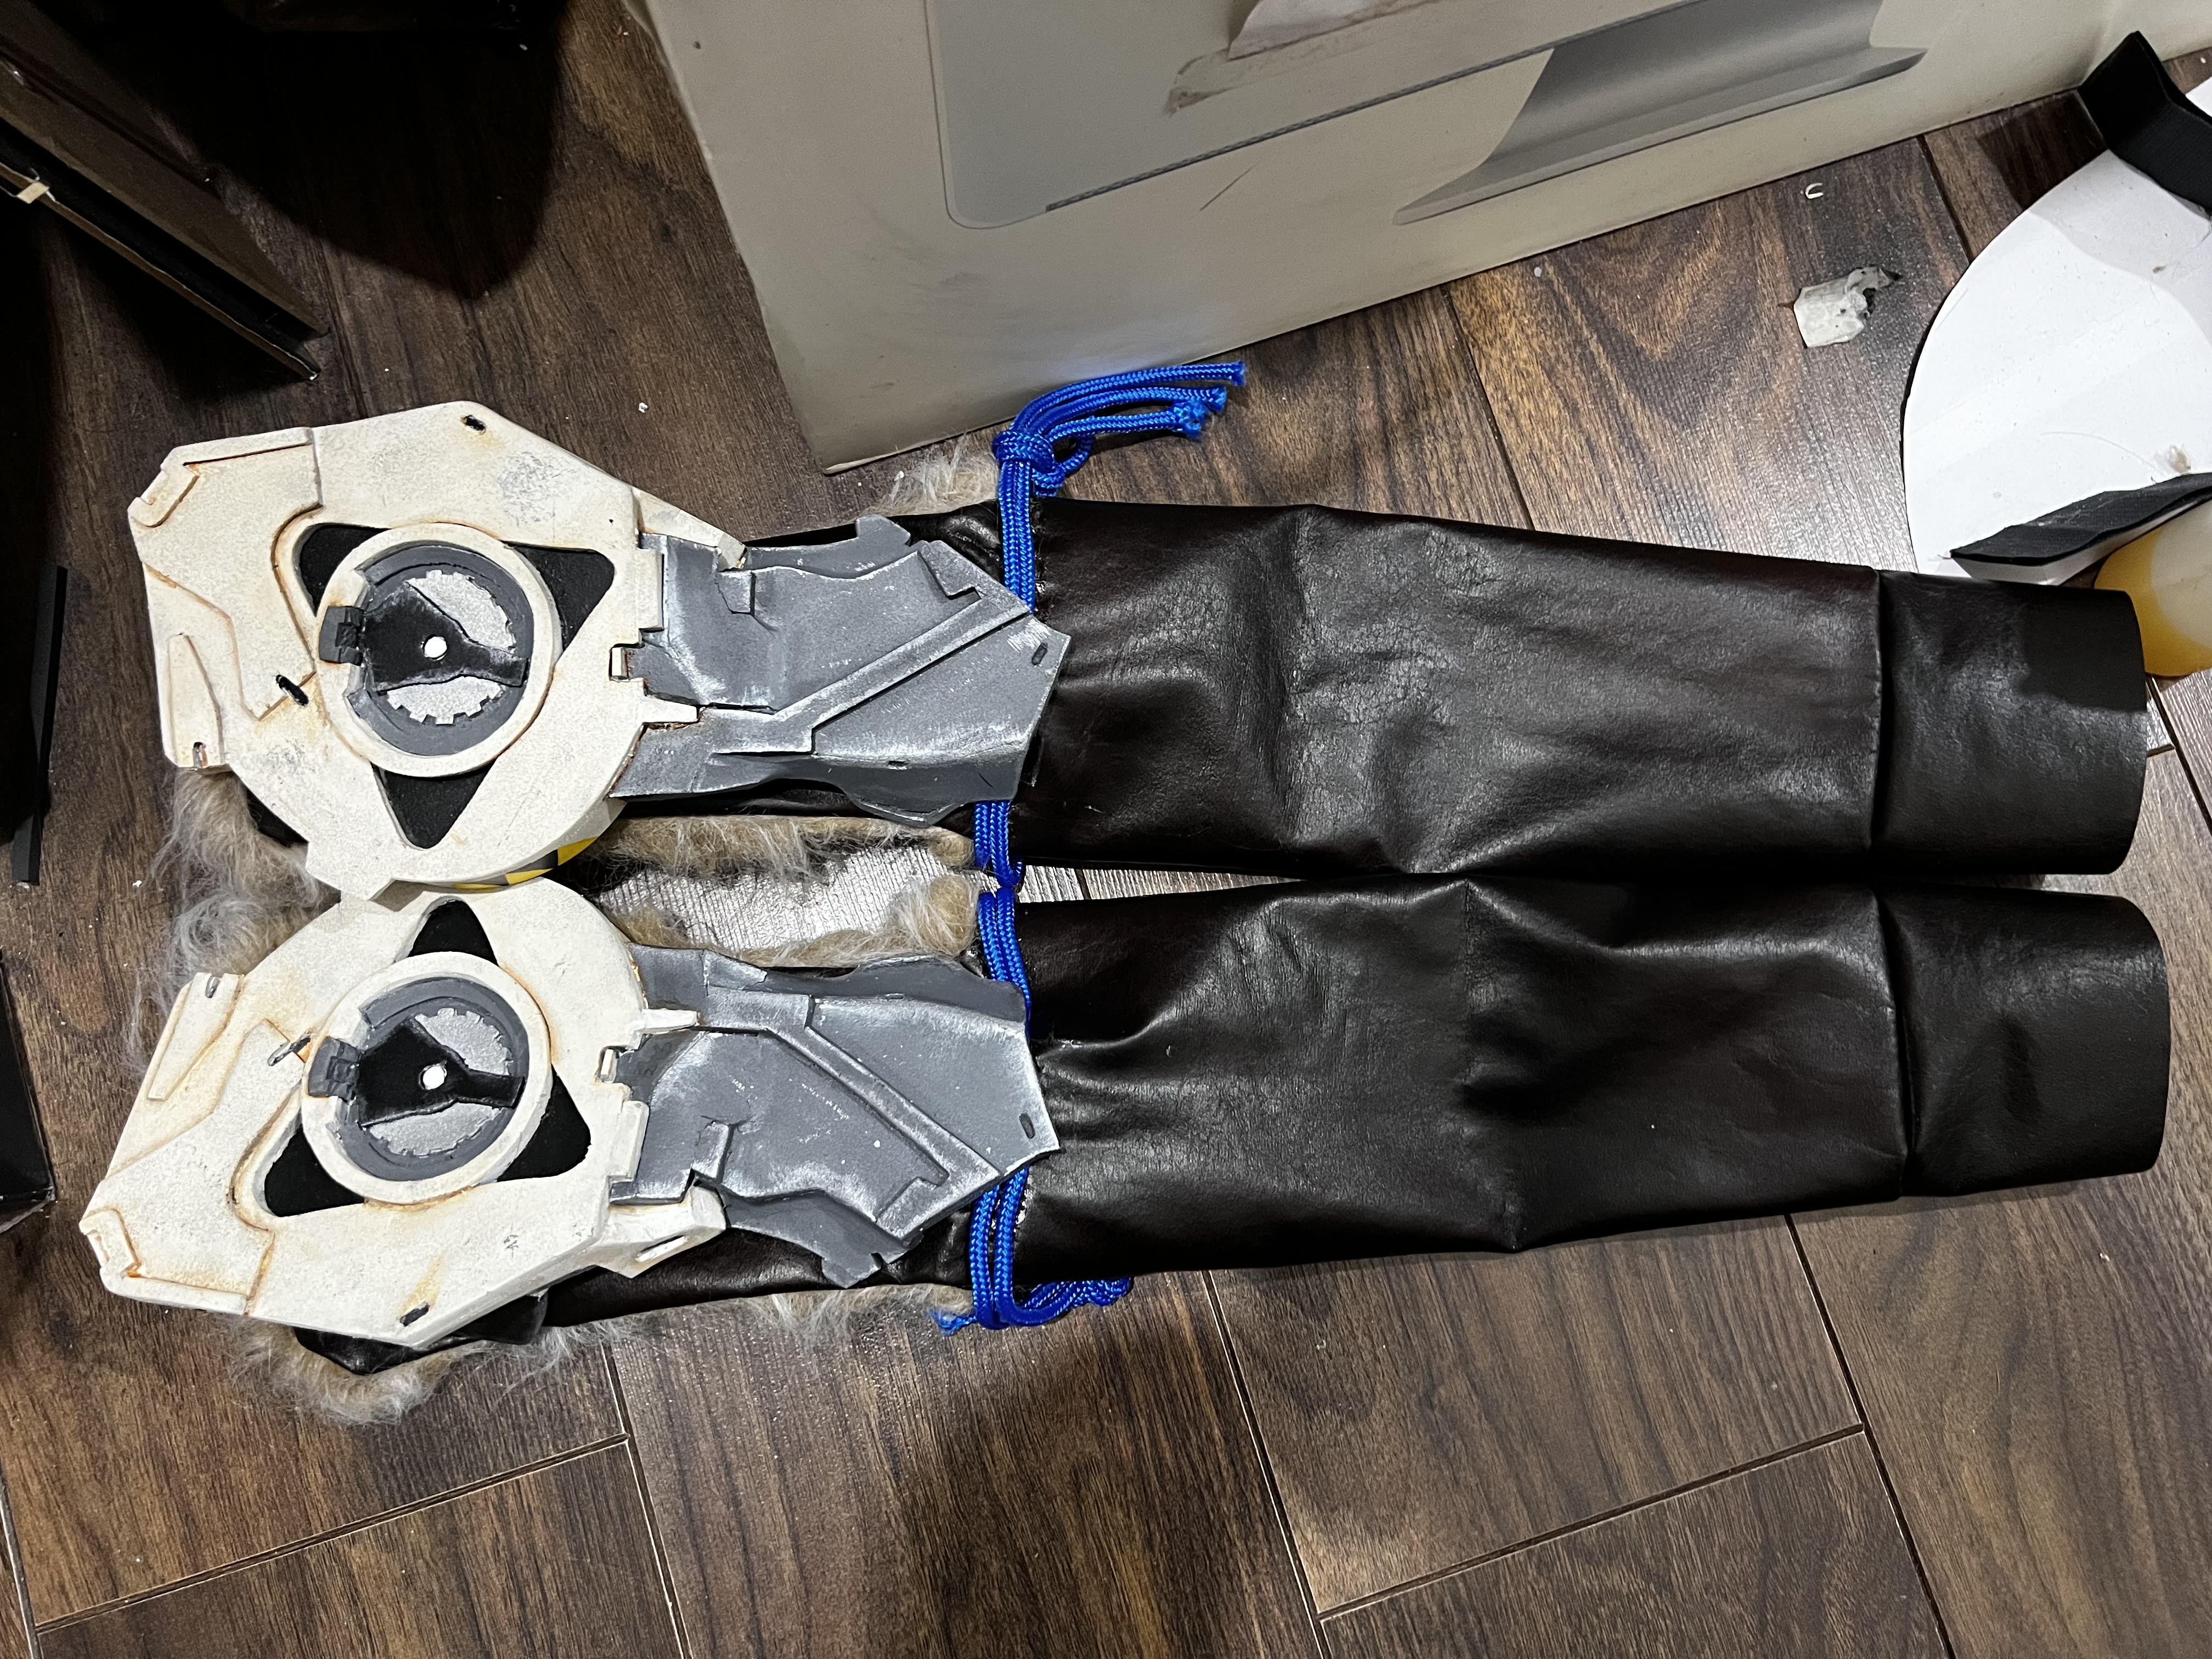
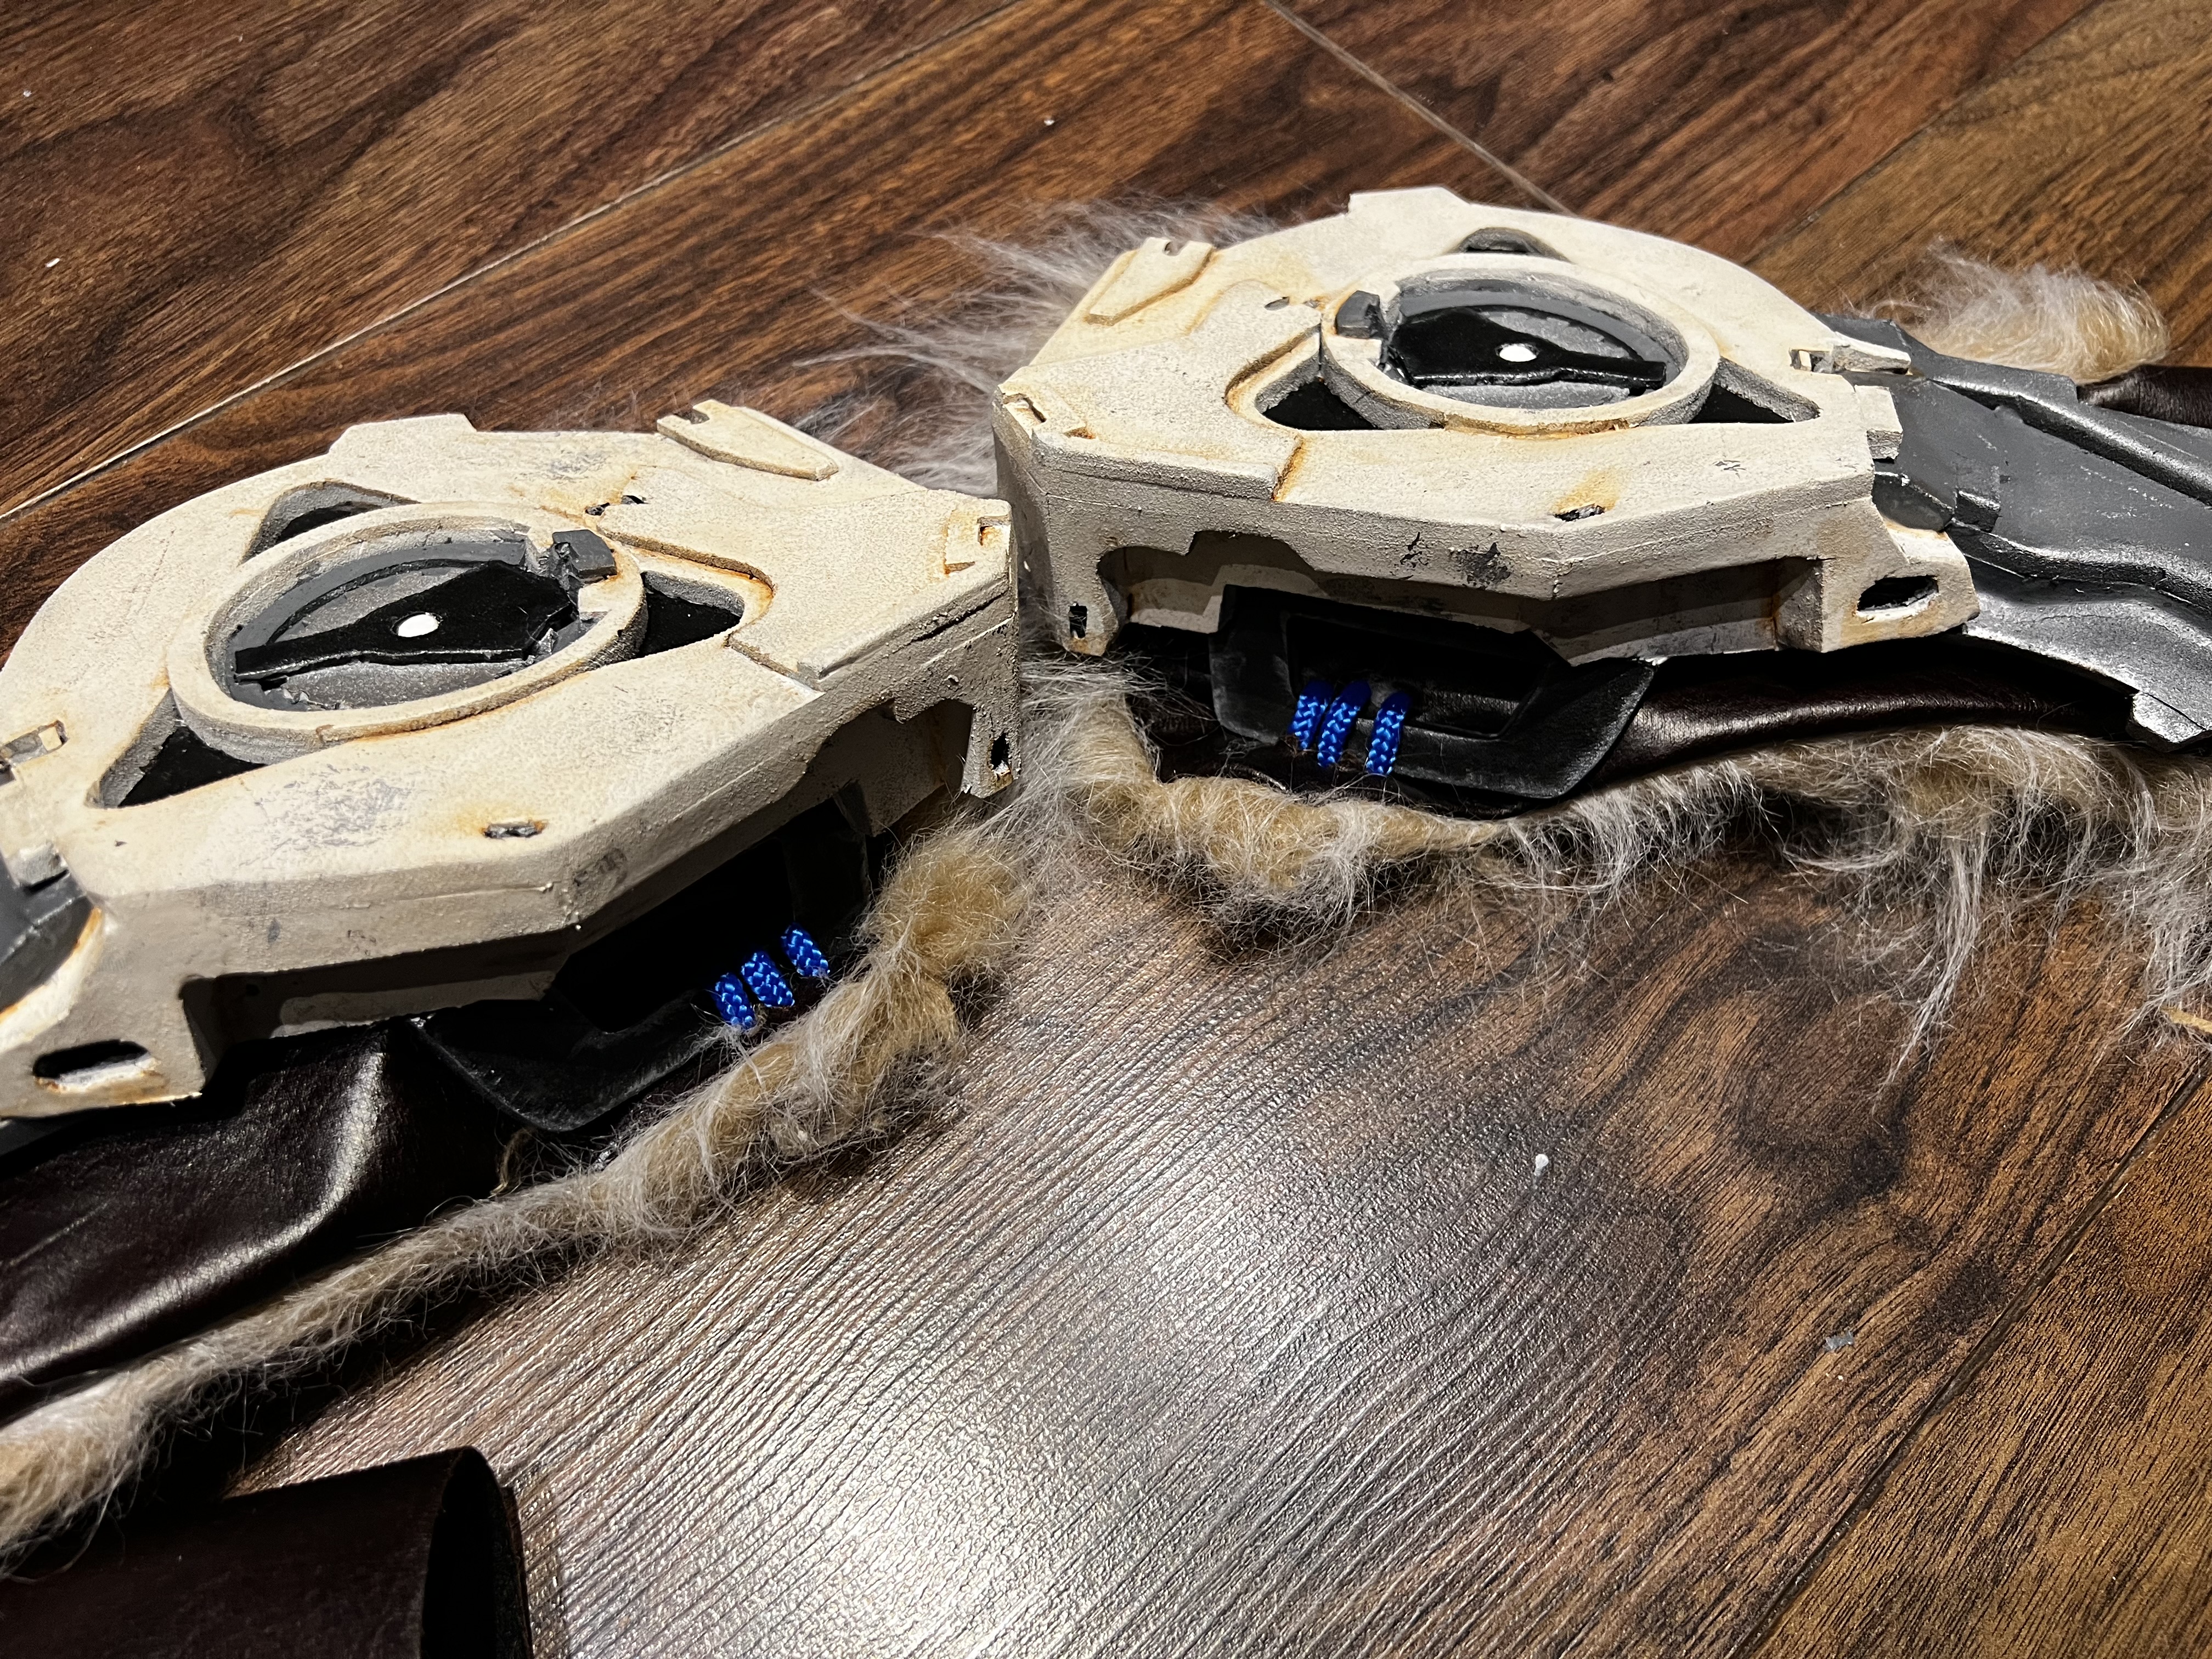
To attach the arm armour first up I made some holes and threaded through lengths of blue rope I had bought. It frays like mad, but holds together enough to be tied into place. Extra rope is wound around the arms and then glued into place since this rope is slippy AF. The armour is then also contact cemented on.
I’m not going to lie, the answer to “how did you do that” is mostly going to involve me saying contact cement a lot so I’m going to gloss over a few things. Feel free to drop me a message @smojcosplay to get more details!
I added some piping to the leg wraps, this was just 10mm (I think?) foam dowels from PolyProps that had been primed and painted black. It worked great! The blue cables where actually some black CAT5 cable I had spare, painted a glorious blue. They looked so much better than I’d hoped.
Adding details to the flaps
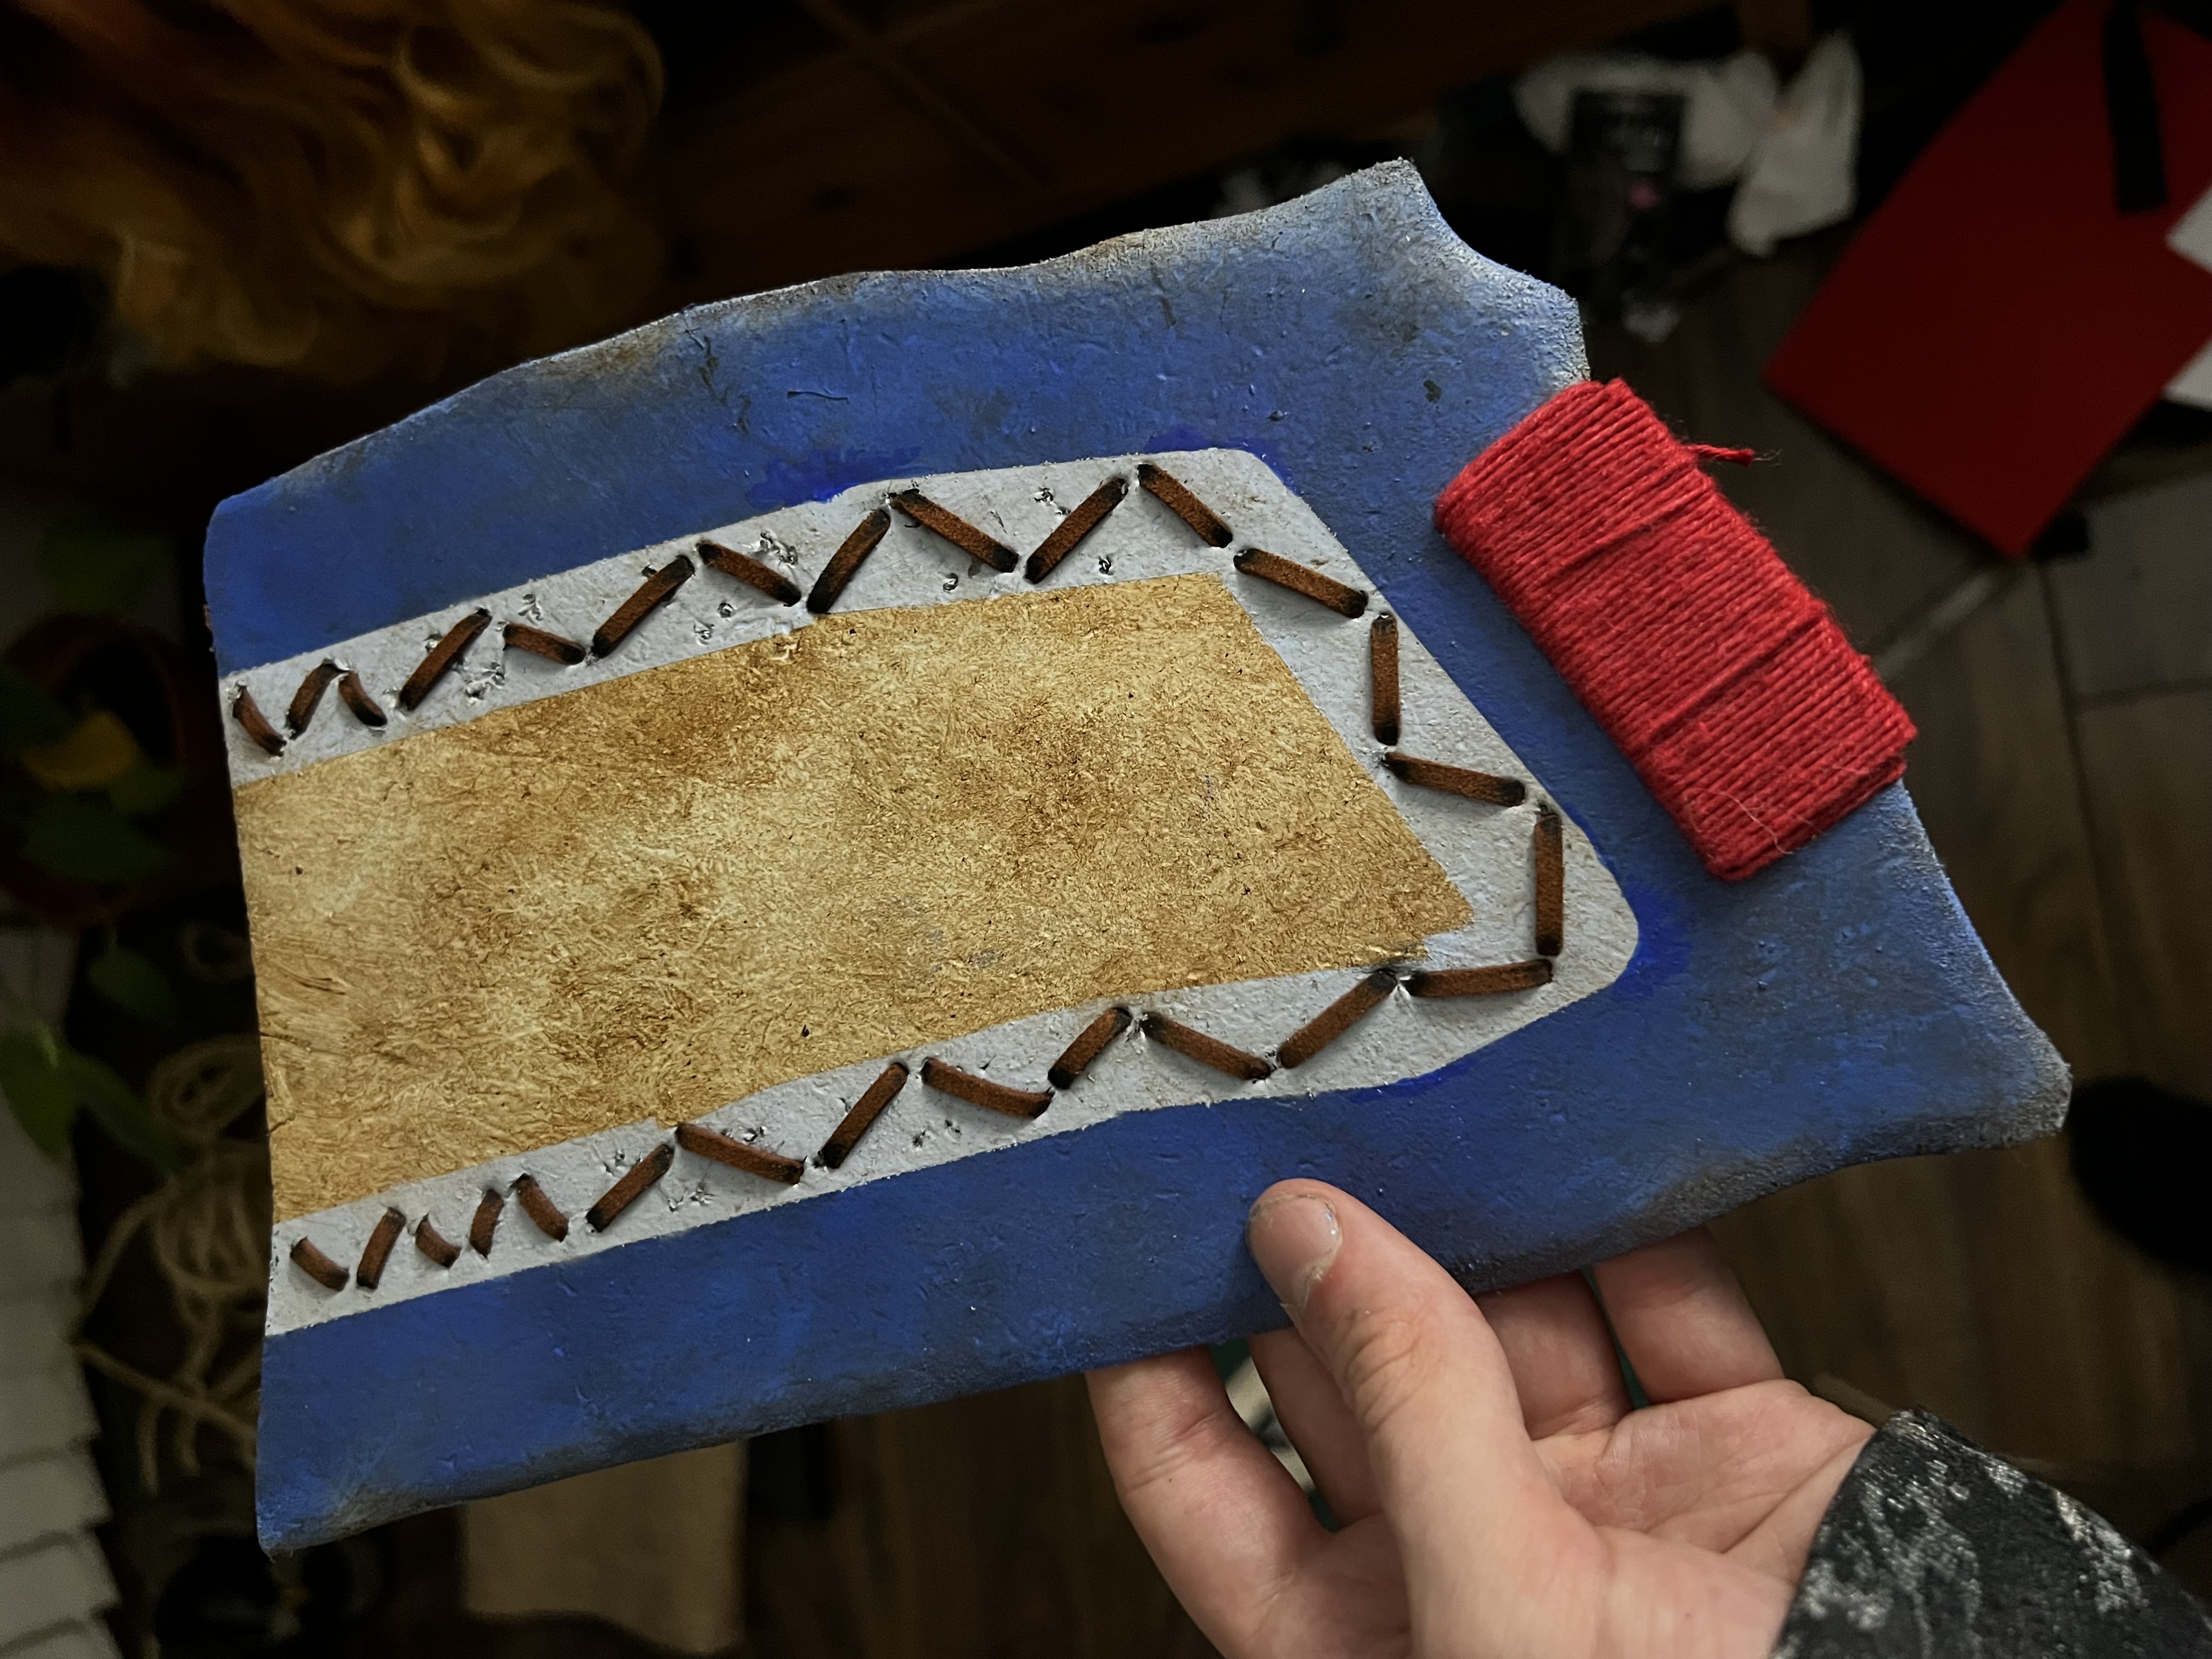
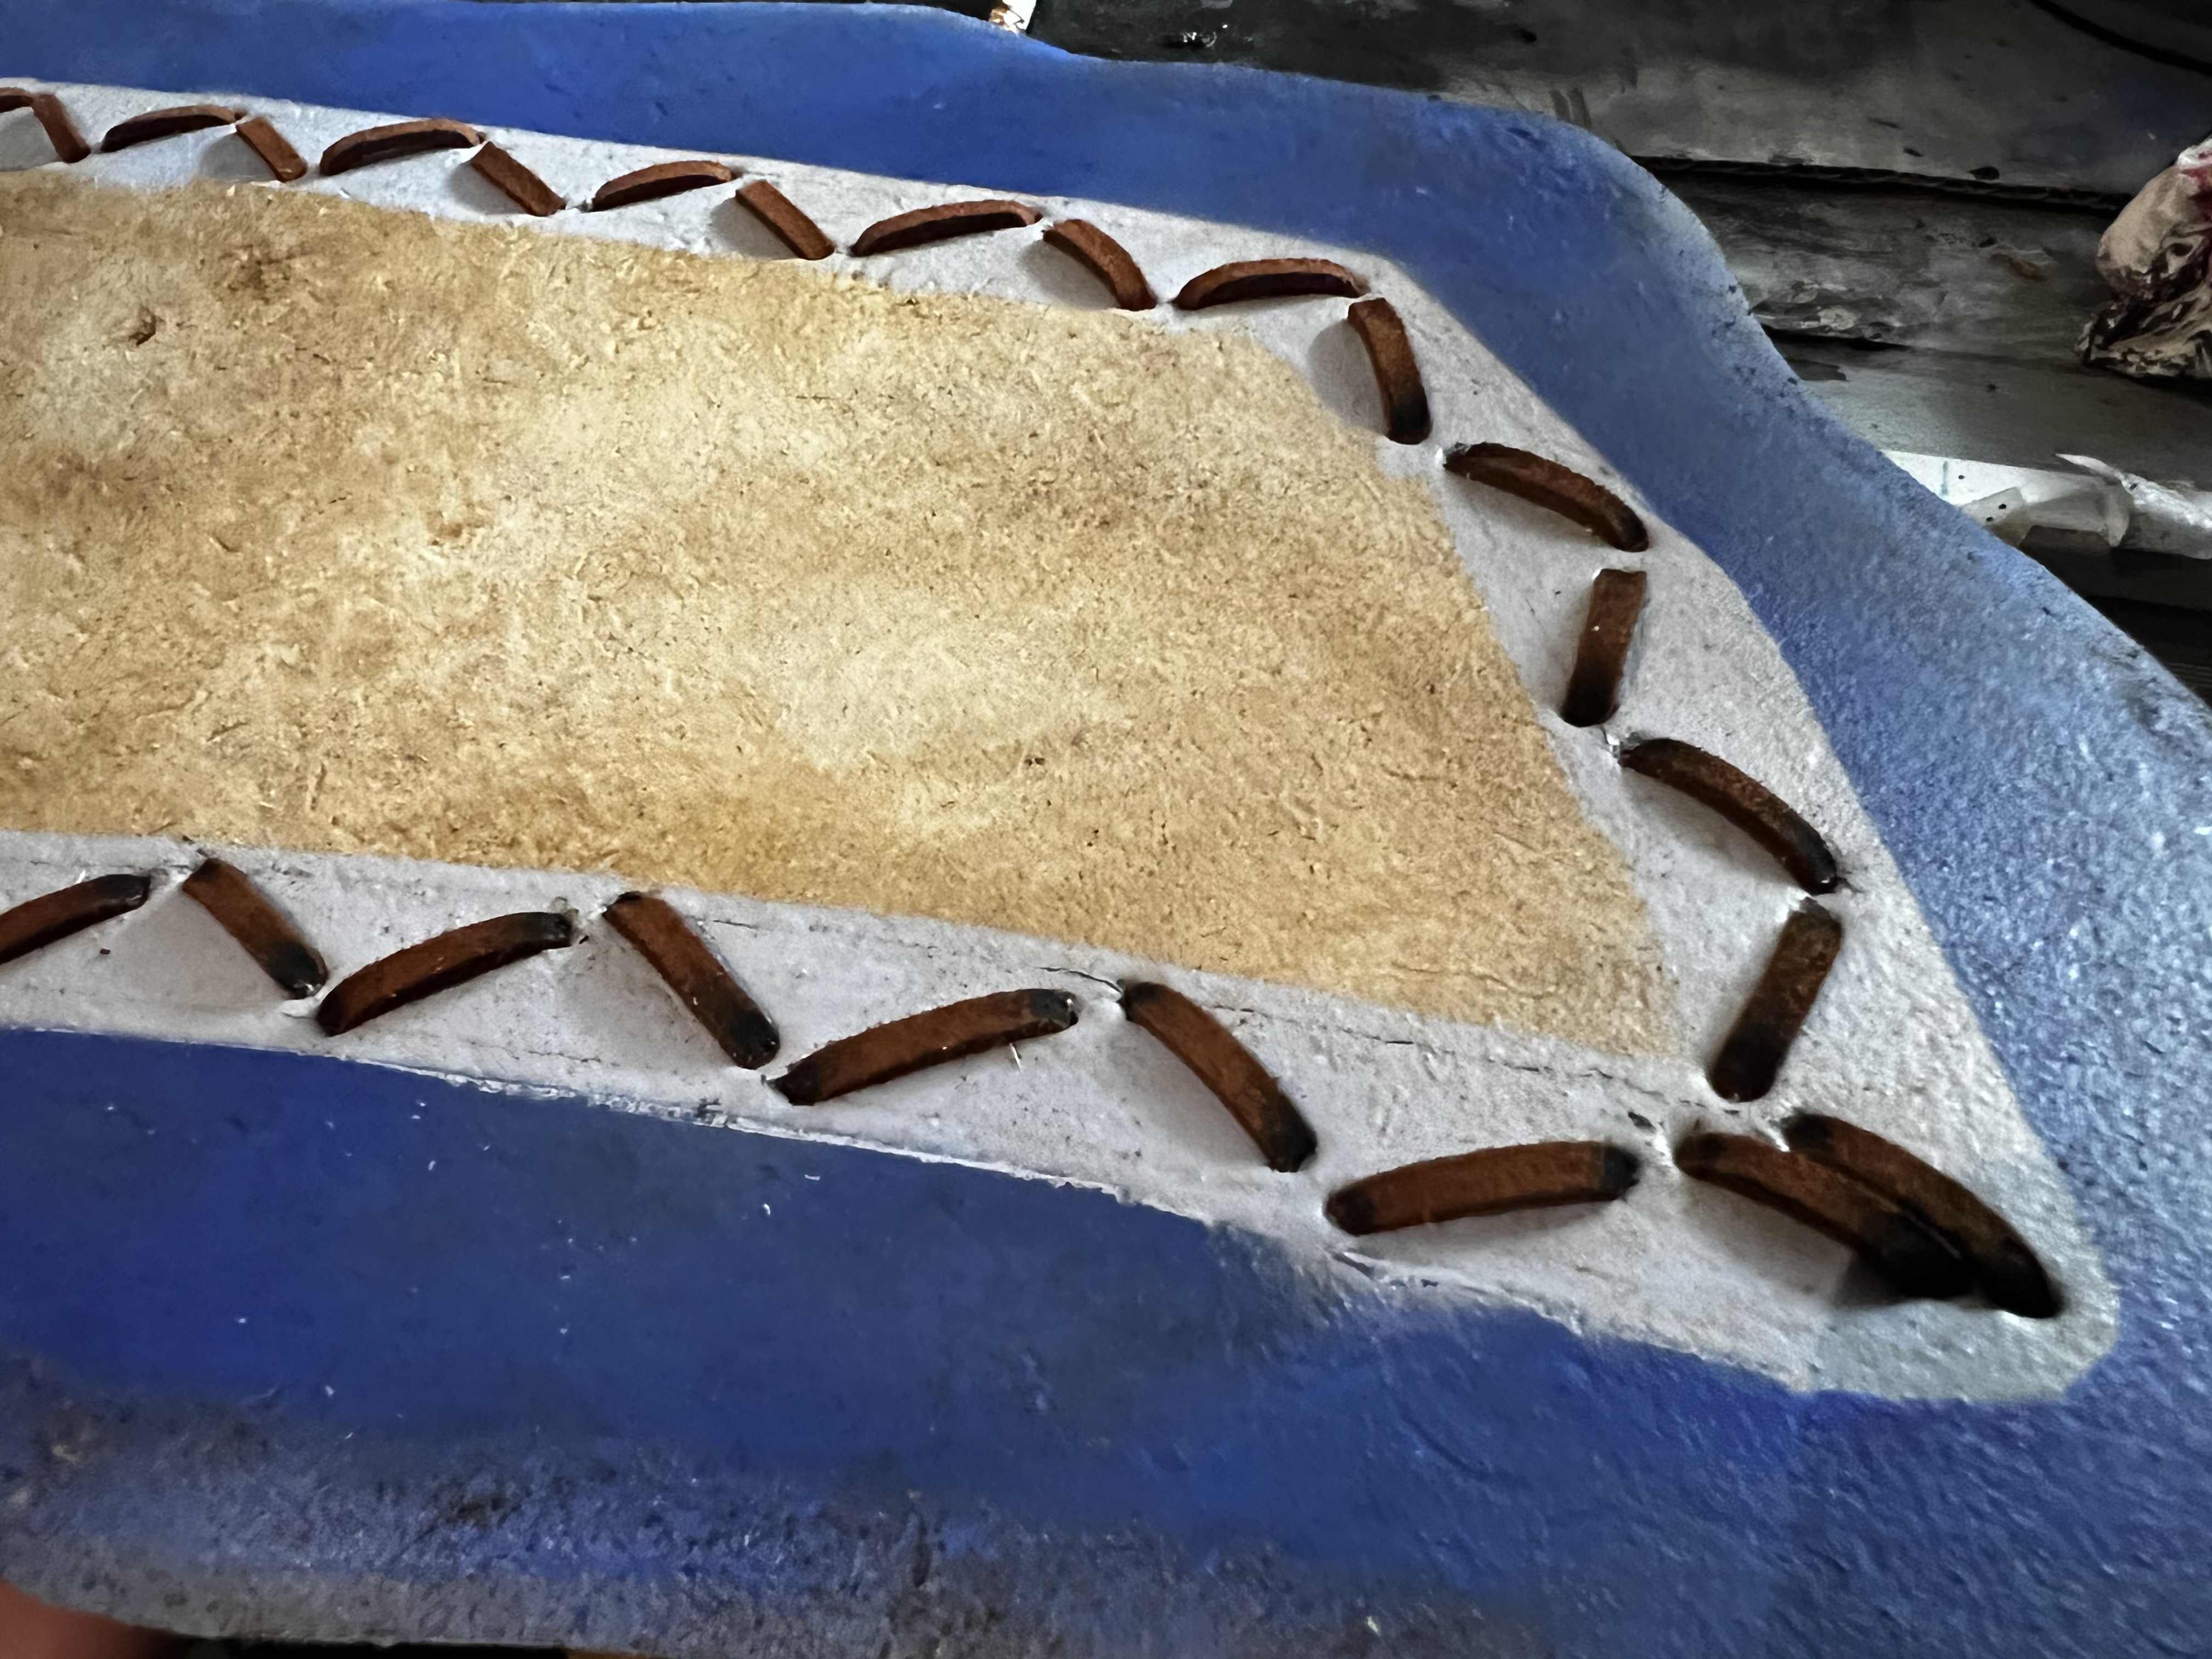
It’s threading time! This was pretty time consuming as I had to drill small pilot holes before I could drill and actual sizable enough hole to push the faux leather cord through. Why? Because just drilling with the bit of the size I needed caused a right mess, and just cutting a slit with craft knife led to weird lumps.
So I sat there and threaded the cord whilst playing D&D, adding some black paint to the edges to make it look weathered. Easy! Next step: the red patches.
A few trials led to the solution of gluing a piece of 2mm foam to the flaps, cutting a slit next to it and then just winding the red thread around it until it looked right. With 3-5 of these per flap, there was a lot of winding to do (again, mostly all done during D&D!).
With the flaps done, I sewed a simple belt out of some old black canvas like material I had (which did used to be a no-face costume. It was far, far to warm to wear though!) and used velcro to hold it shut. The flaps where then arranged and sewn on using black thread. I only did one line, which did come back to bite me during the costume test.
Plan A through G
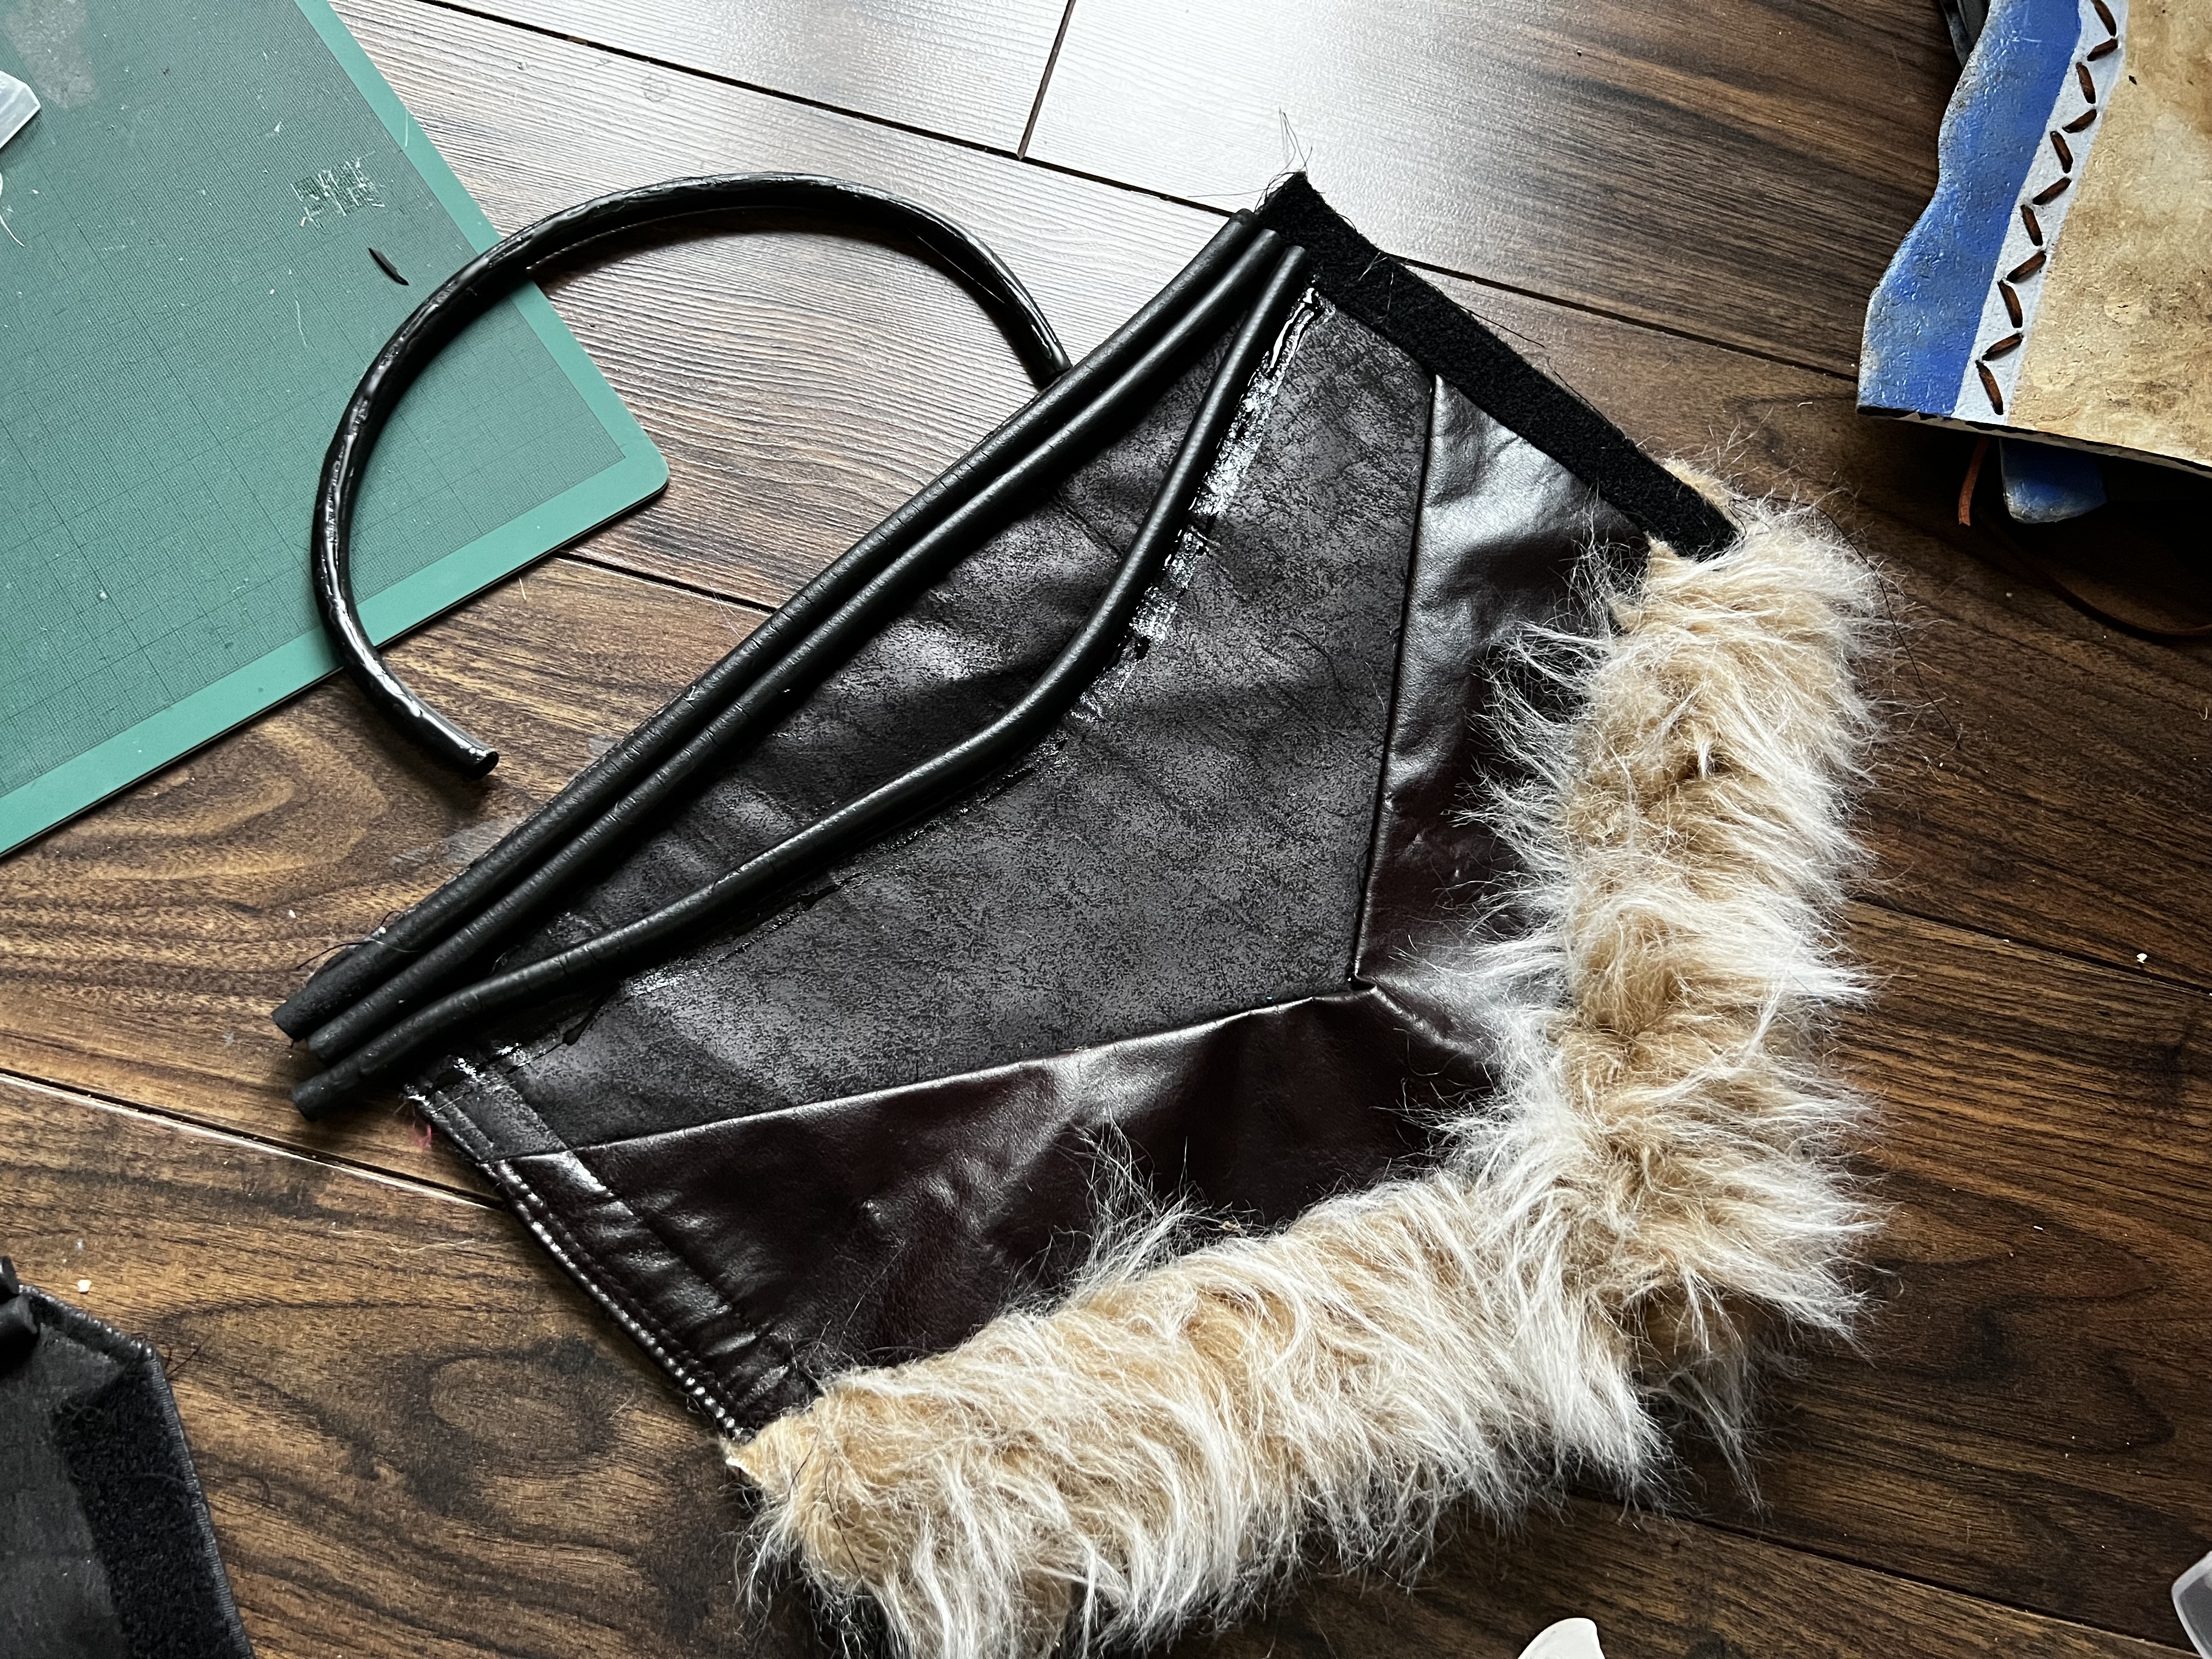
Aloy has pipes around her torso, something I thought shouldn’t be that hard to get right. Oh boy was I WRONG. I went through plan after plan, none of which worked right but thankfully did provide ideas for the next.
The one that ultimately worked, Plan G, involved getting the pattern for a waistcoat (from the sewing bee website, thanks!), making said waistcoat and attaching the dowels (using contact cement of course) after adding slashes to one side to give them more bend.
The waistcoat was then held shut using a lot of velcro, sewed on for extra holding power. And this worked! It was as conformable as you can get having a bunch of pipes wrapped around your upper body.
Rushing to get the bow done
Of course, whilst I’m doing all of this assembly of the main costume I’m also priming, painting and on the fly redesigning parts of the bow to have it work. I tried the hairspray layer paint trick to give rough edges but it didn’t look great and I did end up painting over whole sections to hide a lot of this.
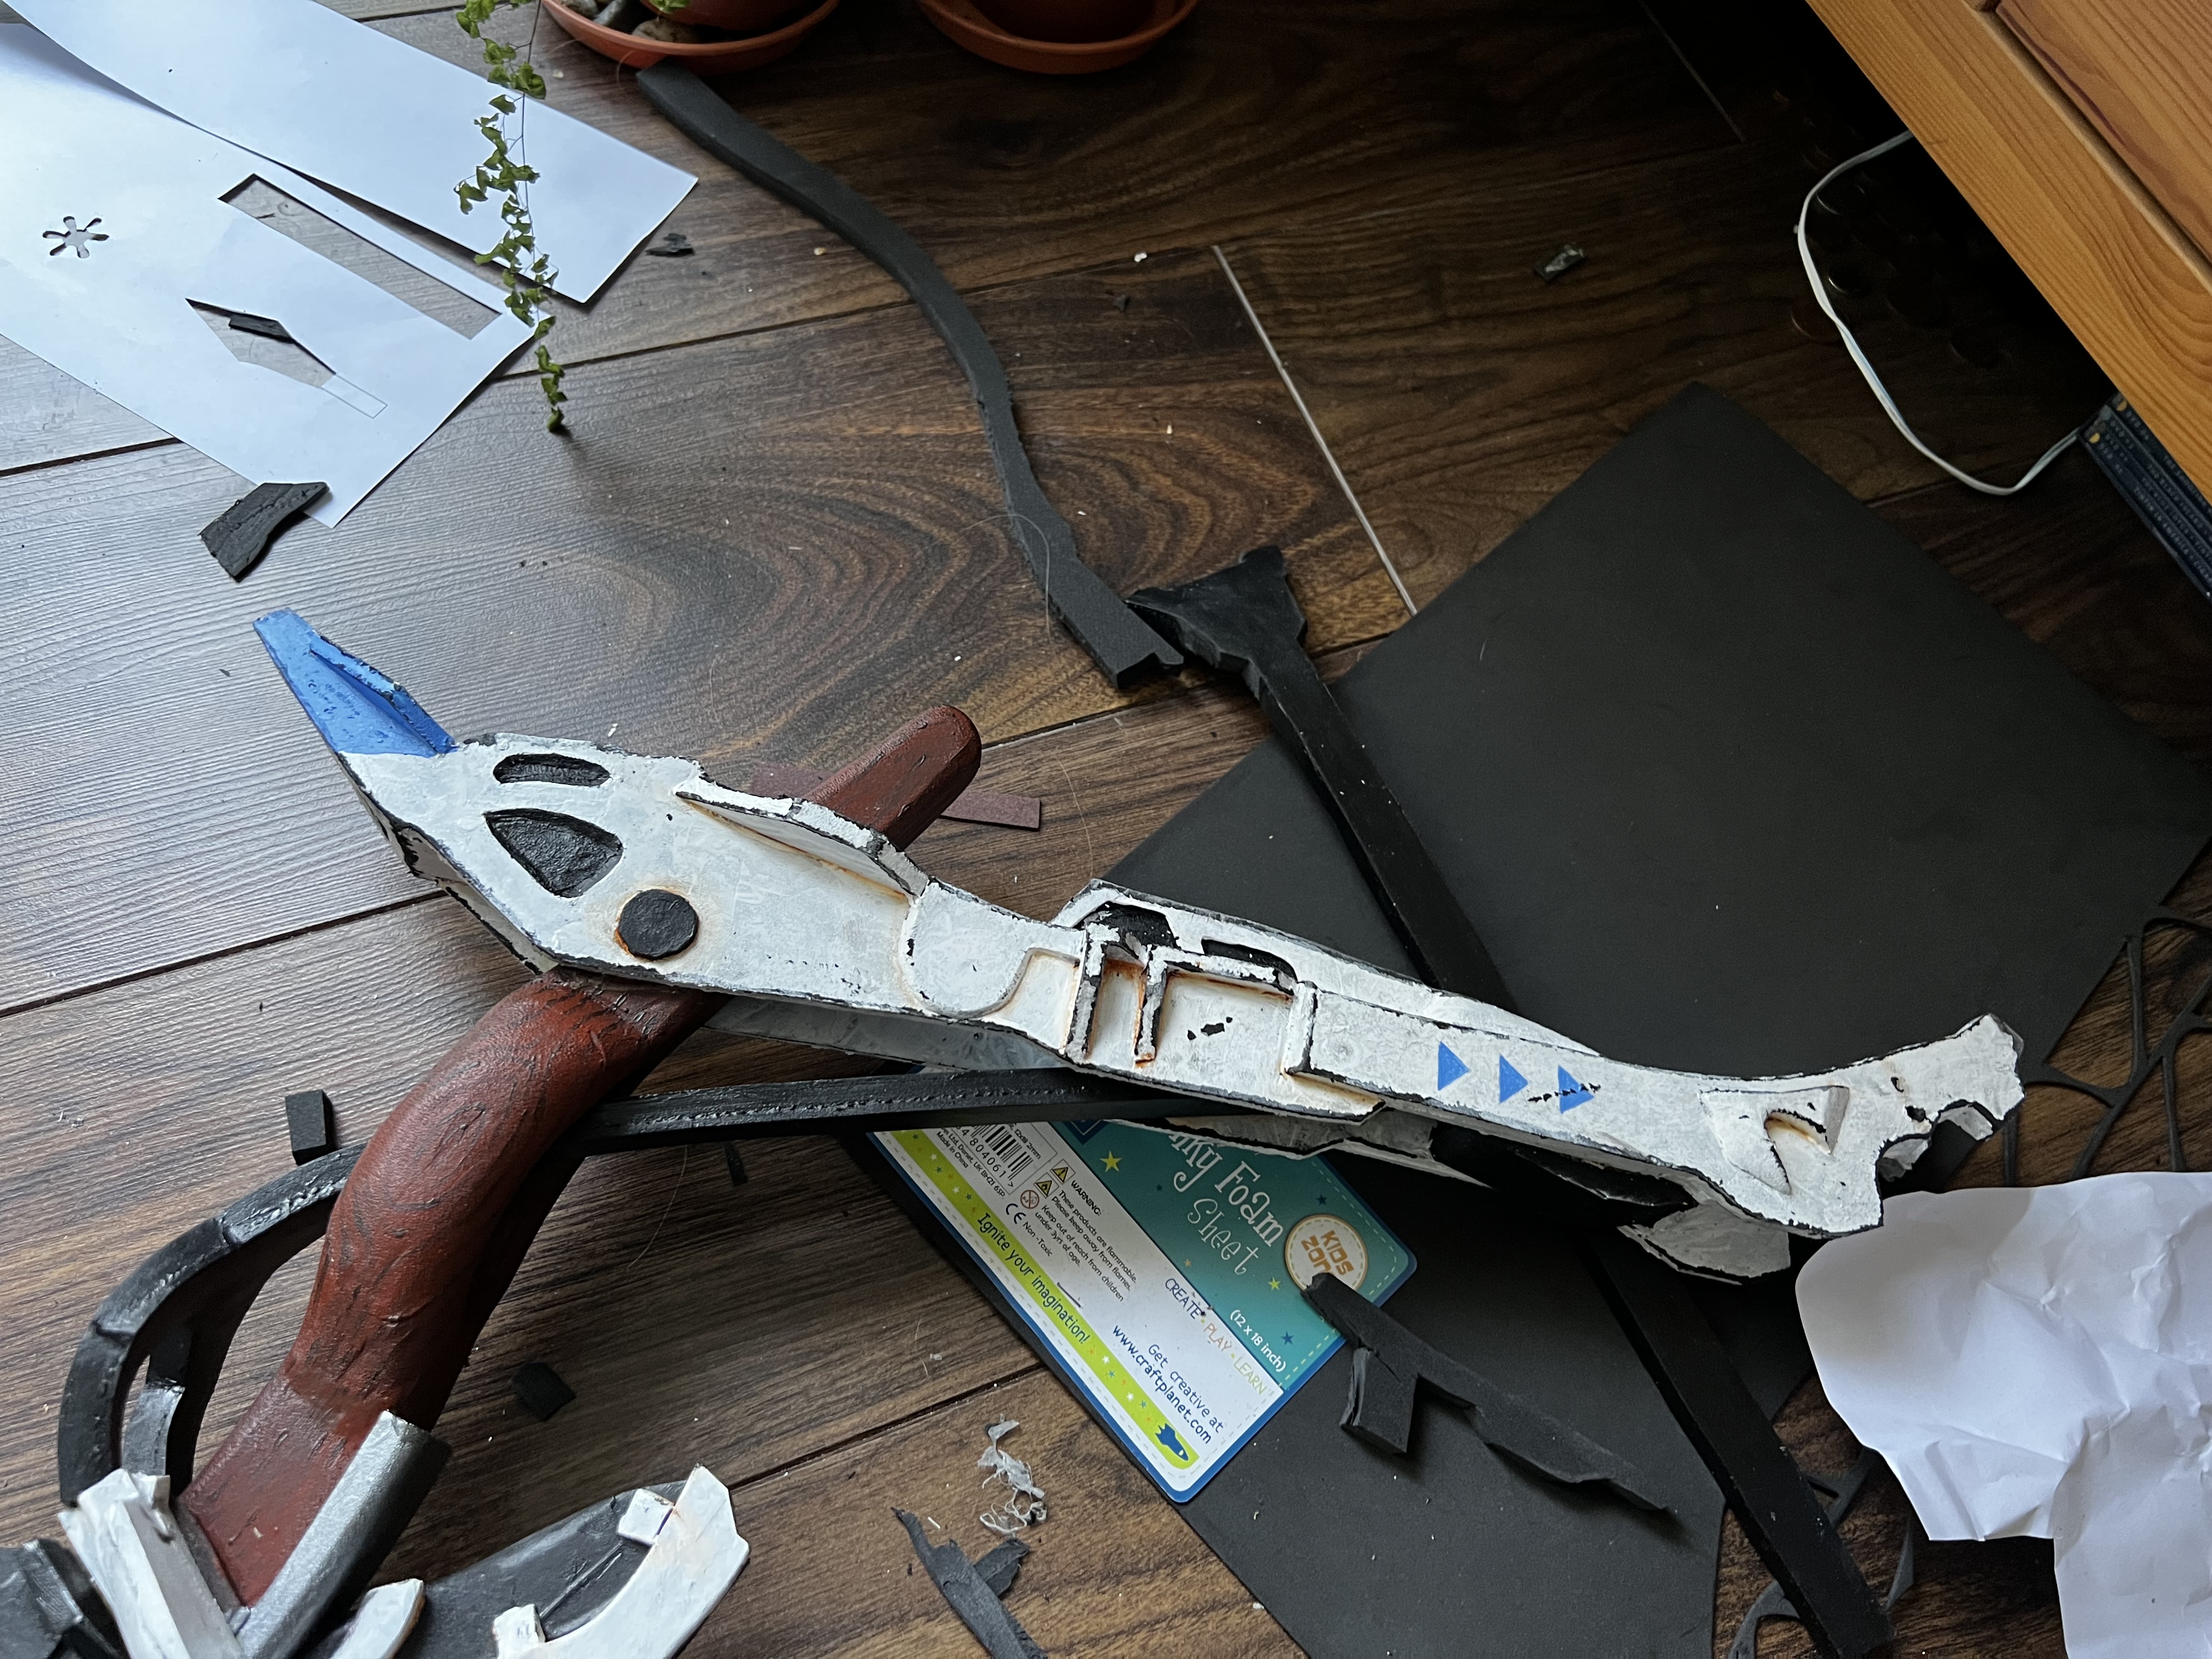
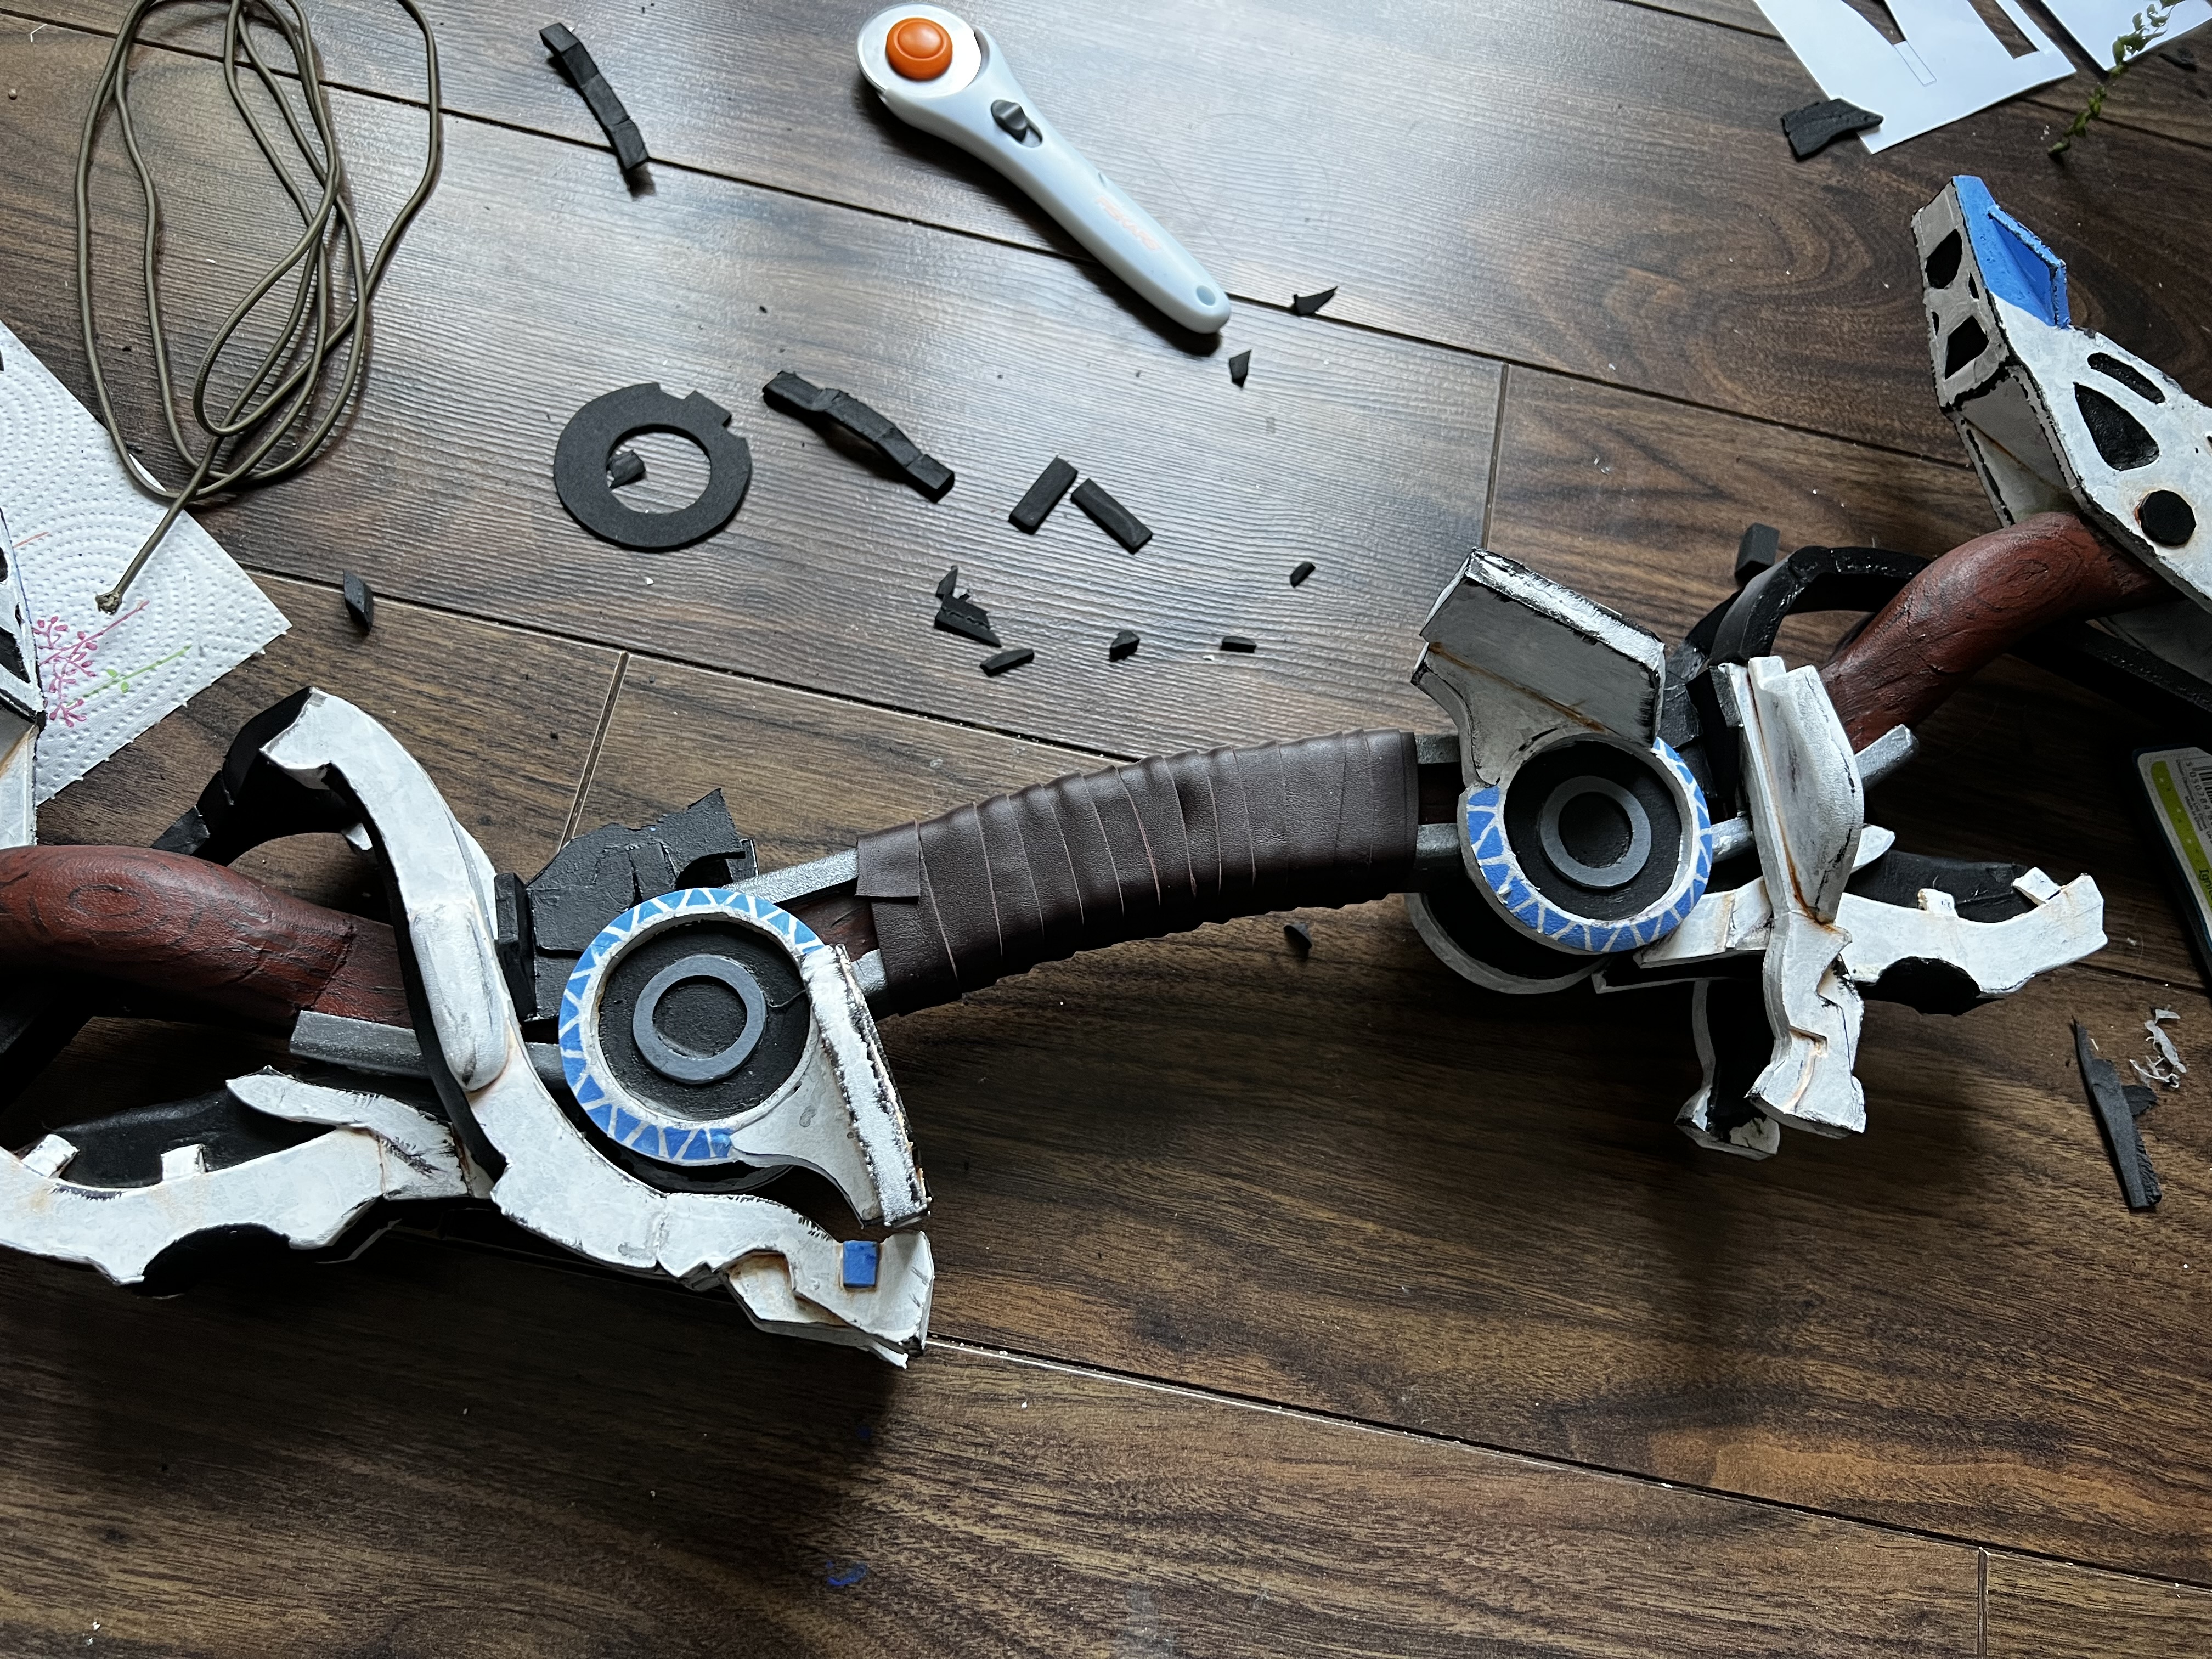
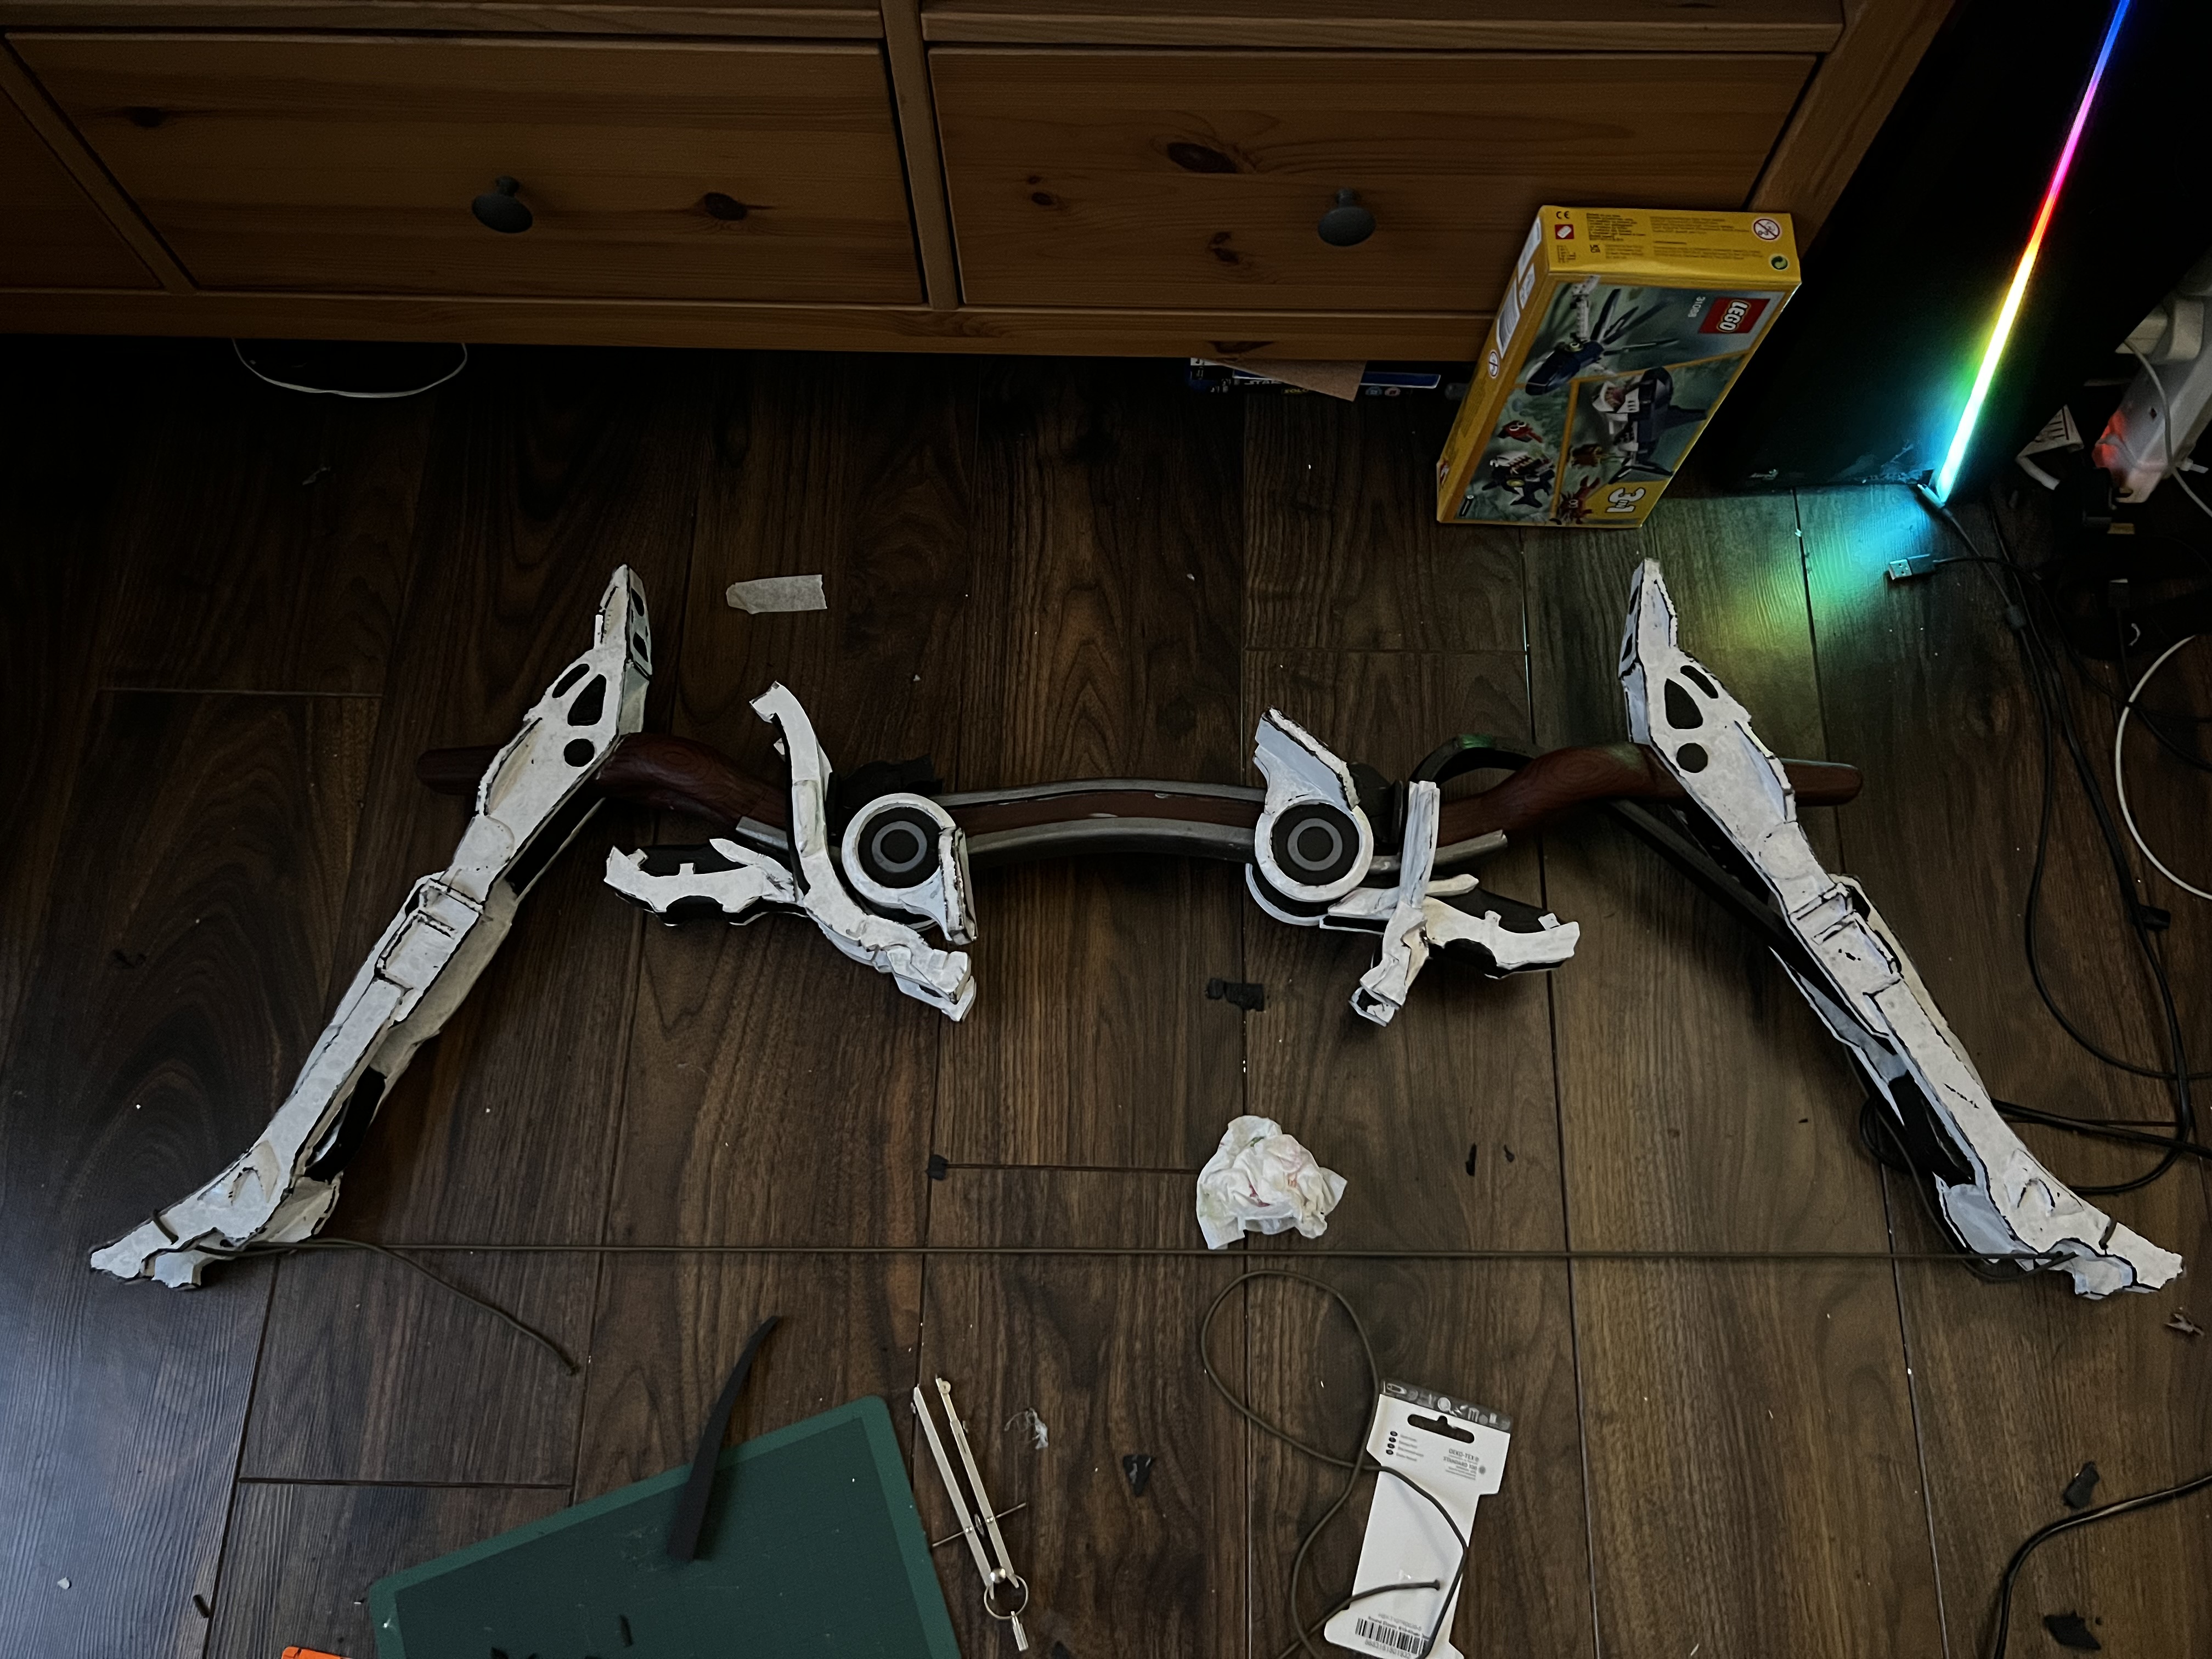
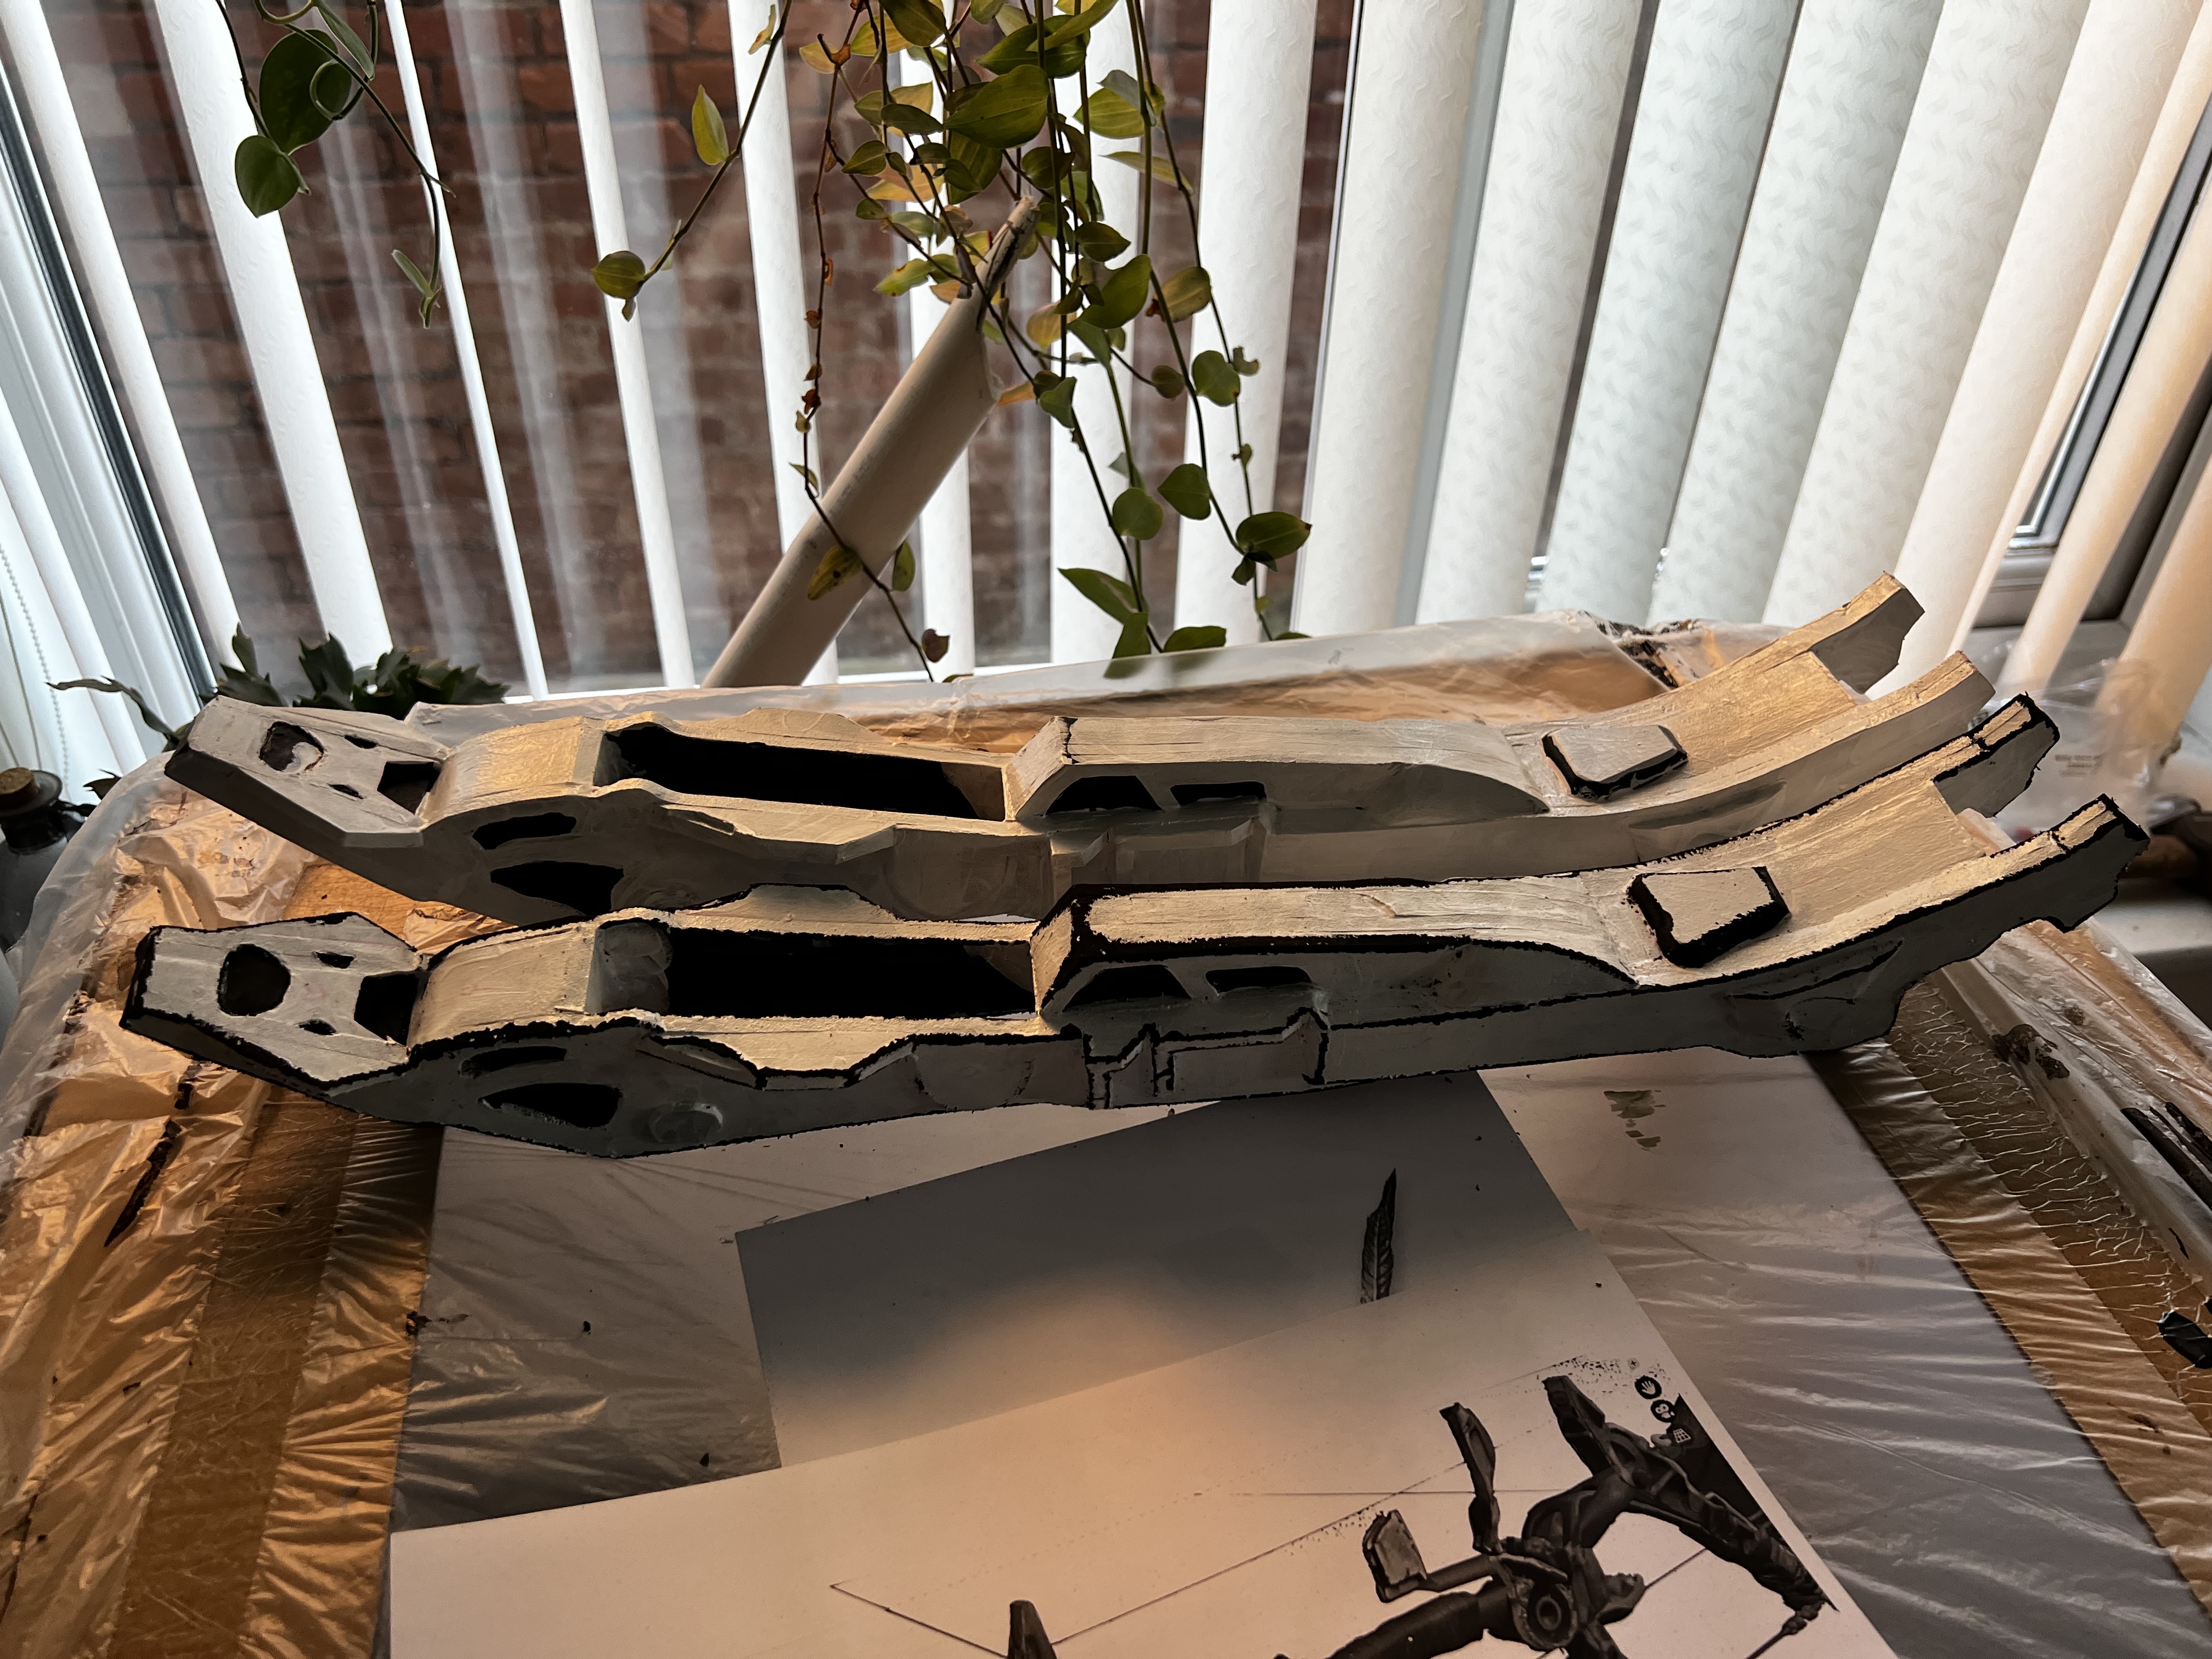
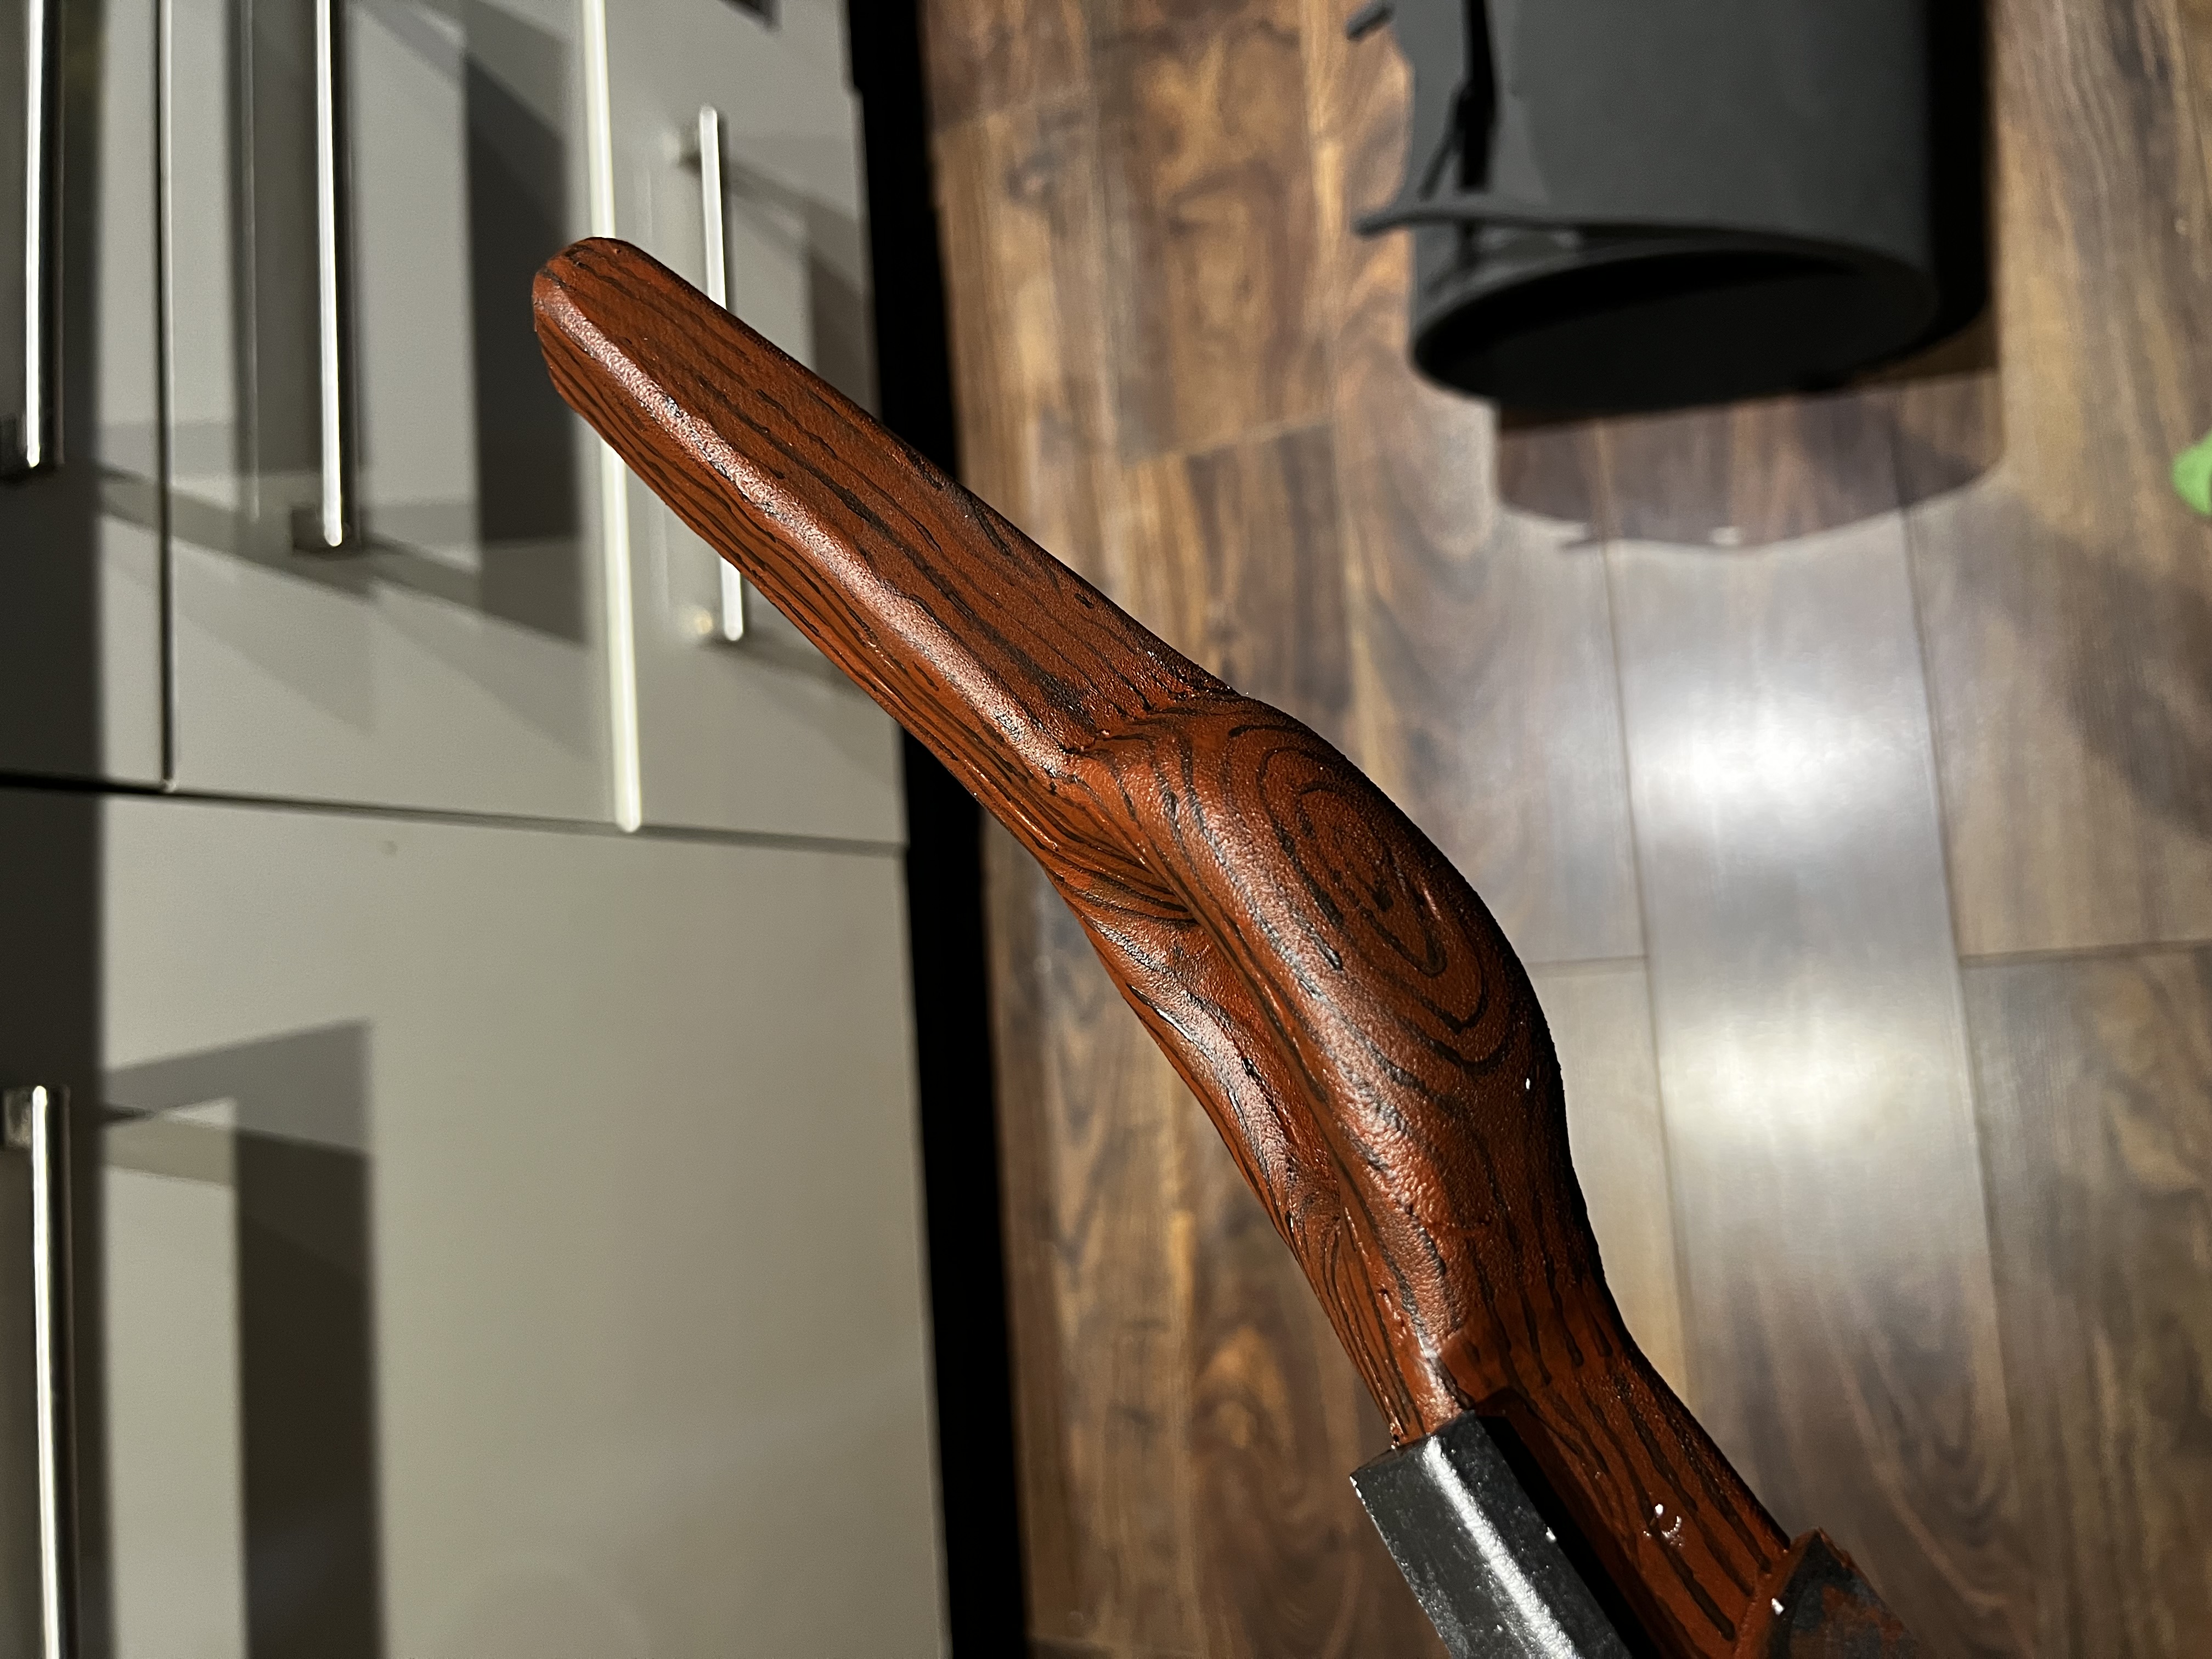
There’s not much to say about the bow, apart from the details where fully hand painted - no masking here as I was running out of time. I simply cut out a template and used that to pencil on the lines and carefully paint within! I am especially proud of hand-painted wood grain on the bow wood, this was brought out more by using a gloss rather than matt varnish on it.
I am quite proud of the bits that clip onto the string, they’re just 10mm foam bevelled and with a hole drilled to create the slit. They aren’t glued on, just held in place with friction as they are on the reference images!
I run out of time to attach the cord around the ends of the bow, throw it in my suitcase and plan to attach this once I reach the flat I’m staying in.
Little bits and pieces I want to show off
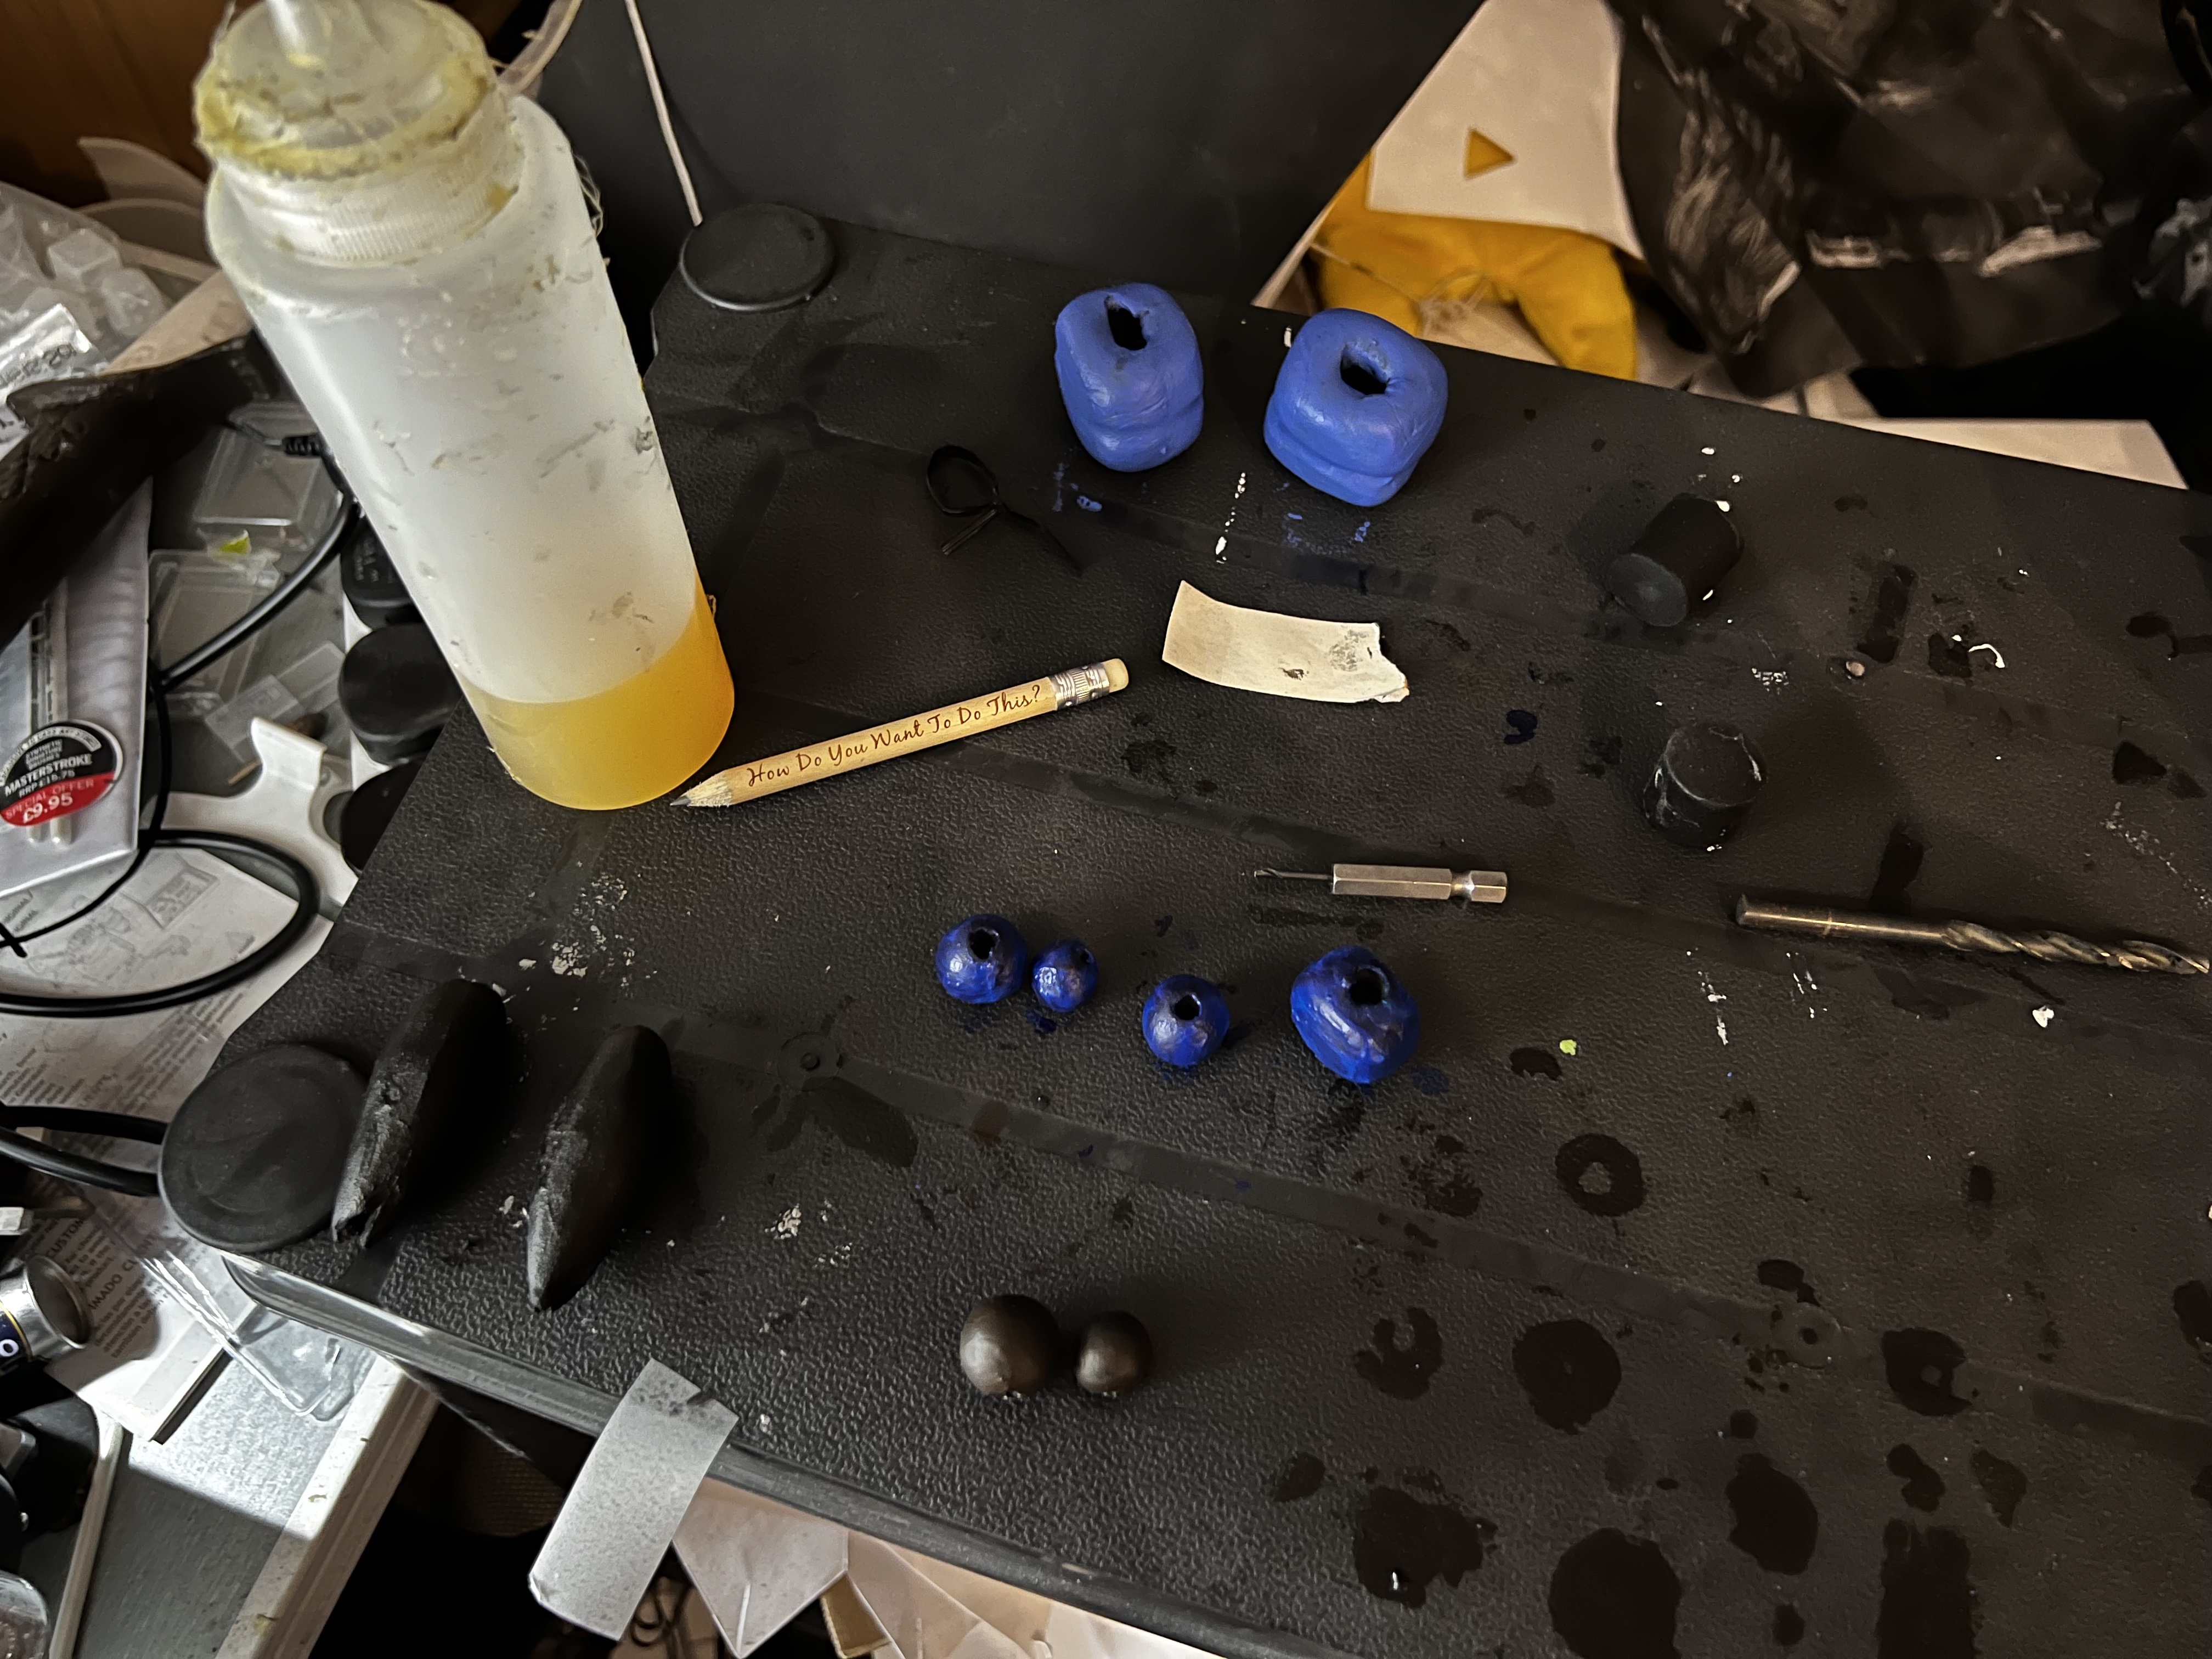
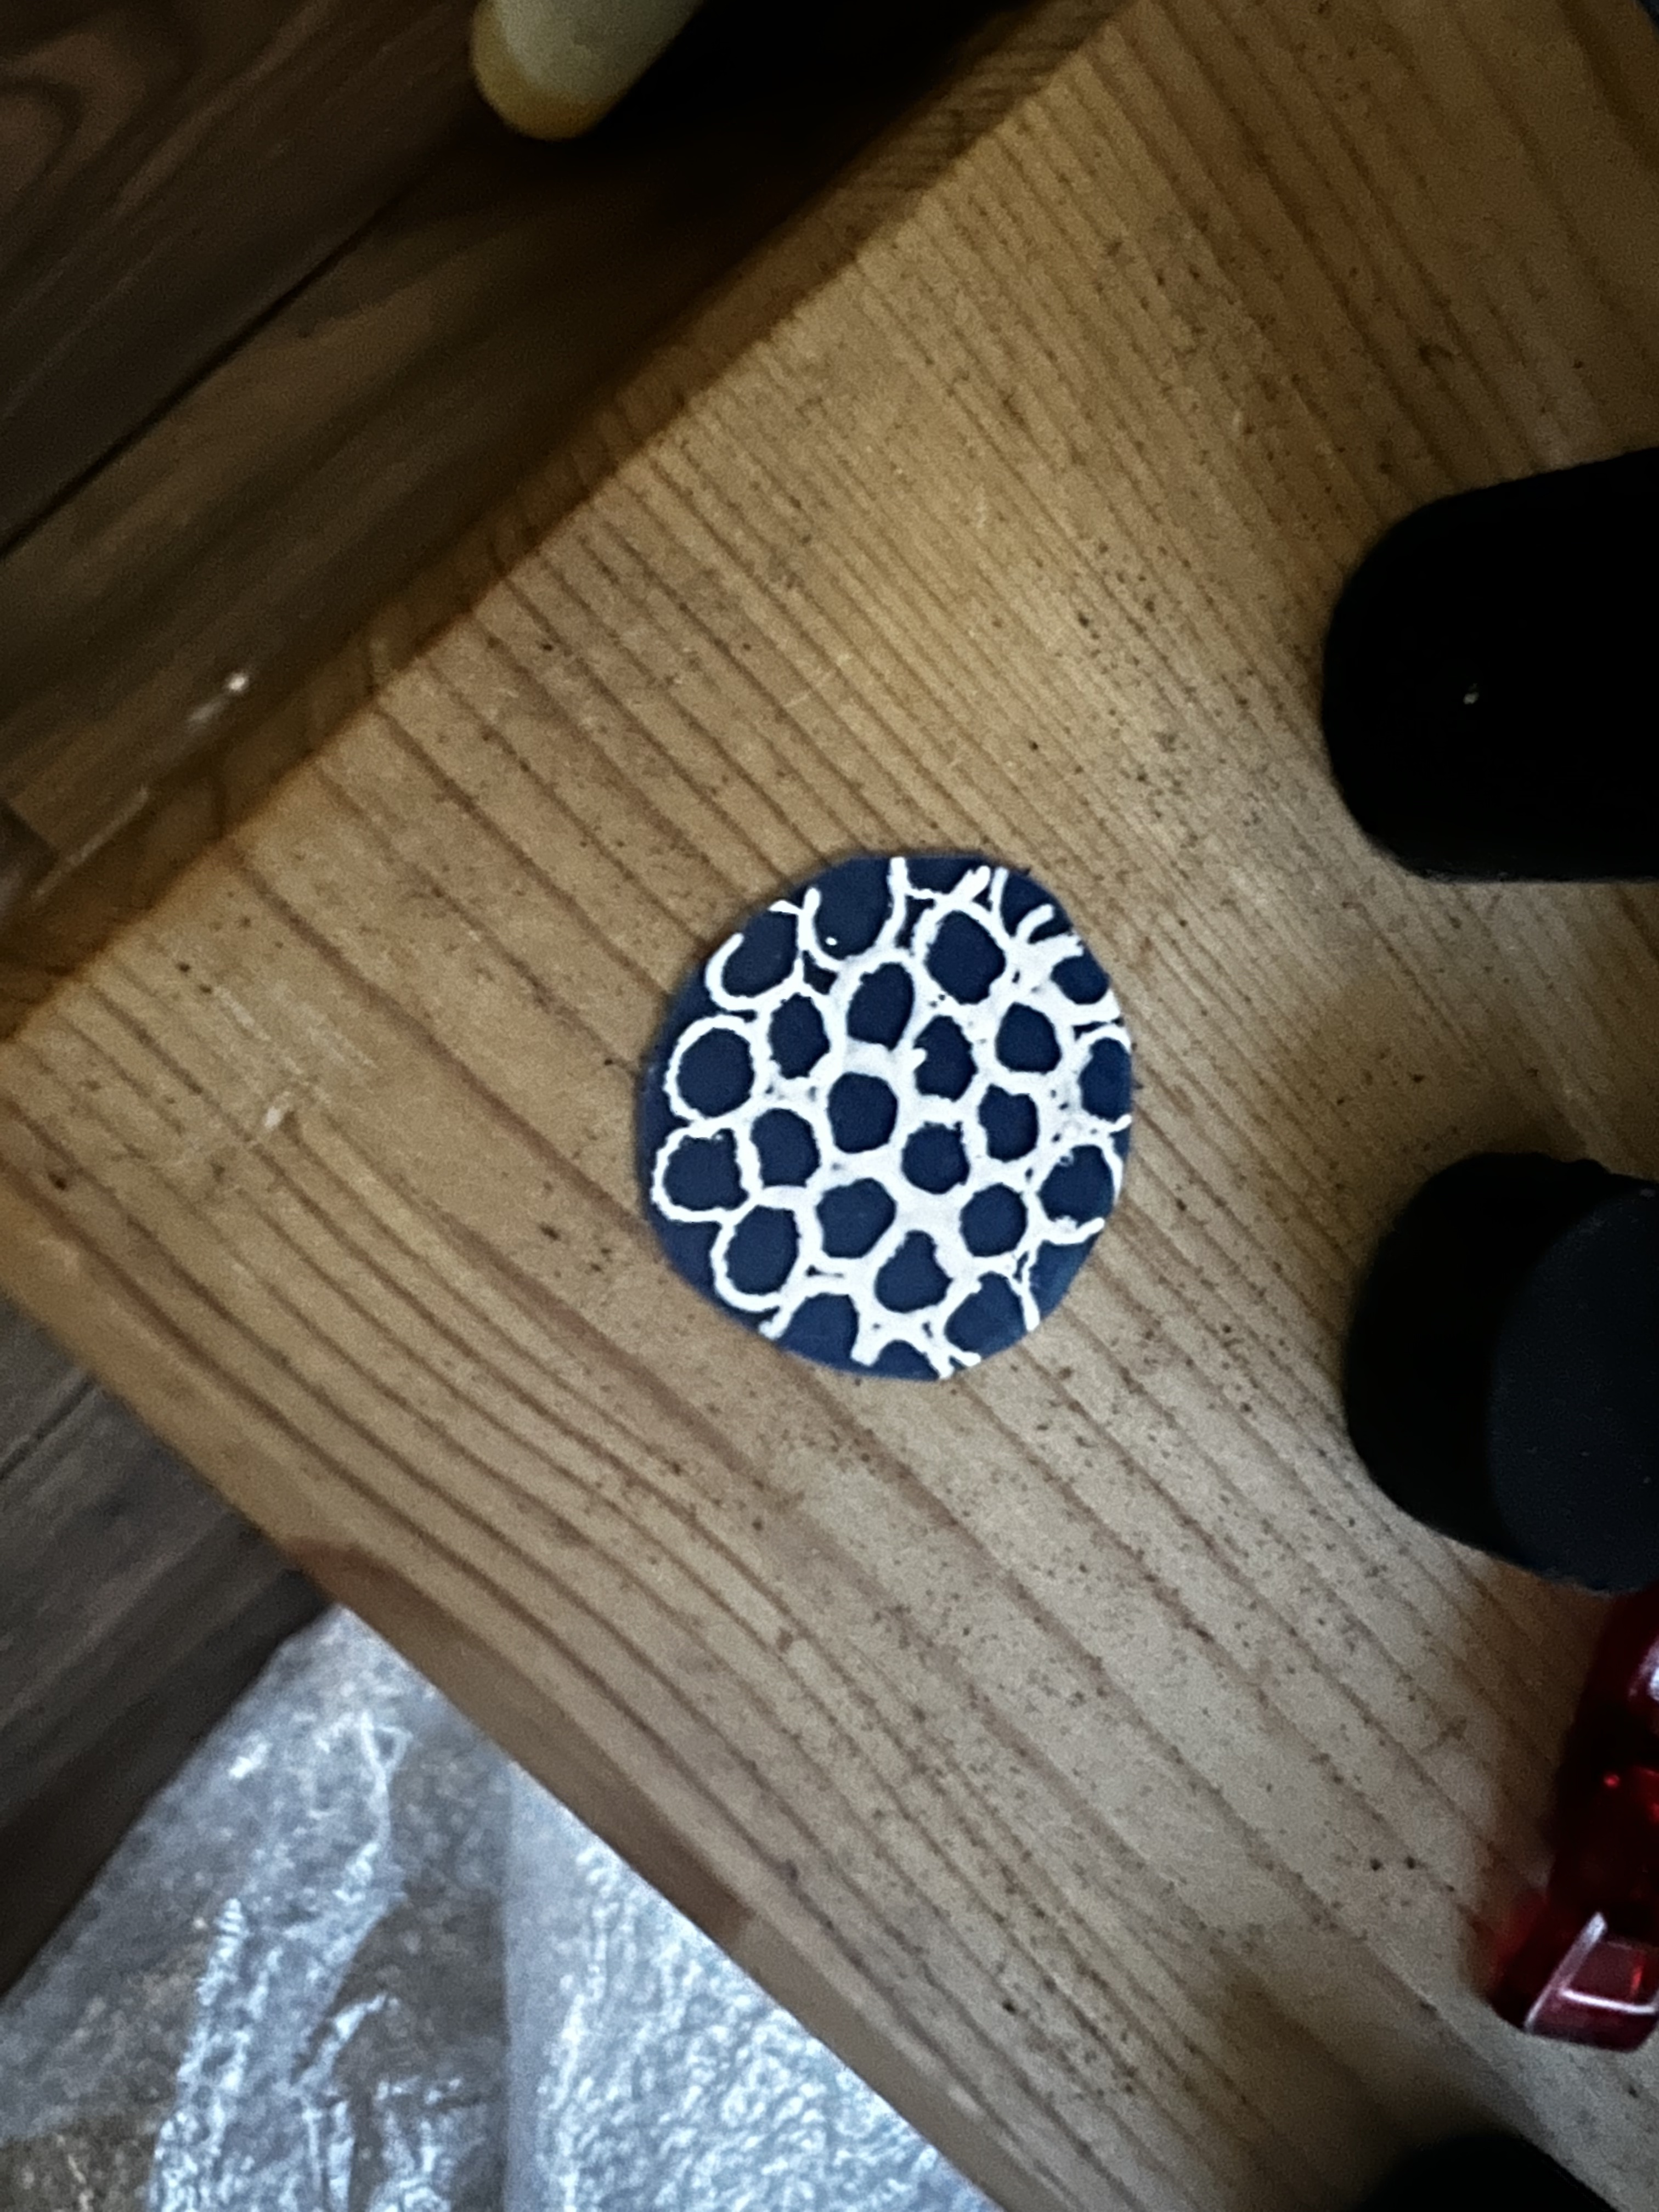
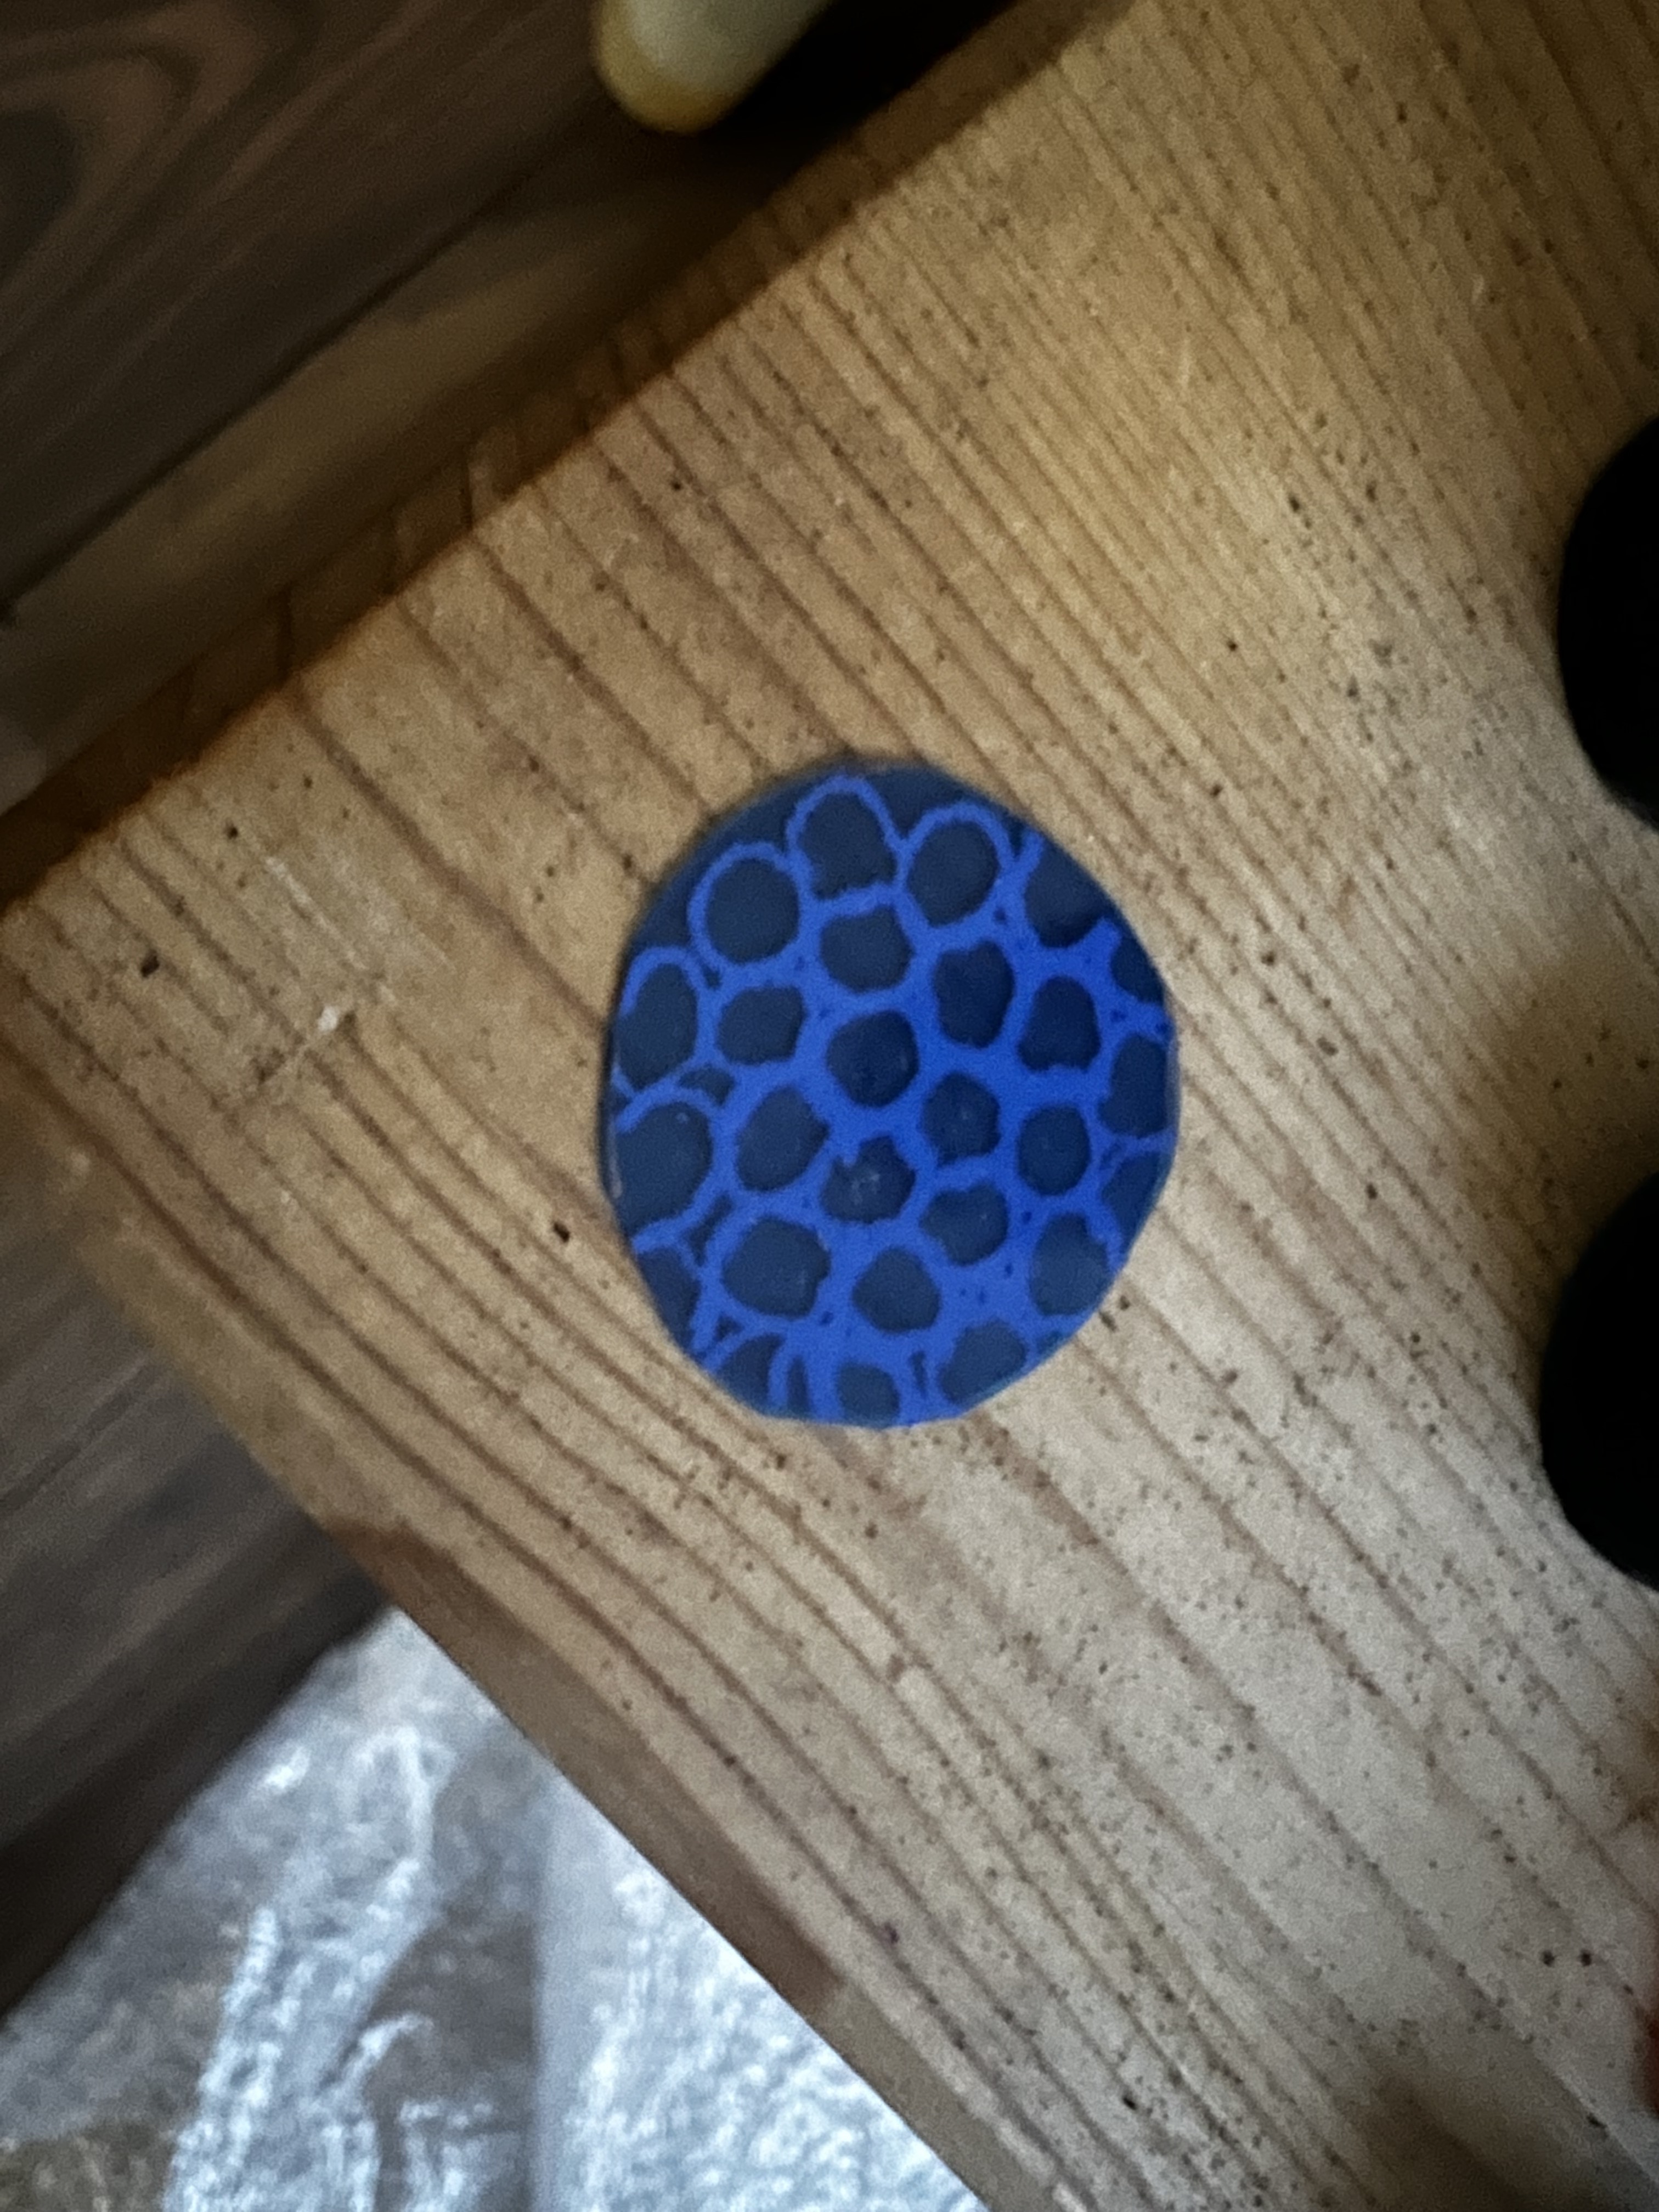
The days are rapidly flying away and I’m still adding details. I know I’ve got no chance of getting the cool electronics done, so I instead concentrate on getting the lenses in place so at least that bit looks good. I buy a blue plastic folder and cut out some circles, then use a white pen to draw more smaller circles on the back. This completely wild-card idea works fantastically and I’m able to fix these now much fancier emitter lenses into place using hot glue.
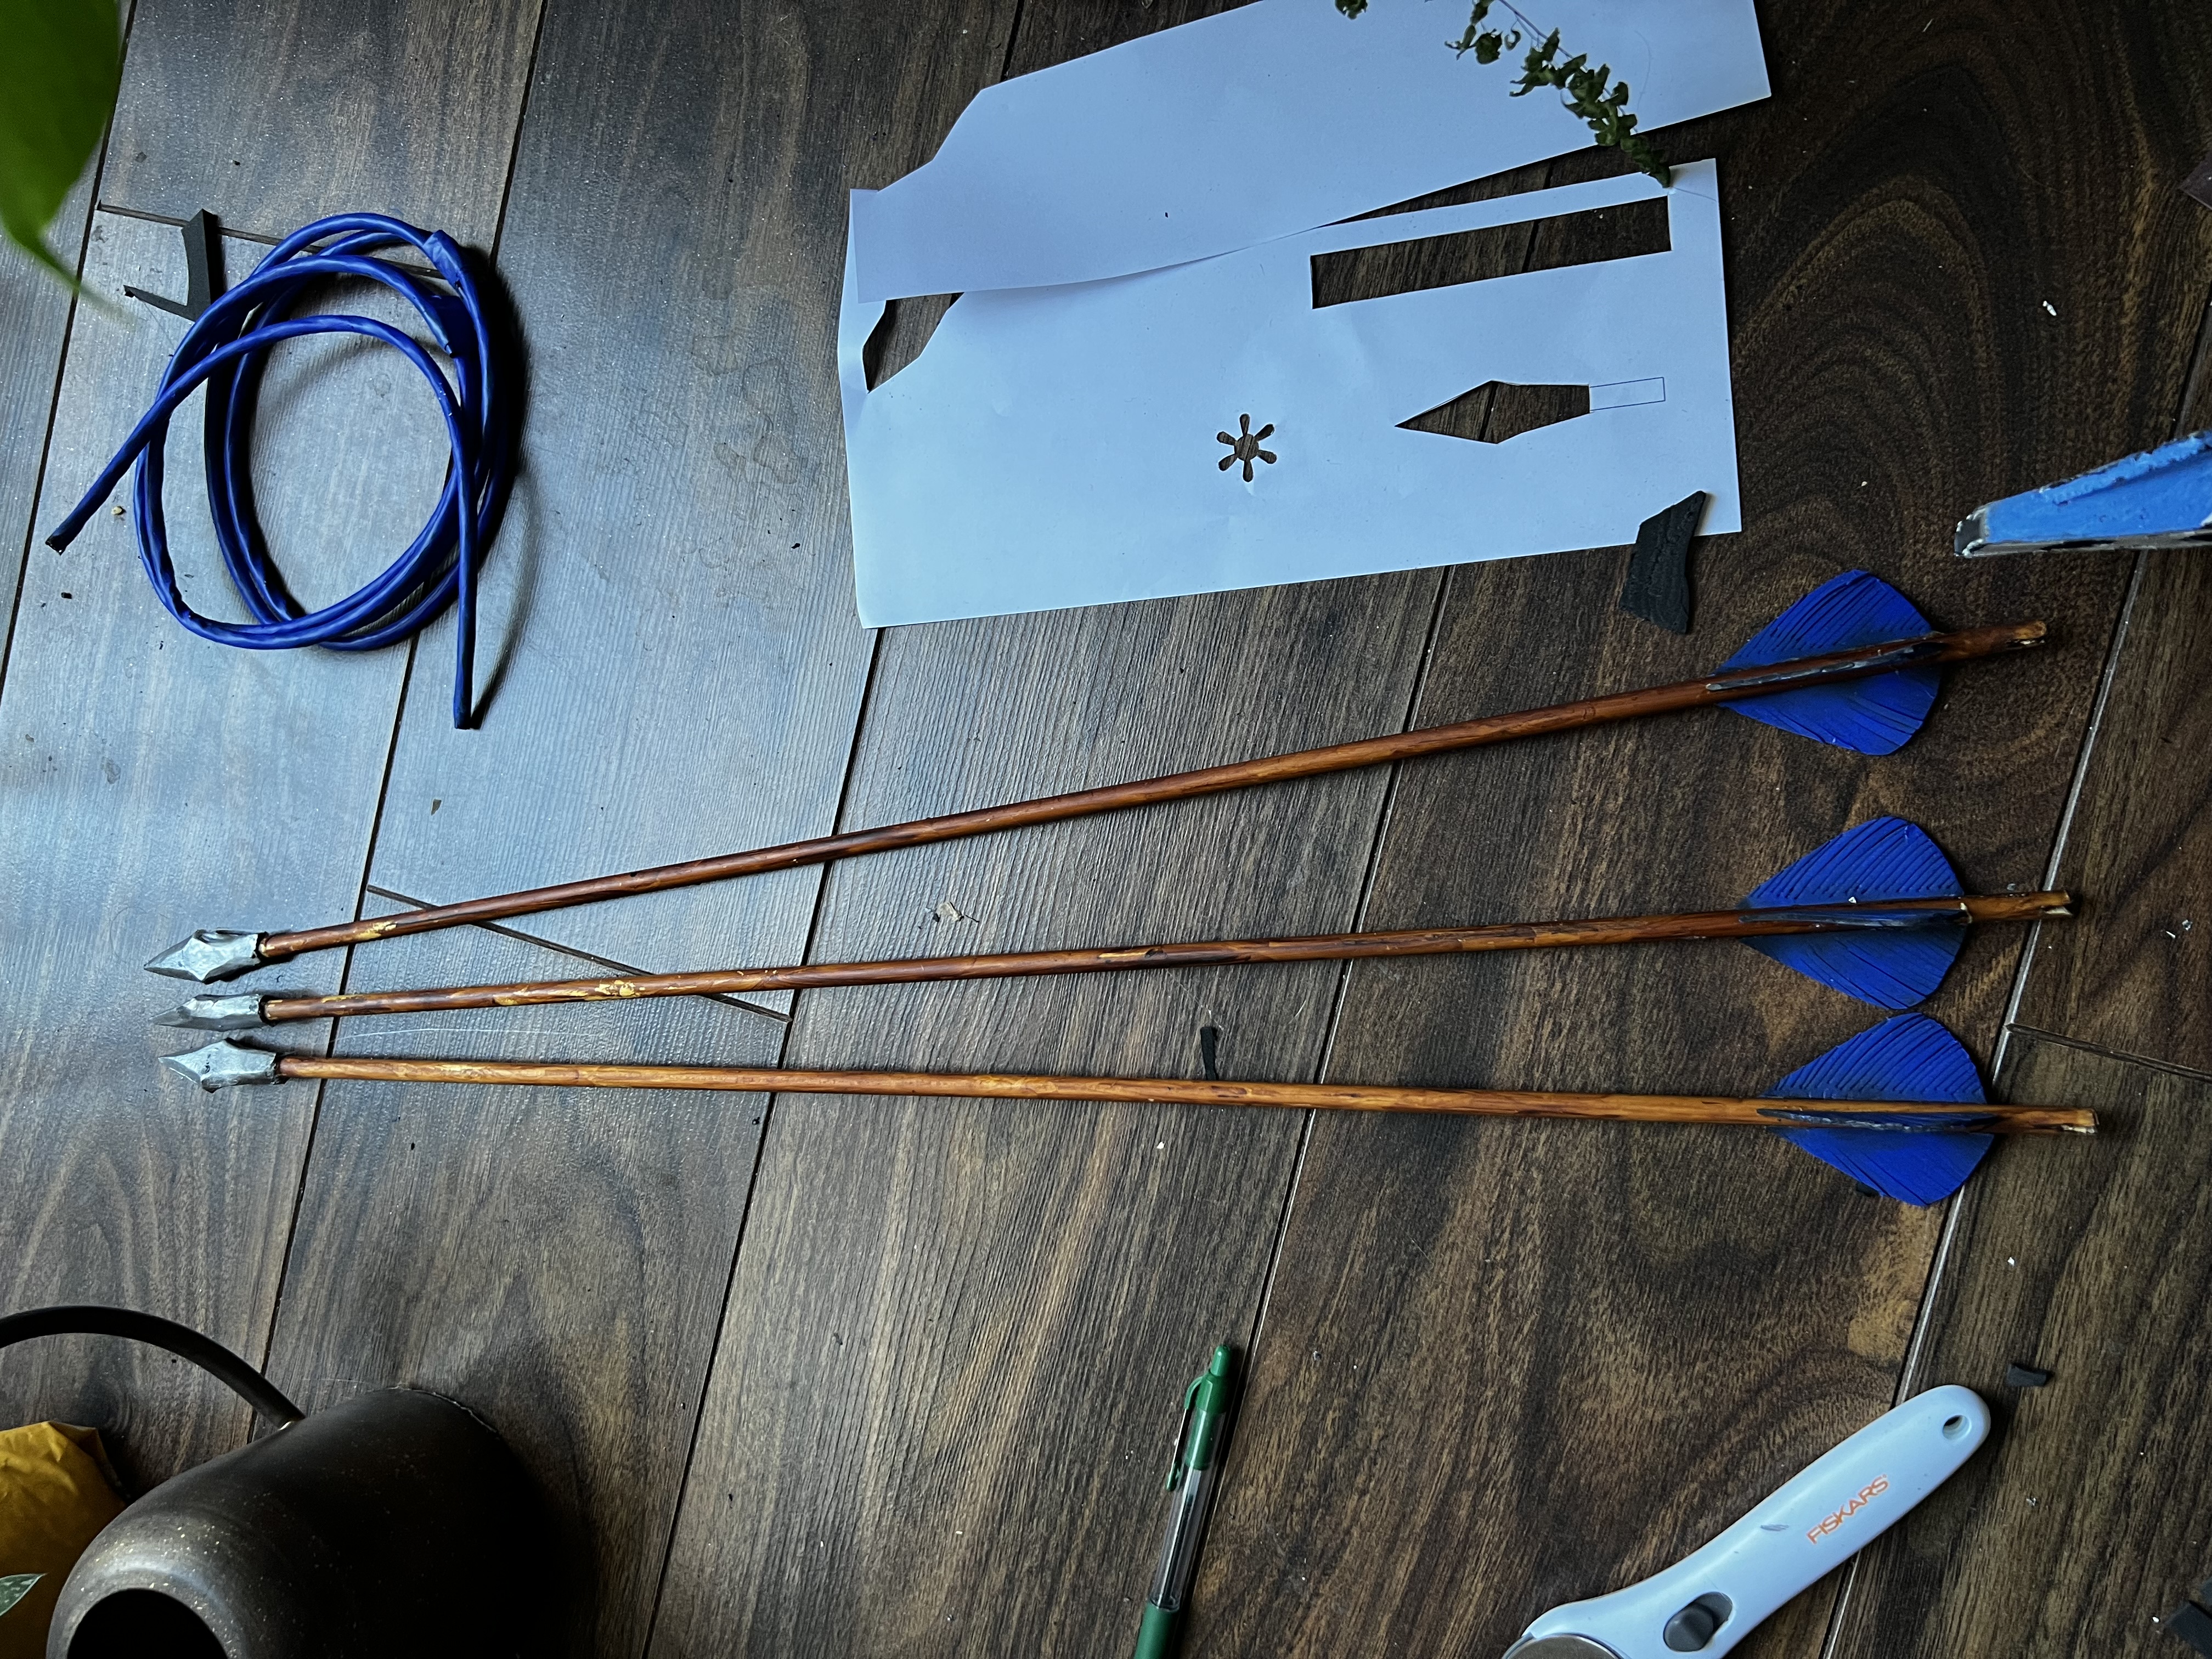
The arrows I have been slowly getting ready, using old arrow shafts I had from my archery days painted with a layer of brown to darken them. The fletching are just 1mm craft foam sheets, sliced with a craft knife and them primed and painted with my airbrush. Of course, me being the archer, I did use my proper fletching jig to make sure they where sort of accurately attached! I only made three arrows fully, the other three where simply taped together. This saved time as I carved the heads out of 10mm foam, drilled a hole for the shaft, primed, painted and attached using hot glue. Simple but looked great!
It’s more tangles than straight hair now
Oh how I hate doing wig styling. The damn thing just loved to get itself tangled and I spent most of my time detangling it just to get something done. I’d like to thank the Silvousplaits Hairstyling channel for having a video on styling Aloy’s hair (here if you want to watch) with which I would not have been able to do this.
I do wish I’d tried some of these braids on my own hair when it was long because I did enjoy doing them once I’d got tha hang of things.
Honestly I’m not especially happy with how it came out but it looked enough like Aloy’s hair (plus I was leaving for the con the next day after I’d finished it). I had made some beads out of foam clay, primed and painted a couple of days earlier. They held up real well, stayed in place and looked like proper beads which I was happy with.
A late night costume test
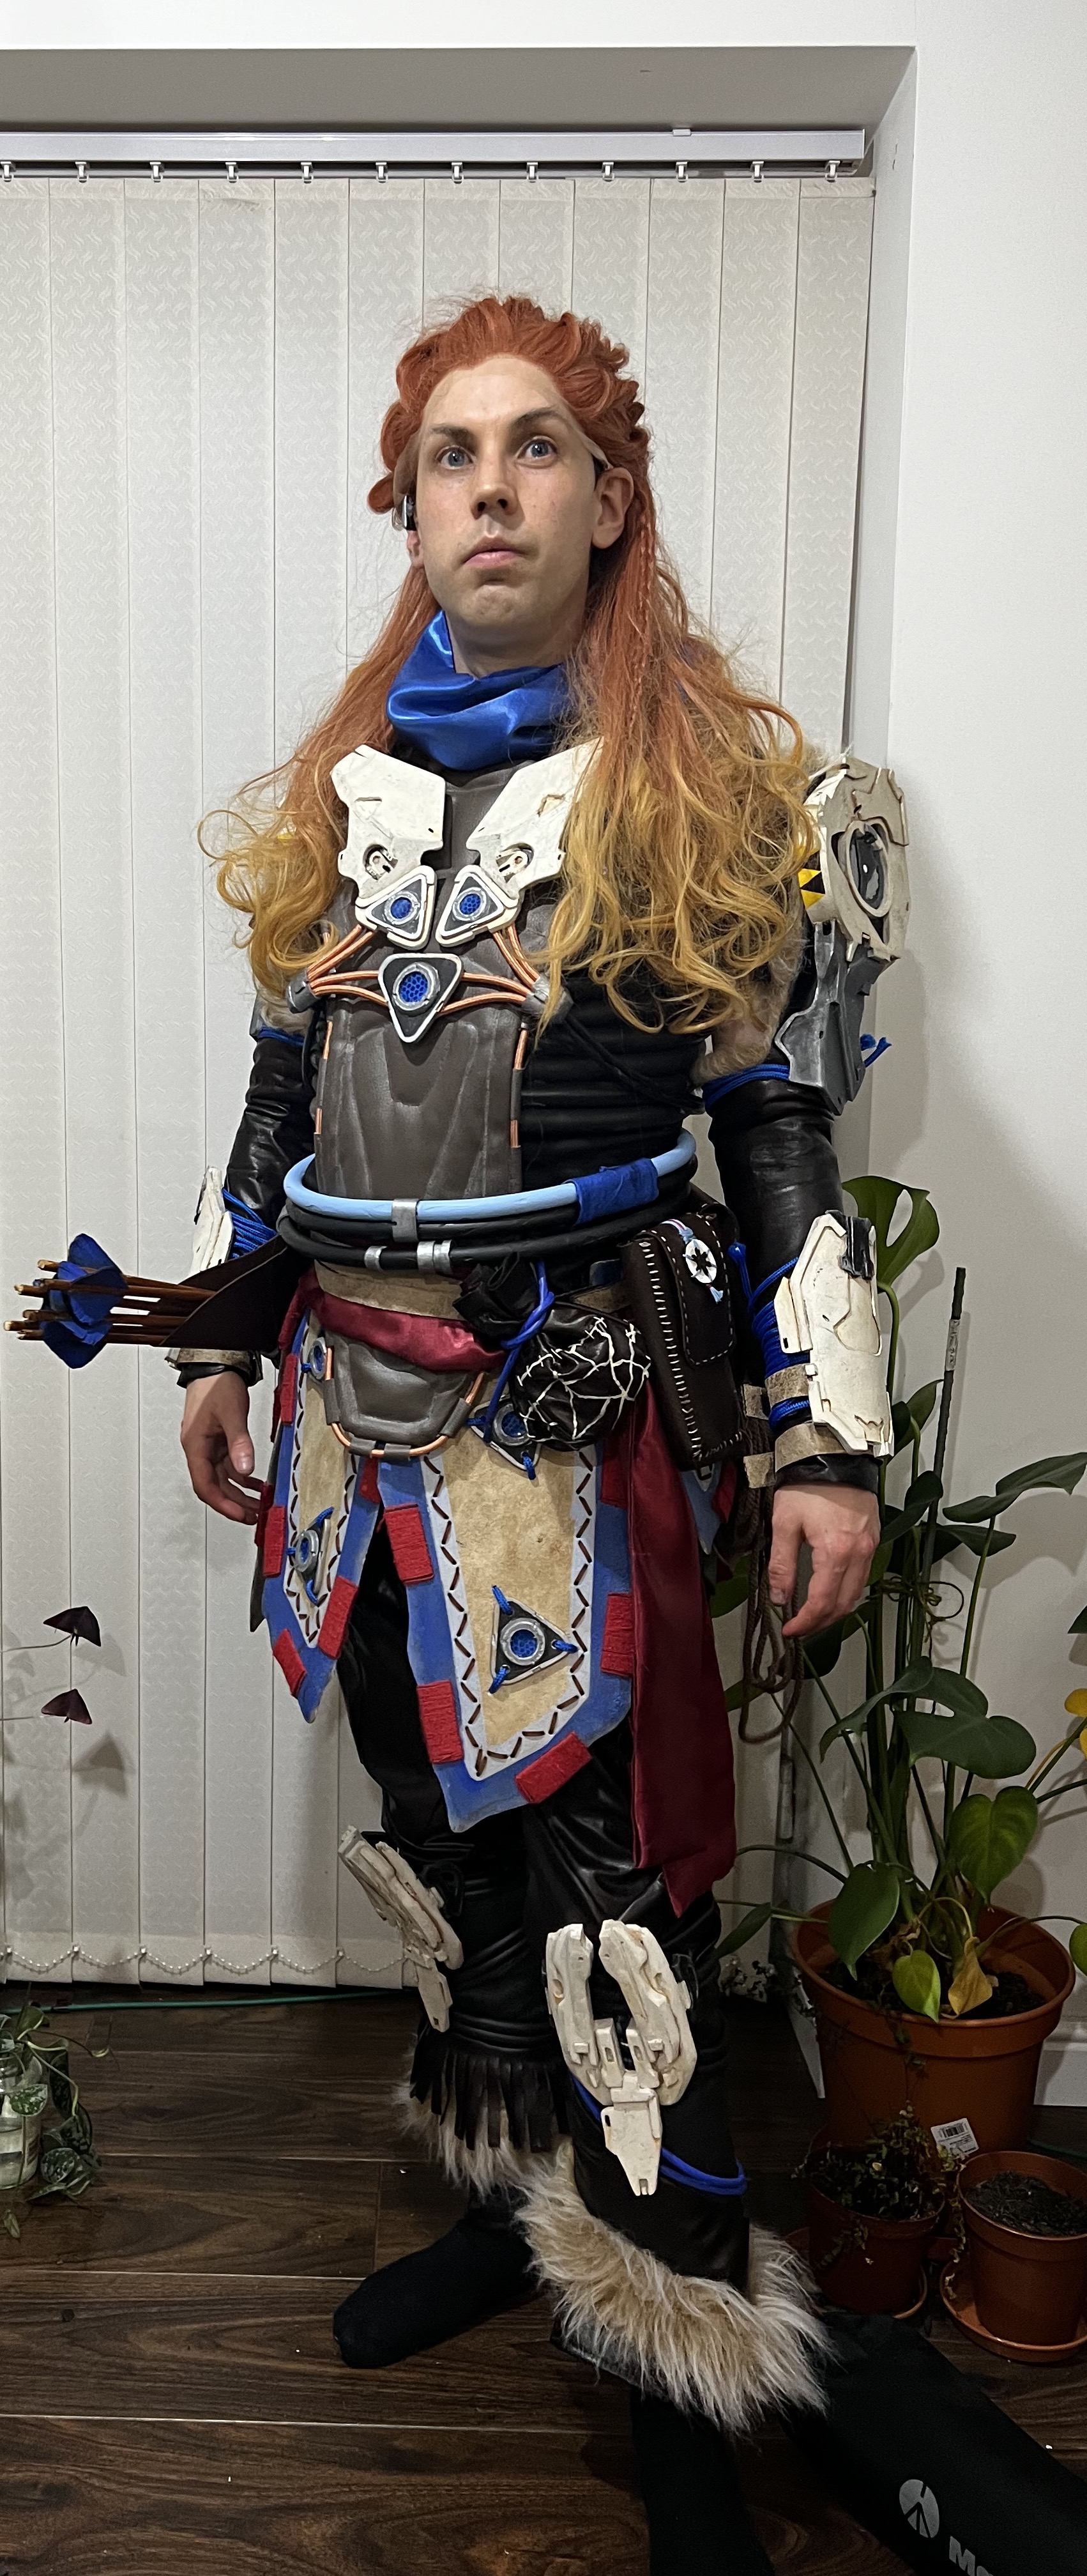
It is the night before I leave. I am still adding details to the bow and making sure everything looks good. My plan to have an early night is out the window and it is approaching midnight. My train is at 10:07 the next day. And I am now doing a costume test.
And lo and behold… the costume works! Sure I immediately notice a few issues I’ll need to correct, but I arrive mid-afternoon which means I have the evening to make any last minute fixes.
I collapse into bed, anxiety consuming me and sleeping awfully. There’s a few more minor things to do but London, and MCM Comic Con 2022 awaits!
-
 Instagram:
@smojcosplay
Instagram:
@smojcosplay
-
 Tumblr:
smojcosplay
Tumblr:
smojcosplay