My experiences making fairy wings
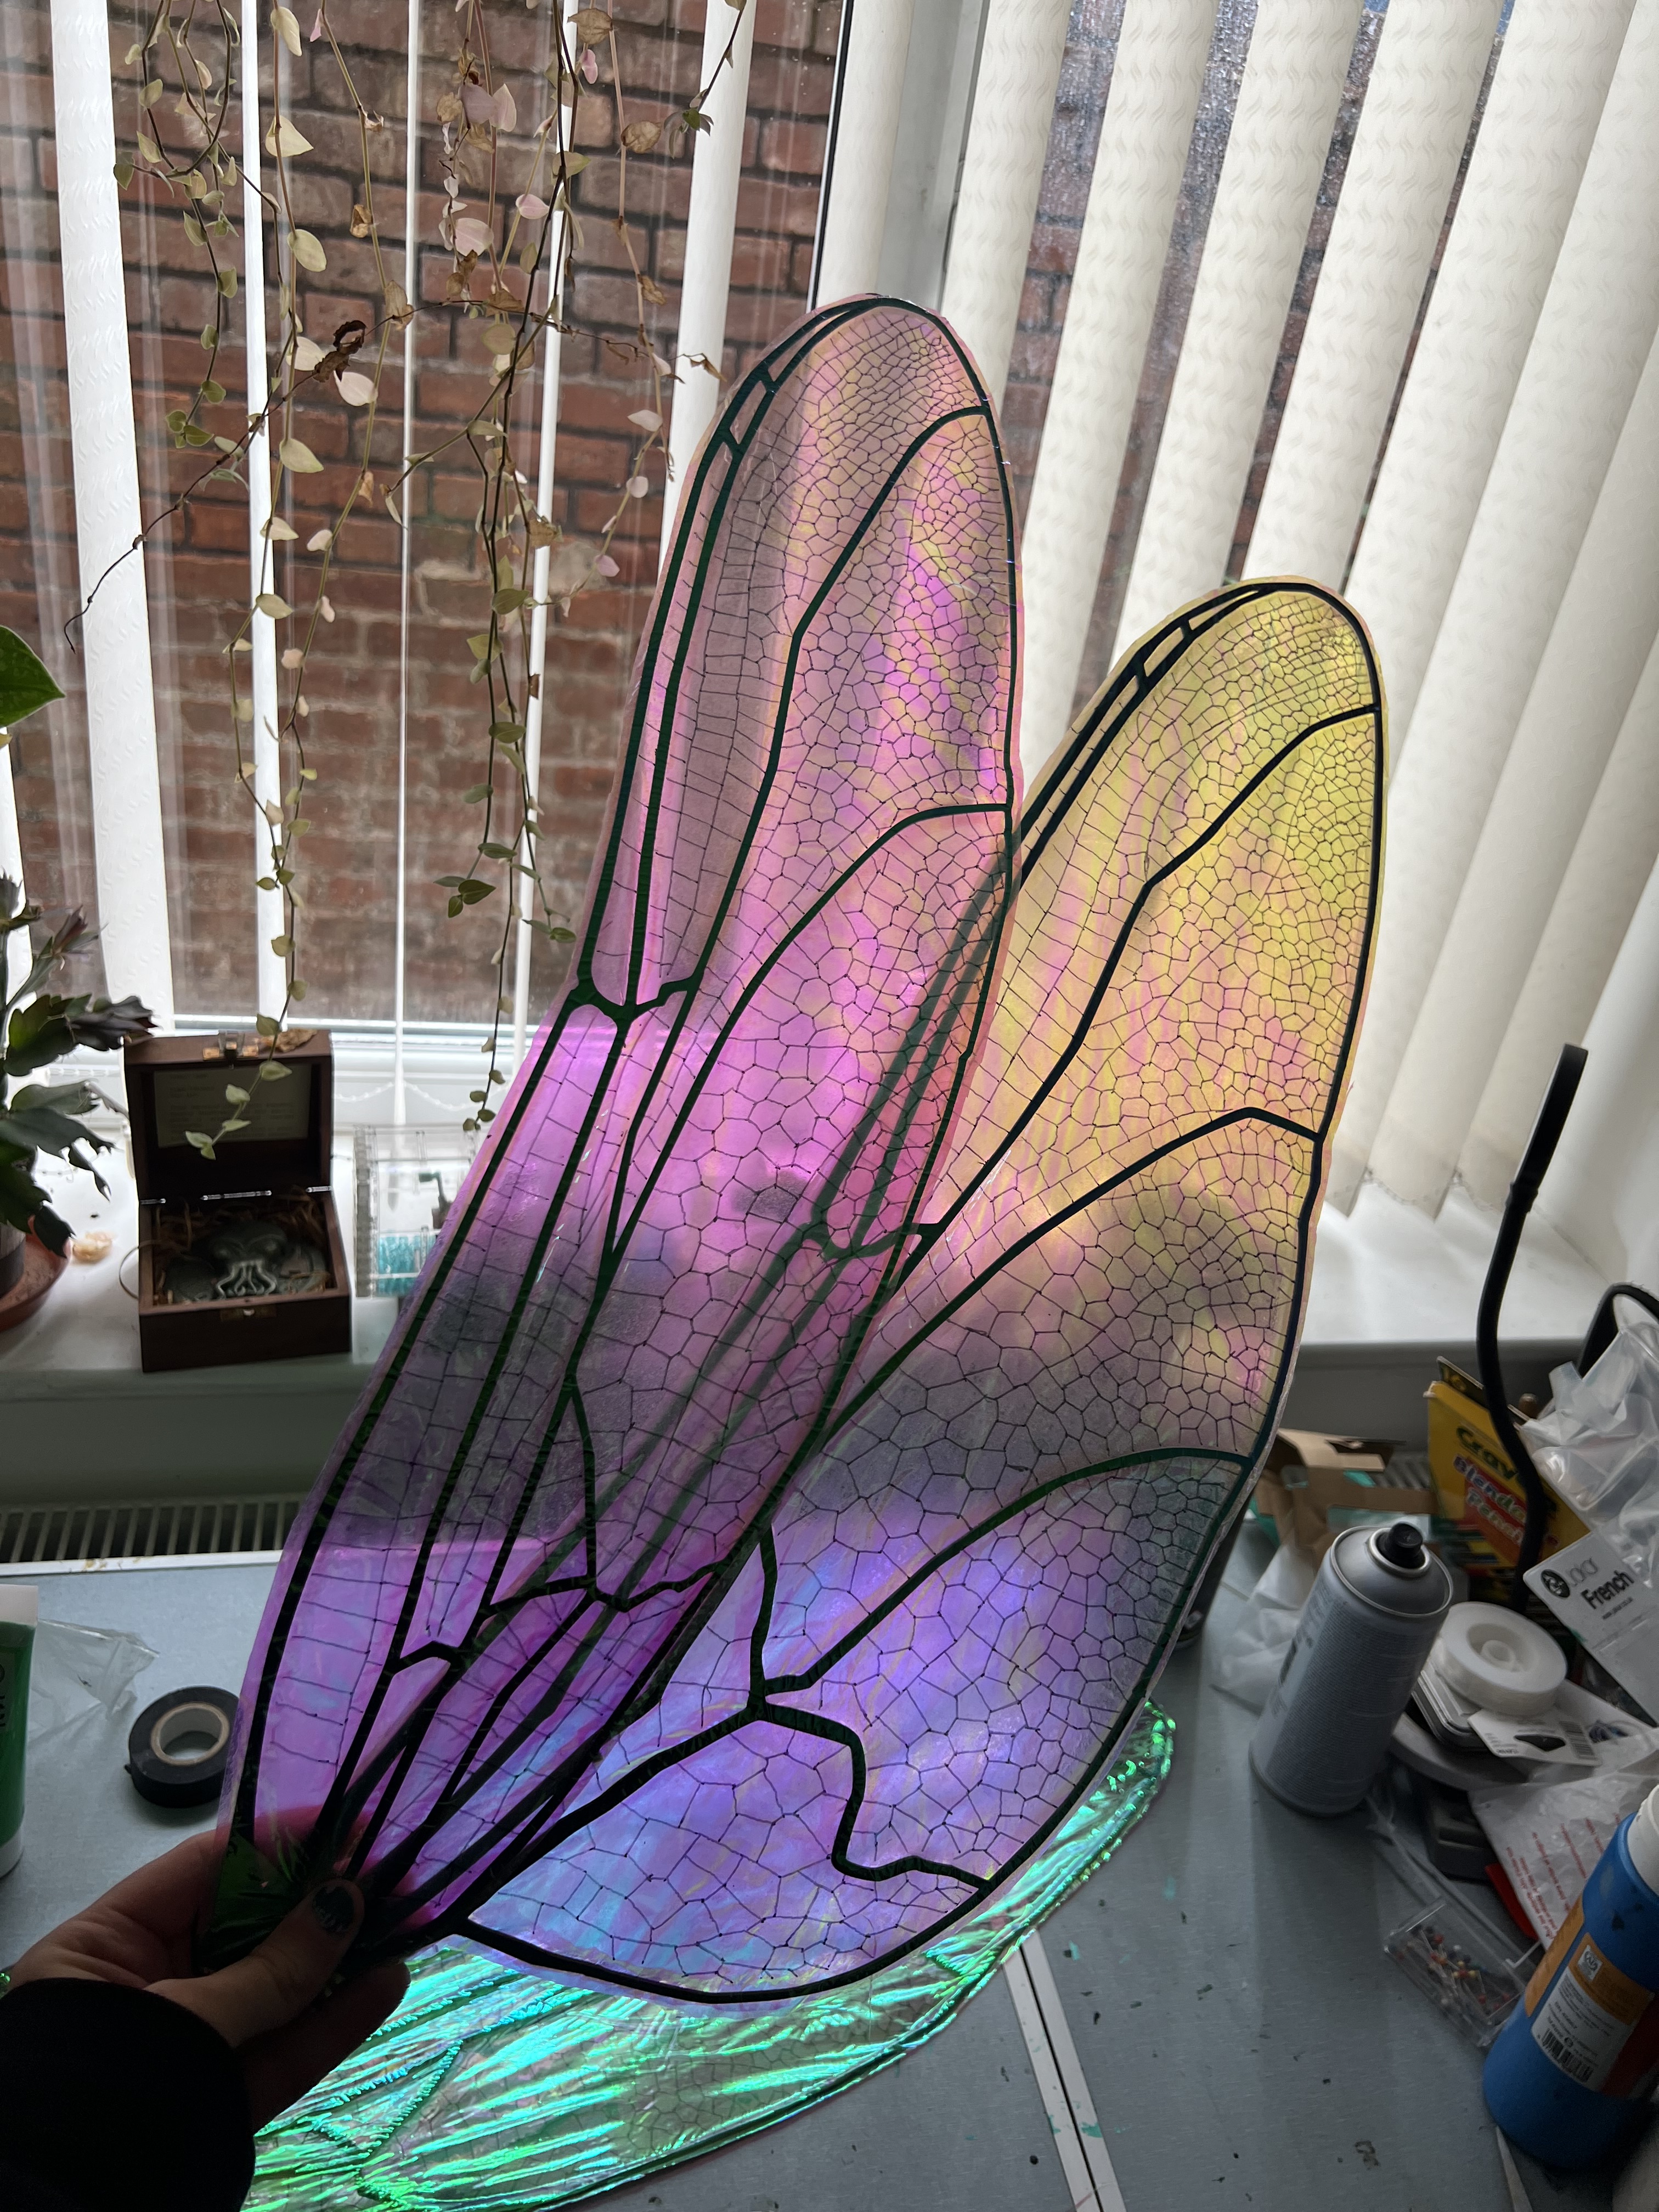
I used Fantasy Forest as the excuse to do something I’d wanted to for a while: Make some wings! I went with a dragonfly, partly because I really like the style and partly because the costume I was going to make initially had a dragonfly aesthetic1.
Wire not good
The plan was at first to make the wings out of wire. I made in initial template in Inkscape by scaling an image up and tracing the major lines I wanted to lay the wire on. Unfortunately for me, bending the wire (or at least the wire I used) was taxing on my fingers (especially with all the other crafting I was doing), and the wire itself was difficult to get into a shape that lay flat. I imagine with more patience, better wire and a less complex design it’d work better. If you’re interested in using wire the tutorials I used as a basis can be found here and here. Even if you’re going to 3D print like I did, it’s worth reading both as I take a lot of inspiration from them.
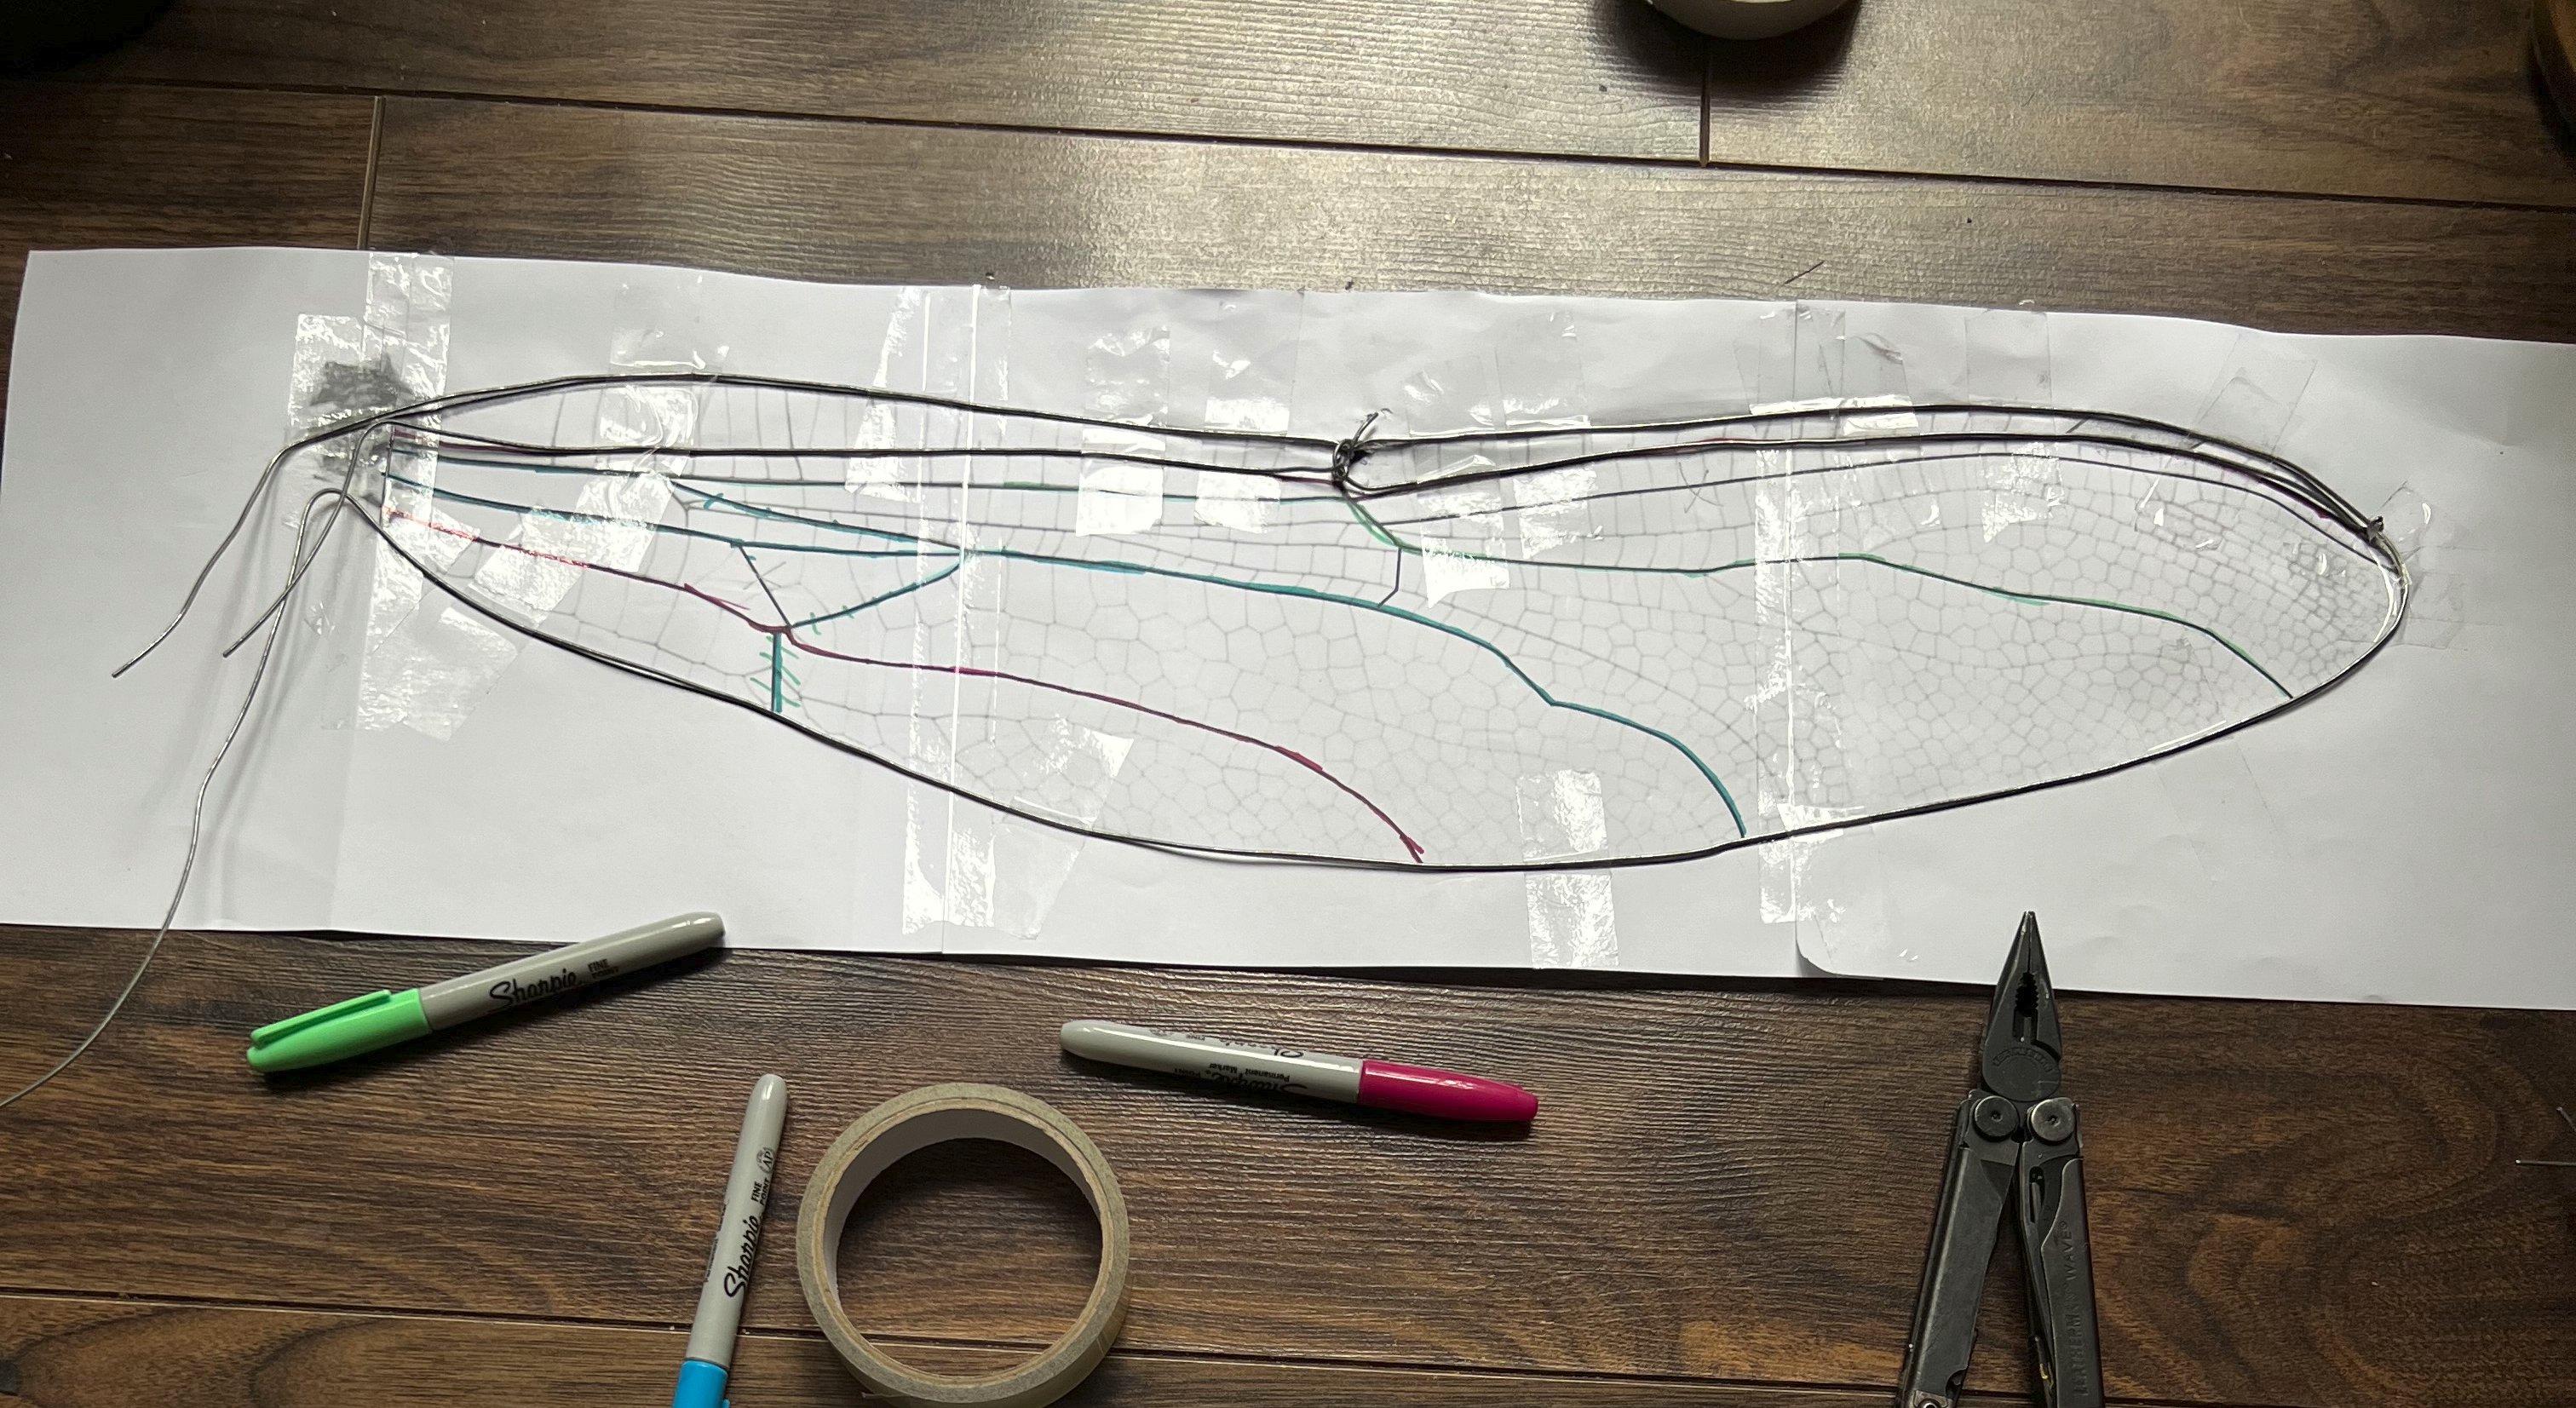
You can already see the wire lifting off the paper.
Designing the wings
I’d already got a basic design in place for the wire wings so I could use that as a basis for my 3D printed ones. I traced the outlines of each shape that I wanted to be a solid element, joining them together using the union function in Inkscape when I thought they were the right size. If a shape looked a little thin I used the expand path function to widen them until it looked right. I was looking for roughly 5mm in width across most of the shapes structure.
The wings, at full size, are way too big for my printer to handle - the width was somewhere around 60cm! To split them up I sized a square that was slightly less than the maximum for my print bed (which is around 25cm^3) and used the square as a clipping mask. It’s a non-destructive process which allows you to tweak, though you do have to duplicate the wing for as many clips as you need (in my case 3).
Modelling the wings
The next step was to import the wings into Blender and convert them to a solid object. This was much easier than I expected as you can use the solidify modifier directly on an imported SVG file to give it depth. I wanted to keep this frame as unnoticeable as possible, so I only made it 3mm thick. Looking back, I’d make it thicker as it was a little too flexible! You’ll need to apply the modifier (I used the apply geometry option) if you’re going to do some extruding, which is part of the next step.
Given it’s only 3mm thick, there’s no way the glue was going to hold these together with such a small surface area. To increase this I made overhangs between each solid part the of the frame. The lower lip of the overhang was extruded at 1.5mm thick (using a loopcut) and adjusted to go under the other piece about 10mm. The overhangs used a boolean modifier and a simple cube shape positioned carefully using guidelines to chop the other 1.5mm away. Repeat this for every piece that needs to join together.
Export each of the pieces separately into .stl files, leaving you with 3 pieces per wing and ready to import into your slicer software.
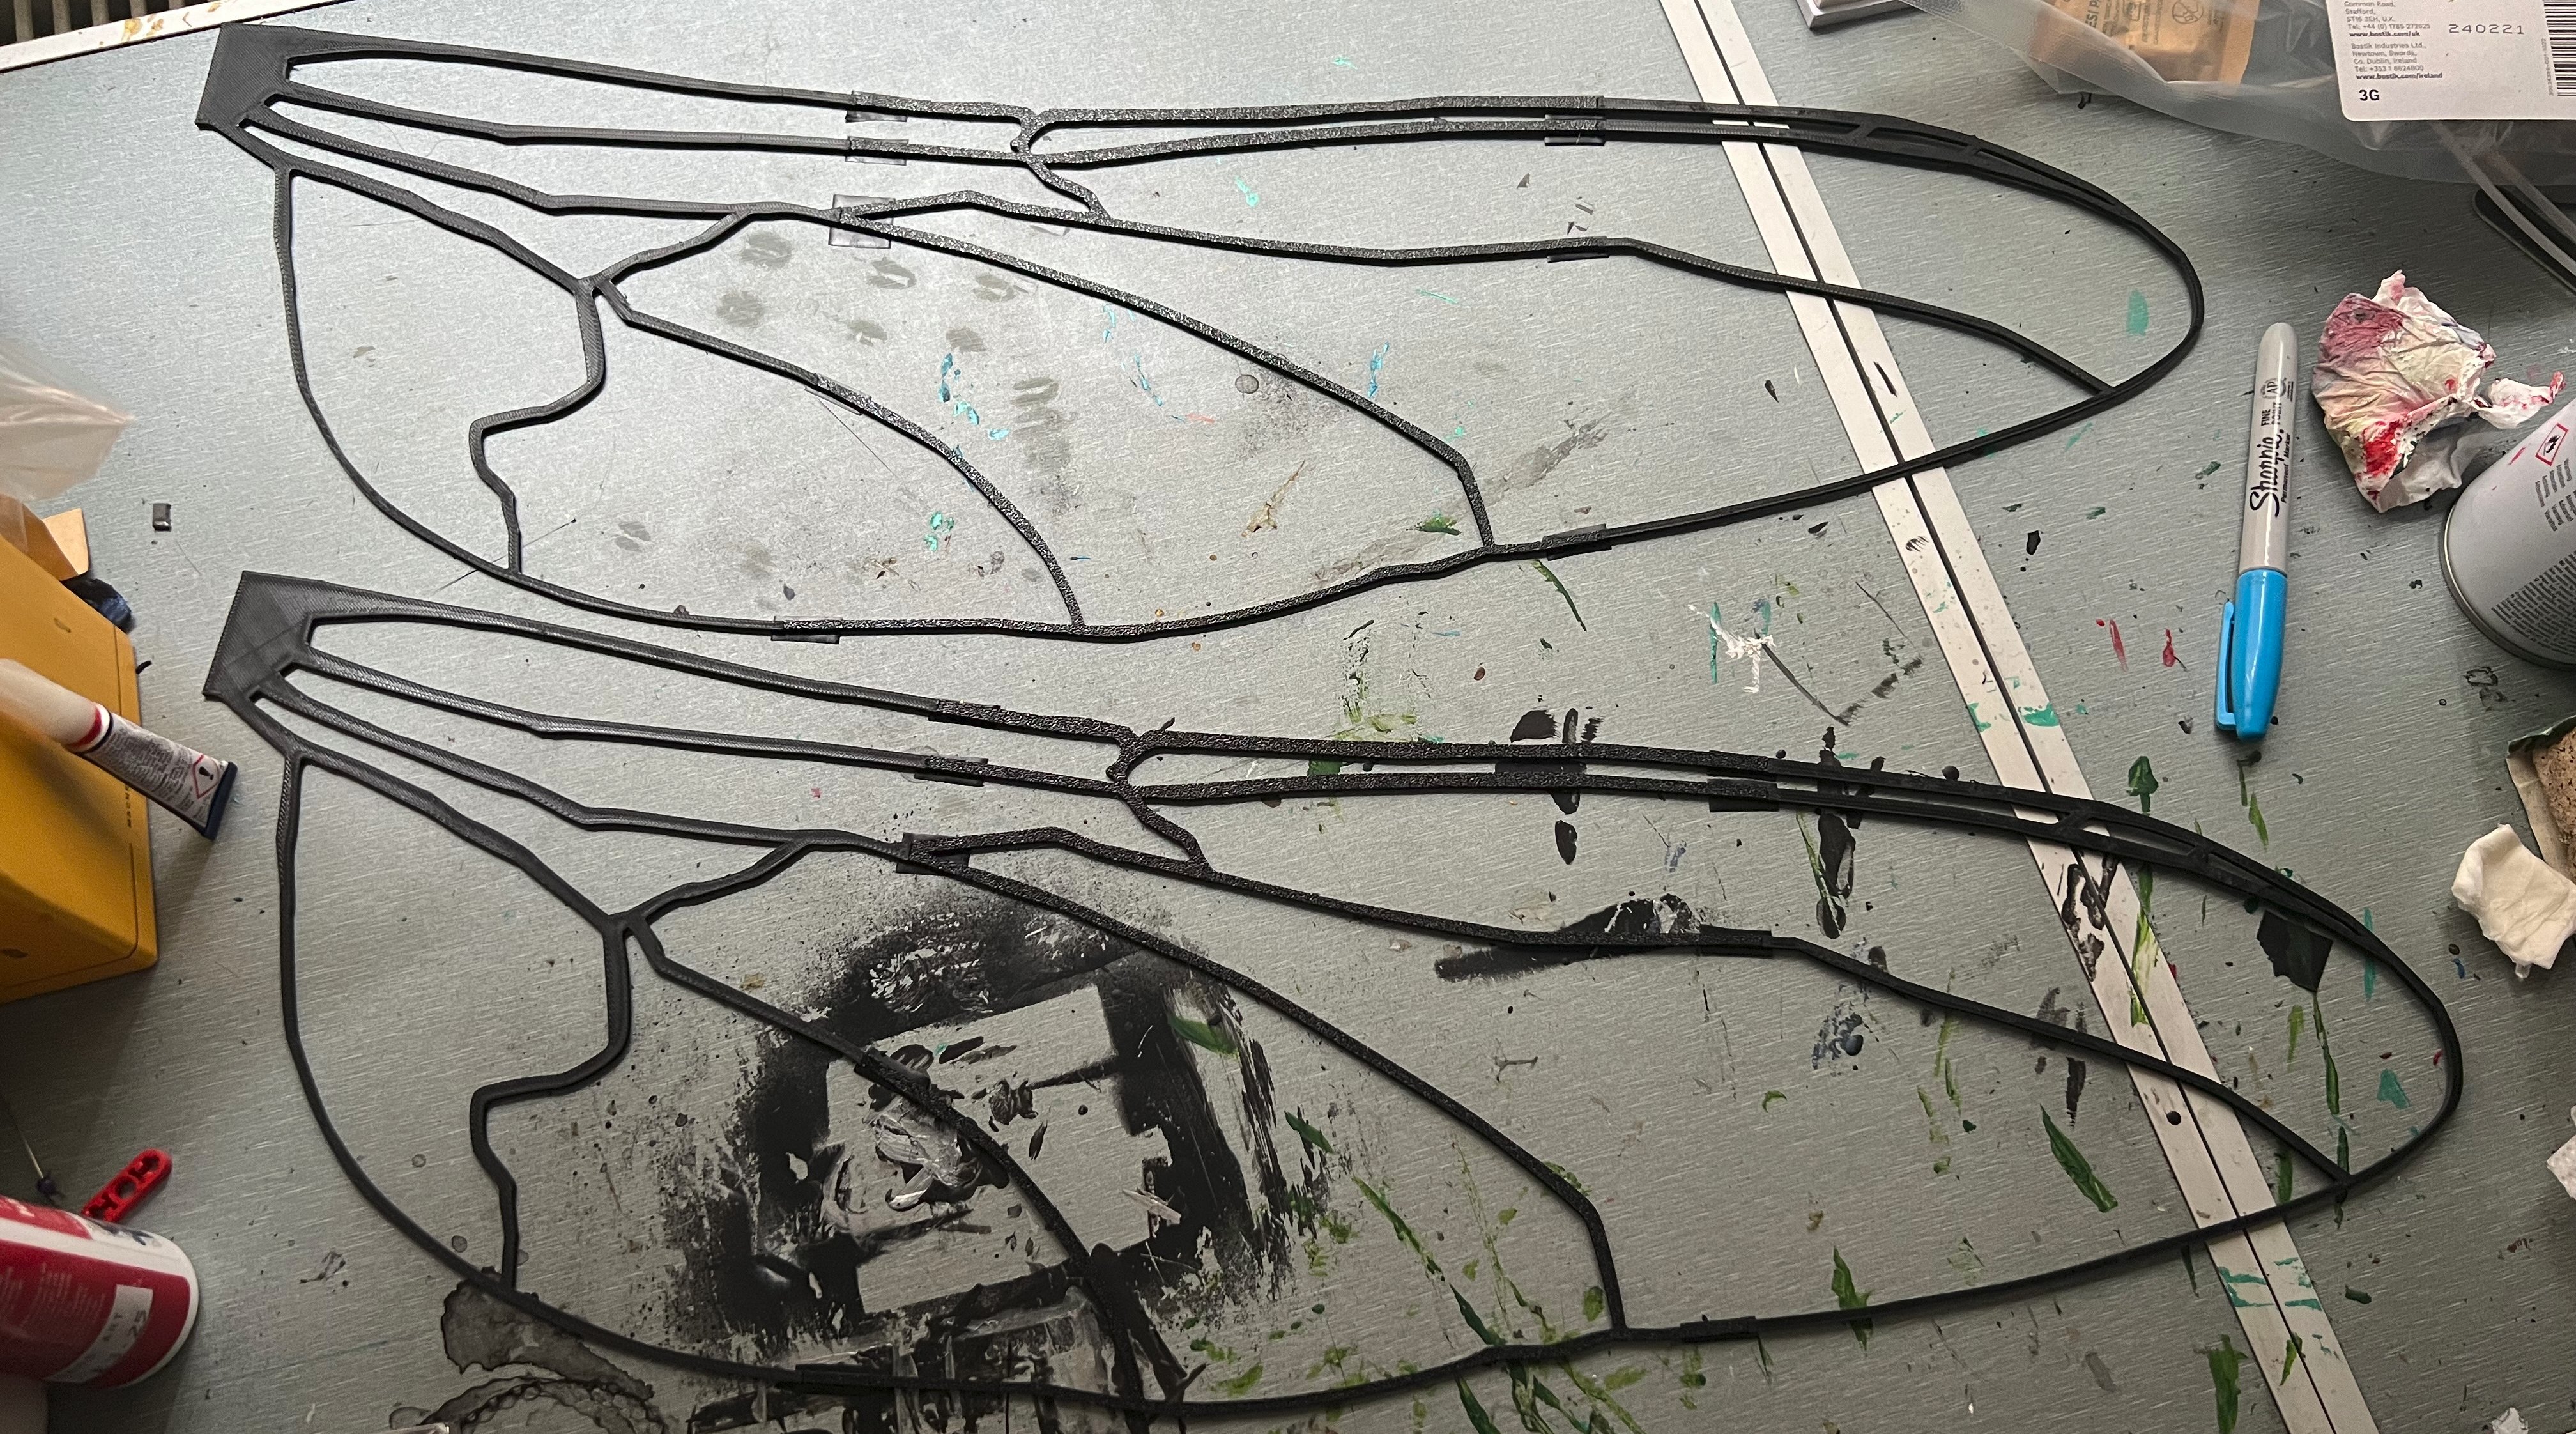
Printing the wings
Time to print. This is going to take a little while as with 3 pieces per wing and 4 wings you’re going to need to churn out 12 pieces. I used PETG rather than PLA for my print for a couple of reasons - it’s more flexible (so can take the bumps and scrapes), UV resistant (I’ll be wearing outdoors, less discolouration long term) and a higher temperature before it deforms (useful during transport).
The print per piece only took ~30 minutes, but I needed to let it cool so often went over an hour per piece. This wasn’t too bad, only taking and evening and a bit of the next day to print. Each was arranged to not require any support, though that did leave some obvious pattern changes (I have a textured PEI baseplate) that thankfully didn’t show once the film was in place.
I was really surprised how good it printed using a default PETG profile on my Bambu. I had minimal stringing and blobbing (as I’d dried out the filament earlier) though as the days went on I did start to experience some imperfections. I used default settings for the print at 0.2mm as they seemed to work perfectly for what I needed.
Gluing the wings
Note the tape behind the joints.
Ok, now is where I start to encounter some issues. PETG is an amazing material that, unfortunately, does not take to glues especially well. Superglue does work, but I’d stay clear of Gorilla brand superglue as it was markedly less effective than the Bostik (and Loctite) I ended up using2. You have to be patient if you don’t have an accelerator as the glue will take a very long time to cure. Try not to move anything and make sure you don’t glue it to the table (see my tip below for how to avoid that). The glue does bond strong eventually. In future I’d add some physical connectors to add strength to these joints rather than just use glue.
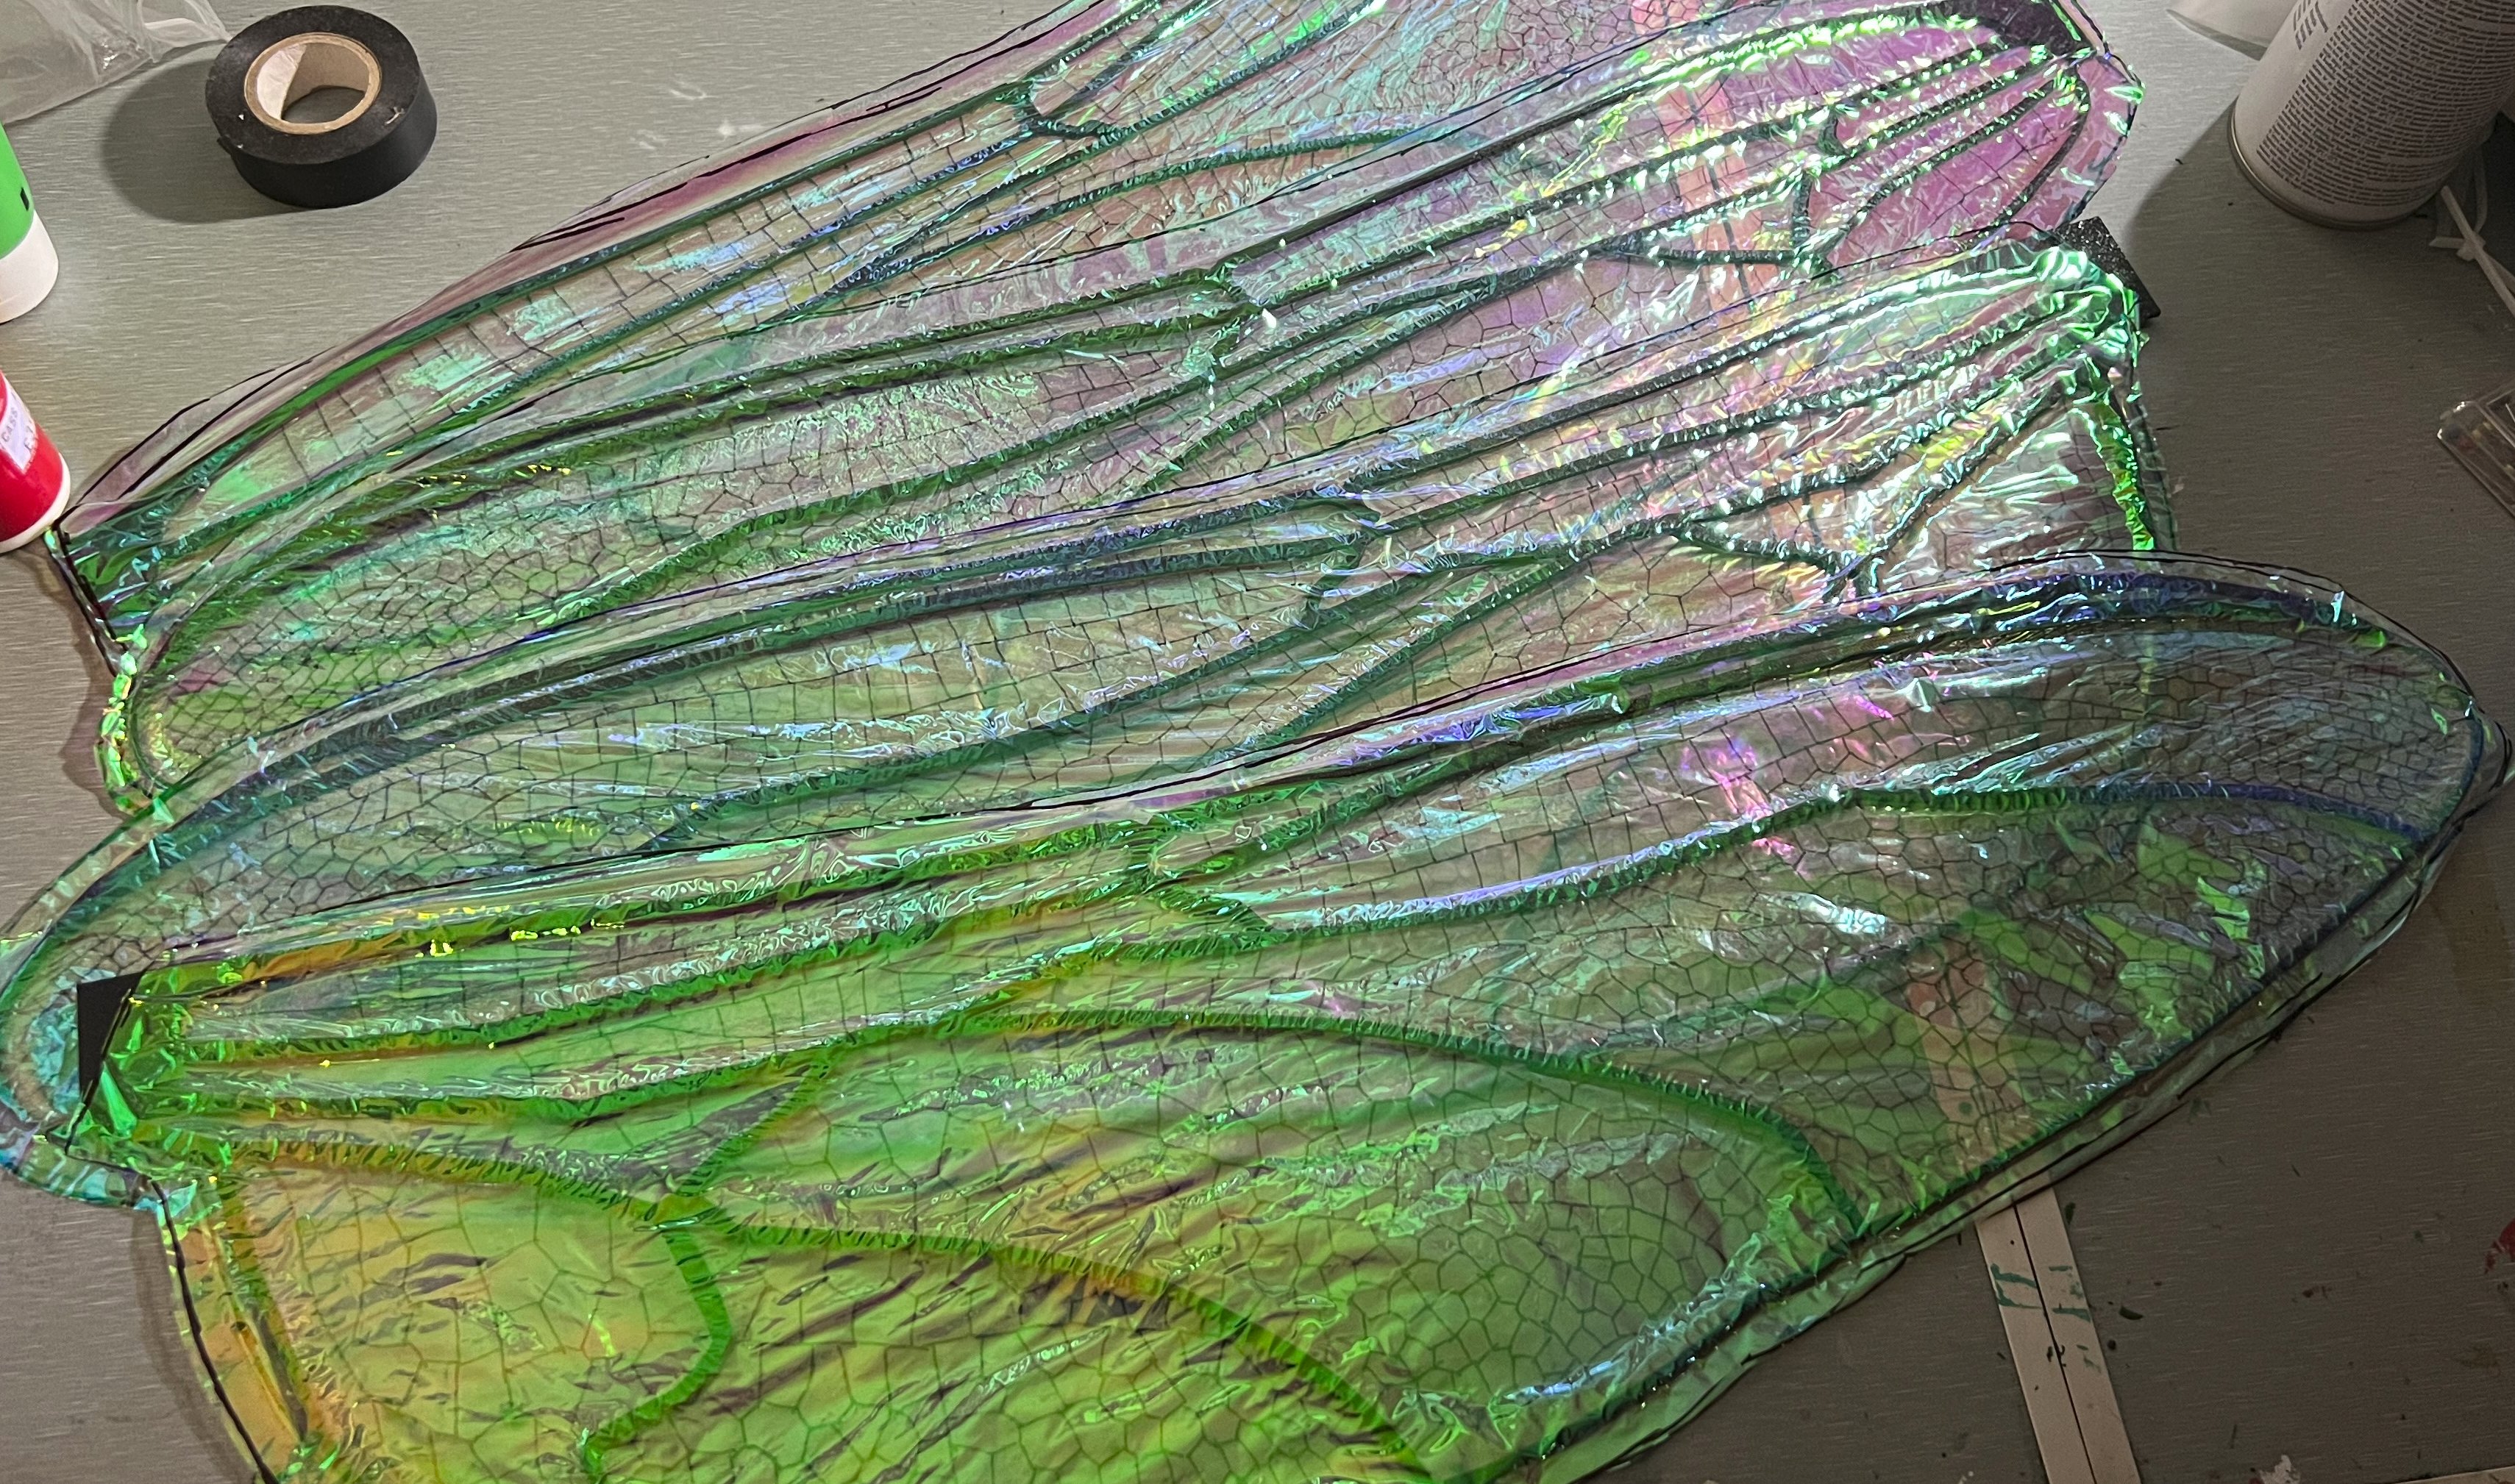
Adding the iridescence
The actual wing material is a surprisingly cheap and tough iridescent film that I got from an education shop online. Those places are a treasure trove of affordable materials for cosplay, and you don’t need to be a school to use them! This bit is simple - cut the film out with (plenty) of room around the edges, then coat with a spray adhesive. I used some that’s meant for mounting art to boards, but it gave a grey sheen to the film which dulled it a bit. Once it’s sprayed, place the assembled frame onto it and give it a smooth down to make sure things stick. Don’t add the second side yet, you’ve got another job first!
Adding the wing details
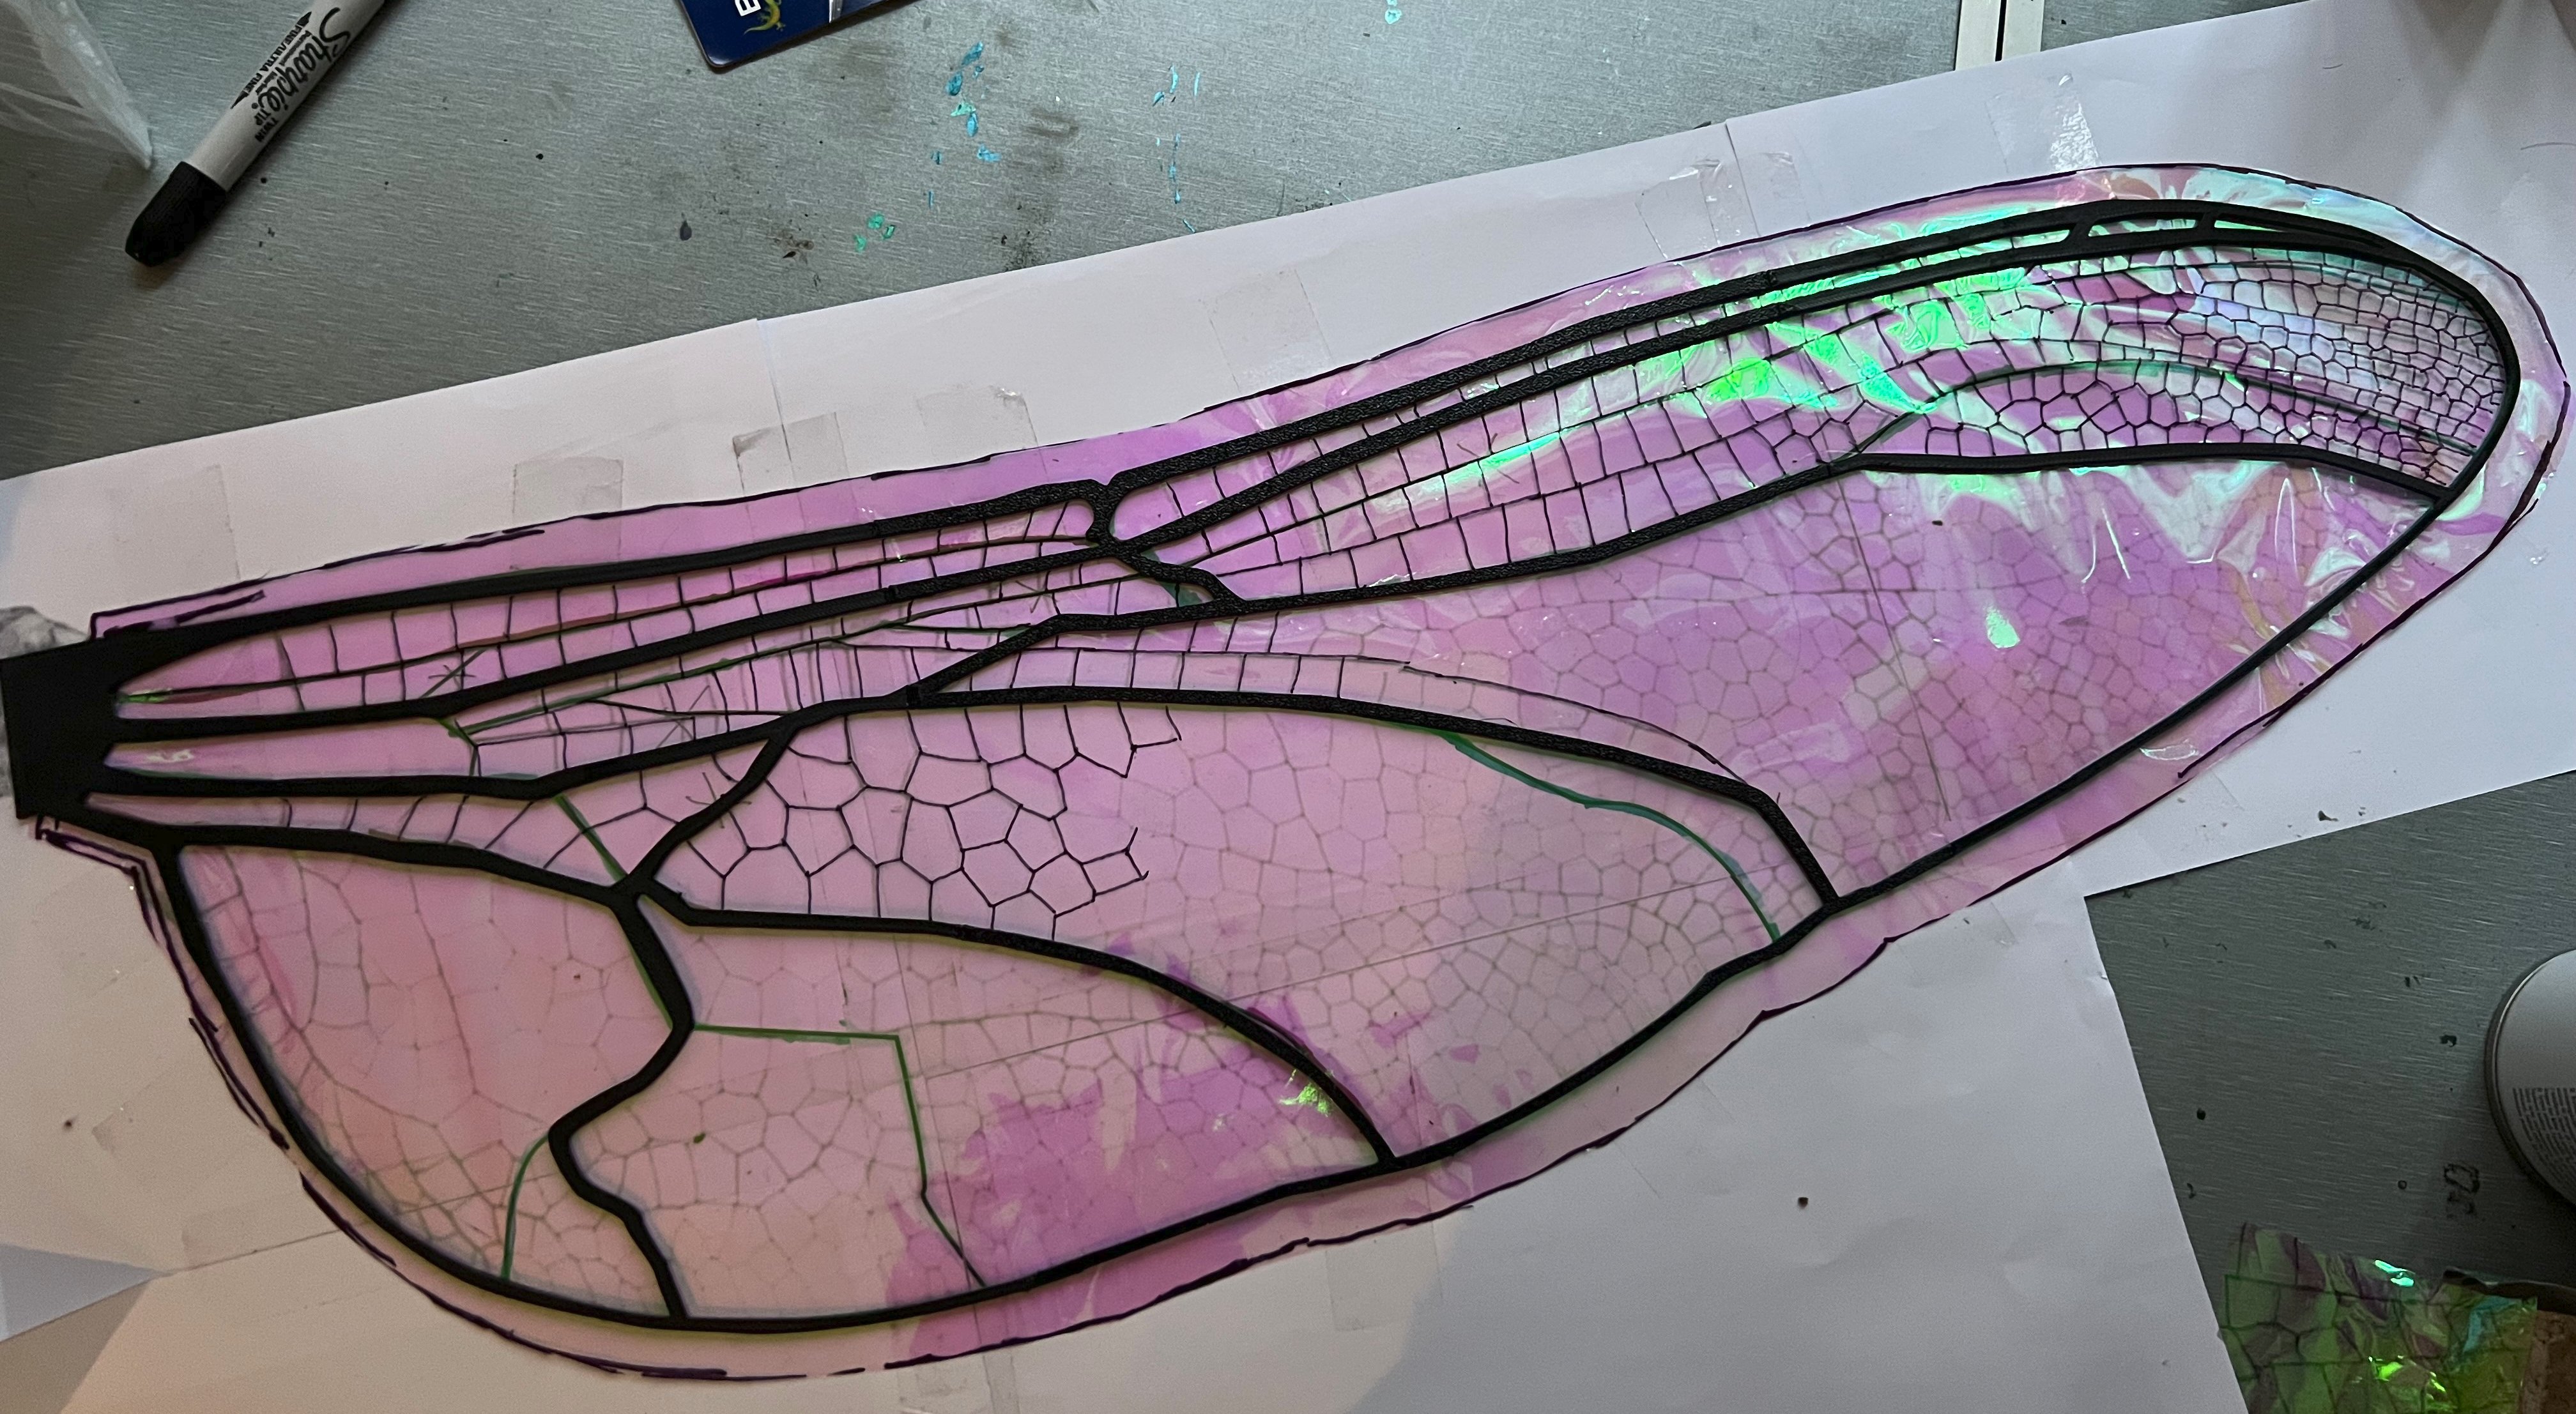
To really sell the dragonfly look, with all of the complex structure, I used a printed template (from the wire version) to trace on all the little details with a black fine line sharpie. It’s time consuming but the effect is well worth it. I used the first wing I traced to to the opposite wing rather than print out a new template, just don’t push down too hard and it works great.
Now the second film layer
Repeat what you did with the first layer, spraying and laying the film on top. Make sure you join the two film layers together on the outside to give it strength. I cut mine too short and had to re-stick the film multiple times as it’d catch and get pulled off.
Heat shrink!
Note the tape behind the joints.
Remember I said to make sure the outside film is sealed together? This is why! You’re going to take a heat gun and gently heat the film to shrink and crumple it a bit. This will introduce plenty surface imperfections that will help to scatter the light and make it much more dynamic with the colours than you get with simply gluing it on. Careful you don’t overdo it because you can crisp and melt it.
The backplate
I wanted to make a backplate that allowed the wings to be set in multiple positions and be able to stay in place using magnets. Unfortunately, due to time constraints I was only able to achieve on of those goals and the magnets had to go. I used the diagram I already had in inkscape to figure out where the screws and holes needed to go, as well as the basic sizing. Like before I then imported this into Blender to give it depth using the solidify modifier. Holes where again cut using the boolean modifier, and the whole thing was mirrored to make sure both side where the same.
I made the mistake of trying to print the screws and bolts3 (so I could avoid the trip to screwfix across the crossing-deficient four lane major road), but the thread lasted even less time than I expected, with some bolts stripping after only one or two removals. Metal fixings are much more robust, and I’d recommend using them if you want these wings to last through many uses.
It took three versions to get a backplate that worked, with a total print time of well over an hour and half each time. I used some existing straps I’d made (2.5cm wide brown fabric), slotted through and tied together to keep it on my back. Crude, but effective.
Putting them together
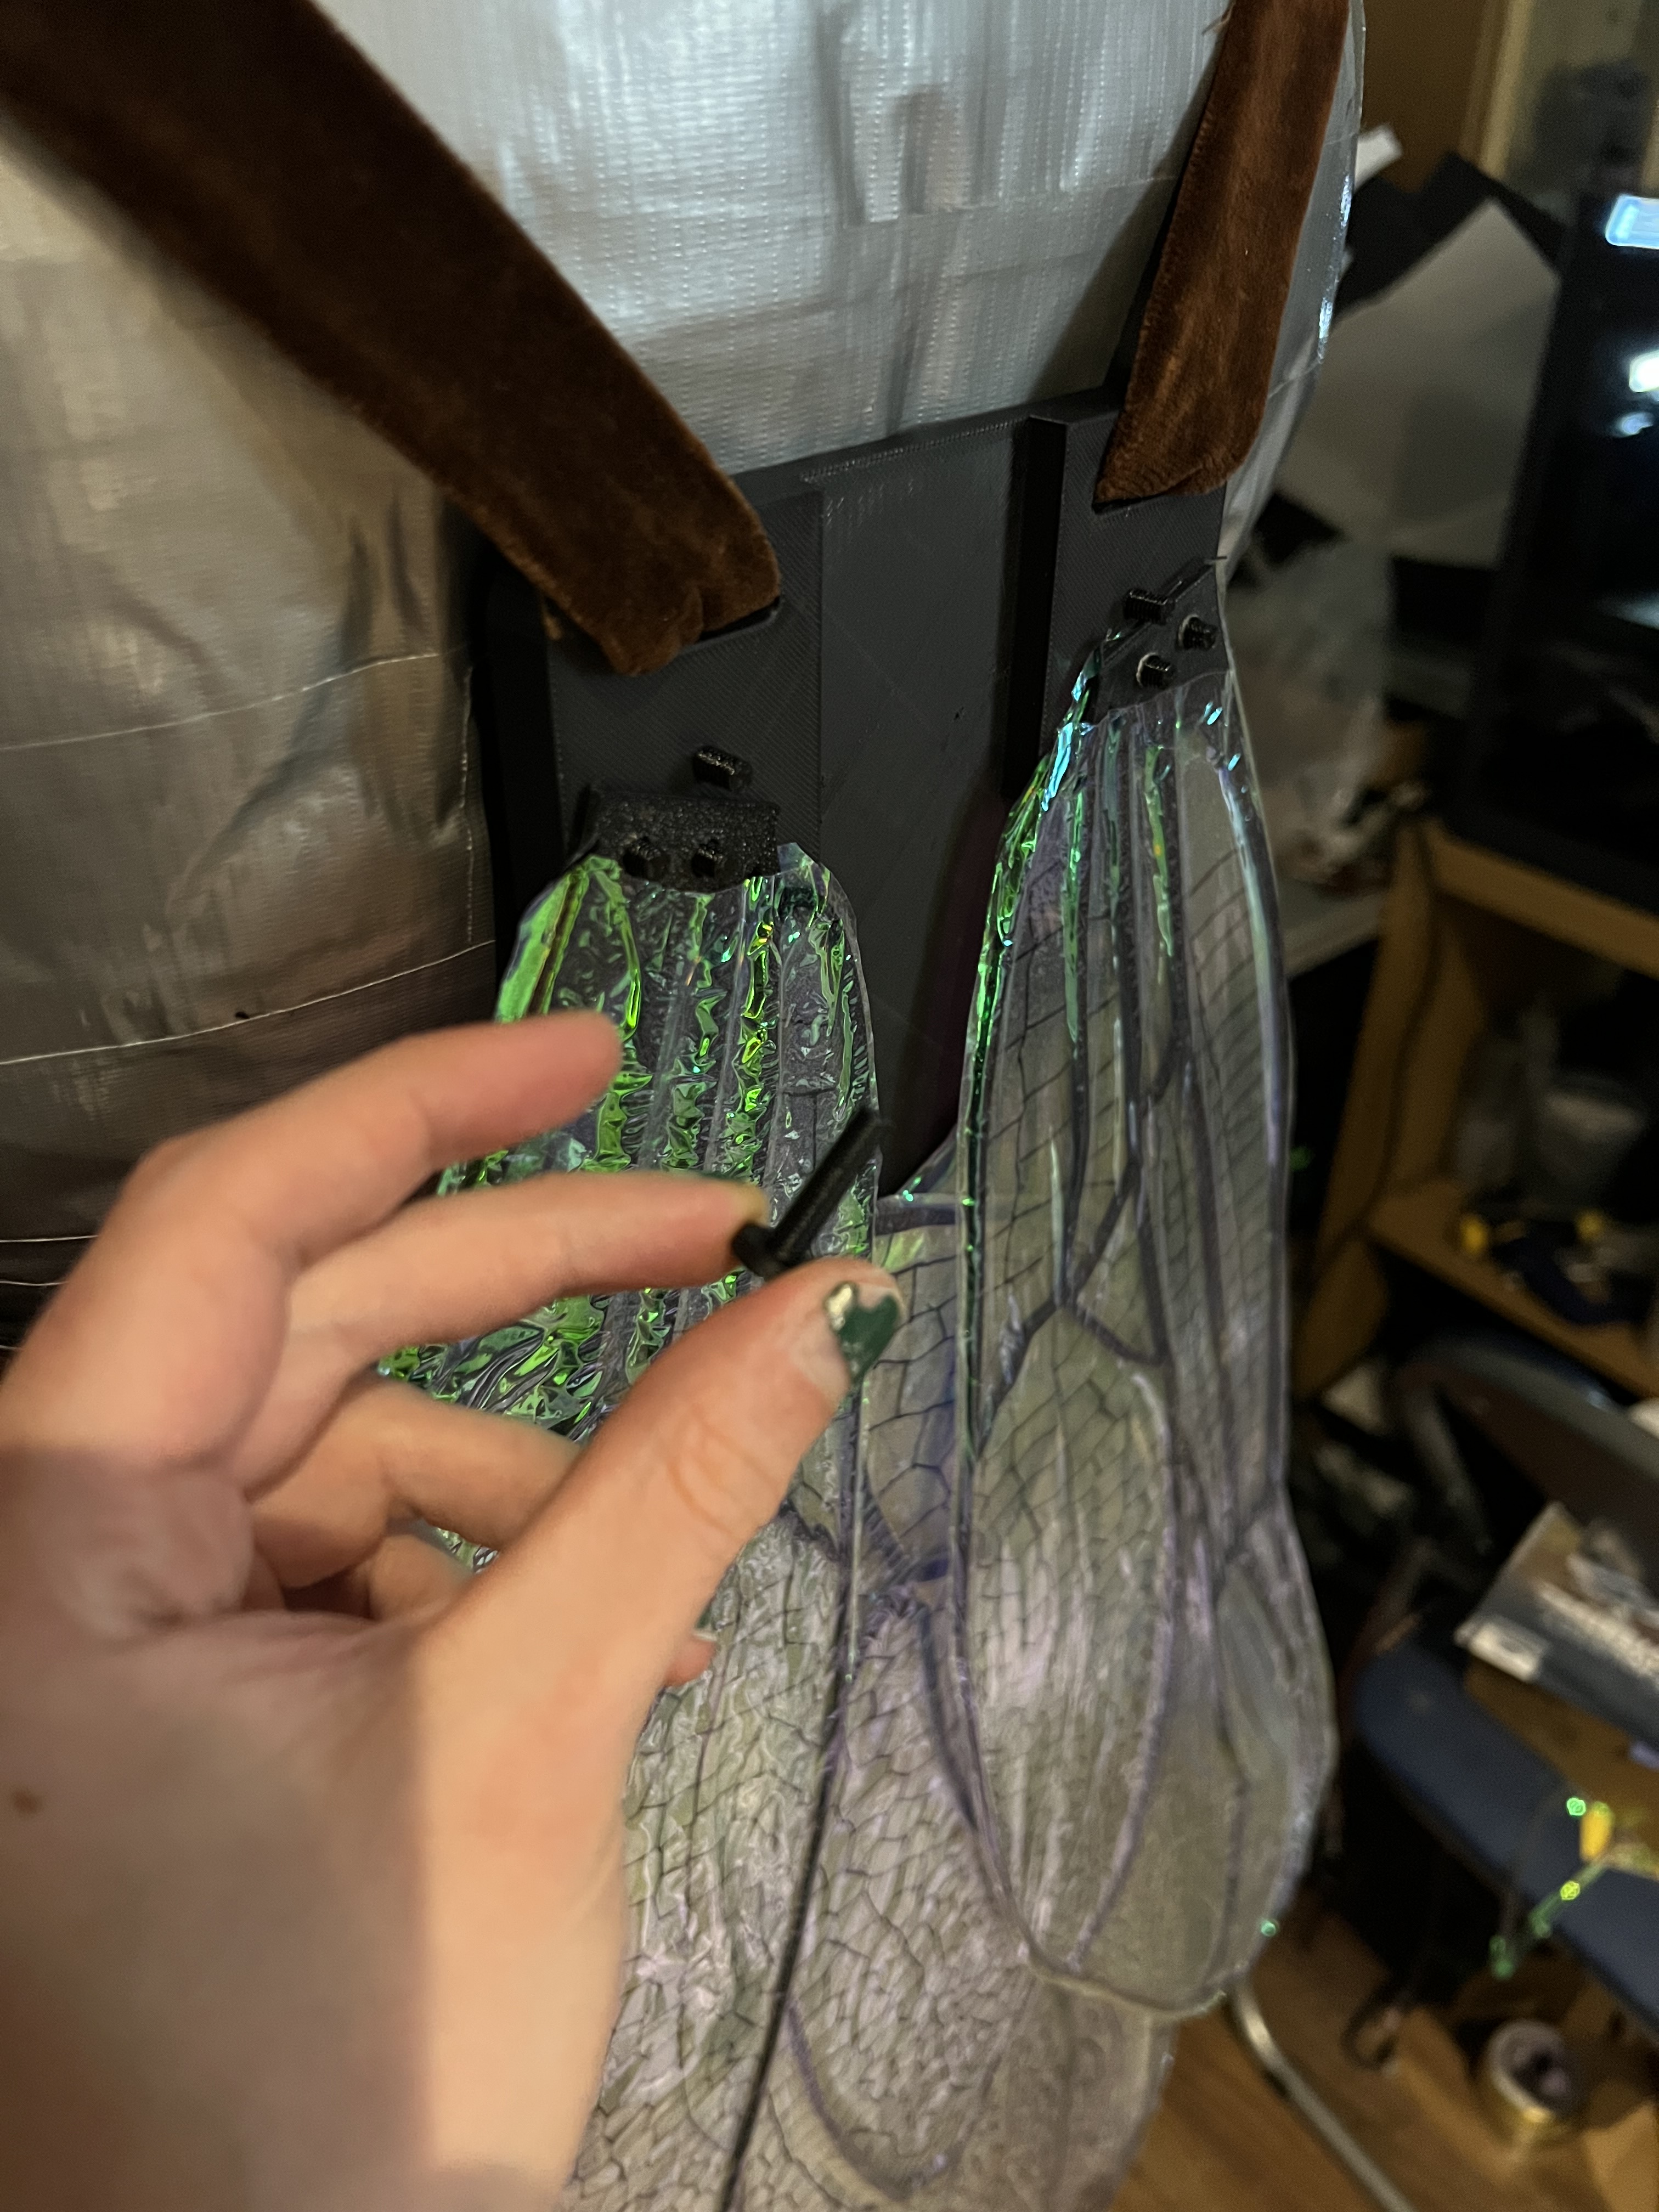
At this point you should have one backplate, some wings and a lot of tiny bolts. Simply slot the wings through the screws and bolt into place! If you wear them with the wings out you’ll be unable to walk through doors and are guaranteed to annoy your friends by constantly hitting them with the wings. In the flying position they lasted all of 5 minutes before I got fed up and switched them to the downward position, where they stayed the whole weekend.
The good, the bad and the ugly
- The wings are lightweight, flexible and can take the punishment of my climbing a tree and sitting on them.
- They look amazing, shimmering in the sun!
- Putting the extra effort in to allow the two positions was a great idea and worth the re-prints of the backplate.
- They’re a bit too flexible, they need a few more millimetres depth to add more rigidity.
- Using 3D printed screws and bolts was a bad idea.
- I almost glued myself to them a couple of times before I figured out the solution.
- They’re just too big to wear out to the sides without repeatedly smacking people with them 😔
Files to Download
Here’s the Blender files for the wings and backplate as well as the stl files for the wings and backplate. As I said there’s plenty of flaws with them so I’d use this as the basis/inspiration for your own designs rather than printing them with no changes.
-
If you saw me at Fantasy Forest you’ll not have noticed this as the design changed radically from when I first thought of it! ↩︎
-
The container for Gorilla brand superglue has a wide nozzle for some reason which means glue just floods out. It also takes significantly longer to dry, possibly due to there being so much more of it! ↩︎
-
I didn’t make the screw design, instead adapting them from this one I found on Thingiverse: https://www.thingiverse.com/thing:3932023 ↩︎
-
 Instagram:
@smojcosplay
Instagram:
@smojcosplay
-
 Tumblr:
smojcosplay
Tumblr:
smojcosplay