Prime time viewing
TLDR; This week I prime everything I can get my hands on, sew some fake stitches and attempt to get templates finished in time to make a bow!
Priming
Previously I’ve used a number of techniques to prime my foam projects for painting. I started way back with watered down PVA glue (don’t do this, it’s really ineffective), moved on to spray cans of Seal Prime (not especially cost effective, the fumes are not good for an enclosed space), tried painting Seal Prime (as above, but it destroys brushes so counteracts it being a bit cheaper) and then moved onto HexFlex, but painted on (pretty good, but coverage is not as good as the airbrush in small gaps).
This time I’ve used my new airbrush and let me tell you, it’s so much quicker and gives a much better surface! Once you’ve thinned out the HexFlex with airbrush medium (I think my ratio is roughly 1:1.6) it goes on with a good coverage, though you still need three layers at least. Over large areas it’s comparable to using a brush, but with more complex shapes it beats the brush for speed and coverage.
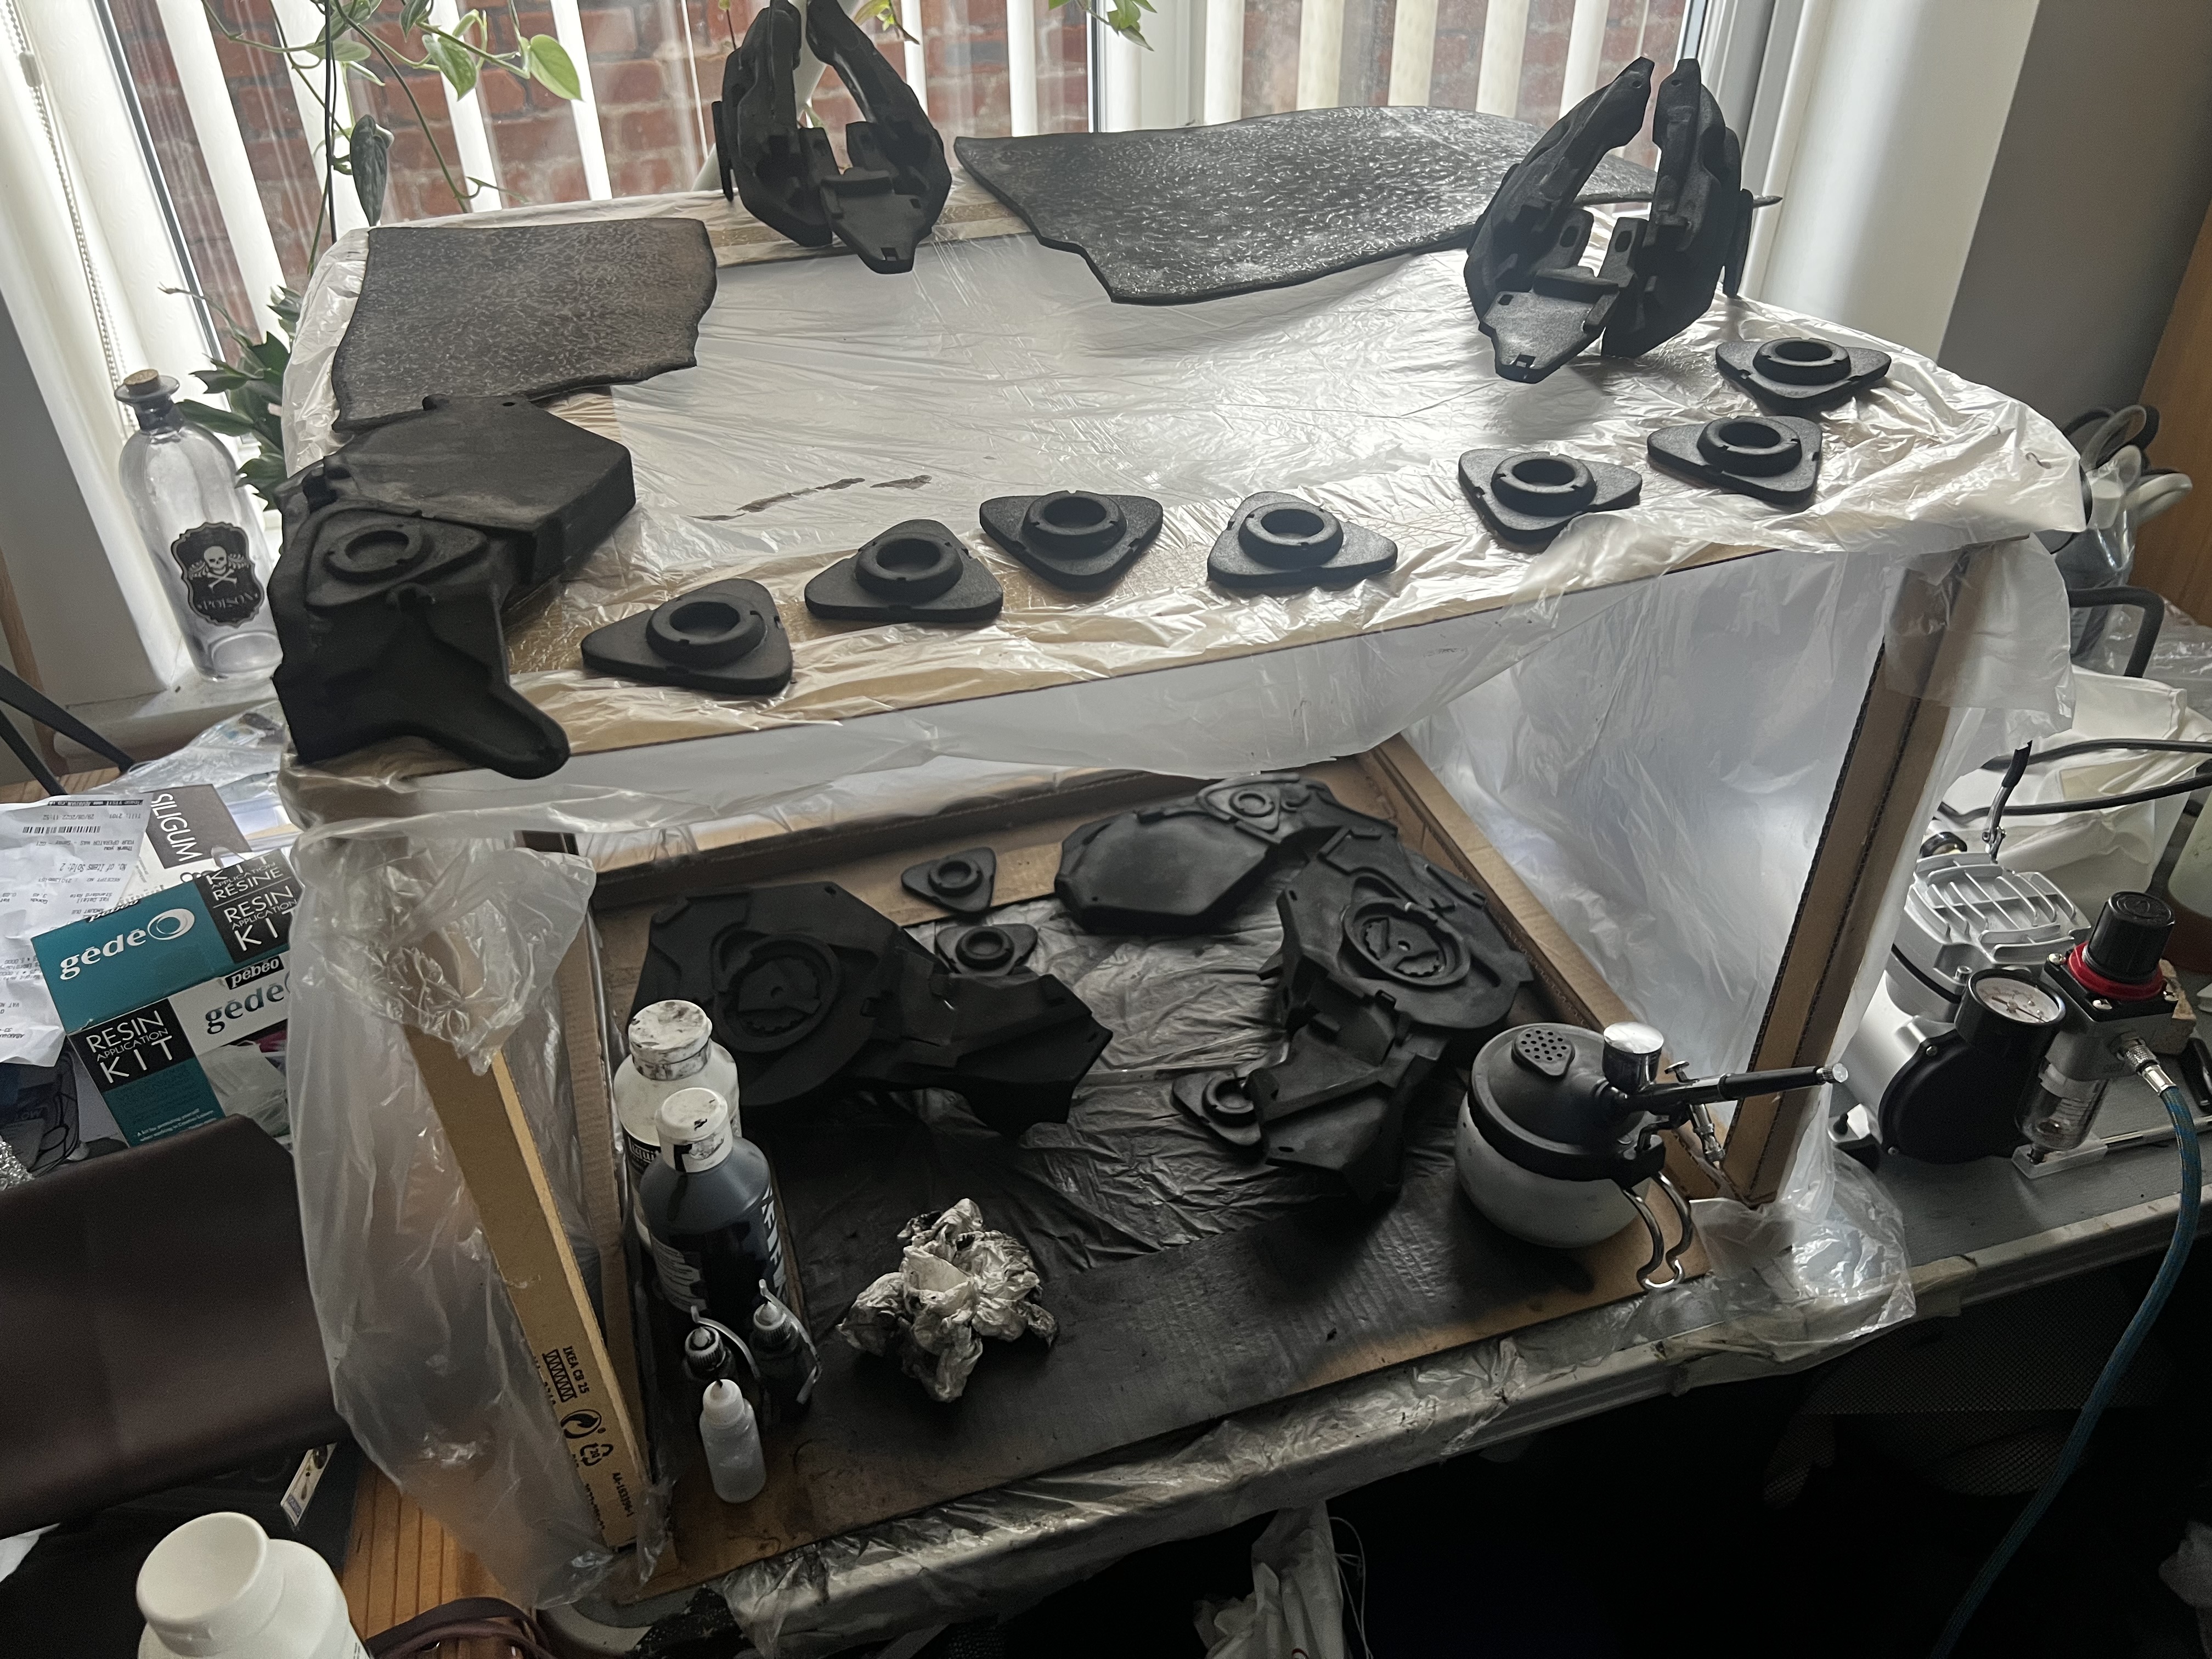
I’ve built a little cardboard enclosure to contain the spray droplets, and highly recommend wearing a mask. Ventilation isn’t the best where I have it and you get a lot of vapour given off when using the airbrush. This isn’t a problem if you’re brushing on, so if you don’t have the space or resources to make a little spray cabinet, stick with that.
Painting the flaps
Since the flaps have a whole bunch of post-paint threading to do I’m prioritising them so I can work on the details in spare moments. So far they’ve had two layers of titan buff applied as a base, but they’re going to need a third or maybe fourth layer to get a good enough coverage. I’m regretting spraying over such a large area as it’s difficult to cover things quickly and evenly. My plan is just to paint the other side with a brush like I did with the primer as it’s not going to get seem that much so loss of detail isn’t as important.
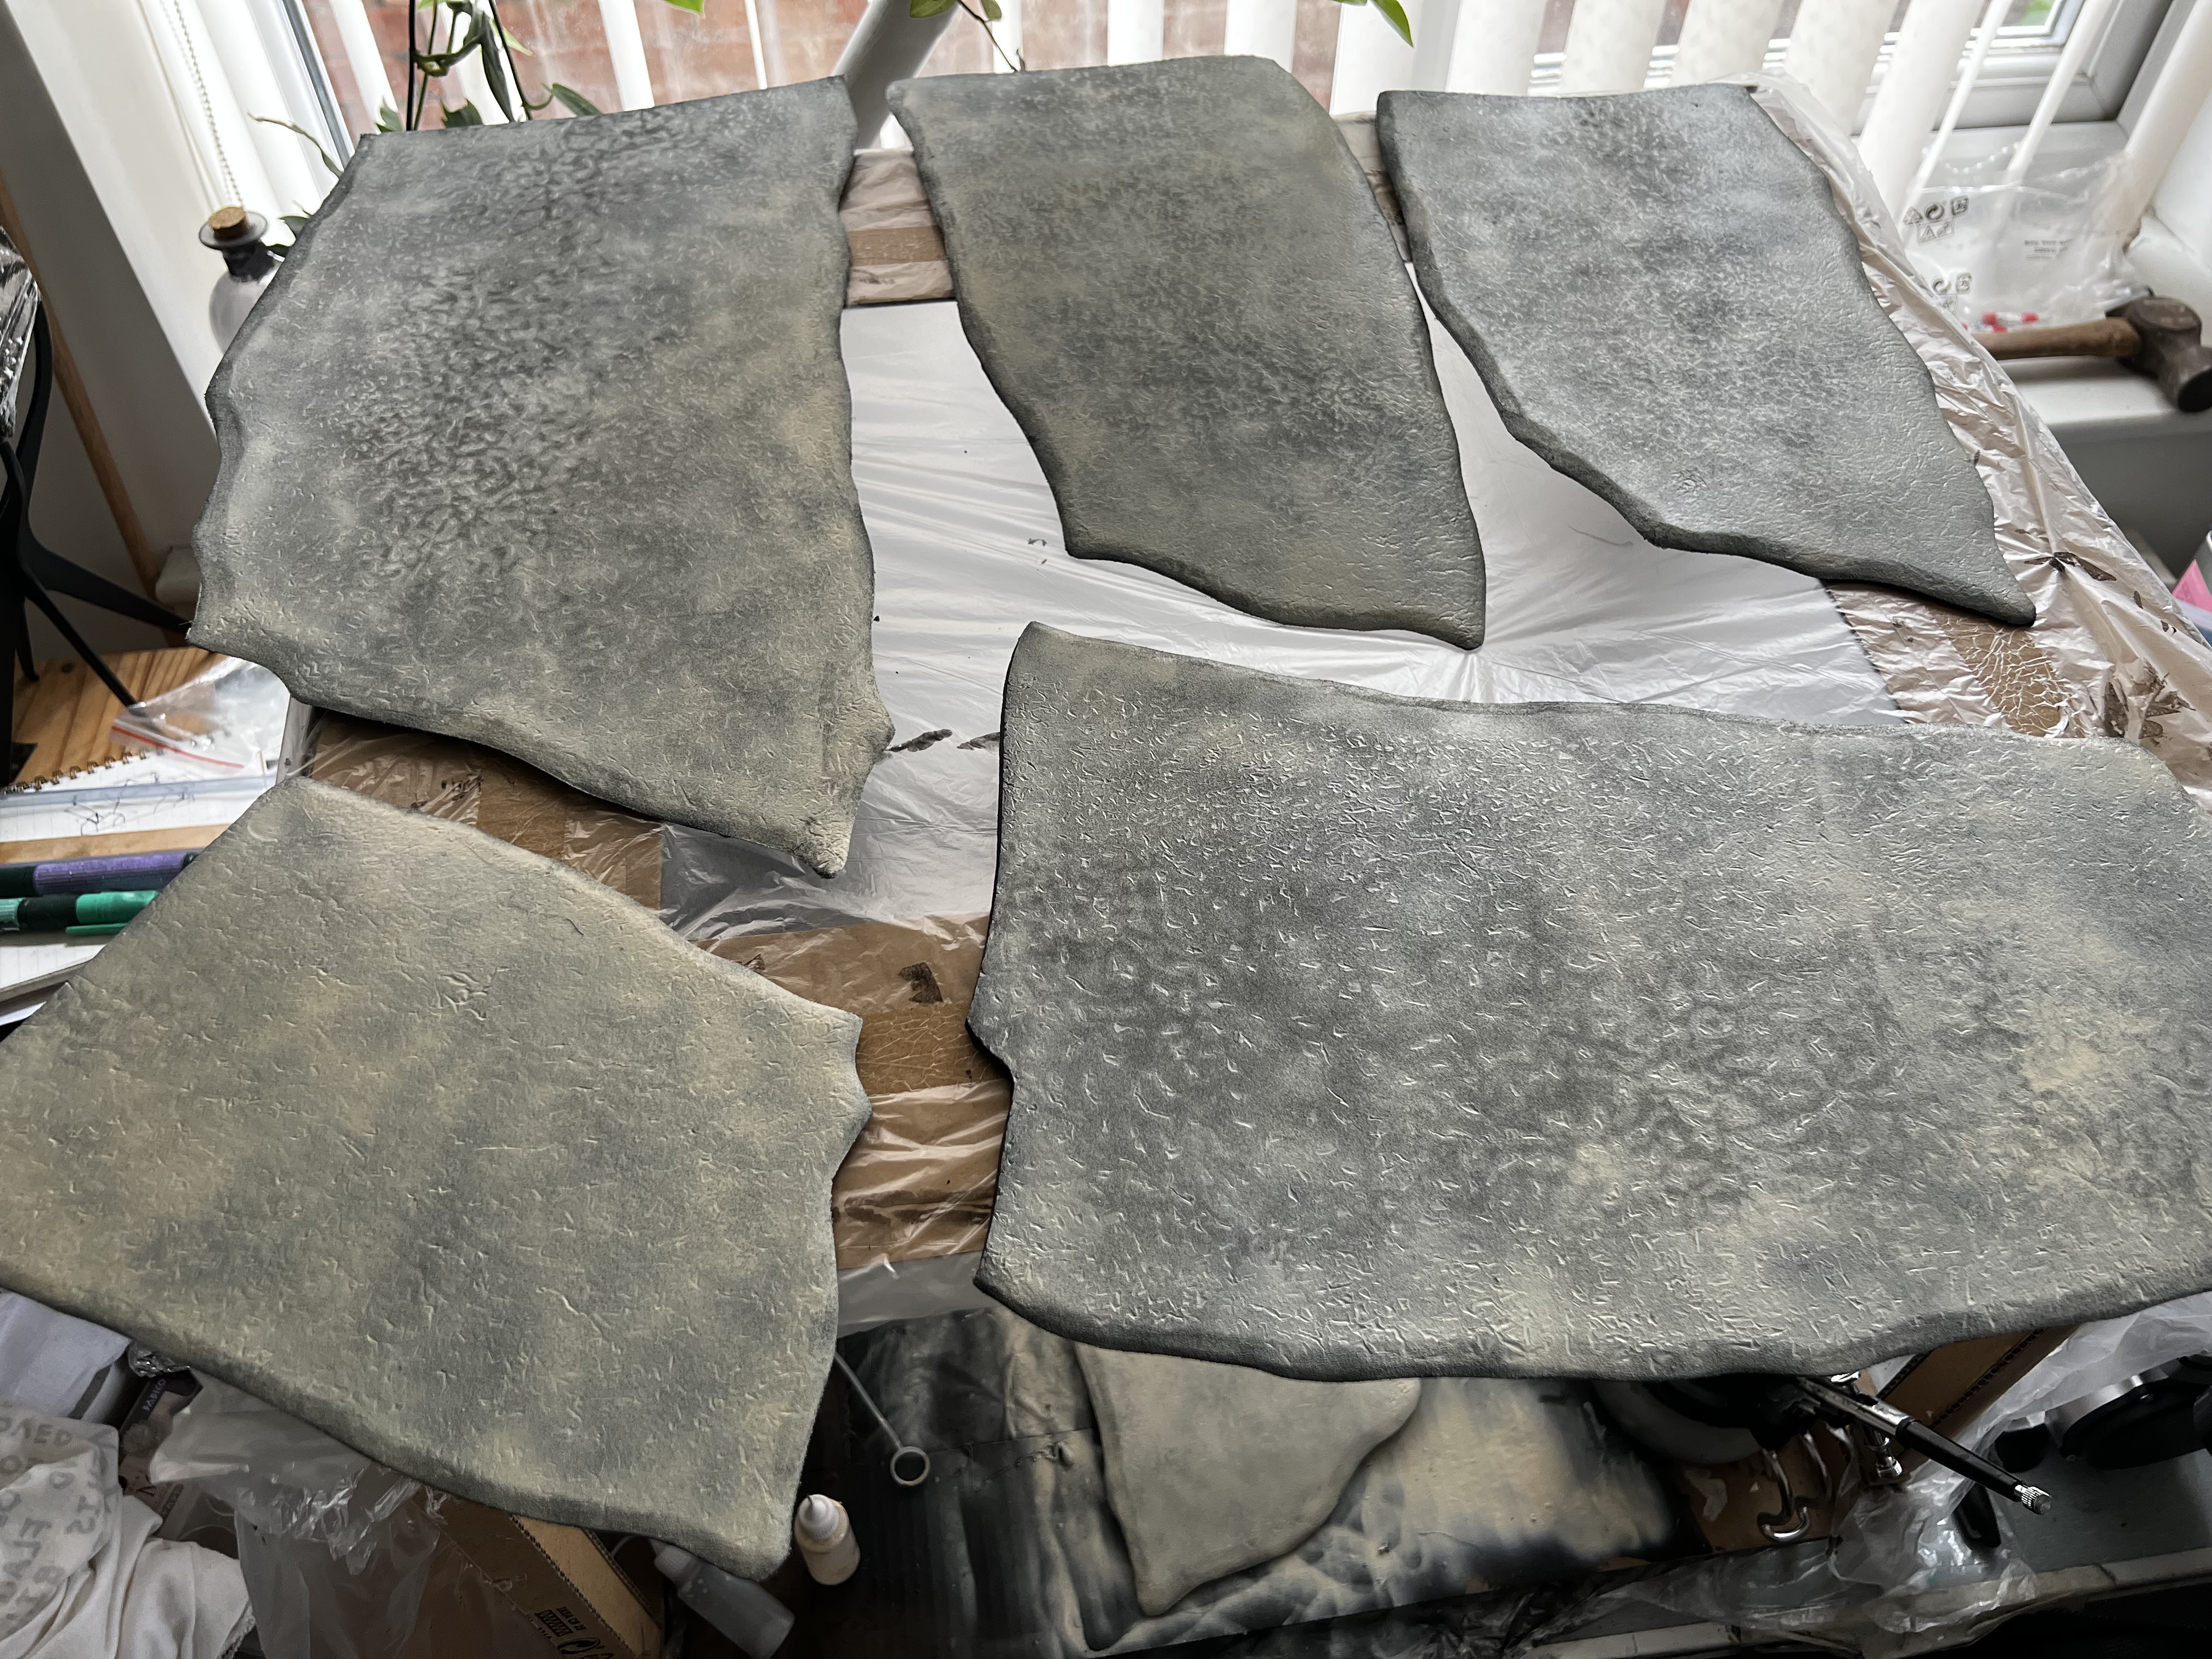
I’ll be building on this by overlaying a brown (maybe burnt/raw umber) to add to the dirty look and then doing the two shades of blue.
Pouches + quiver
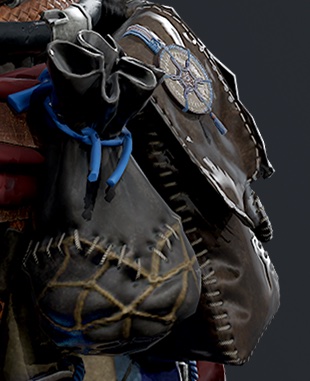
Detailing on the pouches and quiver are finished! The embroidery thread looks great, I used a single thread for the pouches but doubled up to create the thicker looking threads on the quiver.
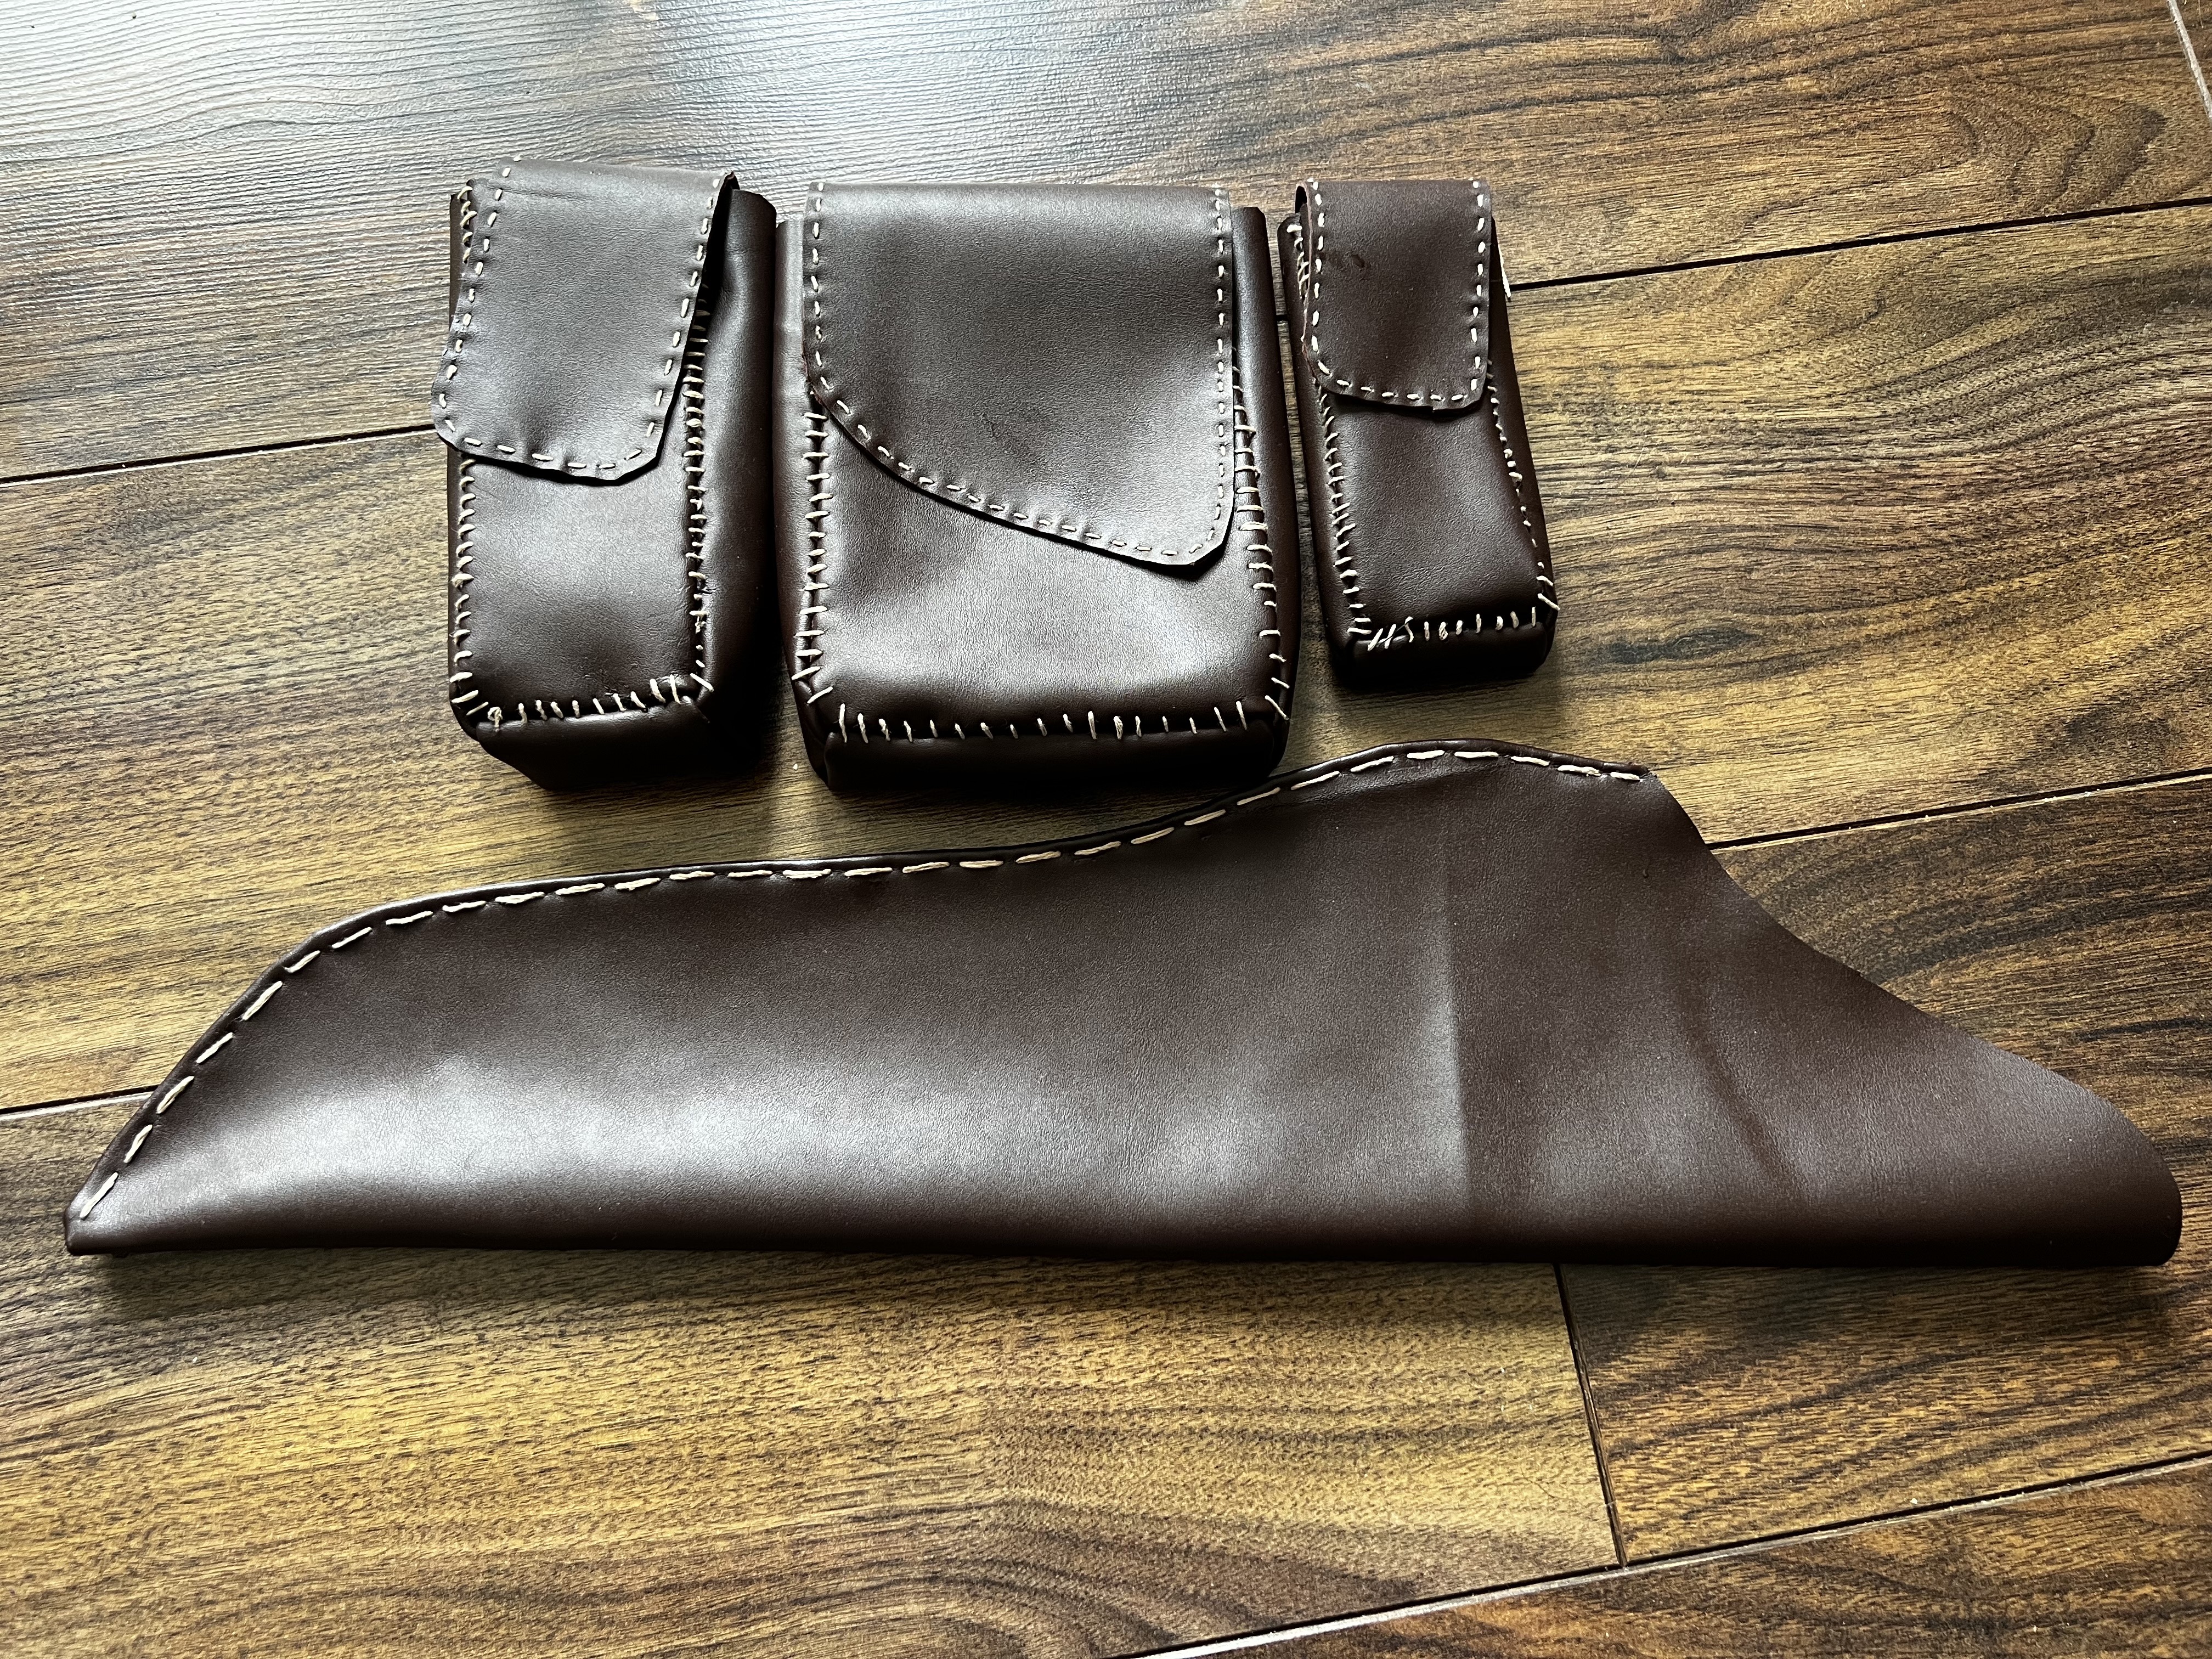
There’s a small coin like decoration on the first pouch that I’m going to use some 2mm foam and coloured embroidery thread to make.
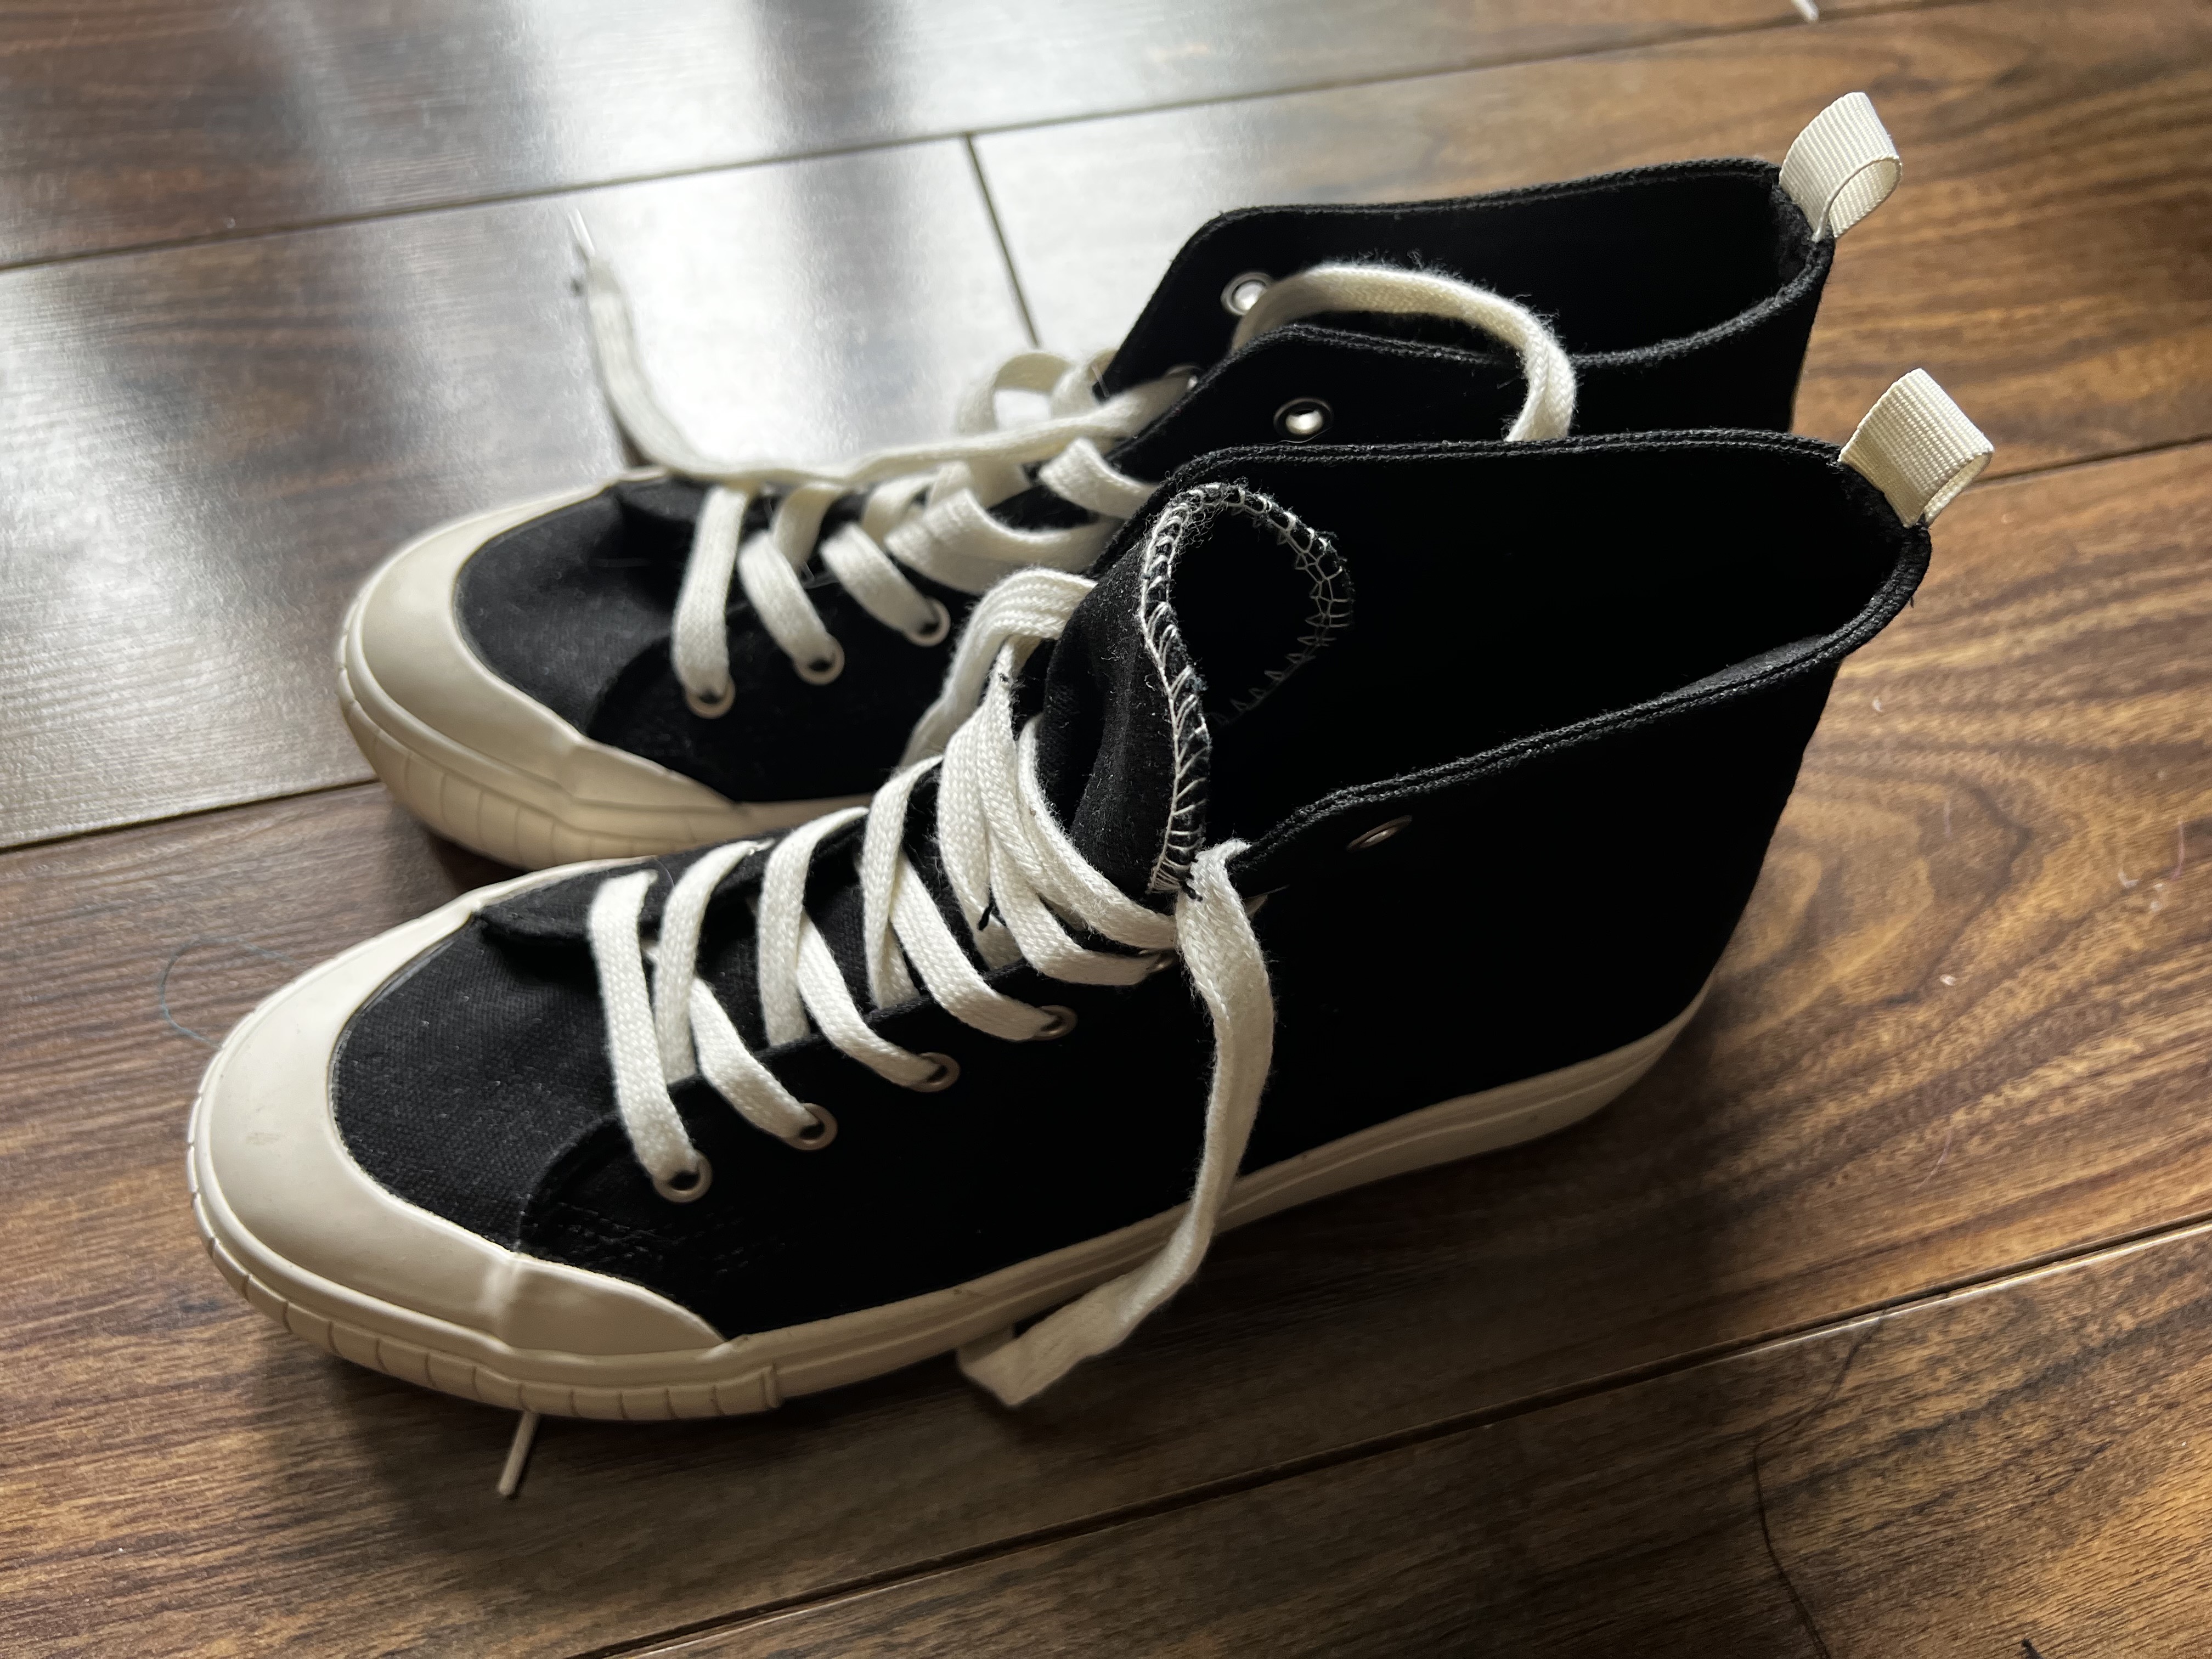
Shoes
I finally remembered to get some duct tape so I was able to get started making the templates for the shoes I’m going to wear. I’m using some very simple skater-style shoes as the base, with the plan being to cover them in the same faux leathers I’ve already used and hold them in place with elastic.
To make the templates I first put on the shoe before wrapping it in cling film. The cling film serves as a protective layer and makes it easier to separate stuff later. I then tore off bits of tape and tried to keep it as close to the shape of the shoe as possible. Once I had a foot wrapped in tape, I drew on the basic shapes of the pattern.
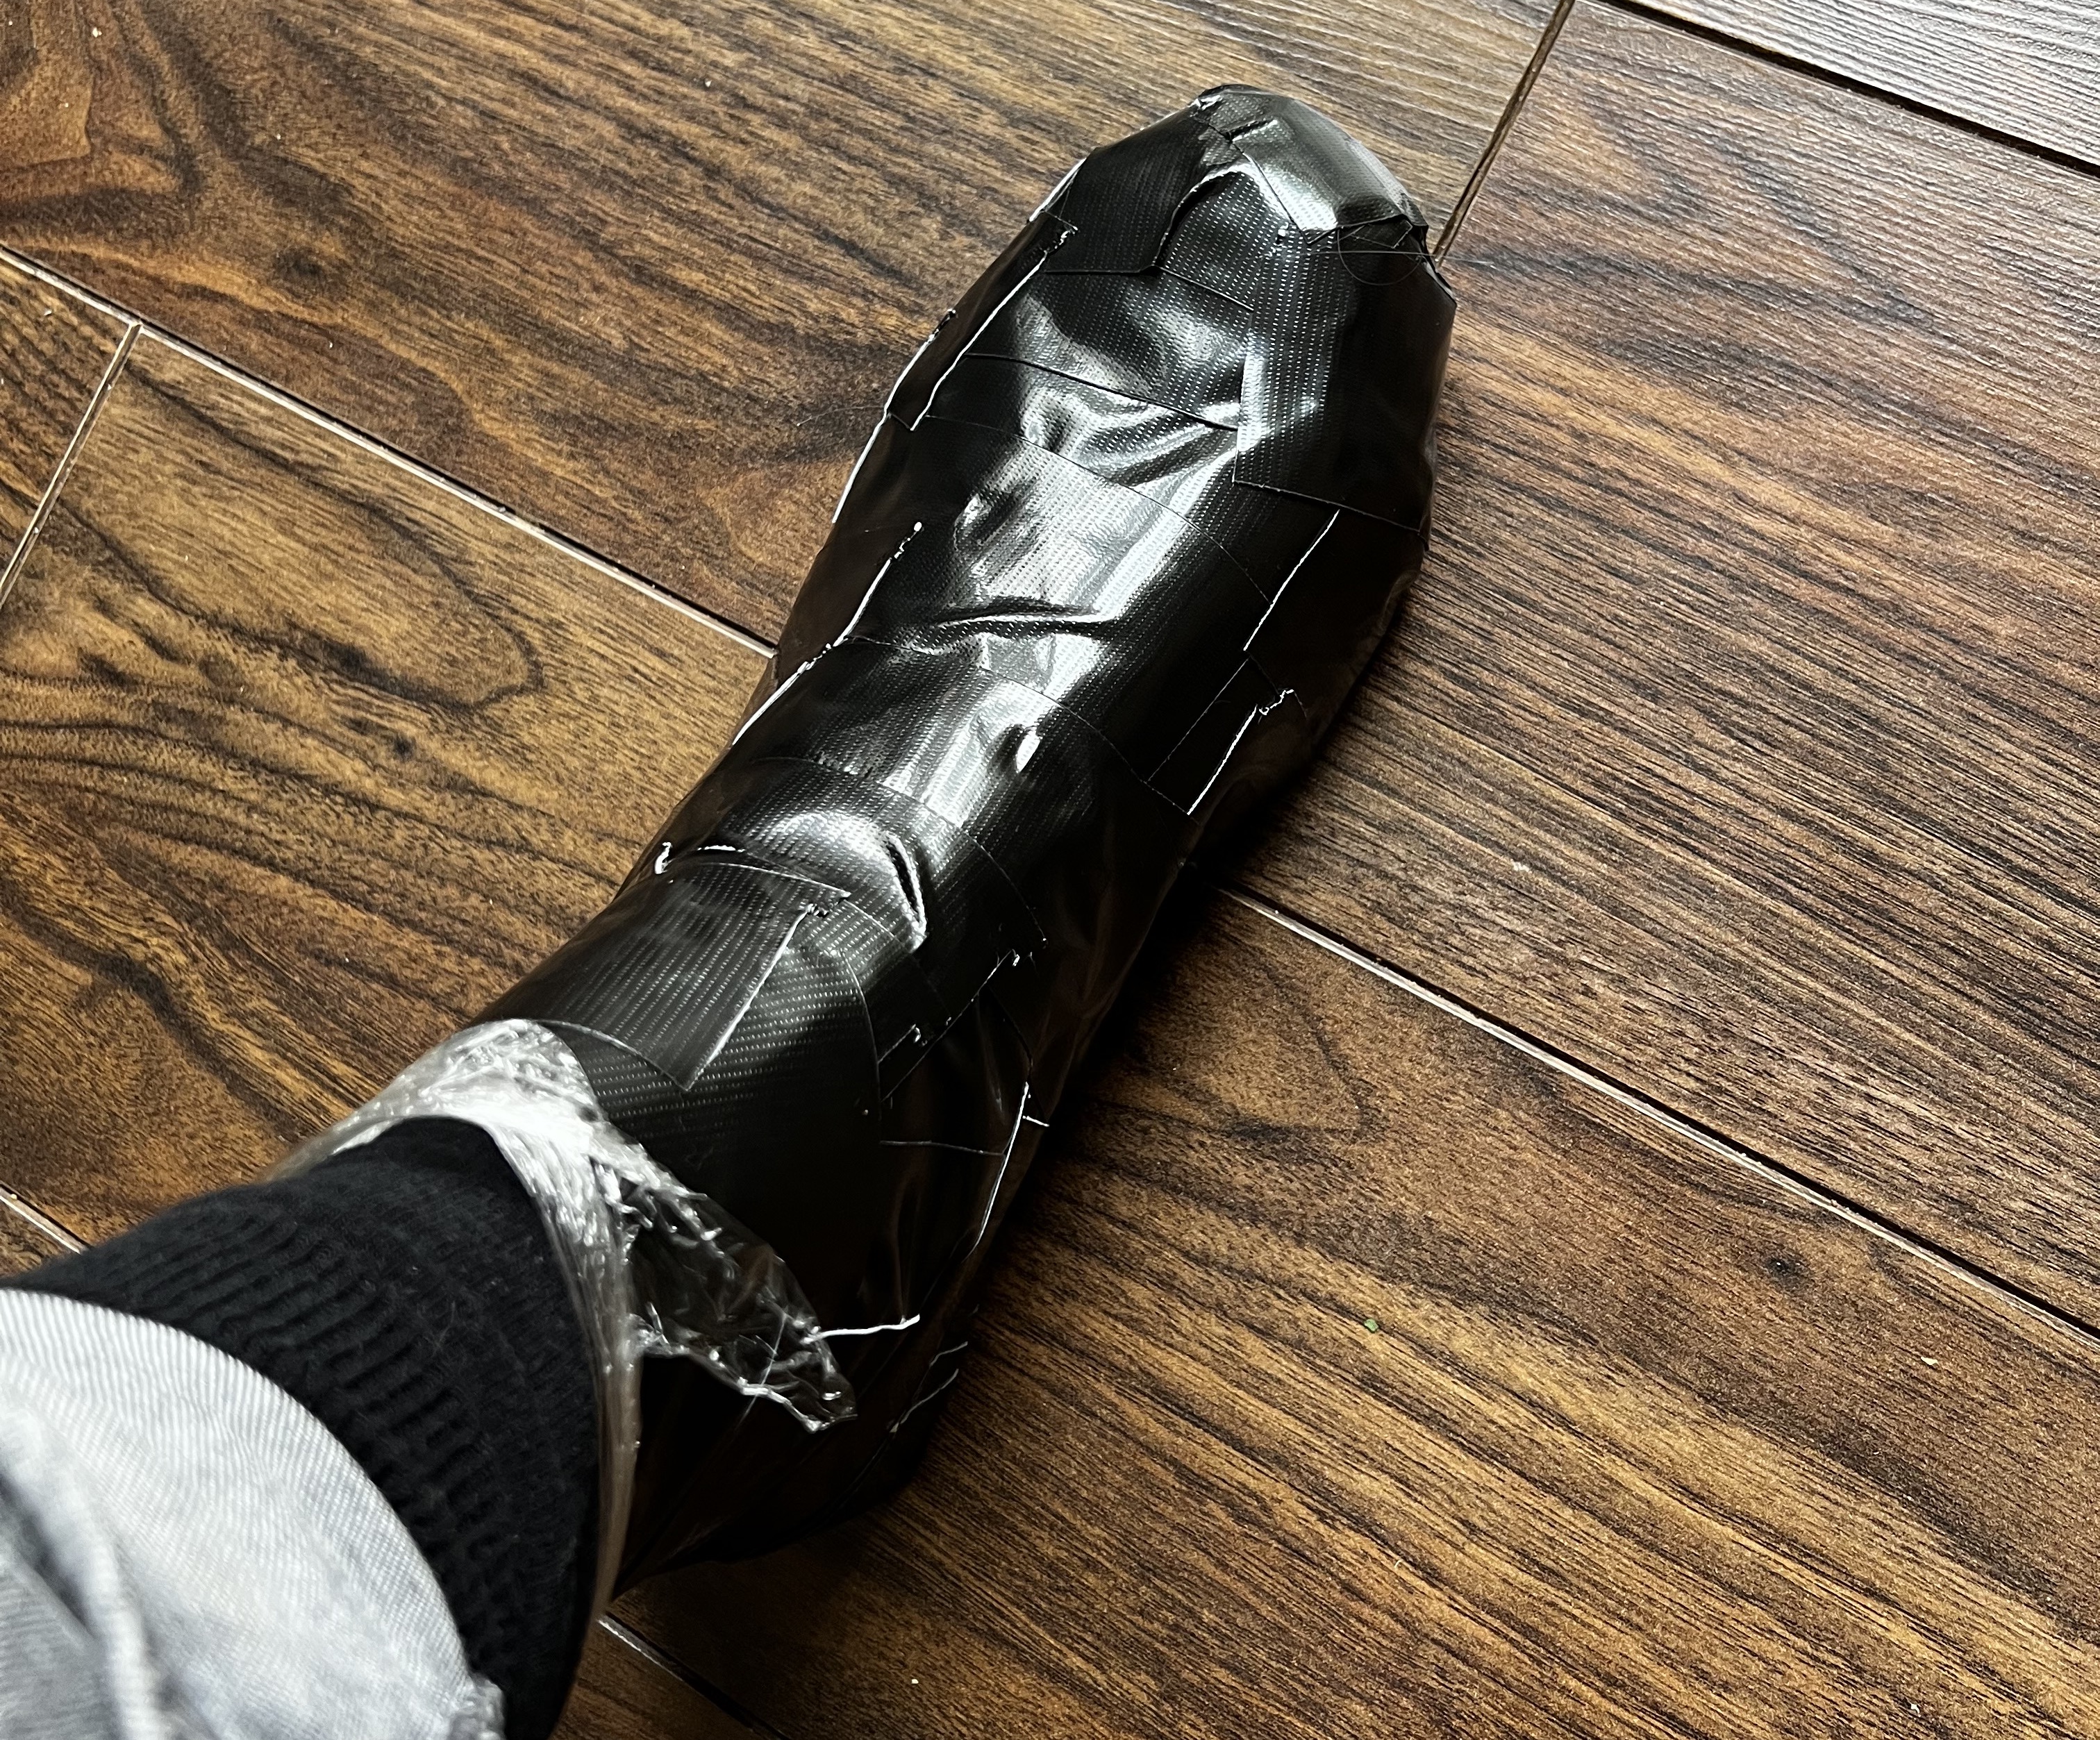
I then used some scissors to cut the template up, realising quite quickly I shouldn’t have used such tough tape 😆. With the templates cut out (and my foot now free) I could flatten them out (adding a few small cuts) which will be transferred to fabric and glued together to form a shoe shape again.
Bow-gress update
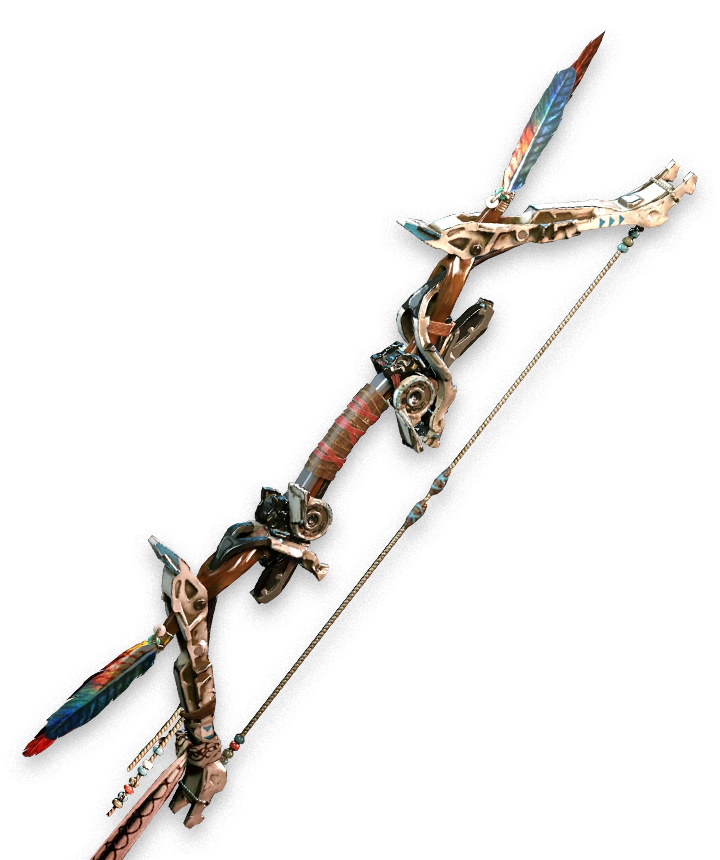
I’ve added a lot of notes to what foam is needed and started to re-arranged for printing purposes. I might end up copy-pasting into a new files just to tighten up spacing and ensure I’m not wasting paper. There’s a few minor bits more to template up, but hopefully I should have things printed by the weekend.
Makeup!
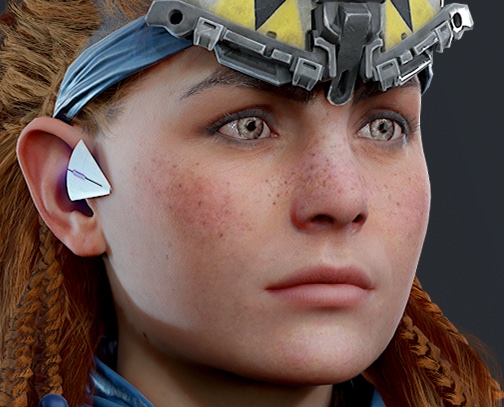
Behind the scenes I’ve been watching Youtube videos and reading articles to figure out how to create Aloy’s look. That’s culminated with me putting in a bunch of orders for everything I (hope) is needed. More updates on this once I’ve got everything! I’m dragging a couple of friends out to shop for foundation this week as it’s the only thing I’m not sure on and that needs to be right for everything else to work.
This bit is something I’ve not got much experience in, mostly just from doing the makeup for my Caduceus Clay cosplay, so I plan to do a lot of practice to make sure it doesn’t take hours in the morning to get ready.
Electronics
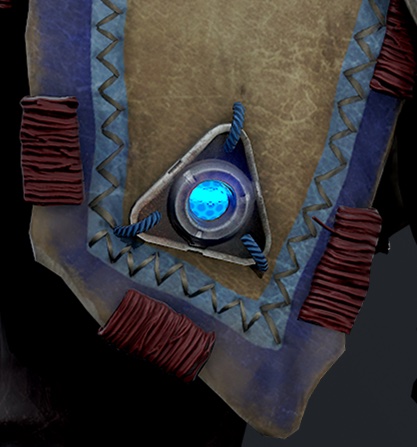
Another thing that I really want to do is add the glowing LED elements to the outfit. However, I’m not just satisfied with that, no not at all. What I’d really like is that if I could set it up to do the red flashes that indicate the shield is offline!
This involves using an Arduinio, that much I know, but little more than that. I’ve spent some time collecting resources, watching videos and have a list of components to purchase. I need to check I can trigger using a button, but after that I’ll get the components ordered so I can start experimenting.
What’s next?
I’m going to continue to paint the flaps and purchase the other paints I need this week after I did some research on the best colours for the different elements. I’m also going to continue to work on non-paint elements, so things such as the hair and shoes. Once I’m happy with the electronic components I need I’ll get them ordered too. Lastly I’ll be trying to get the bow templates printed and the foam cut out so I can start assembly ASAP.
If you have an questions or ideas for posts you’d like to see, send me a tweet @tjomas
-
 Instagram:
@smojcosplay
Instagram:
@smojcosplay
-
 Tumblr:
smojcosplay
Tumblr:
smojcosplay