So much dust! Armour making continues
TLDR; This week I continue work on the headpiece, create the shield emitters and start to trace the upper arm armour onto foam.
Headpiece
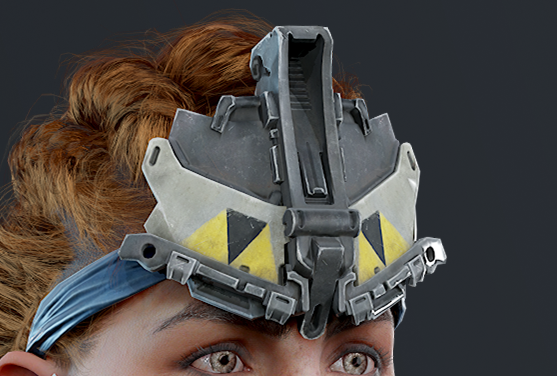
The work continues, albeit slowly as it’s fiddly, with lots of small parts that need to be carefully trimmed and sanded down to ensure that they actually fit. This has previously been less of a problem with the larger armour pieces, as a tiny bit extra of material will go unnoticed. Remember to hold the piece tight enough when dremmeling or they will vanish off to the plane of foam, never to be seen again.
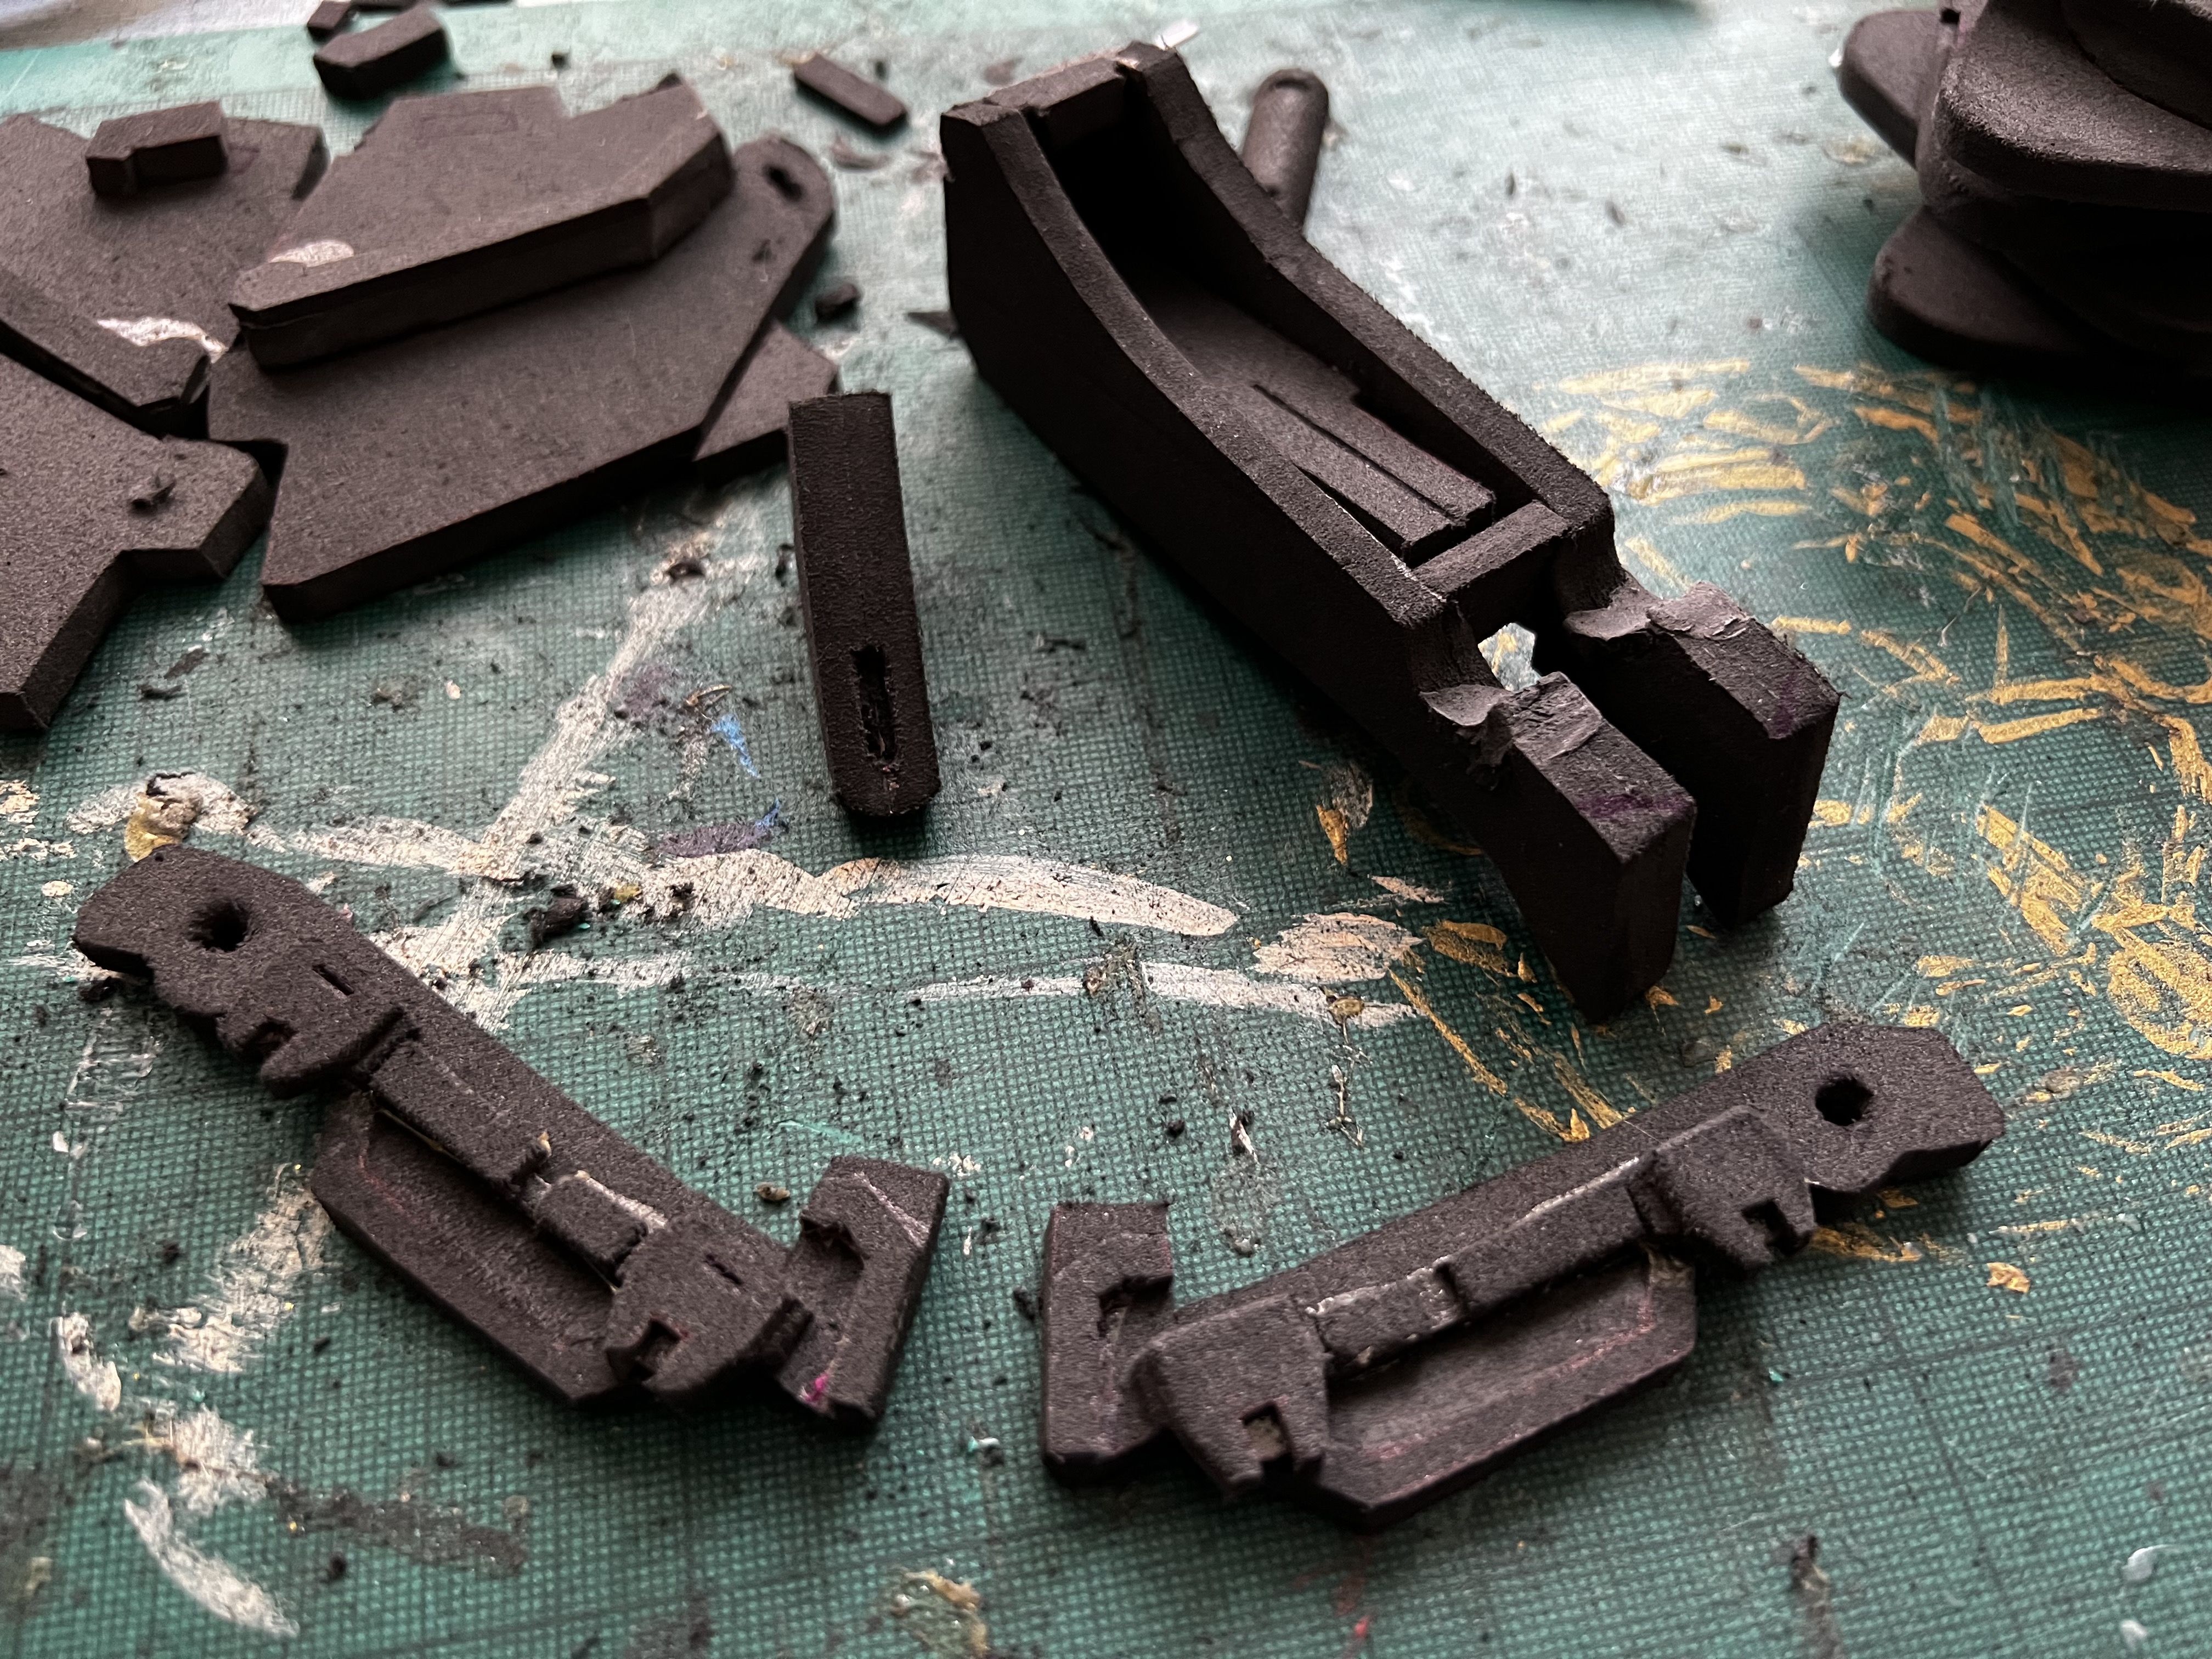
Progress on the head piece, the smallest pieces are now in place.
I broke the headpiece down into 5 main parts - the central piece, two sets of plates and two detailed bars at the front. Each was intended to get assembled separately, and then stuck together. So far only the bars have been completed, with the rest running into some minor issues.
The central piece had a few issues: Some missing parts not included in the templates, and the slots for the cylinder element (made from a foam dowel) were misshaped. The first was easy to fix with some new foam pieces being measured and cut.
For the second I used foam clay, a fantastic material that can be shaped as clay using water (including easily sticking it to existing foam with no glue) but will dry into a nice dense foam that can be sanded and primed just like foam sheets. It does take a bit to dry though (24-48hrs depending on the thickness of the clay), so that got put to one side whilst I worked on something else.
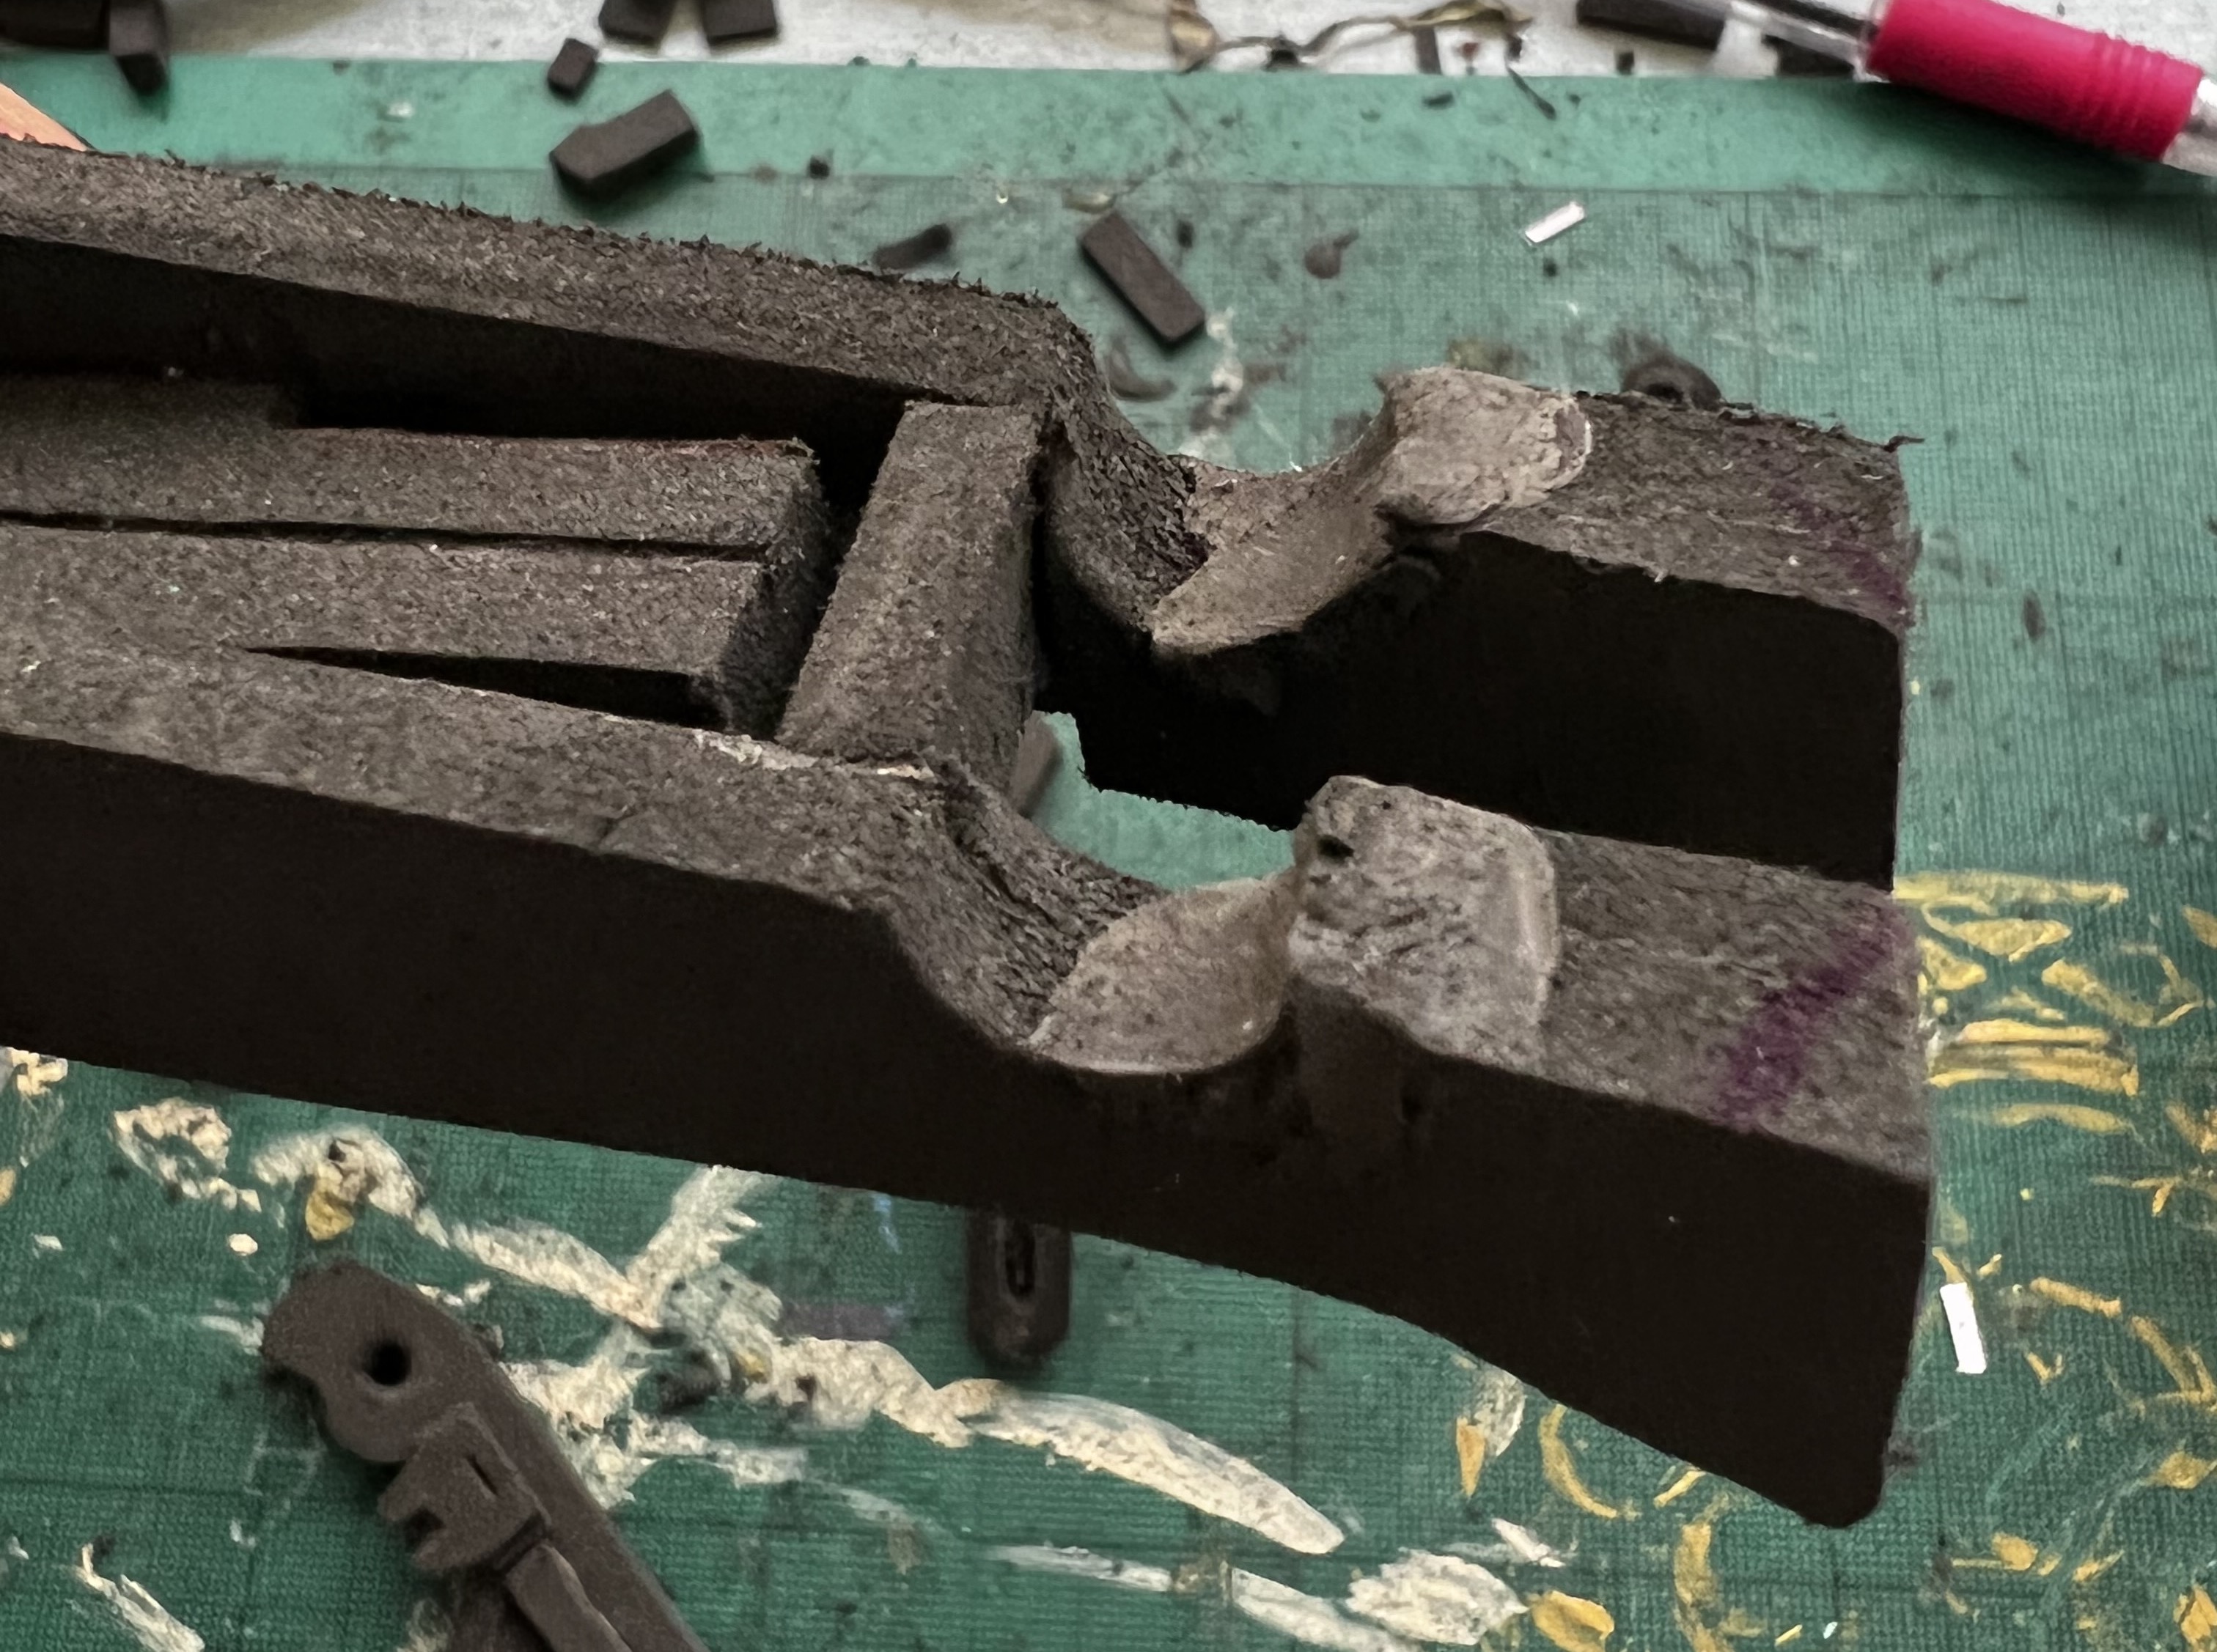
While the bar element fitted it didn’t fit tightly, so foam clay was used to bulk up one side.
Shield emitters
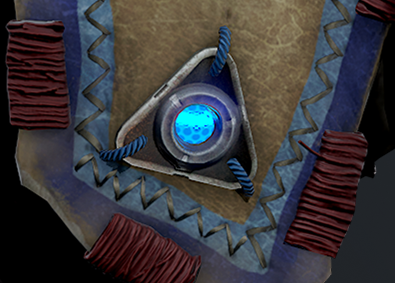
Aloy has a ten shield emitters that are found on the skirt piece (or flaps as the 3D model calls them. Not sure I like them being called that 😅).
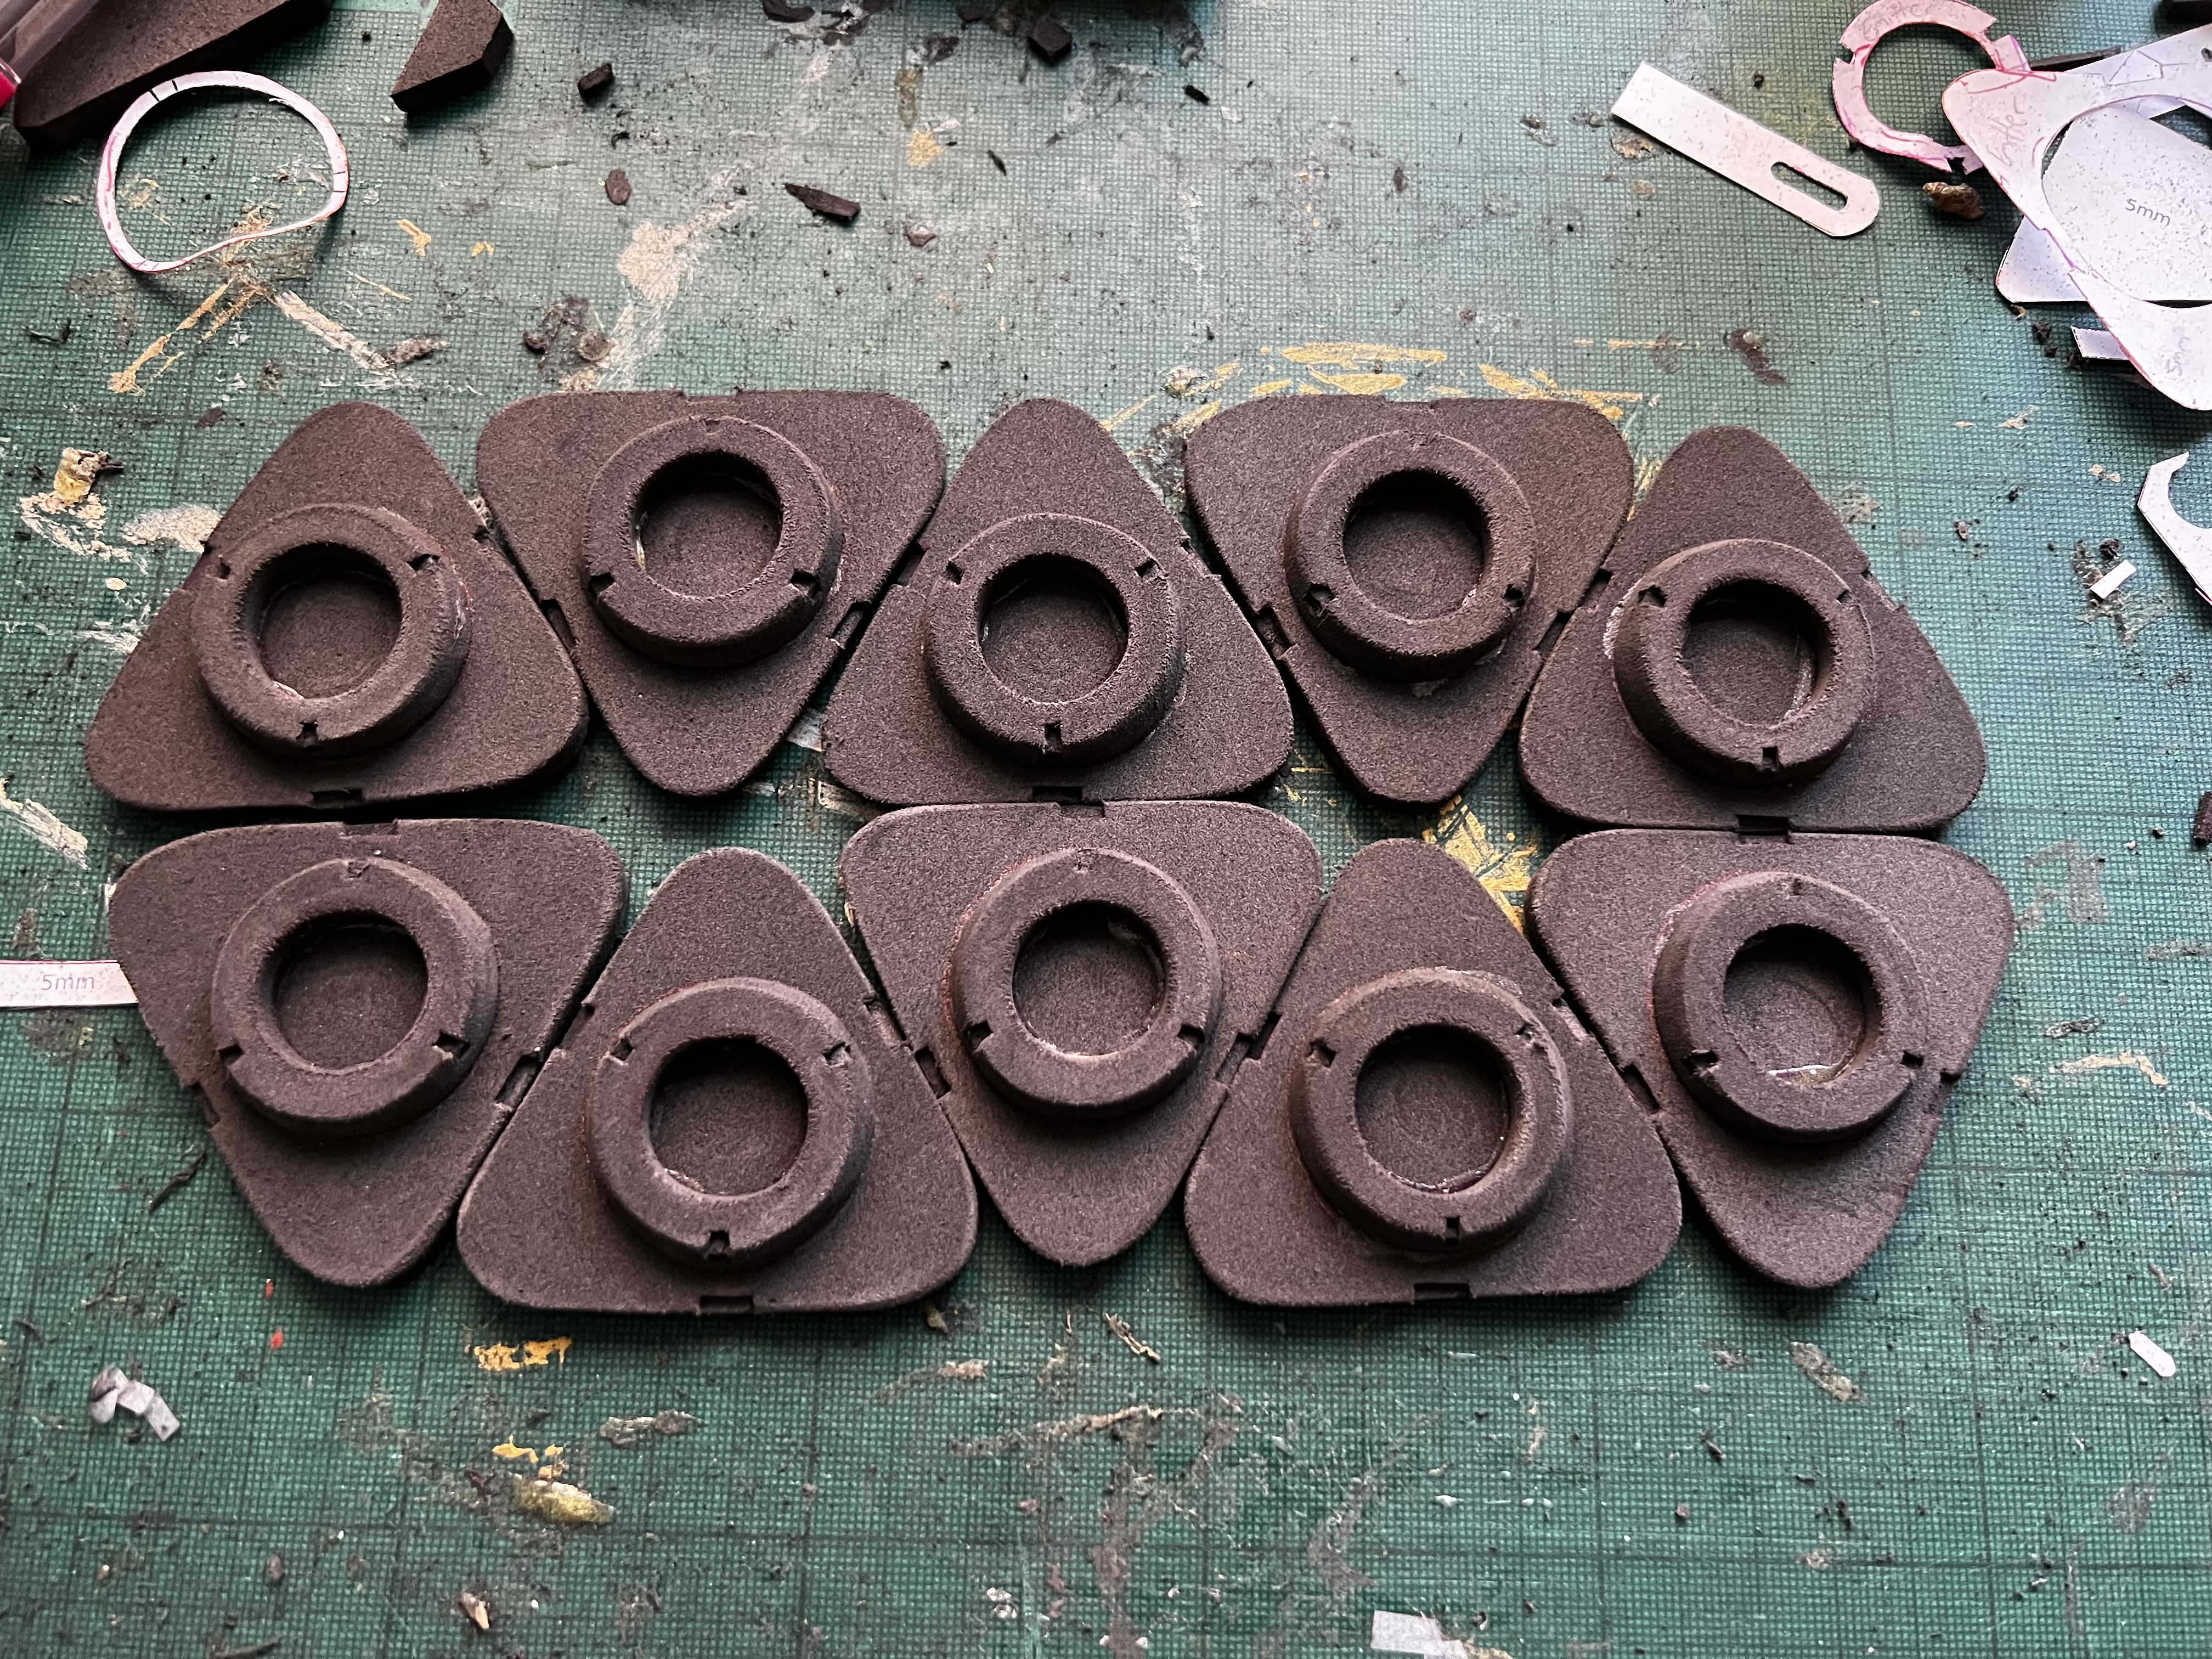
From trial and error of the other emitters I’d made previously I found that small, careful cuts minimise the inevitable misshapen nature of the curve, and carefully dremmeling the outside gives them clean enough edges to the casual eye. Close up you can still see the imperfections, but that shouldn’t matter as I can hide the worst offenders on the back and on the bottom layers.
Cutting these was very repetitive. You always need to smooth the edges to get a clean look, but with circular elements you need to be extra careful when cutting as you can easily end up with a misshapen mess.
I had plans to have them finished the evening they had been cut and sanded, but unfortunately for cosplay construction I decided to watch one episode of the new new Netflix Sandman and that turned very quickly into me watching most of the series. It’s just that good! I highly recommend watching.
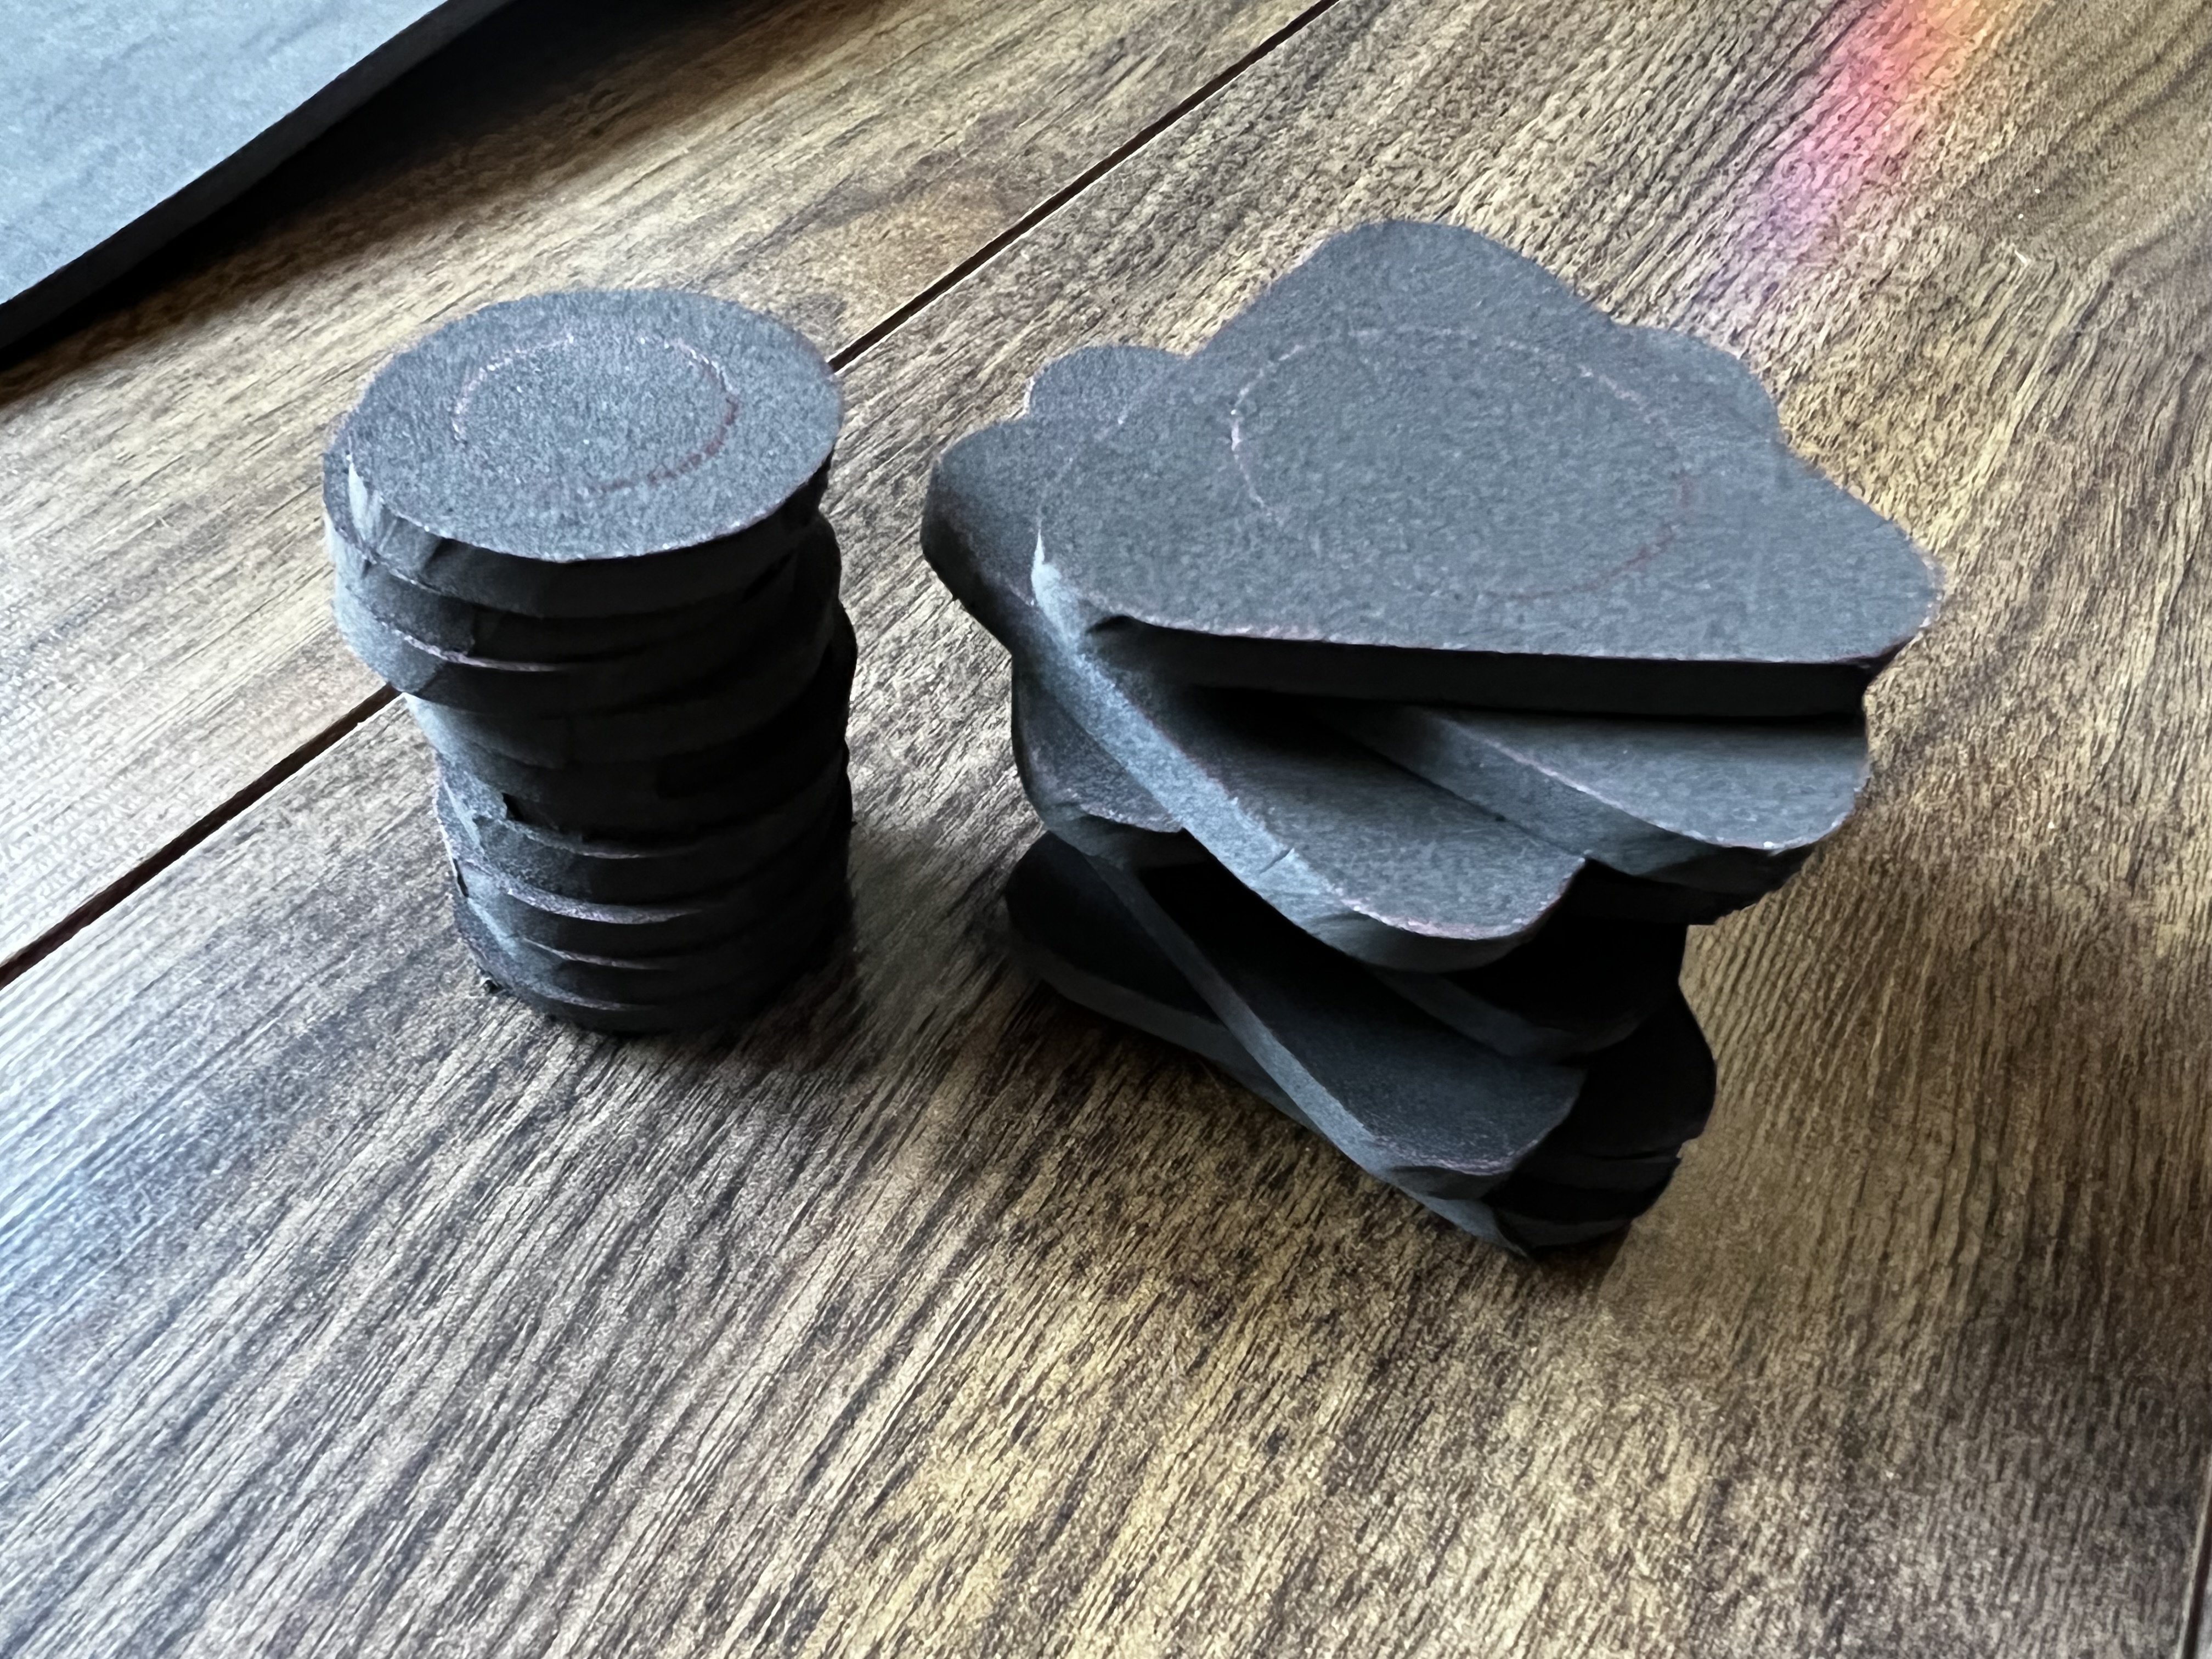
Instead I completed the final details and assembly in the morning (still watching the Sandman, it was too good not to finish). It was an excellent accompaniment to cutting 30 small notches into the circular parts.
The finished emitters, ready for placement on the skirt flaps.
Tracing templates

With the emitters now glued and edges blunted (You’re not going to get sharp edges on worn down equipment) and the headpiece foam still curing I moved onto getting the last bit of armour transferred to foam - the upper arm pieces. These are by far the most complex pieces, and I expect a lot of trial and error is needed. Further details on this will come in the next update, as there’s little to say now.
Next steps
Once the foam clay is cured I’ll be able to sand and finish assembling the headpiece. I’ll also be cutting out the foam pieces for the upper arm armour and attempting to fit them together into the correct shape. Pretty sure it’s going to need a lot of rework compared to the others!
Time until Comic Con: 11 weeks 2 days!
-
 Instagram:
@smojcosplay
Instagram:
@smojcosplay
-
 Tumblr:
smojcosplay
Tumblr:
smojcosplay