My plans for which and where cosplays are to be worn next year have changed over the last couple of months and with some major hurdles overcome it’s time to give an update!
Chaaaaange places!
Indecision is out, Sam Vimes is in! Given it’d end up being Rincewind yet again for MegaCon, I decided I might as well stick with the Discworld theme and get my Vimes cosplay done earlier than planned. TLoVM Vax and Sam Vimes are now set to debut at MegaCon in January, with the hope I can get both finished in time.
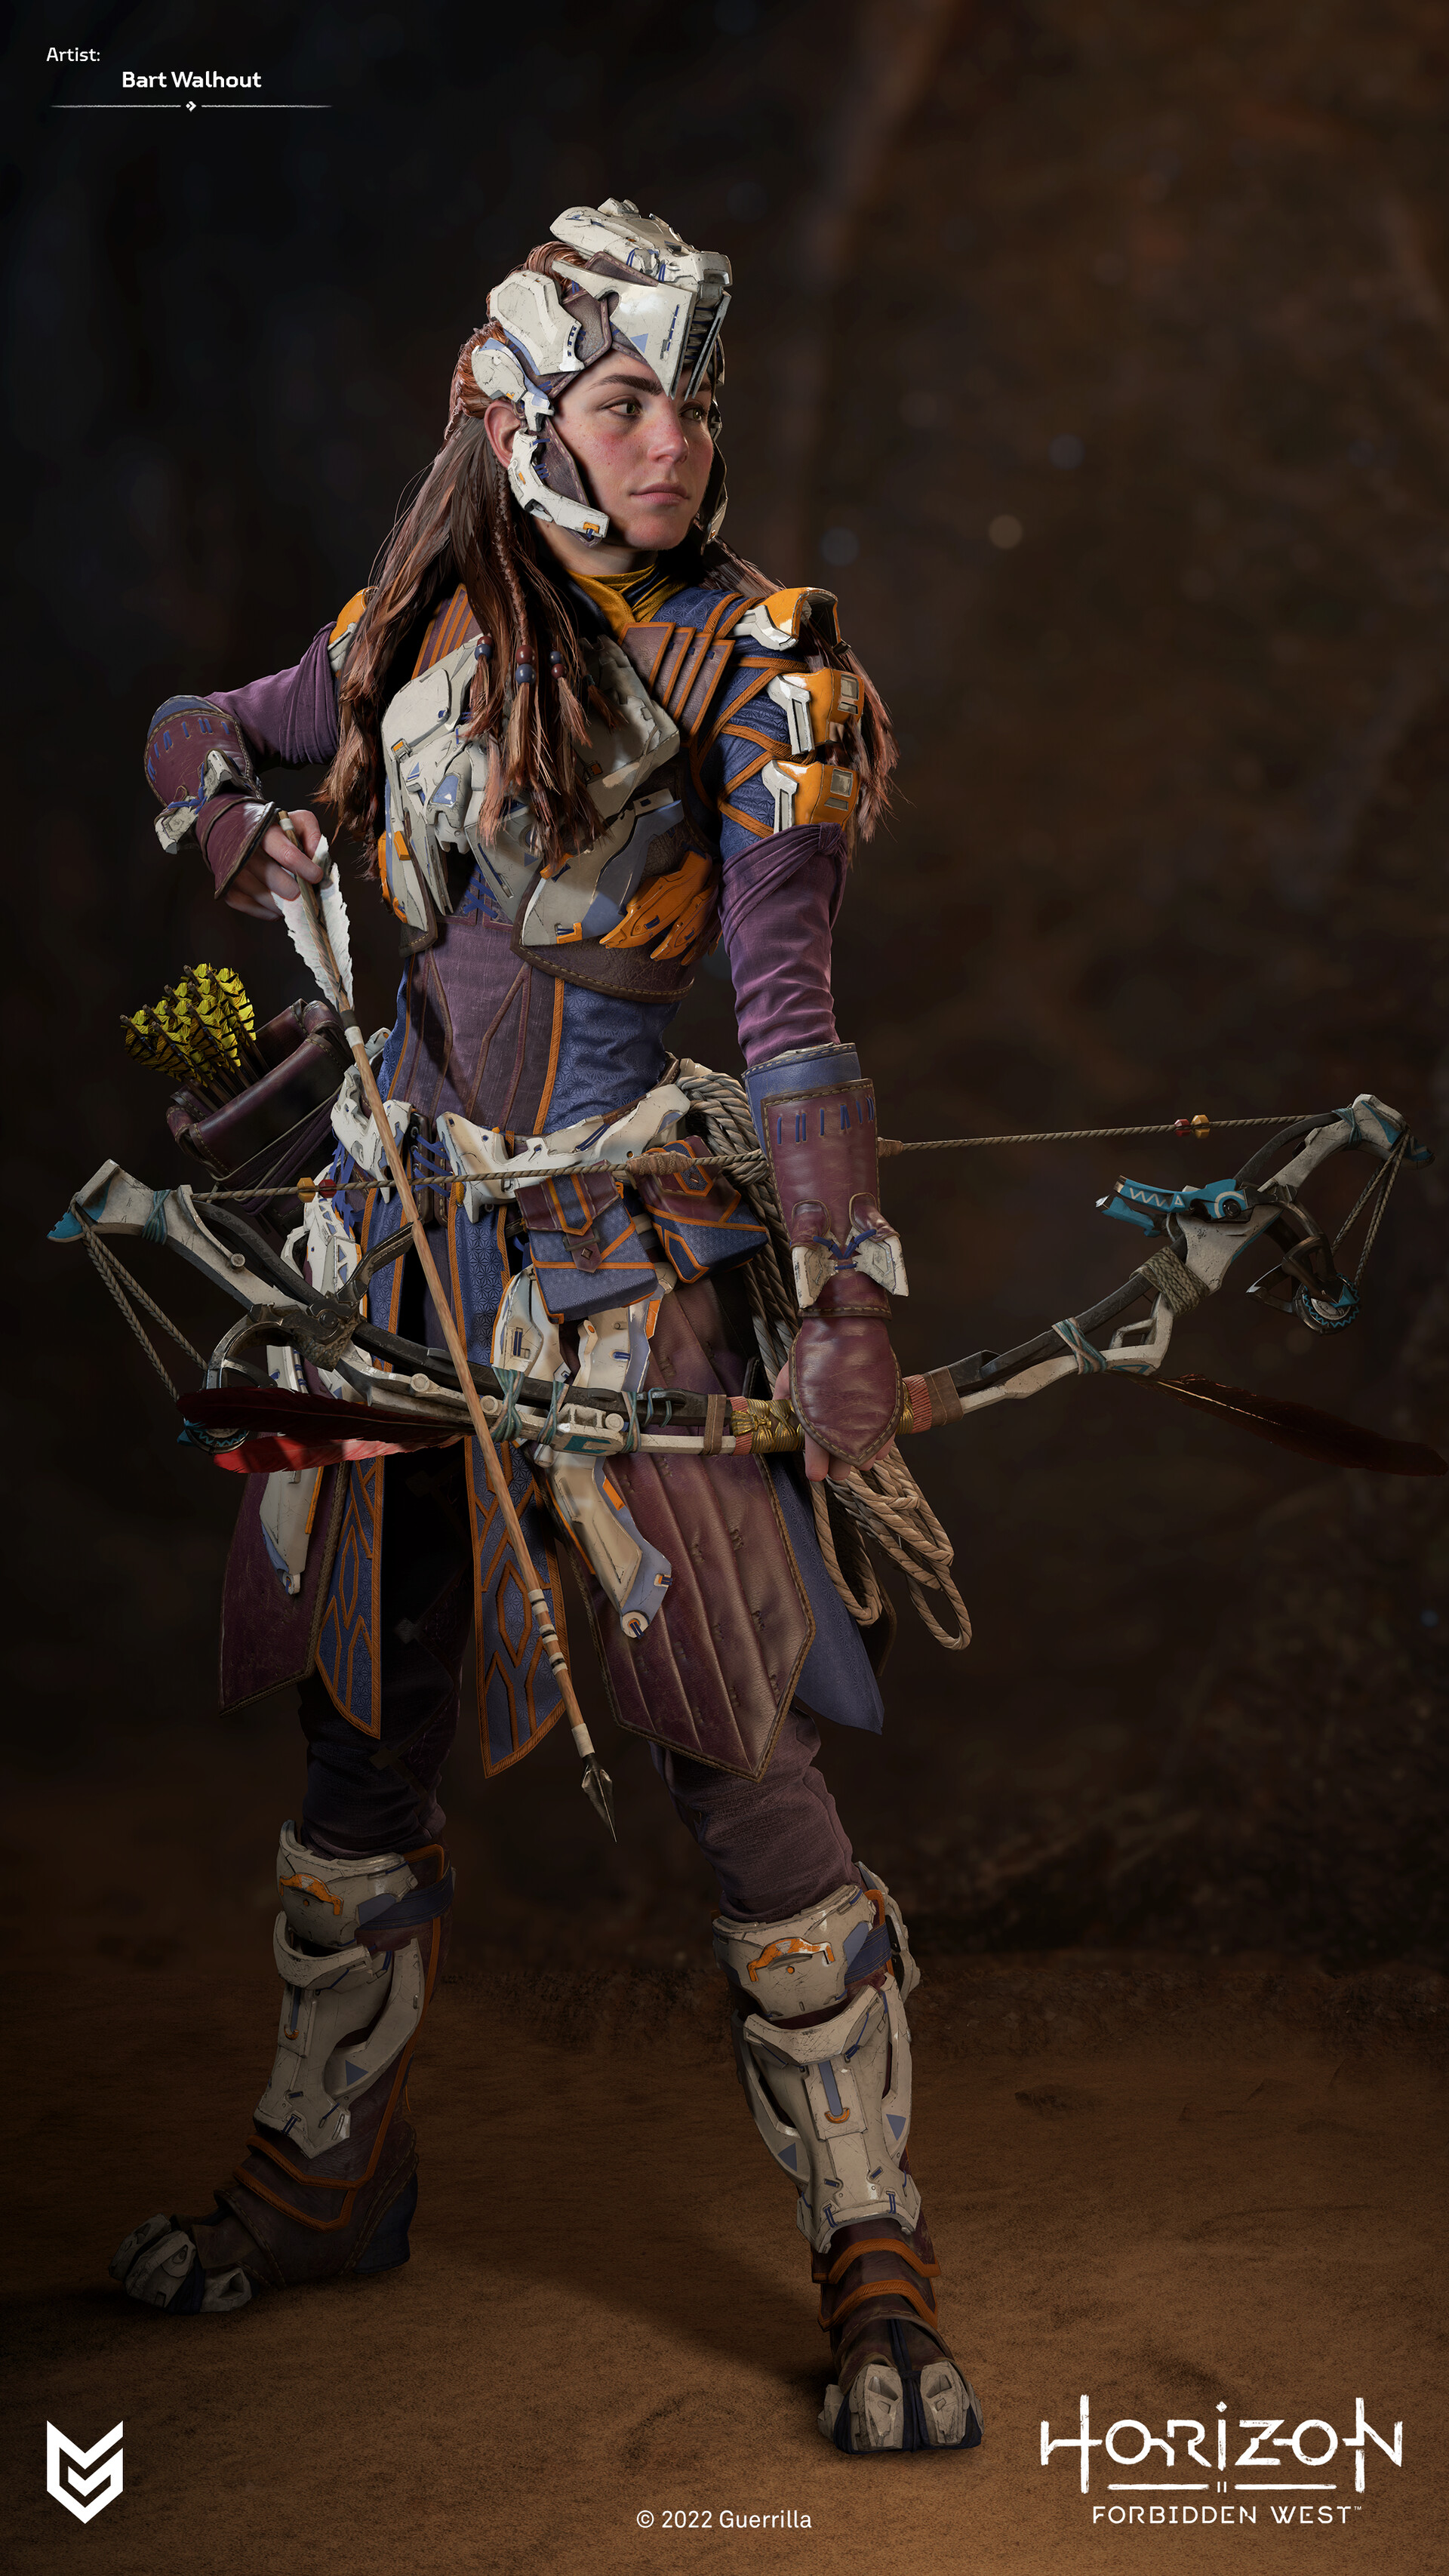
This frees up a bit of space between MegaCon and MCM, and being that I’ve been playing Horizon: Zero Dawn Remastered I put a poll on Instagram to decide which of my favourite outfits I was going to make (first). The winner was the Nora Protector (medium), so that’s going to debut at MCM May, joining Sam Vimes for that. The Carja Behemoth Trapper outfit is still going to be made, but given the complexity that’s going to be a late next year thing (maybe MCM October/MCM Birmingham).
The list of outfits for cons is now:
- TLoVM Vax - MegaCon Jan
- Sam Vimes - MegaCon Jan + MCM May
- Aloy Nora Protector - MCM May
- Aloy Behemoth Trapper - Late 2025
Will there be more? Almost certainly. I’m hoping to go to a Steampunk event and I’m not sure what I’m going to do for Fantasy Forest as of yet.
Vax Progress

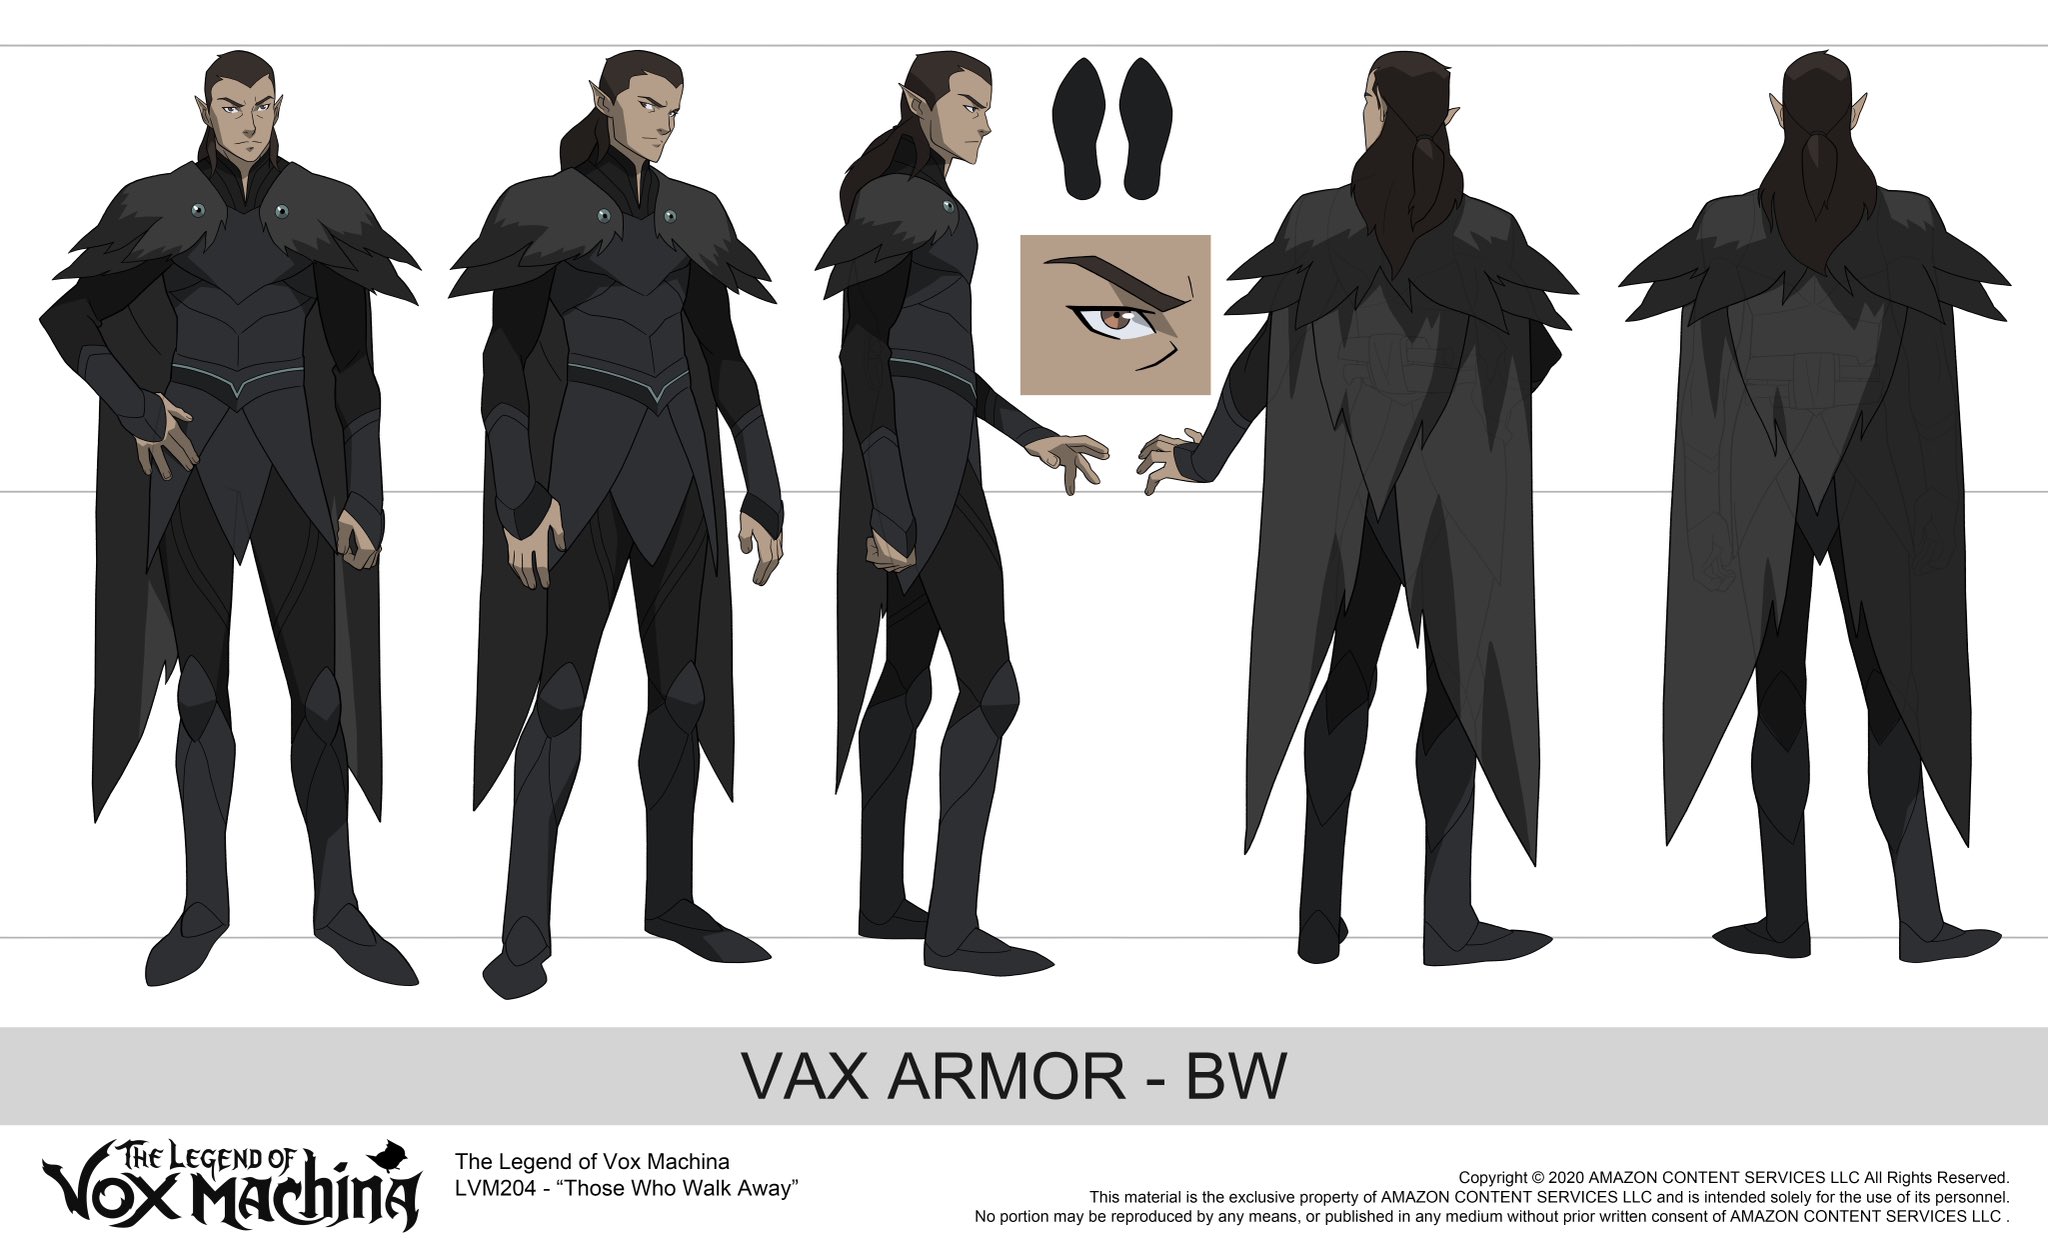
The Vax design I’m doing is based on the Death Walkers Ward from The Legend of Vox Machina and comes from a pattern by PieceOfCakeCosplay on Etsy1. I’d previously looked at doing this design, but between me struggling with the pattern and how I’d do lighting I ended up abandoning it. The templates I bought fall into the middle - rather than a flat design they using embossing to show the patterns the light traces. There where two options I could take to give the leather effect: Texturing foam and covering foam with faux leather. I took the latter as I thought the material would lead to a better embossing effect.
There are five major parts to the costume: the armour, the cloak, the base clothing, the props and the wig.
Outcomes so far
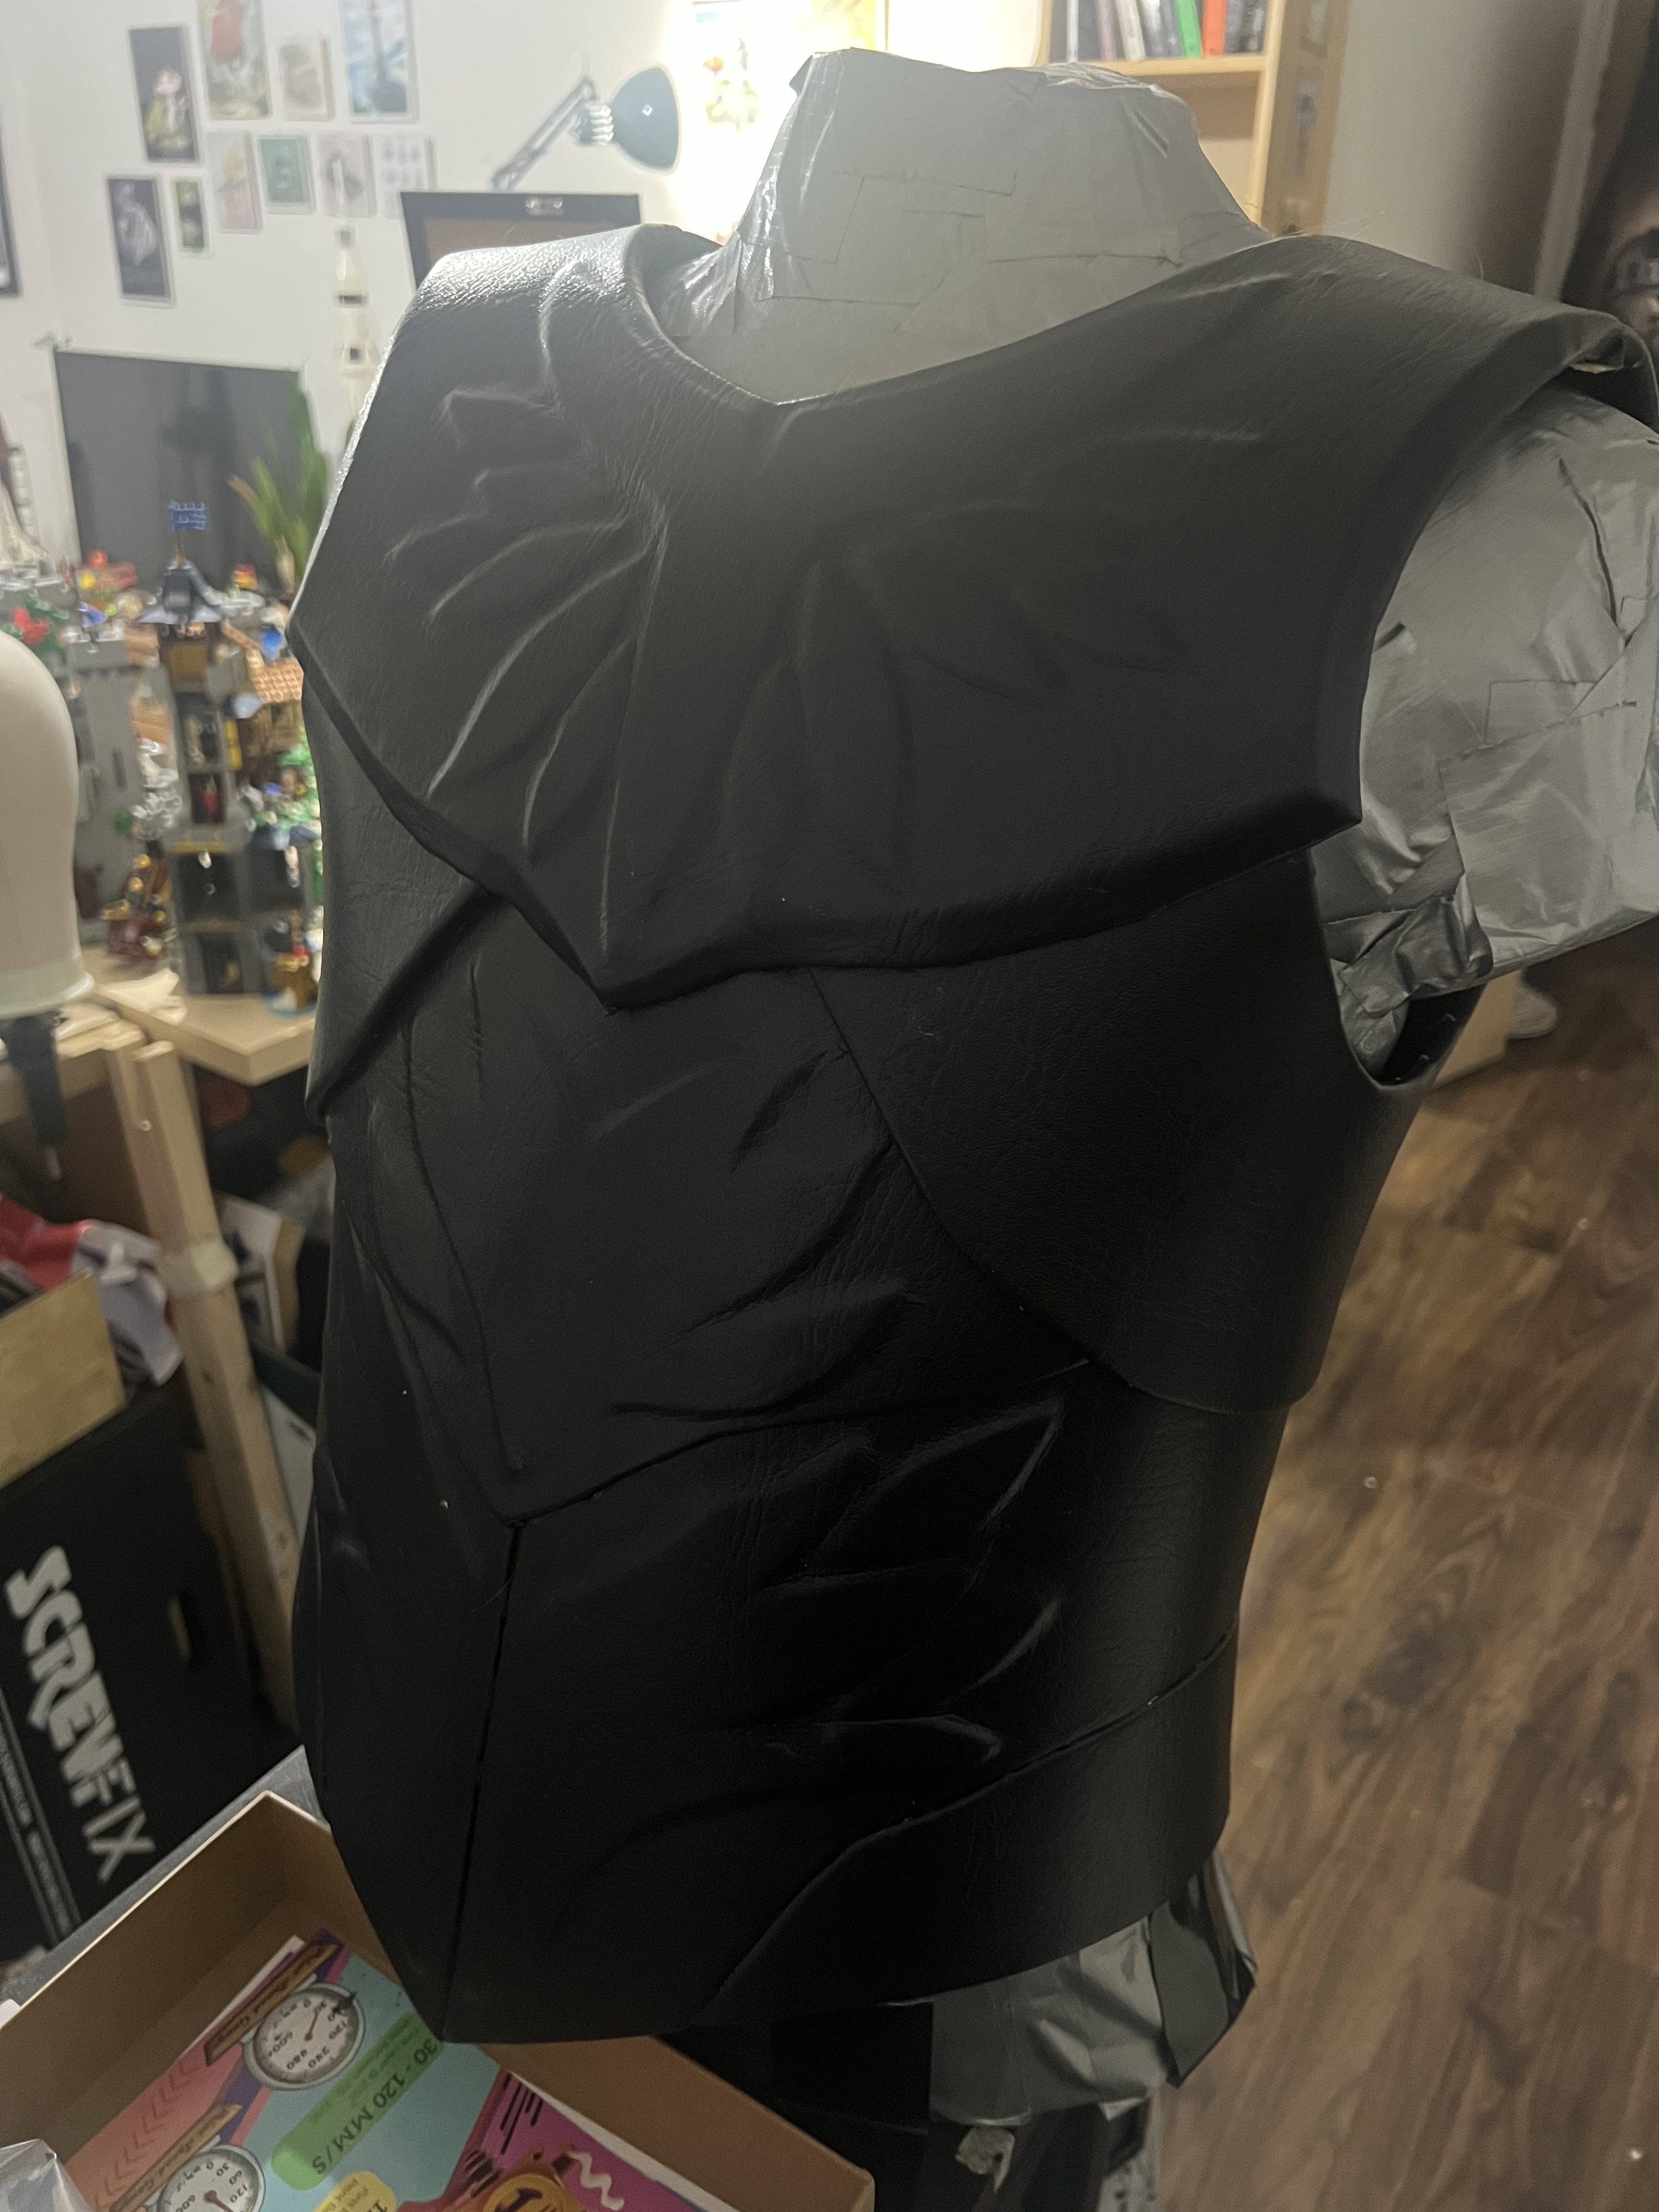
The armour is mostly complete! The embossed look has come out well, though definition in some areas did not take as well as I’d hoped. It does look better than I think I would have got from shaping and texturing foam, though the downside was that it took far longer than I expected. Vax has 28 separate armour pieces, each of which needs cutting out of foam and faux leather, gluing and carefully shaping the embossed areas, then sealing the edges up. It took nearly 3 days and roughly 2 litres of contact cement to accomplish this, for which I am very glad my respirator was working well.
Assembling was easy, using superglue to attach the parts together. I managed to avoid sticking myself to anything, though I fear I left a few blotches from runny glue. I discovered I’d managed to mess up the back though, so I need to do a little work to make it more consistent so I can attach some sort of closure properly.
The cloak, and all the fur, was actually the first thing I did. Initially I thought I’d just double layer the fur for the shoulder pauldrons but it didn’t have enough structure, so I used 2mm foam as backing for those areas and only a single layer of fur. The cloak itself was made out of cotton, which I’ve gone over with some fine grain sandpaper to add a bit more texture and wear. I’ll likely use some paint later as well to add a bit of dirt as it’s still looking too new.
I’ve 3D printed off two daggers for Vax (based off a design by igvite on Cults3D2) in PETG, with the handle split in half as I was having a right time trying to get the blade inserted. It’ll take a little more work to remove the handle lines, but that’s a small price to pay. Some sanding has been done, but I’ve been waiting for a sanding tool to arrive to do the rest.
Lastly, nothing has yet been done on the shirt or trousers apart from some sketches. I have patterns, I just need to trace, cut and sew them together. Hopefully I should get around to this in the next couple of weeks. I’ve got a wig; I just need to style it!
Vimes Progress
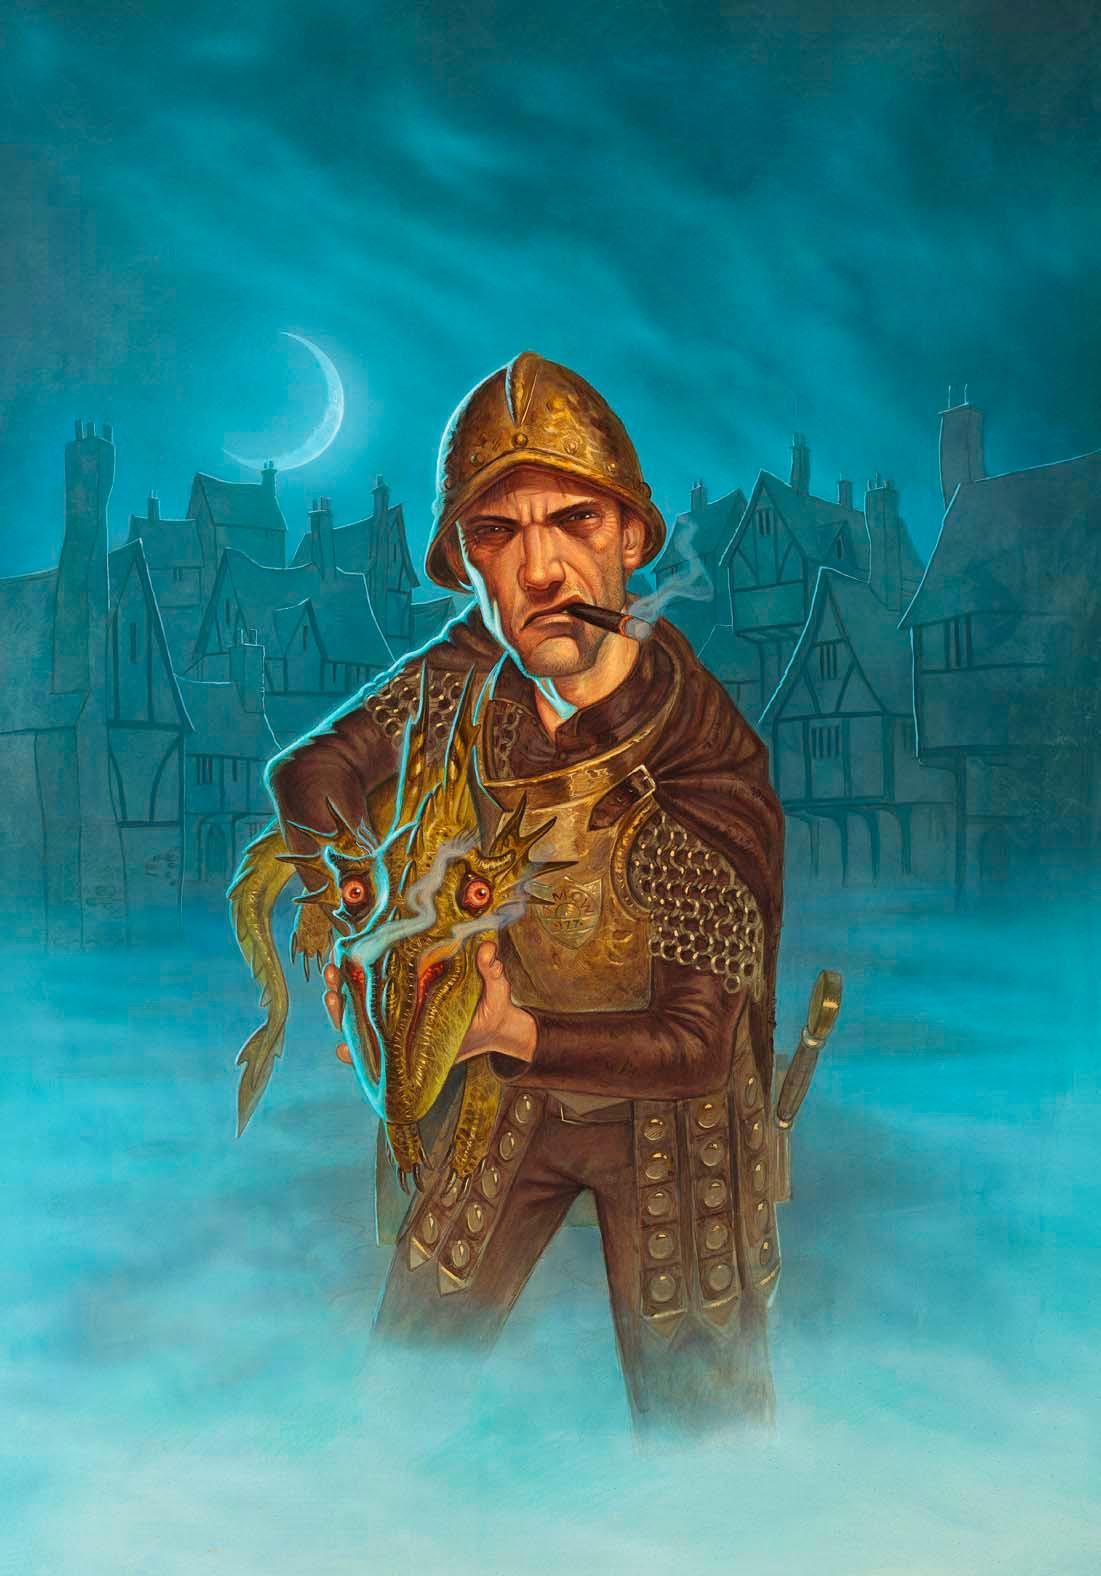
Sam Vimes is one of the those cosplay’s that I’ve wanted to do for years (as long as Rincewind), but never had the time. Last year, just before I left for MCM May, I realised that a) MCM falls on the Glorious 25th May this year and b) I wasn’t wearing Rincewind that day. So for the next MCM I swore I’d get a Sam Vimes done and wear it on the 25th! That’s still going to happen, but instead of leisurely building it between Jan Feb and May I shall be cramming it into my winter builds!
There are only three parts to the costume: armour, shirt and props. I’m going to be reusing my Rincewind trousers and wearing my everyday boots, which saves some time. This is the theme of this project: reuse as much existing material as possible!
Outcomes so far
The armour consists of a breastplate, helmet and a skirt of leather strips. The breastplate and helmet are based on some templates by Kamui Cosplay3 4 but with modifications to improve fit and match the style I needed. I used some leftover CF150 (I think) foam for the helmet and a hodgepodge of CF100 and CF65(!)5 for the breastplate. The breastplate and helmet have been built, as have the leather straps which use 2mm foam wrapper with faux leather like I did for Vax. Gaps are not patched and with a little more sanding the breastplate and helmet will be ready for priming and painting. It’s been nice to not have to rush and so could make sure all gaps are filled for once!
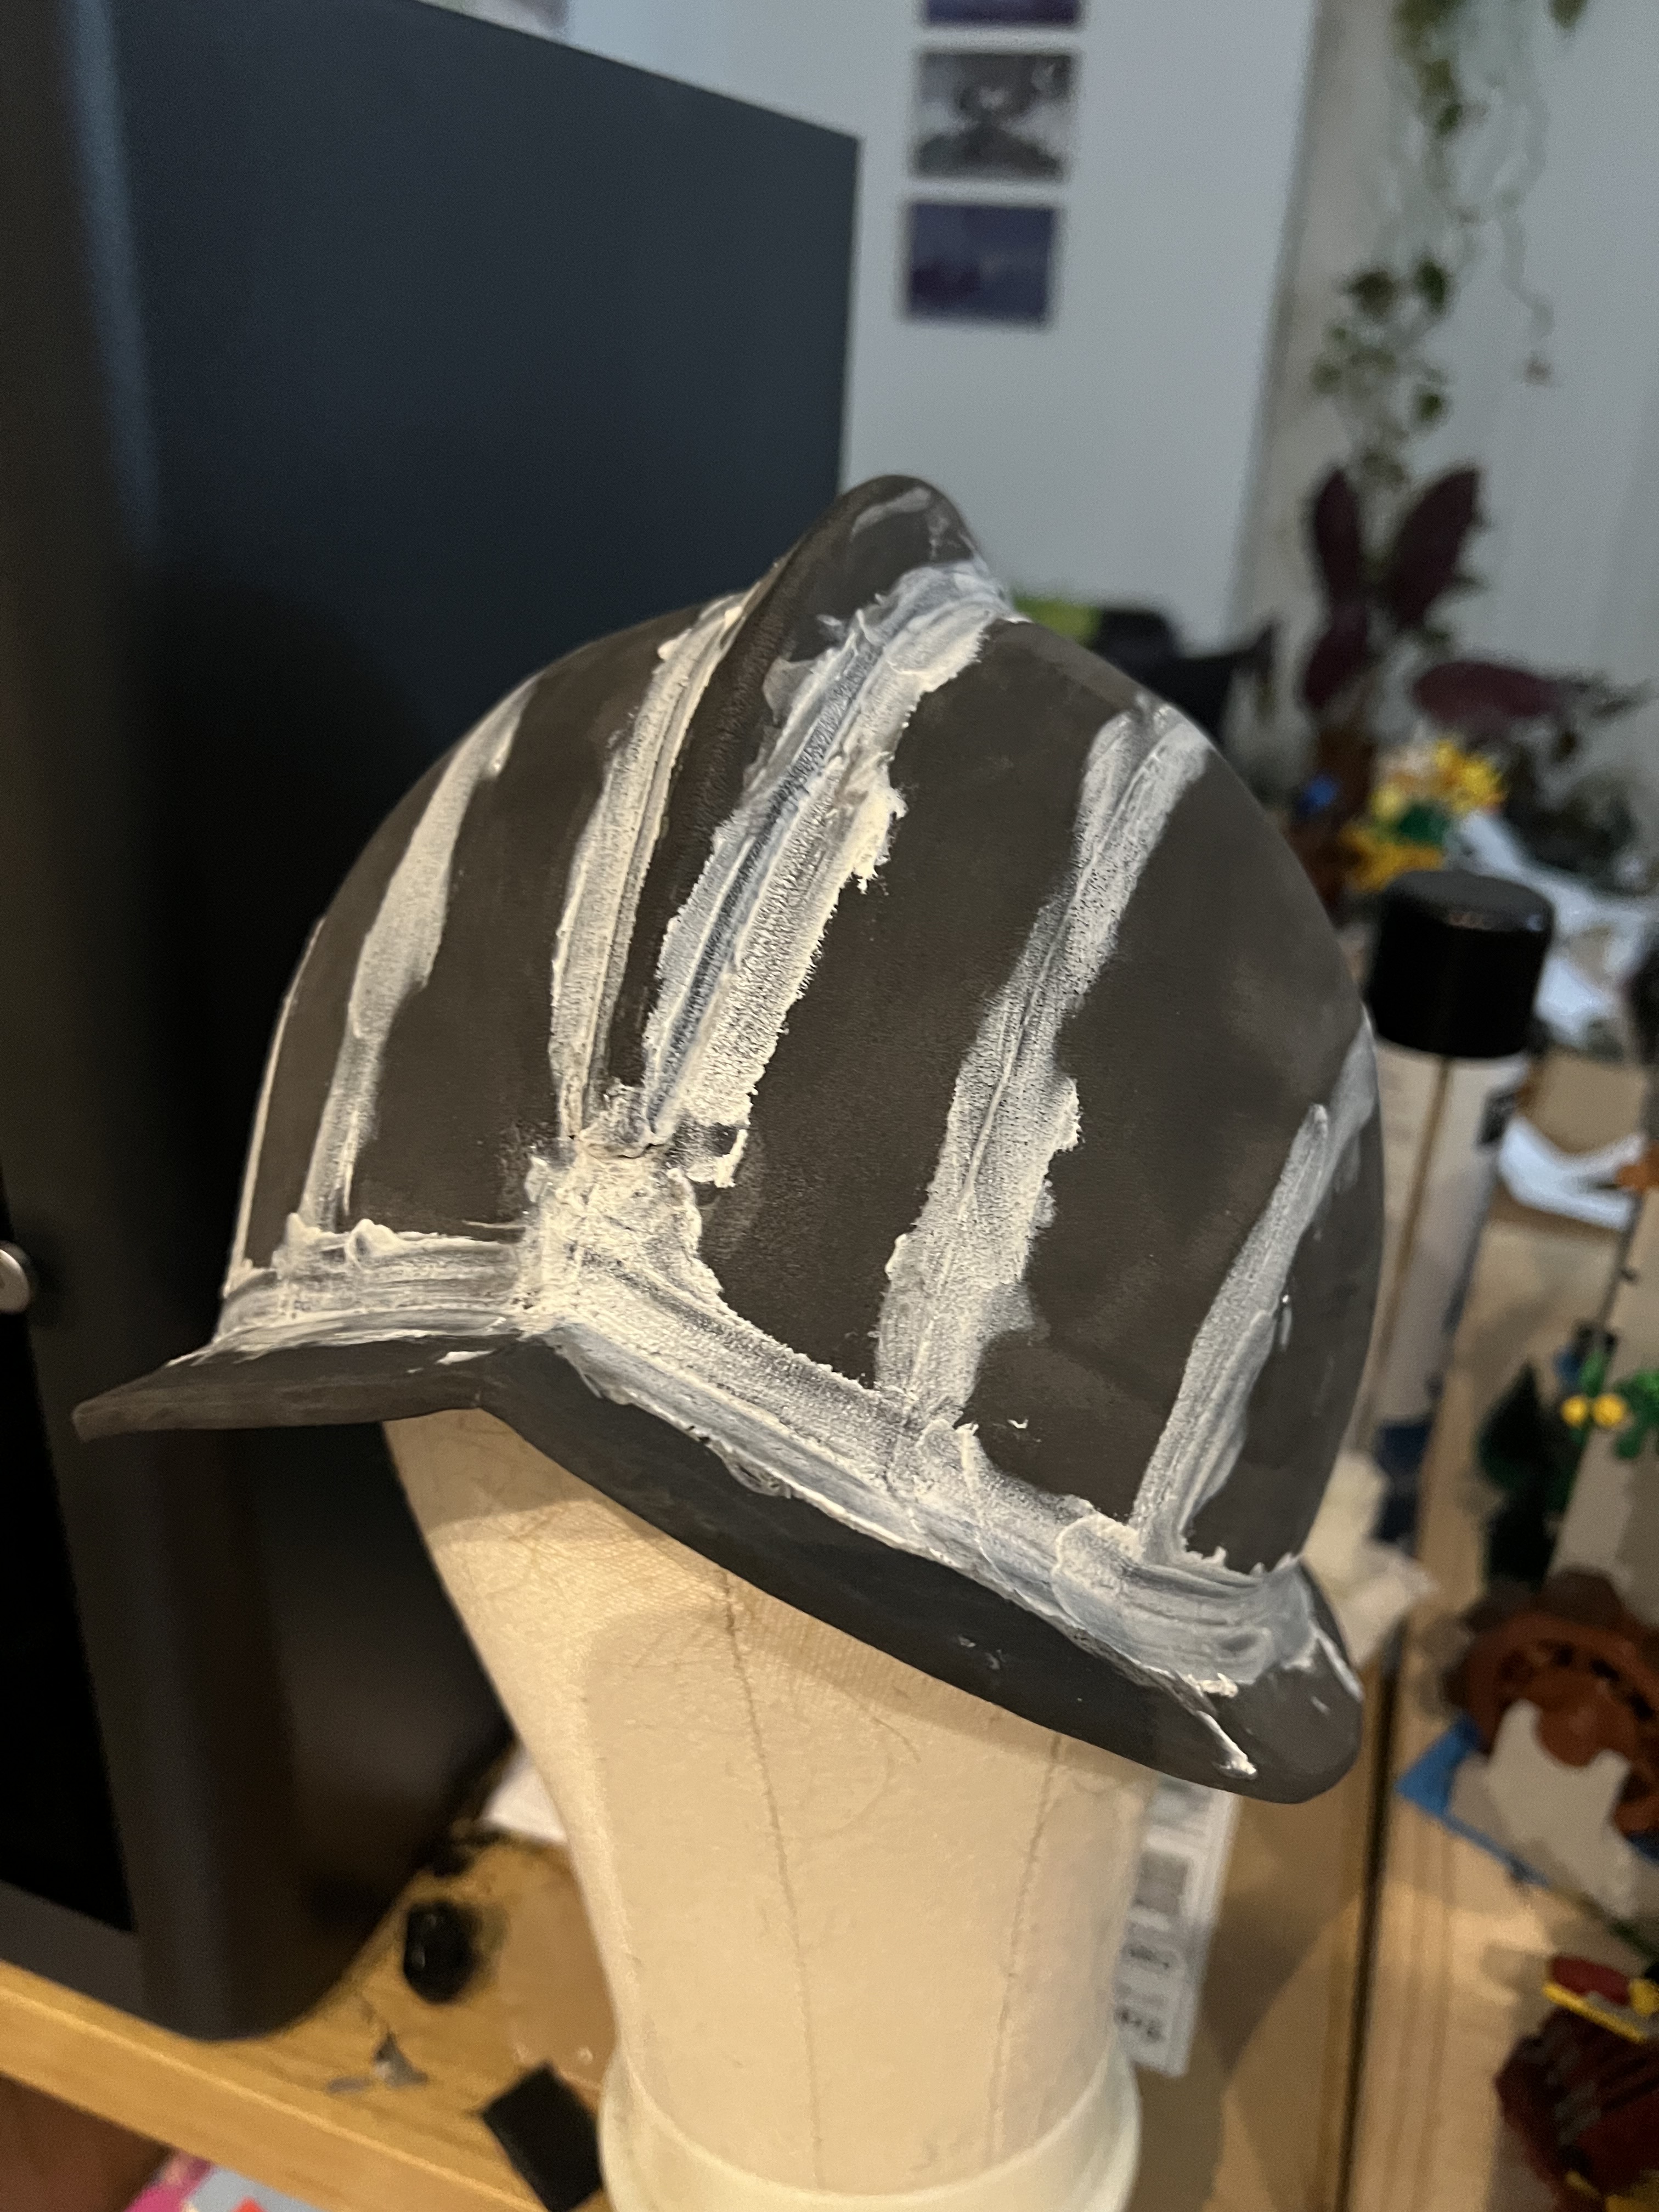
Al of these need details and I’m using my 3D printer to make them. The skirt needs roundels and the helmet needs rivets, each of which was easy to design in Blender and print out in bulk. There’s one plate left to go, but these just need sanding, with the rivets being attached to the helmet pre-prime and the the roundels being made fully (including painting) before they go on the skirt.
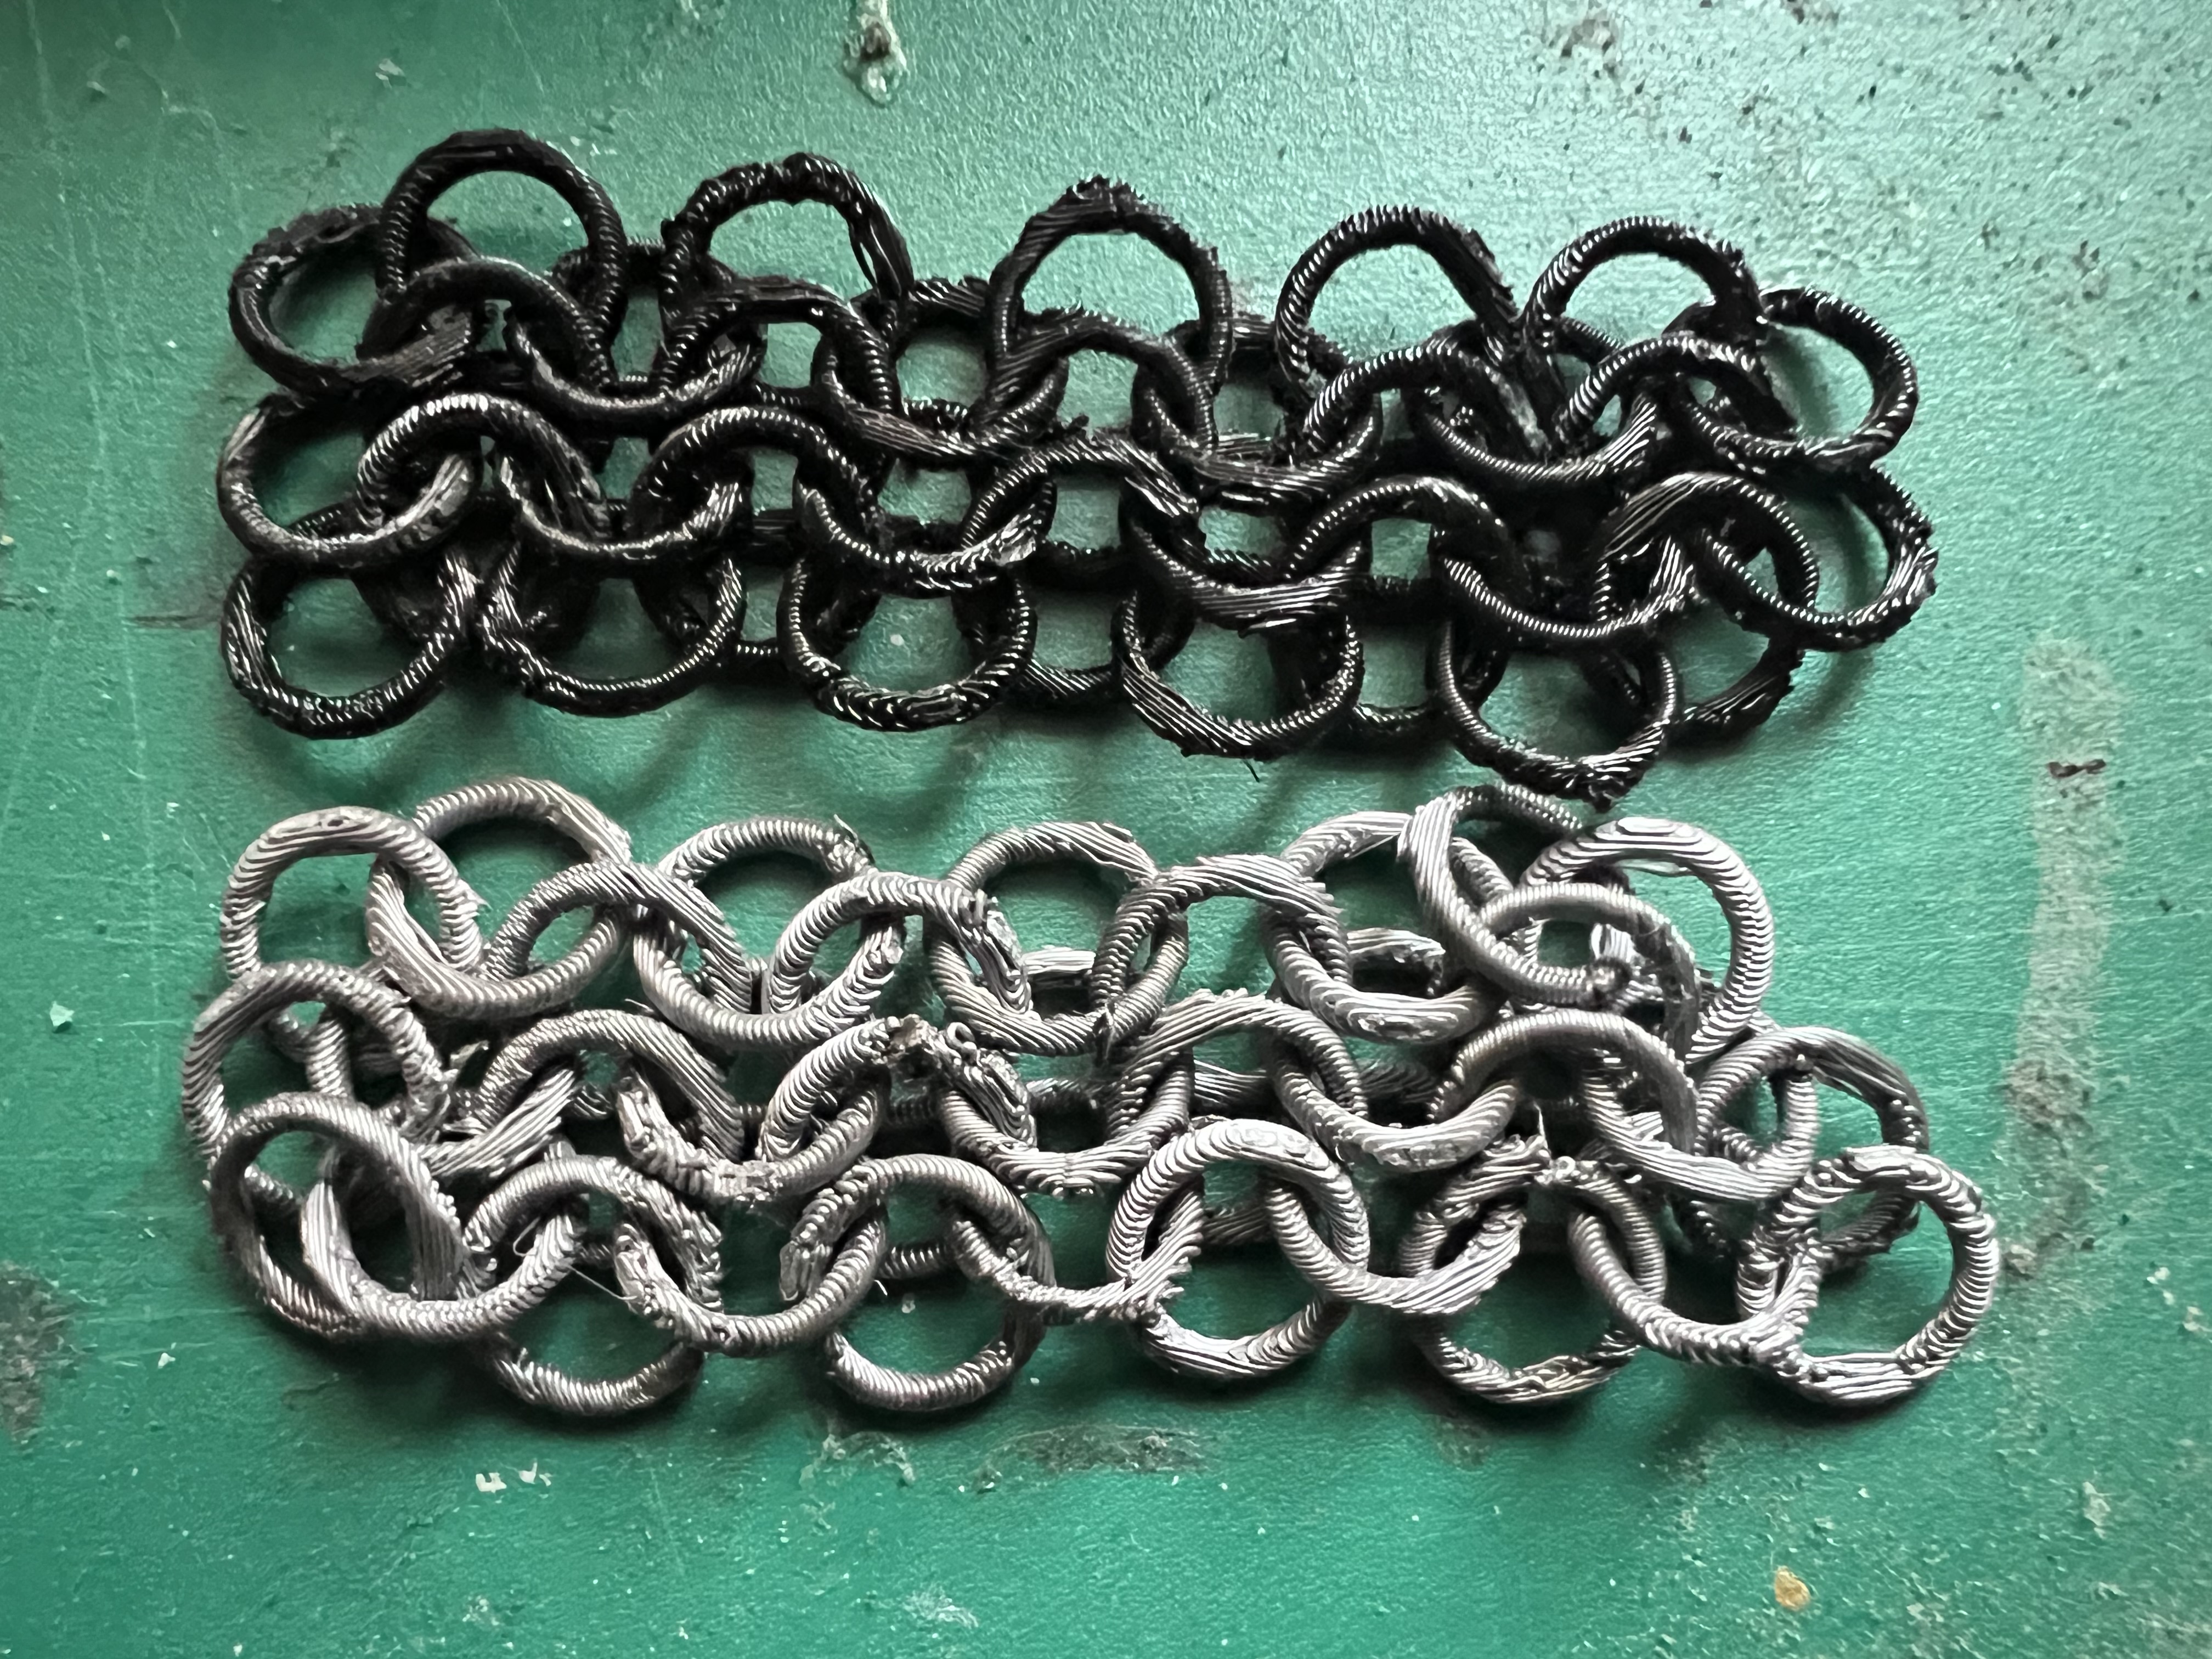
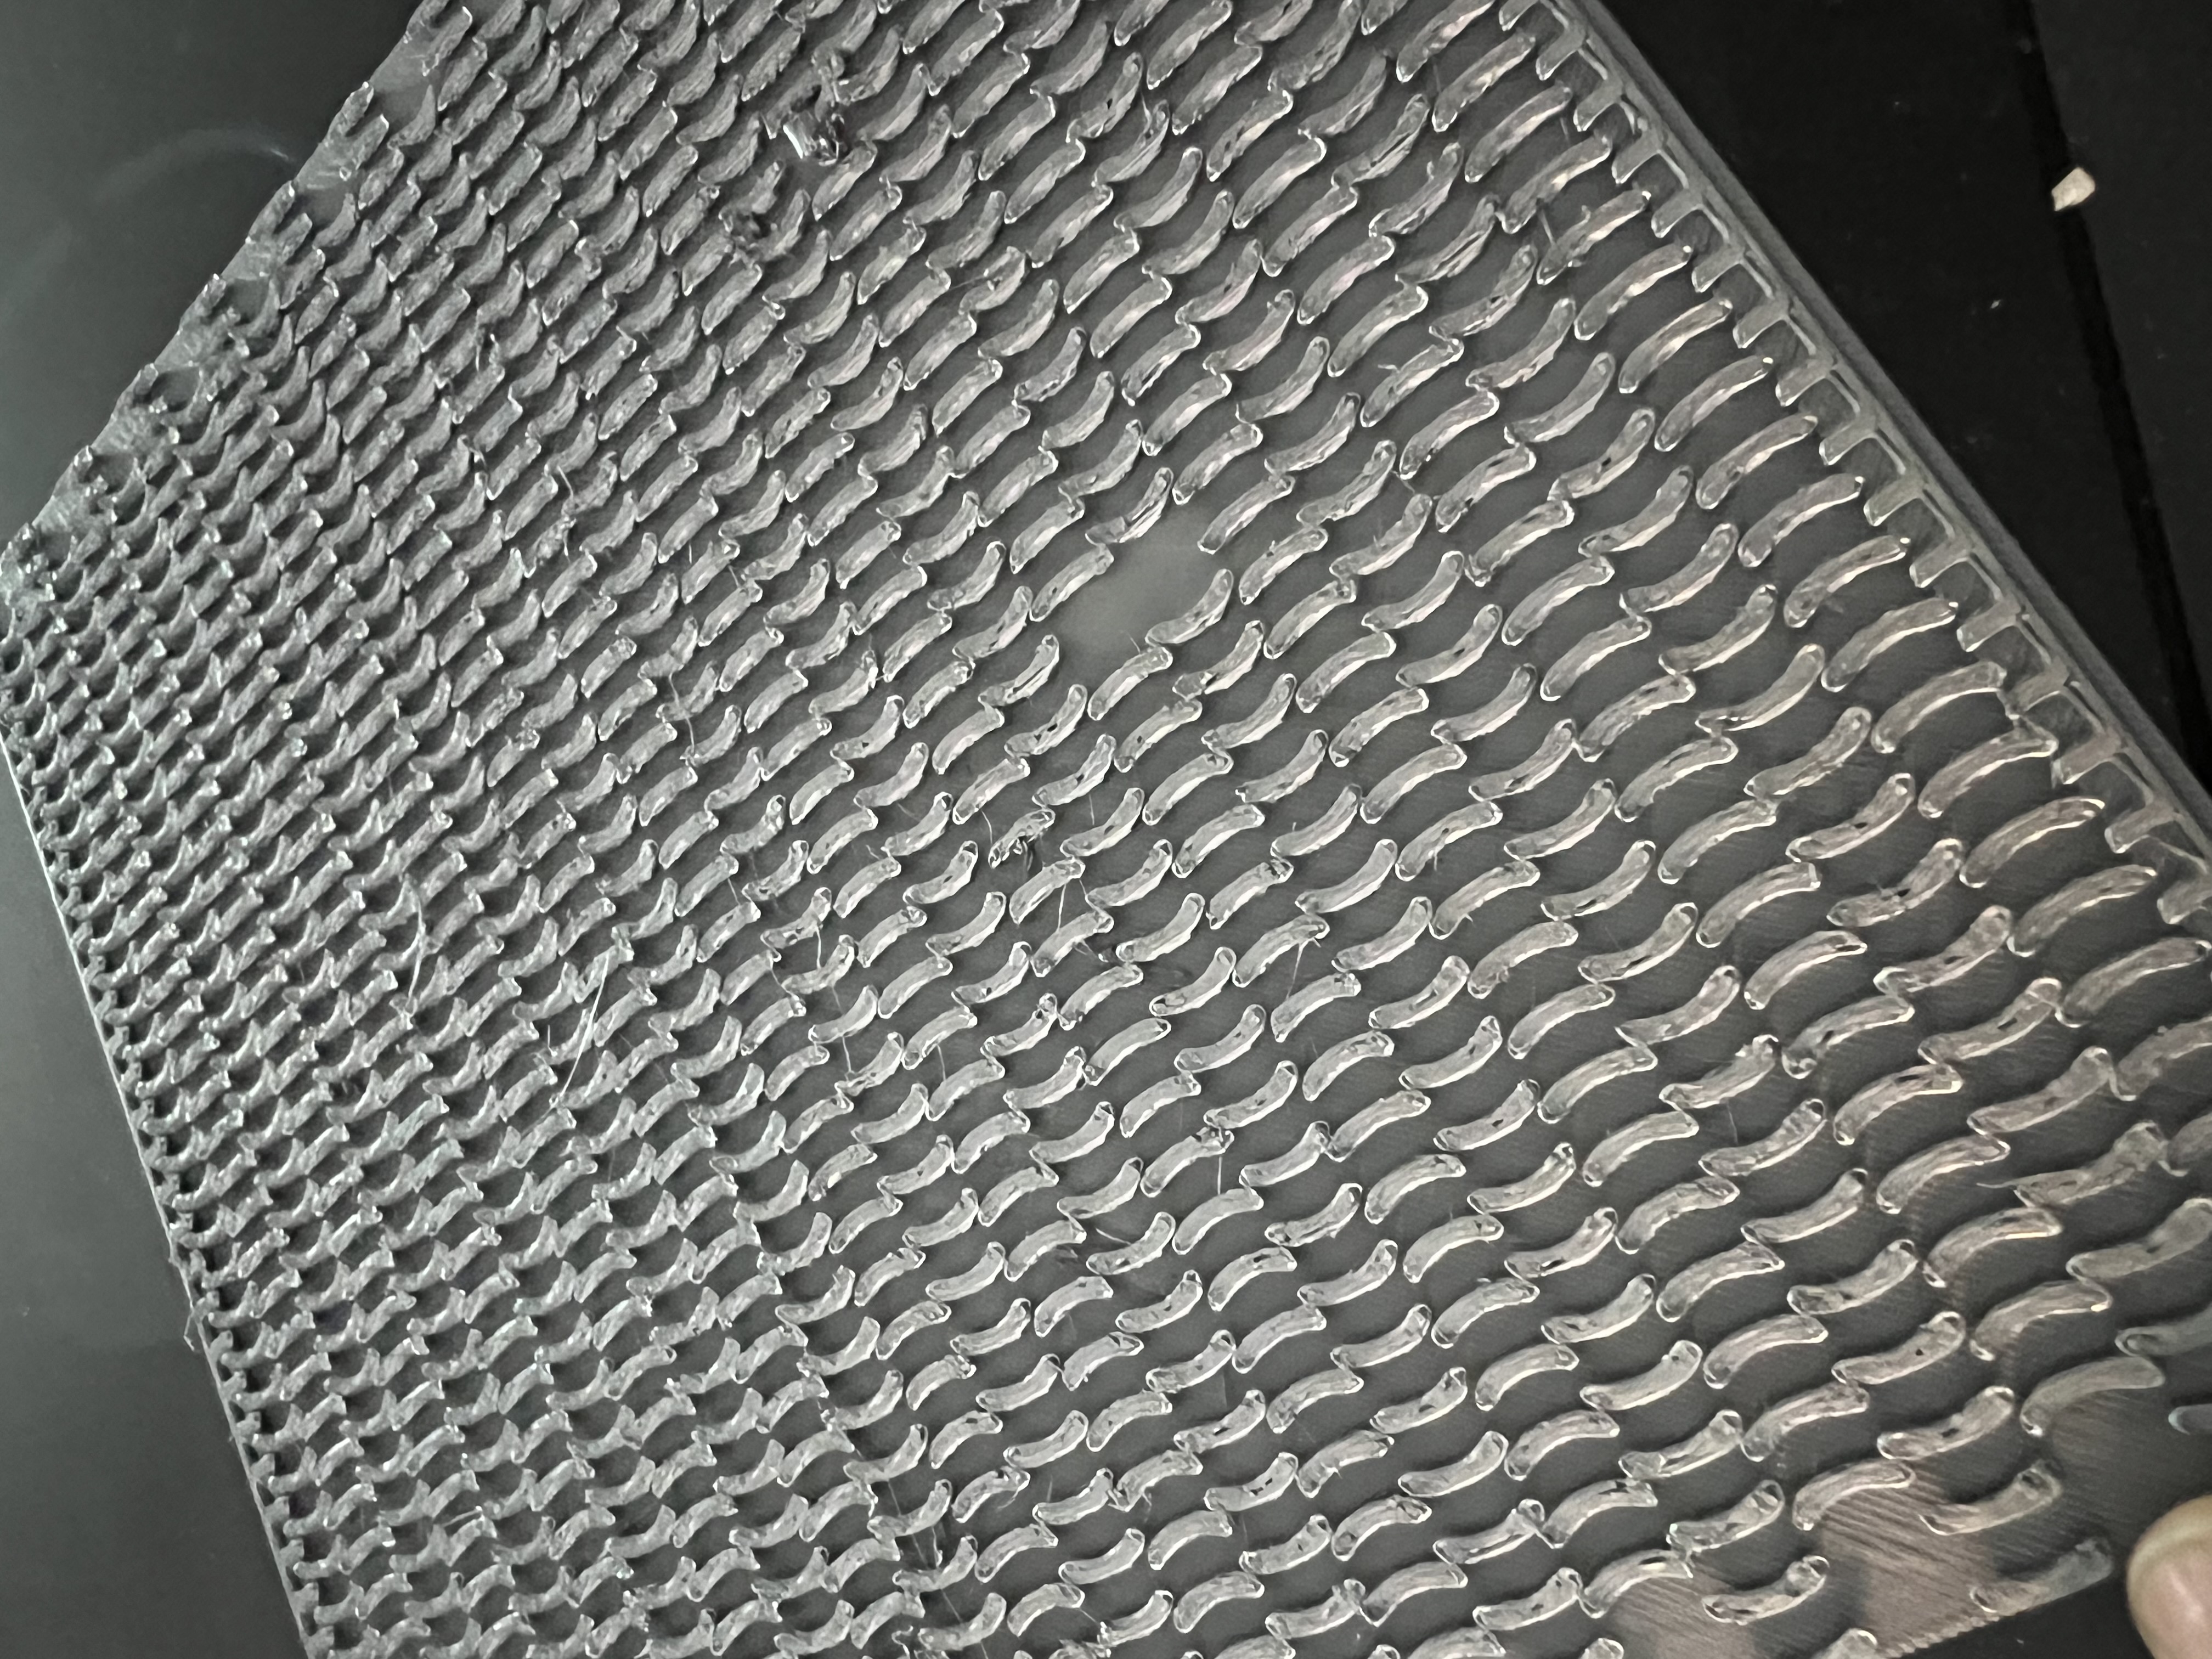
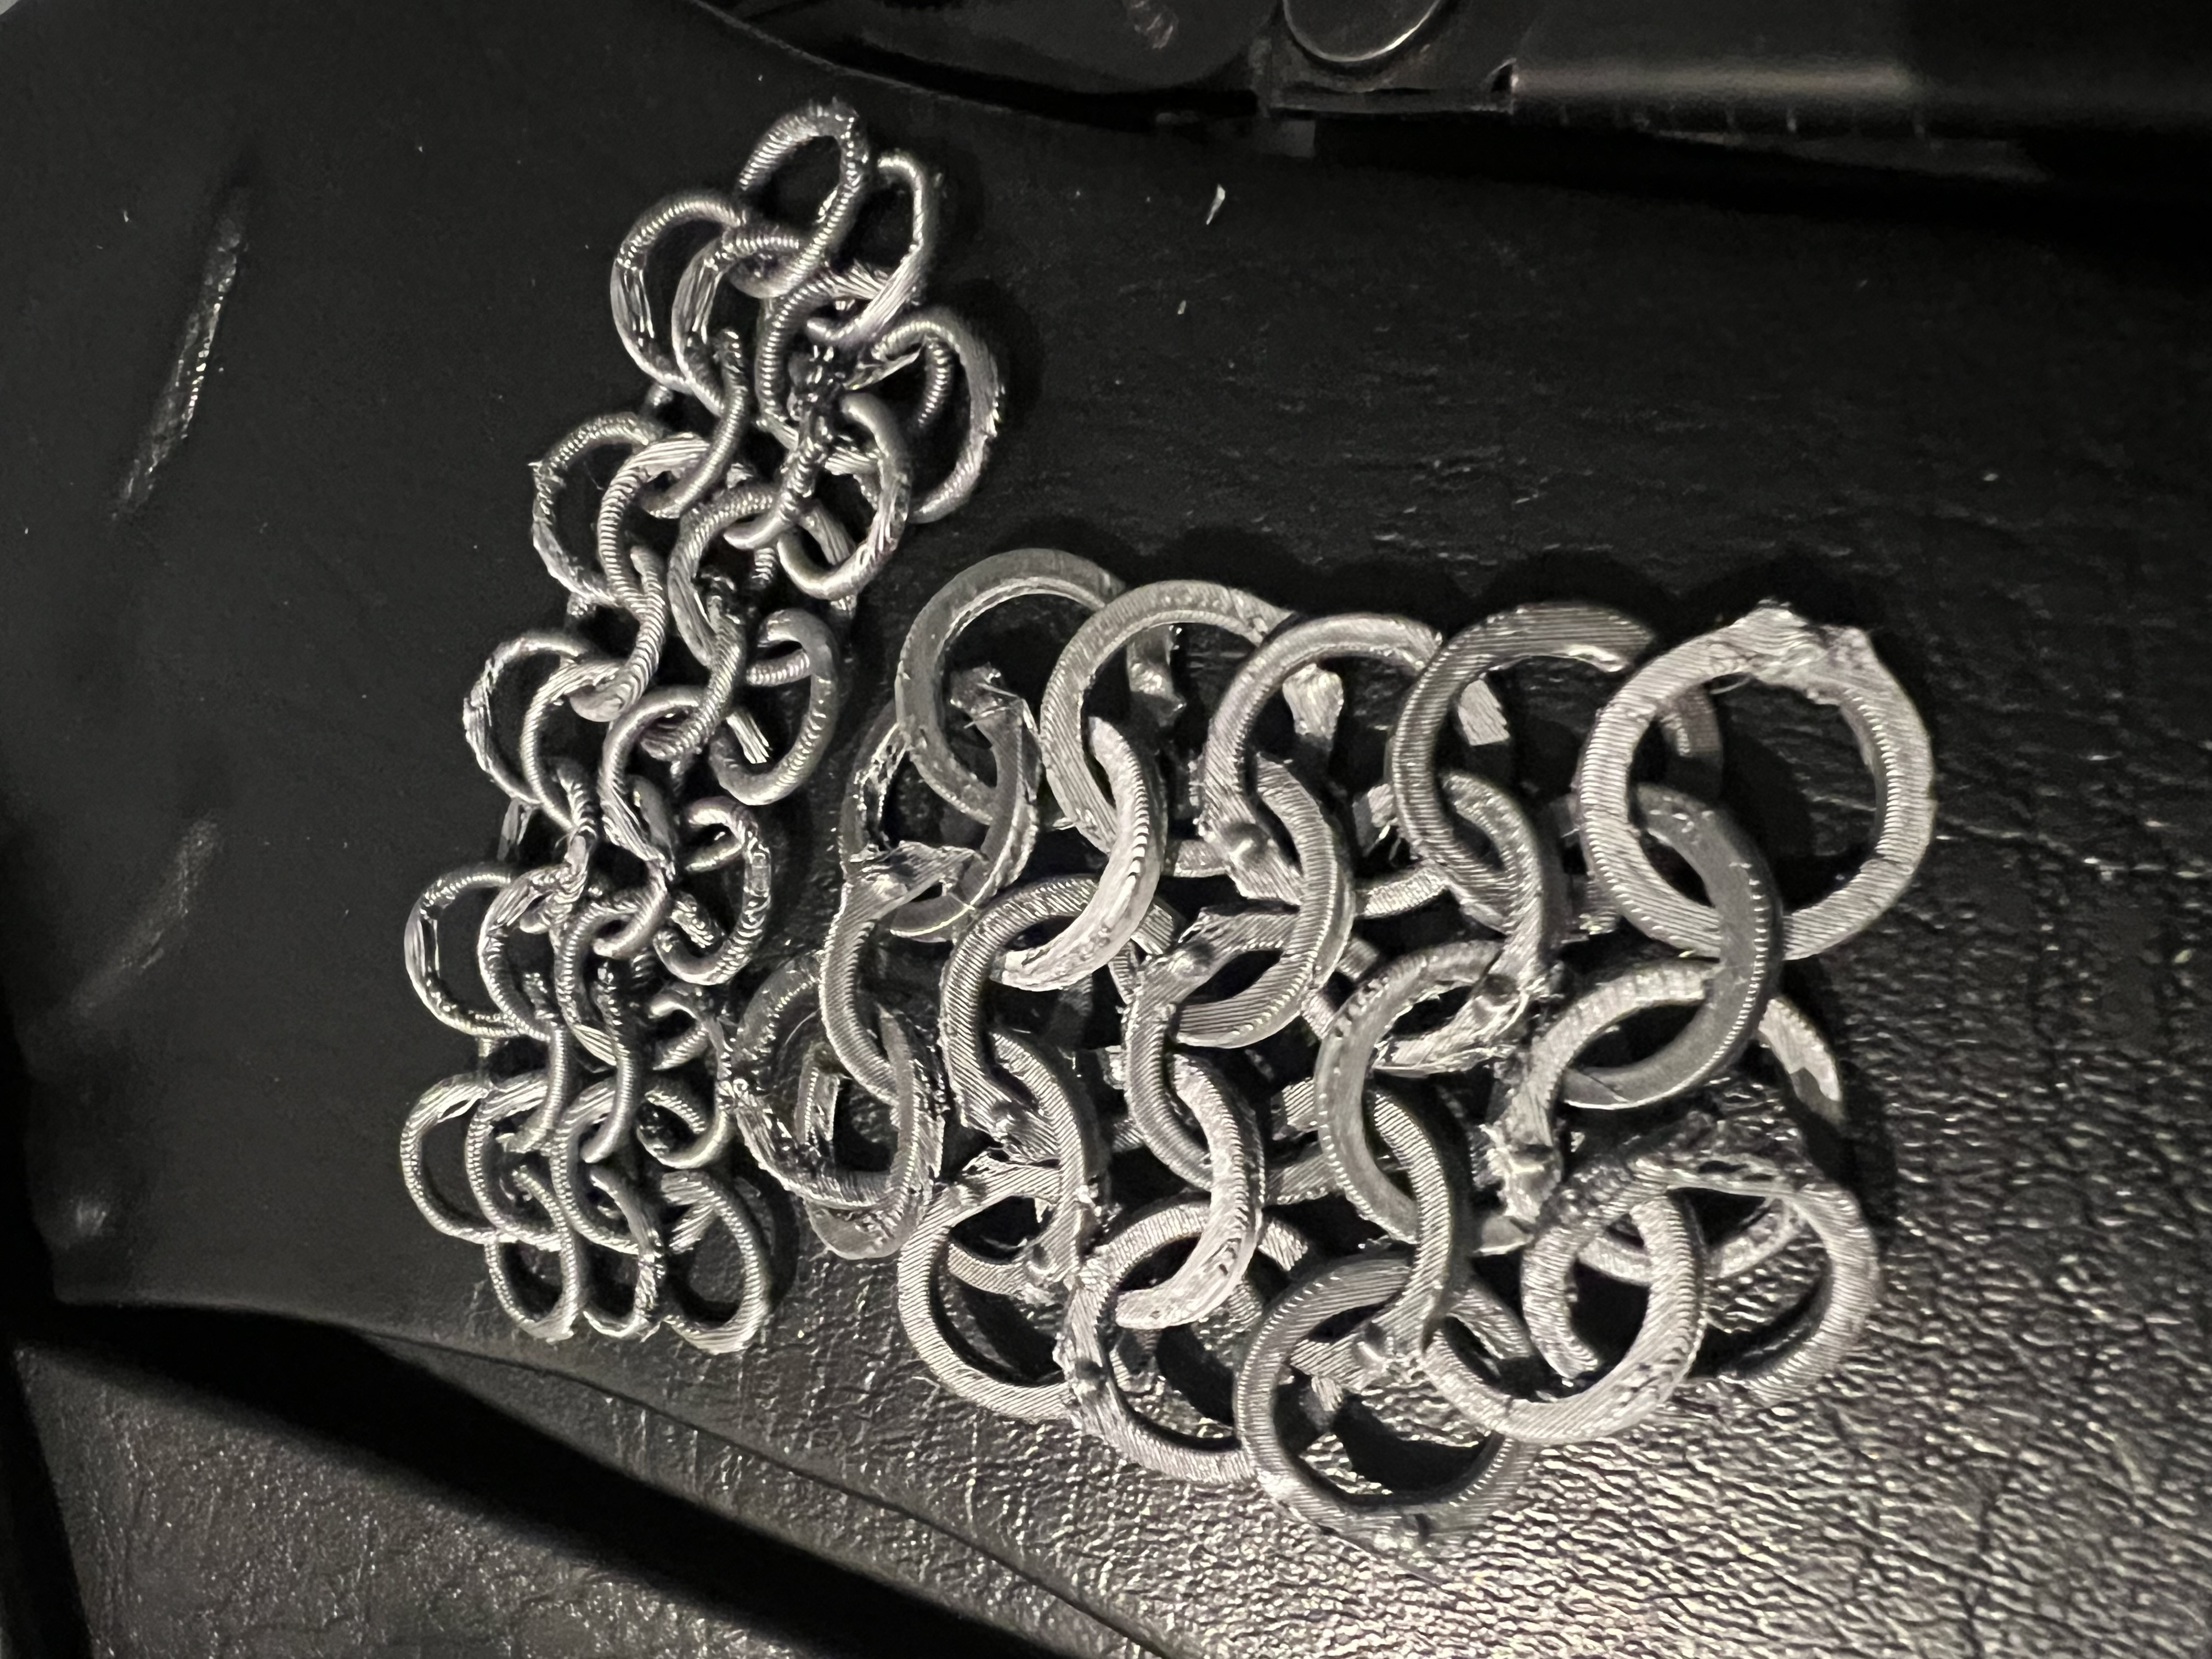
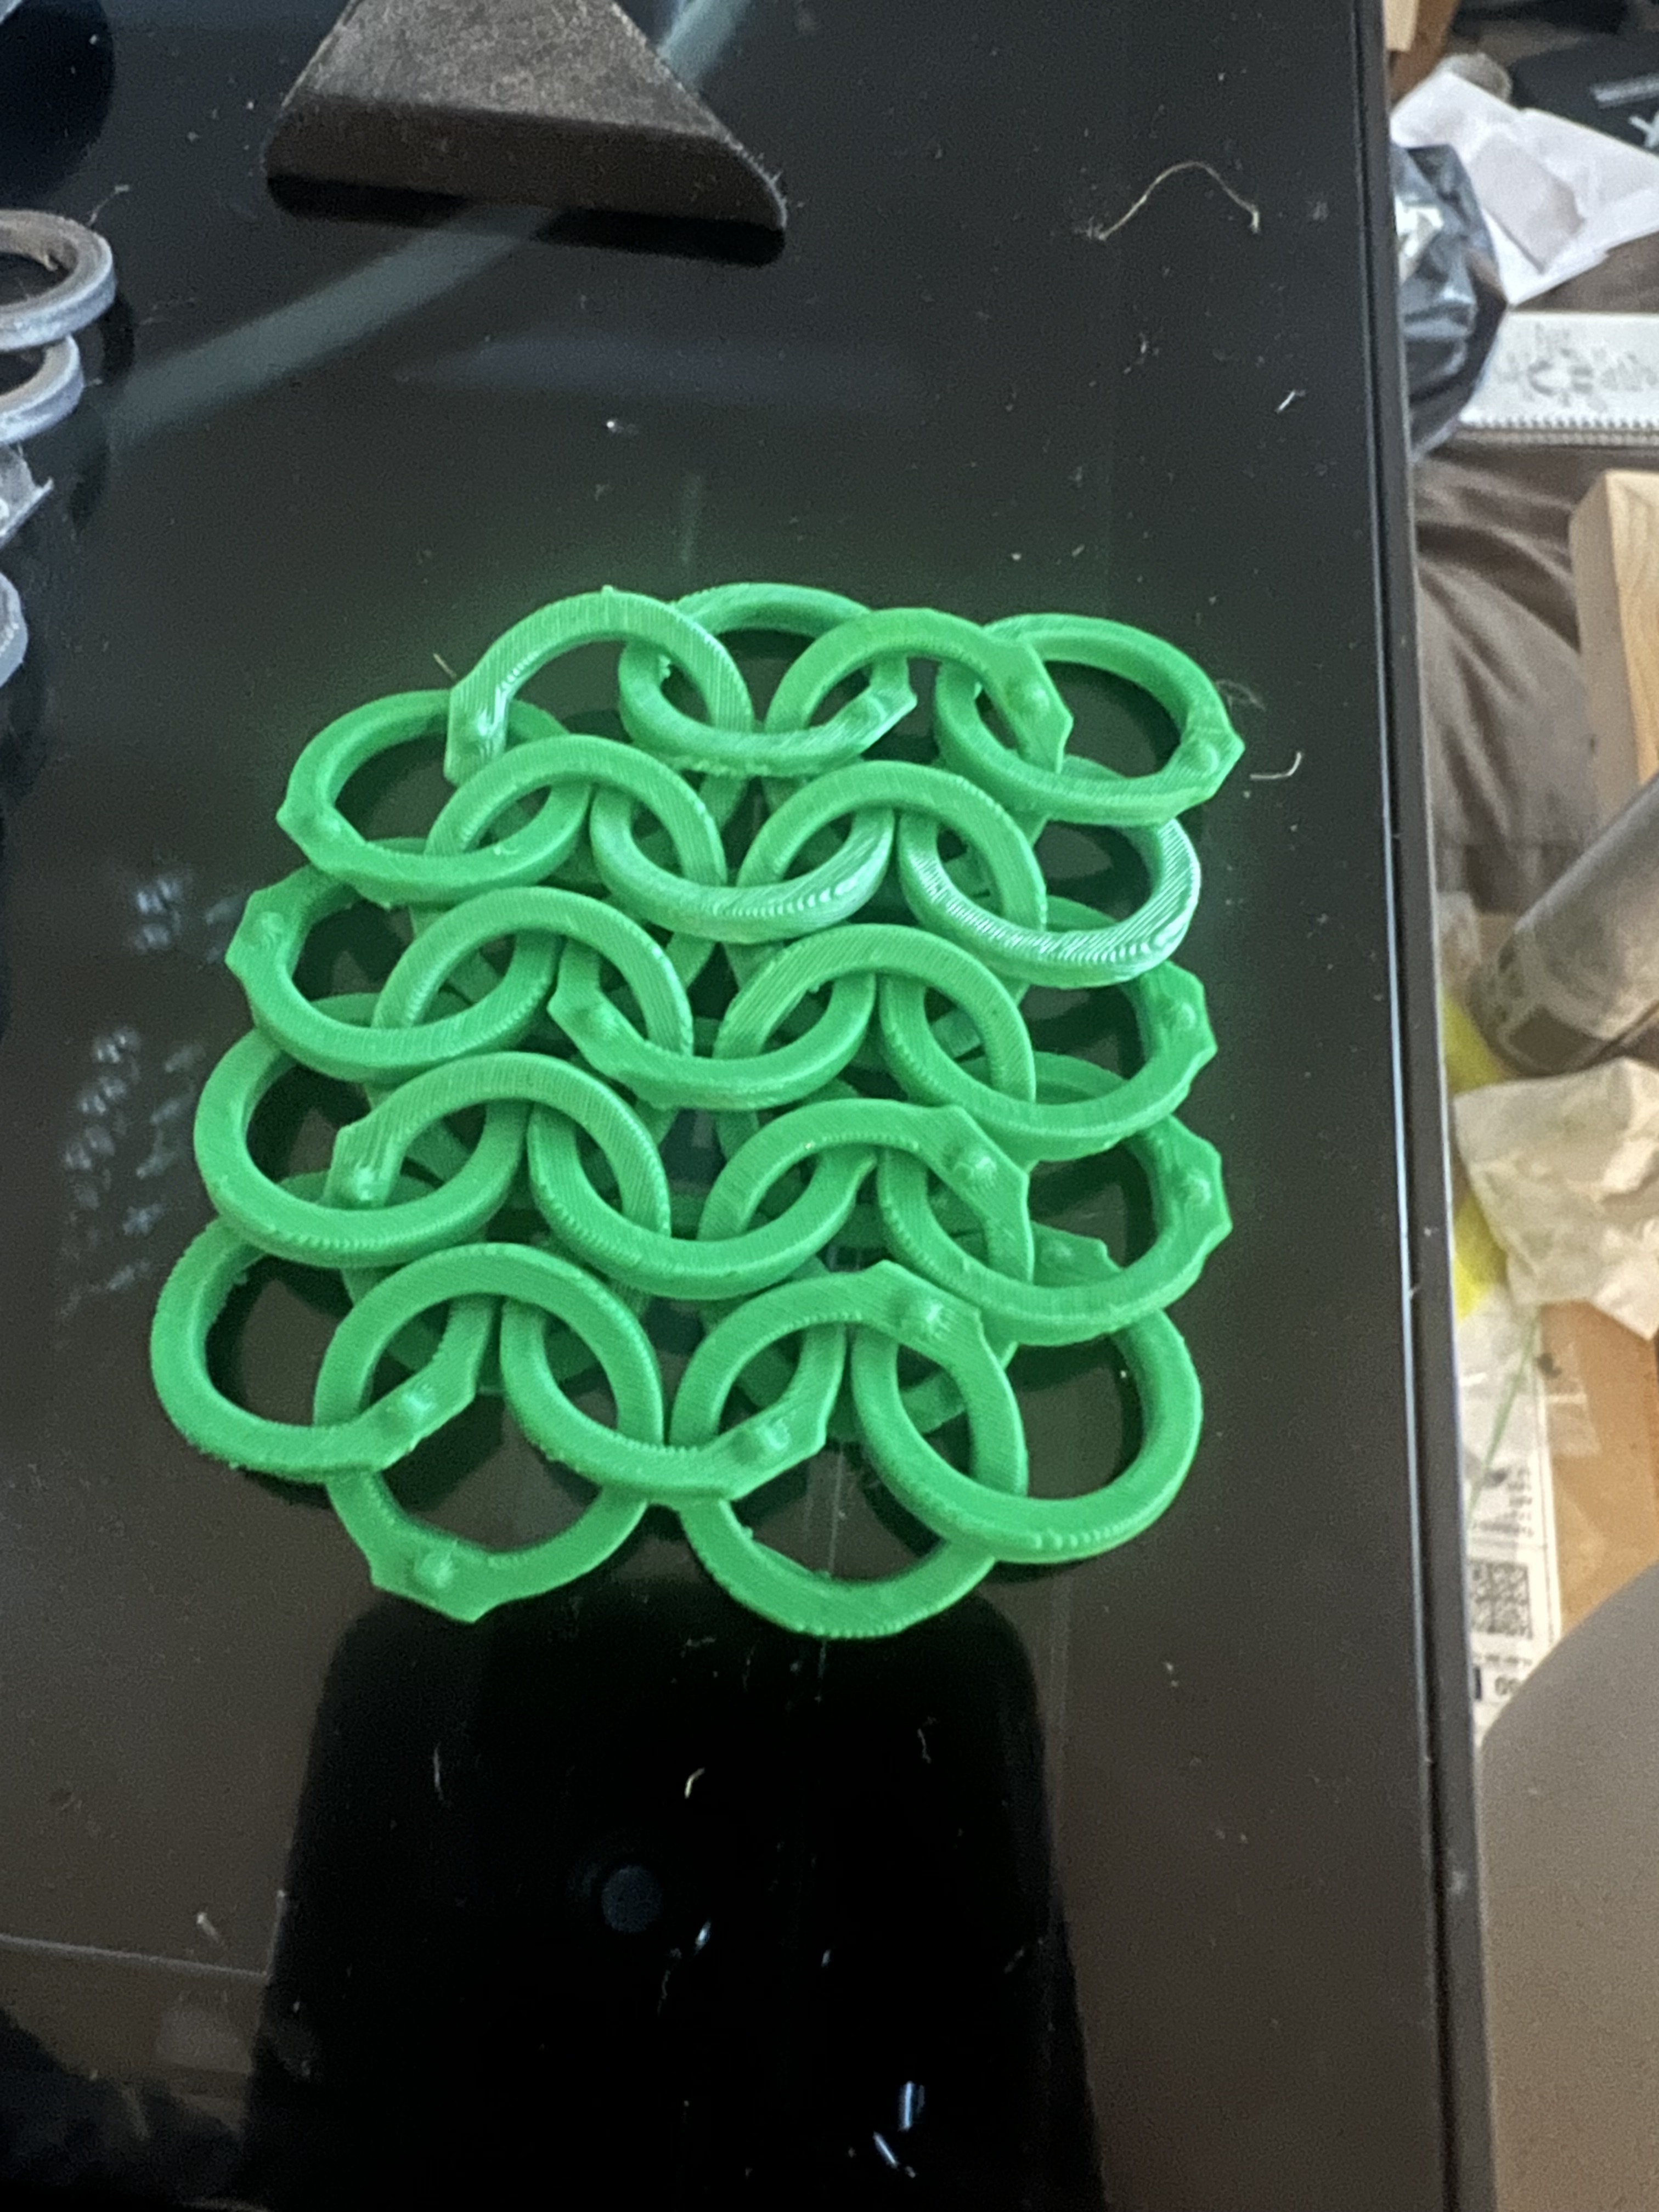
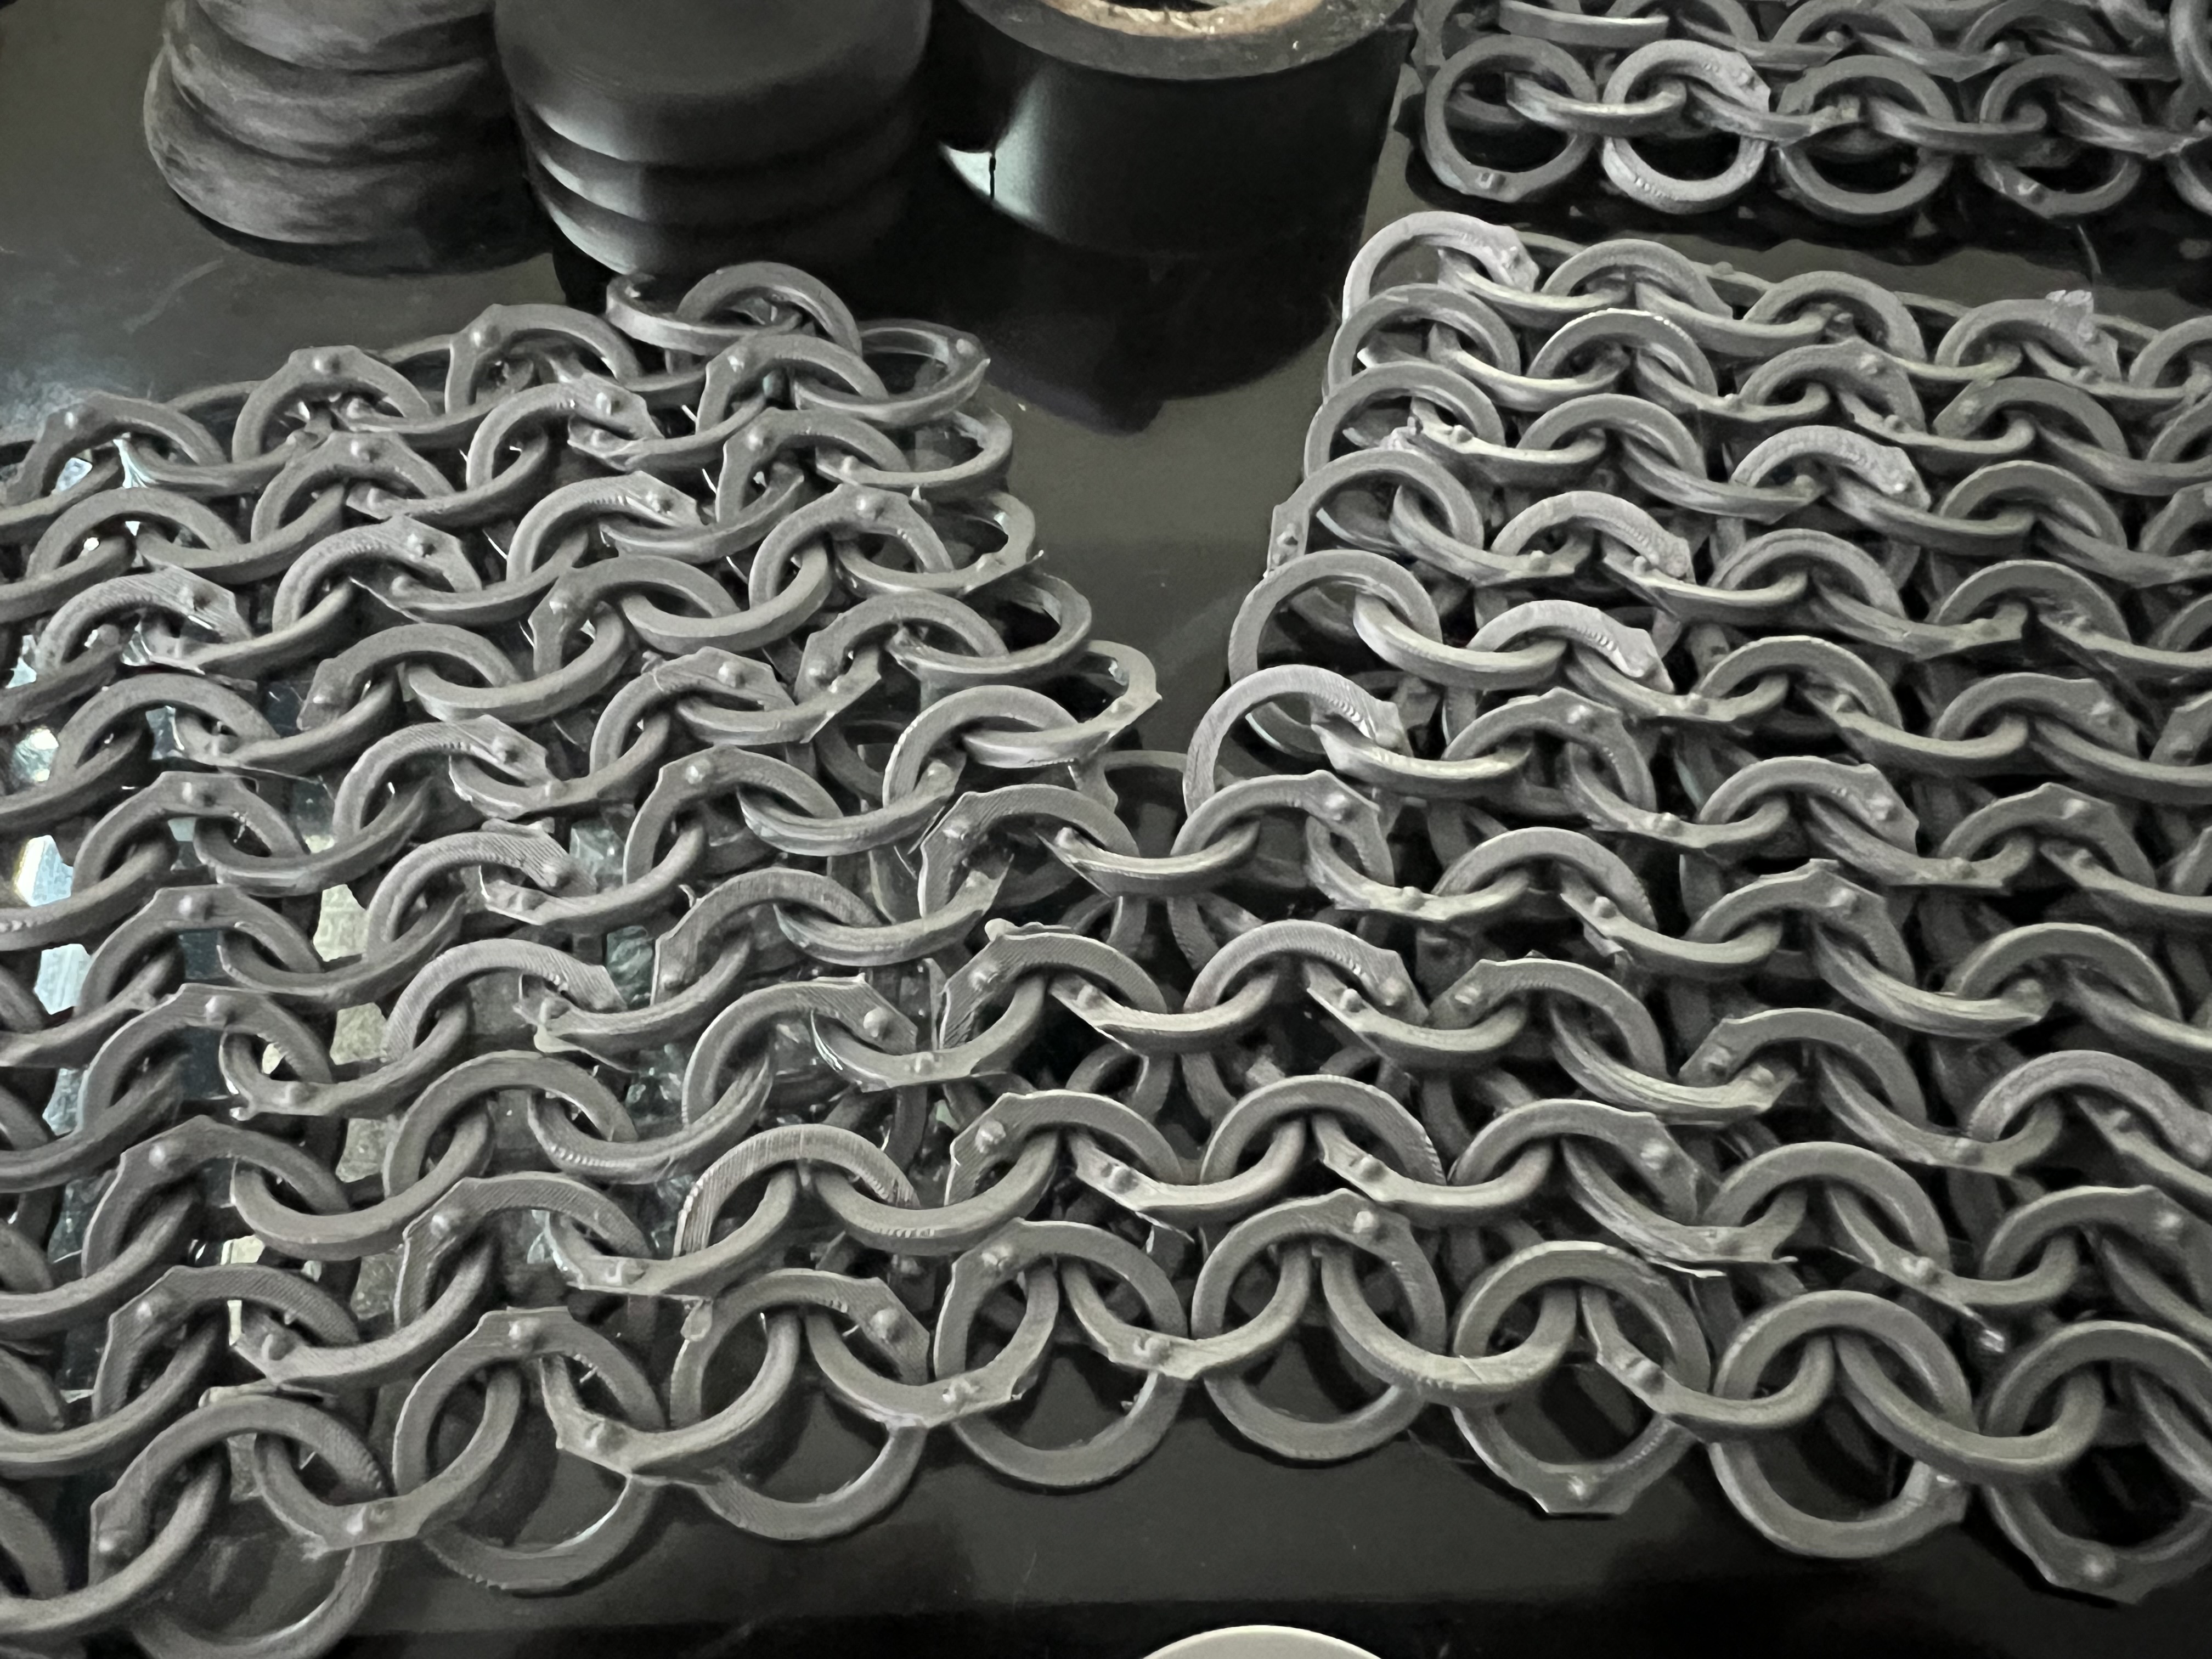
The longest part of the process has been the development of the chainmail sleeves. I decided to 3D print them which has lead to a lot of experimentation and failures. More details can be found on my post on 3d printing chainmail. Good news is that I’ve got a process that works and I’m cranking out sections like a machine.
Vimes has a leather cloak, so I’ve got some faux leather and cut a quarter cloak out of it. Unfortunately as I’ve used some fabric designed for upholstery I’m going to have to line it, can’t have the white under layer showing up! It’s light enough it should be no problem attaching to the shoulders, though I’ve not worked out how I’m going to do that yet!
Much like with Vax I’ve still got the shirt to do, this just needs of course patterning and cutting out, knowing me I’ll the inspiration will hit and I’ll end up doing all my sewing on the same day!
Aloy progress

I’ve now got two Aloy designs I’ll be doing: the Carja Behemoth Tracer from Horizon: Forbidden West and now the Nora Protector from Horizon: Zero Dawn. I’ve not progressed much on the Behemoth Tracker other than working out how I’ll be doing various fabrics pieces. The models are extracted and just need re-topologising - this is something I need to sit down and get done as it’s going to probably be tedious work.
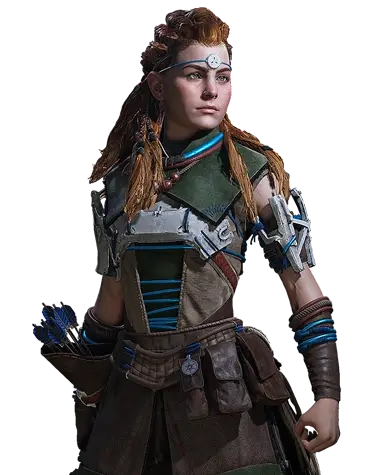
The Nora Protector is currently in the “I’ve got some reference images” state; I’ll get working on that properly once MegaCon is over.
-
https://www.etsy.com/uk/listing/1462347460/vax-full-costume-from-vox-machina ↩︎
-
https://cults3d.com/en/3d-model/game/vax-s-blades-the-legend-of-vox-machina-igvite ↩︎
-
https://www.kamuicosplay.com/product/femalebreastplates2/ ↩︎
-
I think this is a remnant from some of my earliest cosplays, which means it’s been sitting around unused for about 5 years! ↩︎
 Instagram:
 Tumblr: